
Introduzione
Welcome to your Sharper Image Travel Soother 20 Radio/Alarm Clock. This manual provides detailed instructions for the proper setup, operation, and maintenance of your device. Please read this manual thoroughly before use and retain it for future reference.
Informazioni sulla sicurezza
- Non esporre l'unità a temperature estreme, alla luce solare diretta o a elevata umidità.
- Evitare di far cadere l'unità o di sottoporla a forti urti.
- Non smontare l'unità. Per qualsiasi intervento di manutenzione, rivolgersi a personale qualificato.
- Use only the specified power adapter (DC 6V) or batteries (4x AA 1.5V).
- Tenere l'unità lontana dall'acqua o da altri liquidi.
Contenuto della confezione
- Sharper Image Travel Soother 20 Unit
- Manuale d'uso
Prodotto finitoview
Familiarize yourself with the various parts of your Travel Soother 20 unit.
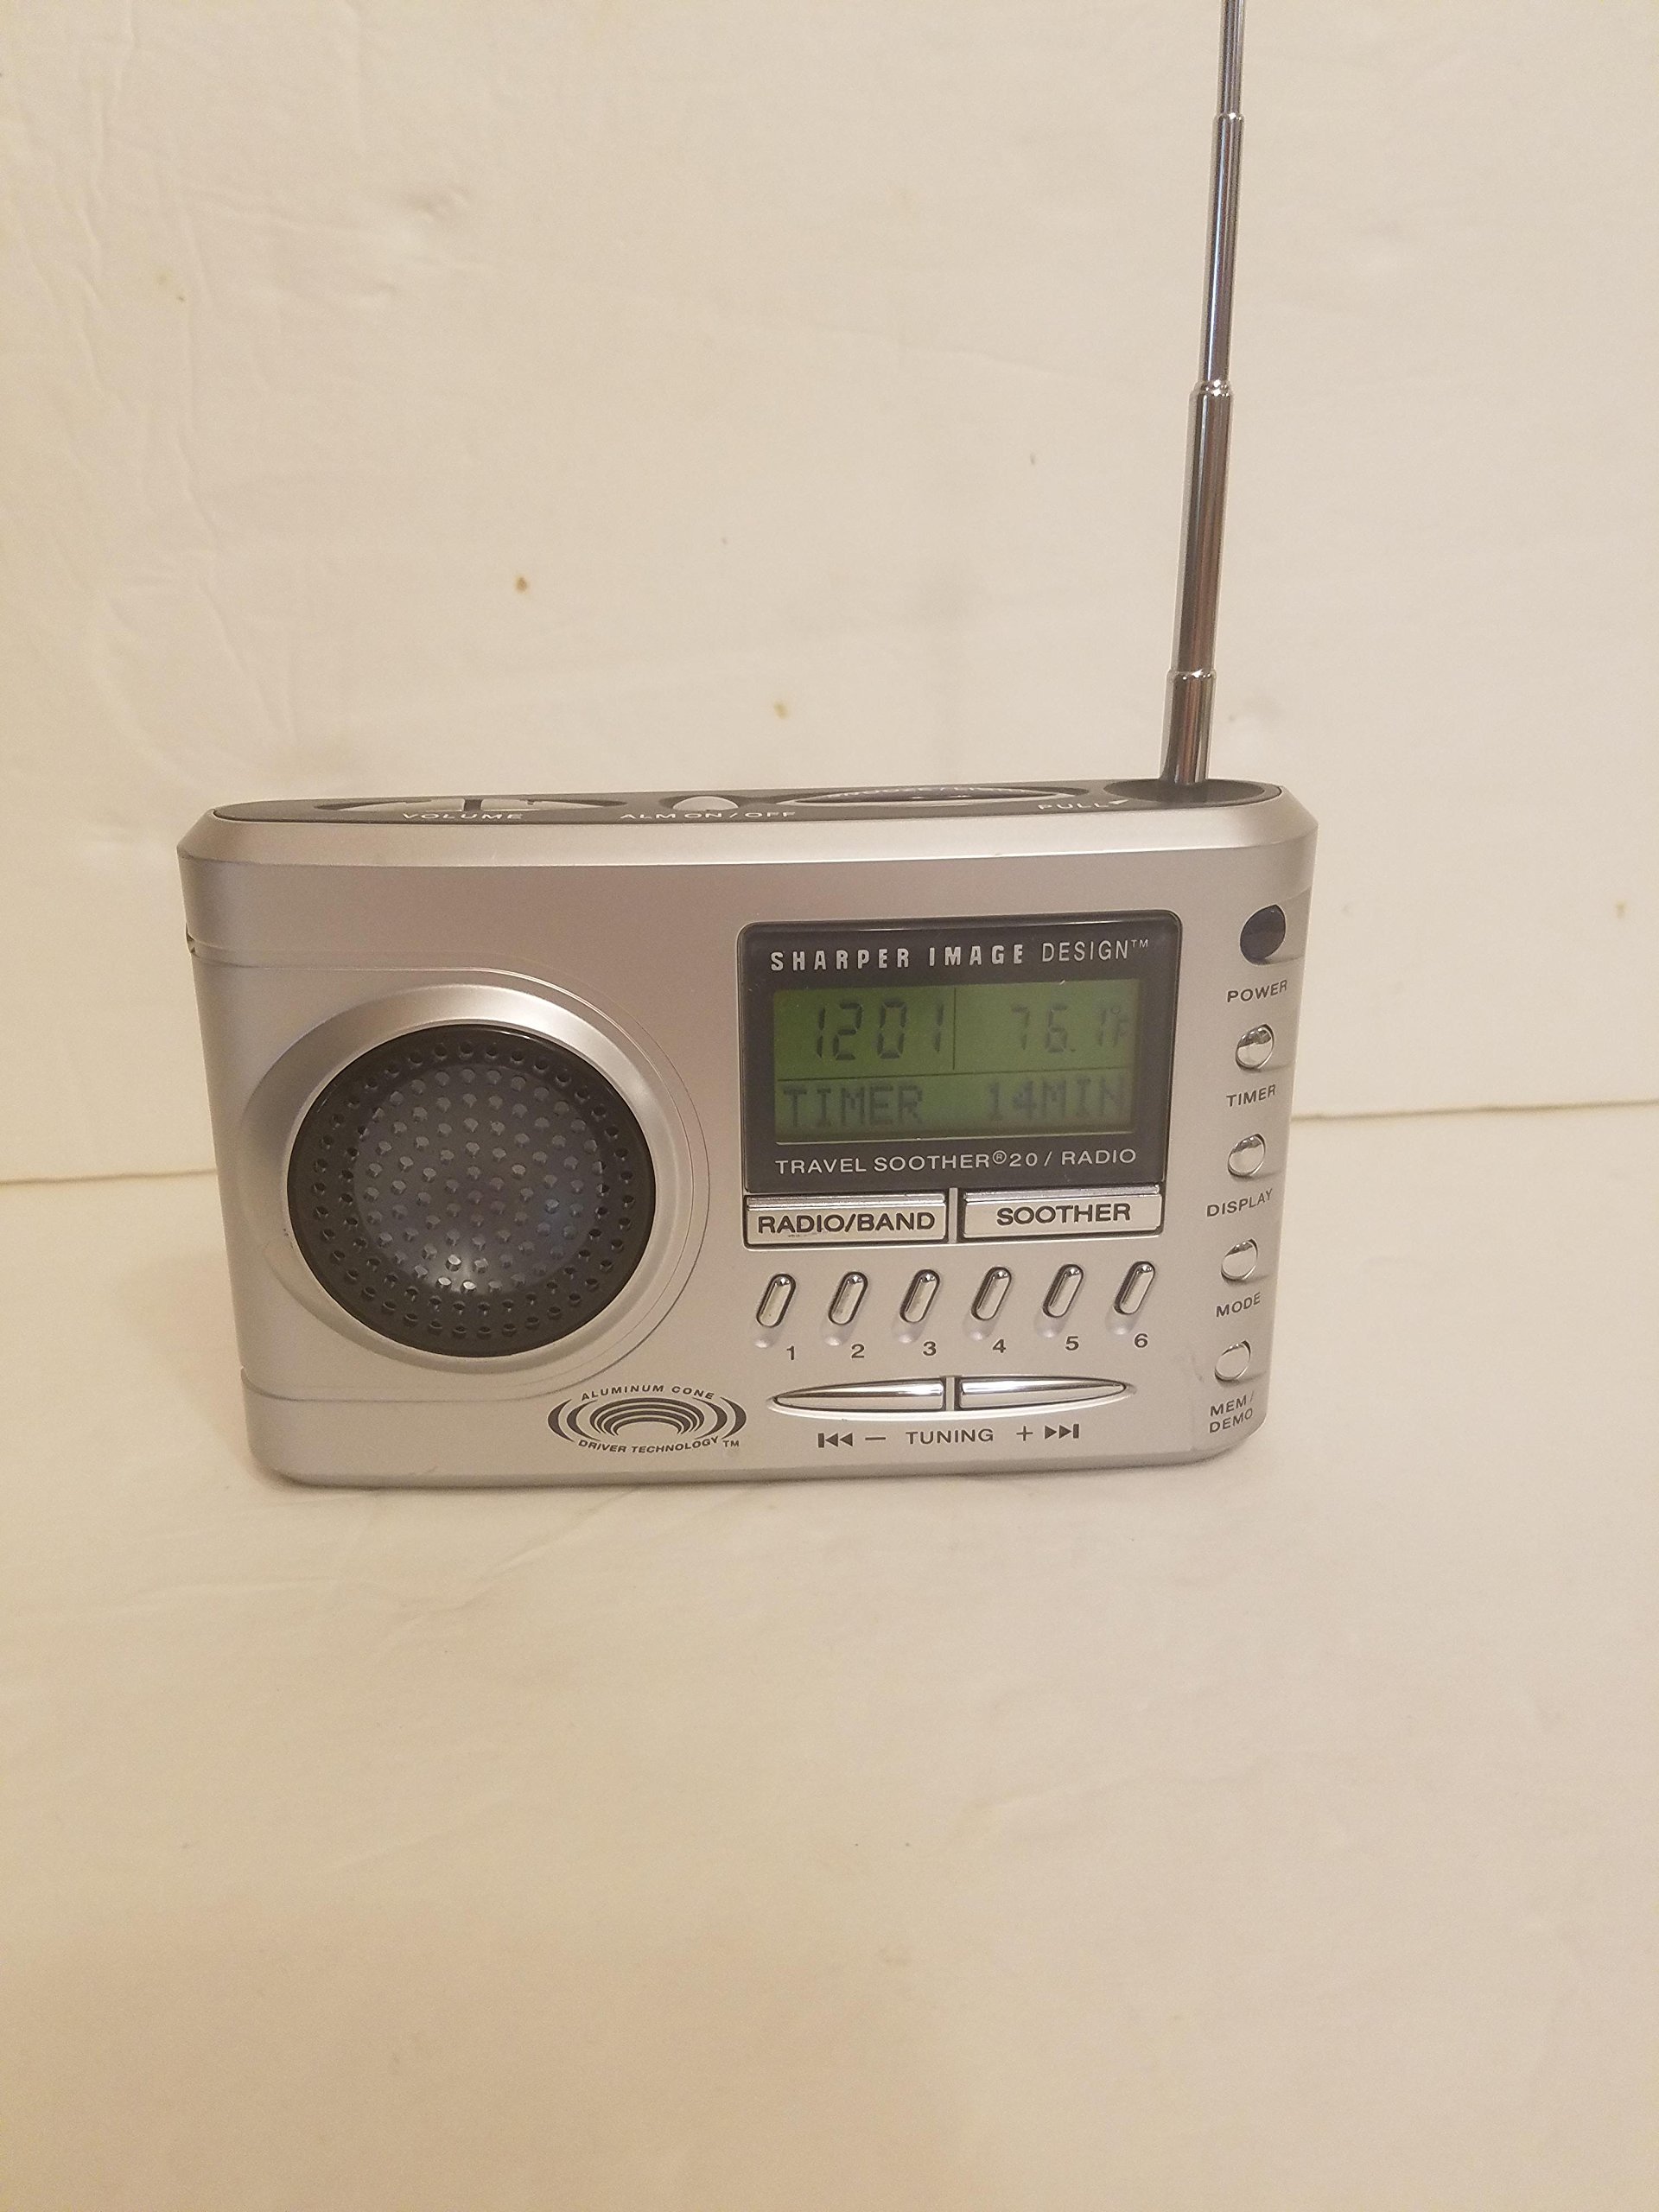
Immagine: Frontale view of the Sharper Image Travel Soother 20 Radio/Alarm Clock. This shows the display, speakers, and control buttons.
The back panel of the unit features the battery compartment, power input, and regulatory information. Specifically, it indicates the model number SI621, requires a DC 6V adapter, and uses four AA 1.5V batteries.
Impostare
Accensione del dispositivo
Your Travel Soother 20 can be powered by either batteries or an AC adapter.
- Installazione della batteria: Open the battery compartment on the back of the unit. Insert four (4) AA 1.5V batteries, ensuring correct polarity (+/-). Close the compartment securely.
- Collegamento dell'adattatore CA: Connect a DC 6V power adapter (not always included) to the DC IN jack on the back of the unit. Plug the adapter into a standard wall outlet.
Note: When both batteries and AC adapter are connected, the unit will primarily draw power from the AC adapter.
Impostazione dell'ora
- Premere e tenere premuto il tasto IMPOSTAZIONE DELL'ORA pulsante.
- Mentre si tiene IMPOSTAZIONE DELL'ORA, usa il ORA E MINUTO pulsanti per regolare l'ora corrente.
- Rilasciare il IMPOSTAZIONE DELL'ORA pulsante per confermare.
Istruzioni per l'uso
Operazione radio
- Premere il tasto RADIO pulsante per accendere la radio.
- Premere AM/FM to select the desired band.
- Utilizzare il SINTONIA +/- pulsanti per sintonizzarsi manualmente su una stazione oppure tenere premuto per effettuare la scansione automatica della successiva stazione disponibile.
- To save a preset: Tune to the desired station, then press and hold a PRESET button (e.g., 1-5) until the display flashes.
- To recall a preset: Briefly press the corresponding PRESET pulsante.
Funzioni della sveglia
- Impostazione della sveglia: Premere e tenere premuto il tasto SET ALLARME button. While holding, use the ORA E MINUTO buttons to set the alarm time. Release to confirm.
- Attivazione/disattivazione dell'allarme: Premere il tasto ALLARME ON / OFF button to toggle the alarm. An alarm icon will appear on the display when active.
- Funzione snooze: Quando suona la sveglia, premere il tasto POSTICIPARE pulsante per silenziarlo temporaneamente per alcuni minuti.
- Interruzione dell'allarme: Premere un pulsante qualsiasi tranne POSTICIPARE to stop the alarm for the day. It will reactivate the next day if still enabled.
Sound Soother Functions
- Premere il tasto SOOTHER button to activate the sound soother.
- Premere il tasto SOOTHER button repeatedly to cycle through available sound options (e.g., Rain, Thunderstorm, Summer Night, City).
- Utilizzare il VOLUME +/- pulsanti per regolare il livello del suono.
- Premere il tasto SOOTHER button until the display shows 'OFF' to deactivate.
Manutenzione
- Pulizia: Pulire l'unità con un panno morbido e asciutto. Non utilizzare detergenti abrasivi o solventi.
- Sostituzione della batteria: Replace all four AA batteries simultaneously when the display dims or the unit malfunctions on battery power. Do not mix old and new batteries.
- Magazzinaggio: Se si conserva l'unità per un periodo prolungato, rimuovere le batterie per evitare perdite.
Risoluzione dei problemi
| Problema | Soluzione |
|---|---|
| L'unità non si accende. | Check battery installation and polarity. Ensure AC adapter is securely connected and the outlet is functional. |
| Ricezione radiofonica scadente. | Extend the antenna fully. Reposition the unit for better signal. Try tuning manually. |
| L'allarme non suona. | Ensure the alarm is activated (alarm icon visible). Verify alarm time is set correctly. Check volume level. |
| Sound soother not working. | Ensure the sound soother is turned on and a sound is selected. Check volume level. |
Specifiche
- Modello: SI621
- Potenza in ingresso: DC 6V (adapter, not always included)
- Batteria: 4x AA 1.5V (UM-3)
- Dimensioni della confezione: 6.4 x 6.3 x 3.7 pollici
- Peso dell'articolo: 15.7 once
- ASIN: B00013891I
- Data prima disponibilità: 26 febbraio 2010
Dichiarazione di conformità FCC
QUESTO DISPOSITIVO È CONFORME ALLA PARTE 15 DELLE NORME FCC. IL FUNZIONAMENTO È SOGGETTO ALLE SEGUENTI DUE CONDIZIONI: (1) QUESTO DISPOSITIVO NON PUÒ CAUSARE INTERFERENZE DANNOSE E (2) QUESTO DISPOSITIVO DEVE ACCETTARE QUALSIASI INTERFERENZA RICEVUTA, COMPRESE LE INTERFERENZE CHE POTREBBERO CAUSARE FUNZIONAMENTI INDESIDERATI.
Garanzia e supporto
For warranty information or technical support, please refer to the original product packaging or contact Sharper Image customer service. Keep your purchase receipt as proof of purchase.


