
Introduzione
This manual provides detailed instructions for the installation, operation, and maintenance of your Dorman 742-104 Window Lift Motor. Please read these instructions carefully before beginning any work to ensure proper installation and safe operation. This product is designed as a direct replacement part for specific vehicle applications, ensuring a precise fit and reliable performance.
Prodotto finitoview
The Dorman 742-104 Window Lift Motor is a new, high-quality replacement component engineered to restore the functionality of your vehicle's power windows. It is designed to integrate seamlessly with your existing window regulator system.
- 100% New Units: Ensures optimal performance and longevity.
- Direct Fit Wiring Harness: Eliminates the need for wire splicing, simplifying installation.
- Includes Mounting Hardware: Necessary hardware is provided to complete the repair where applicable.
- Quality Tested: Each unit is tested for durability and performance to meet stringent standards.
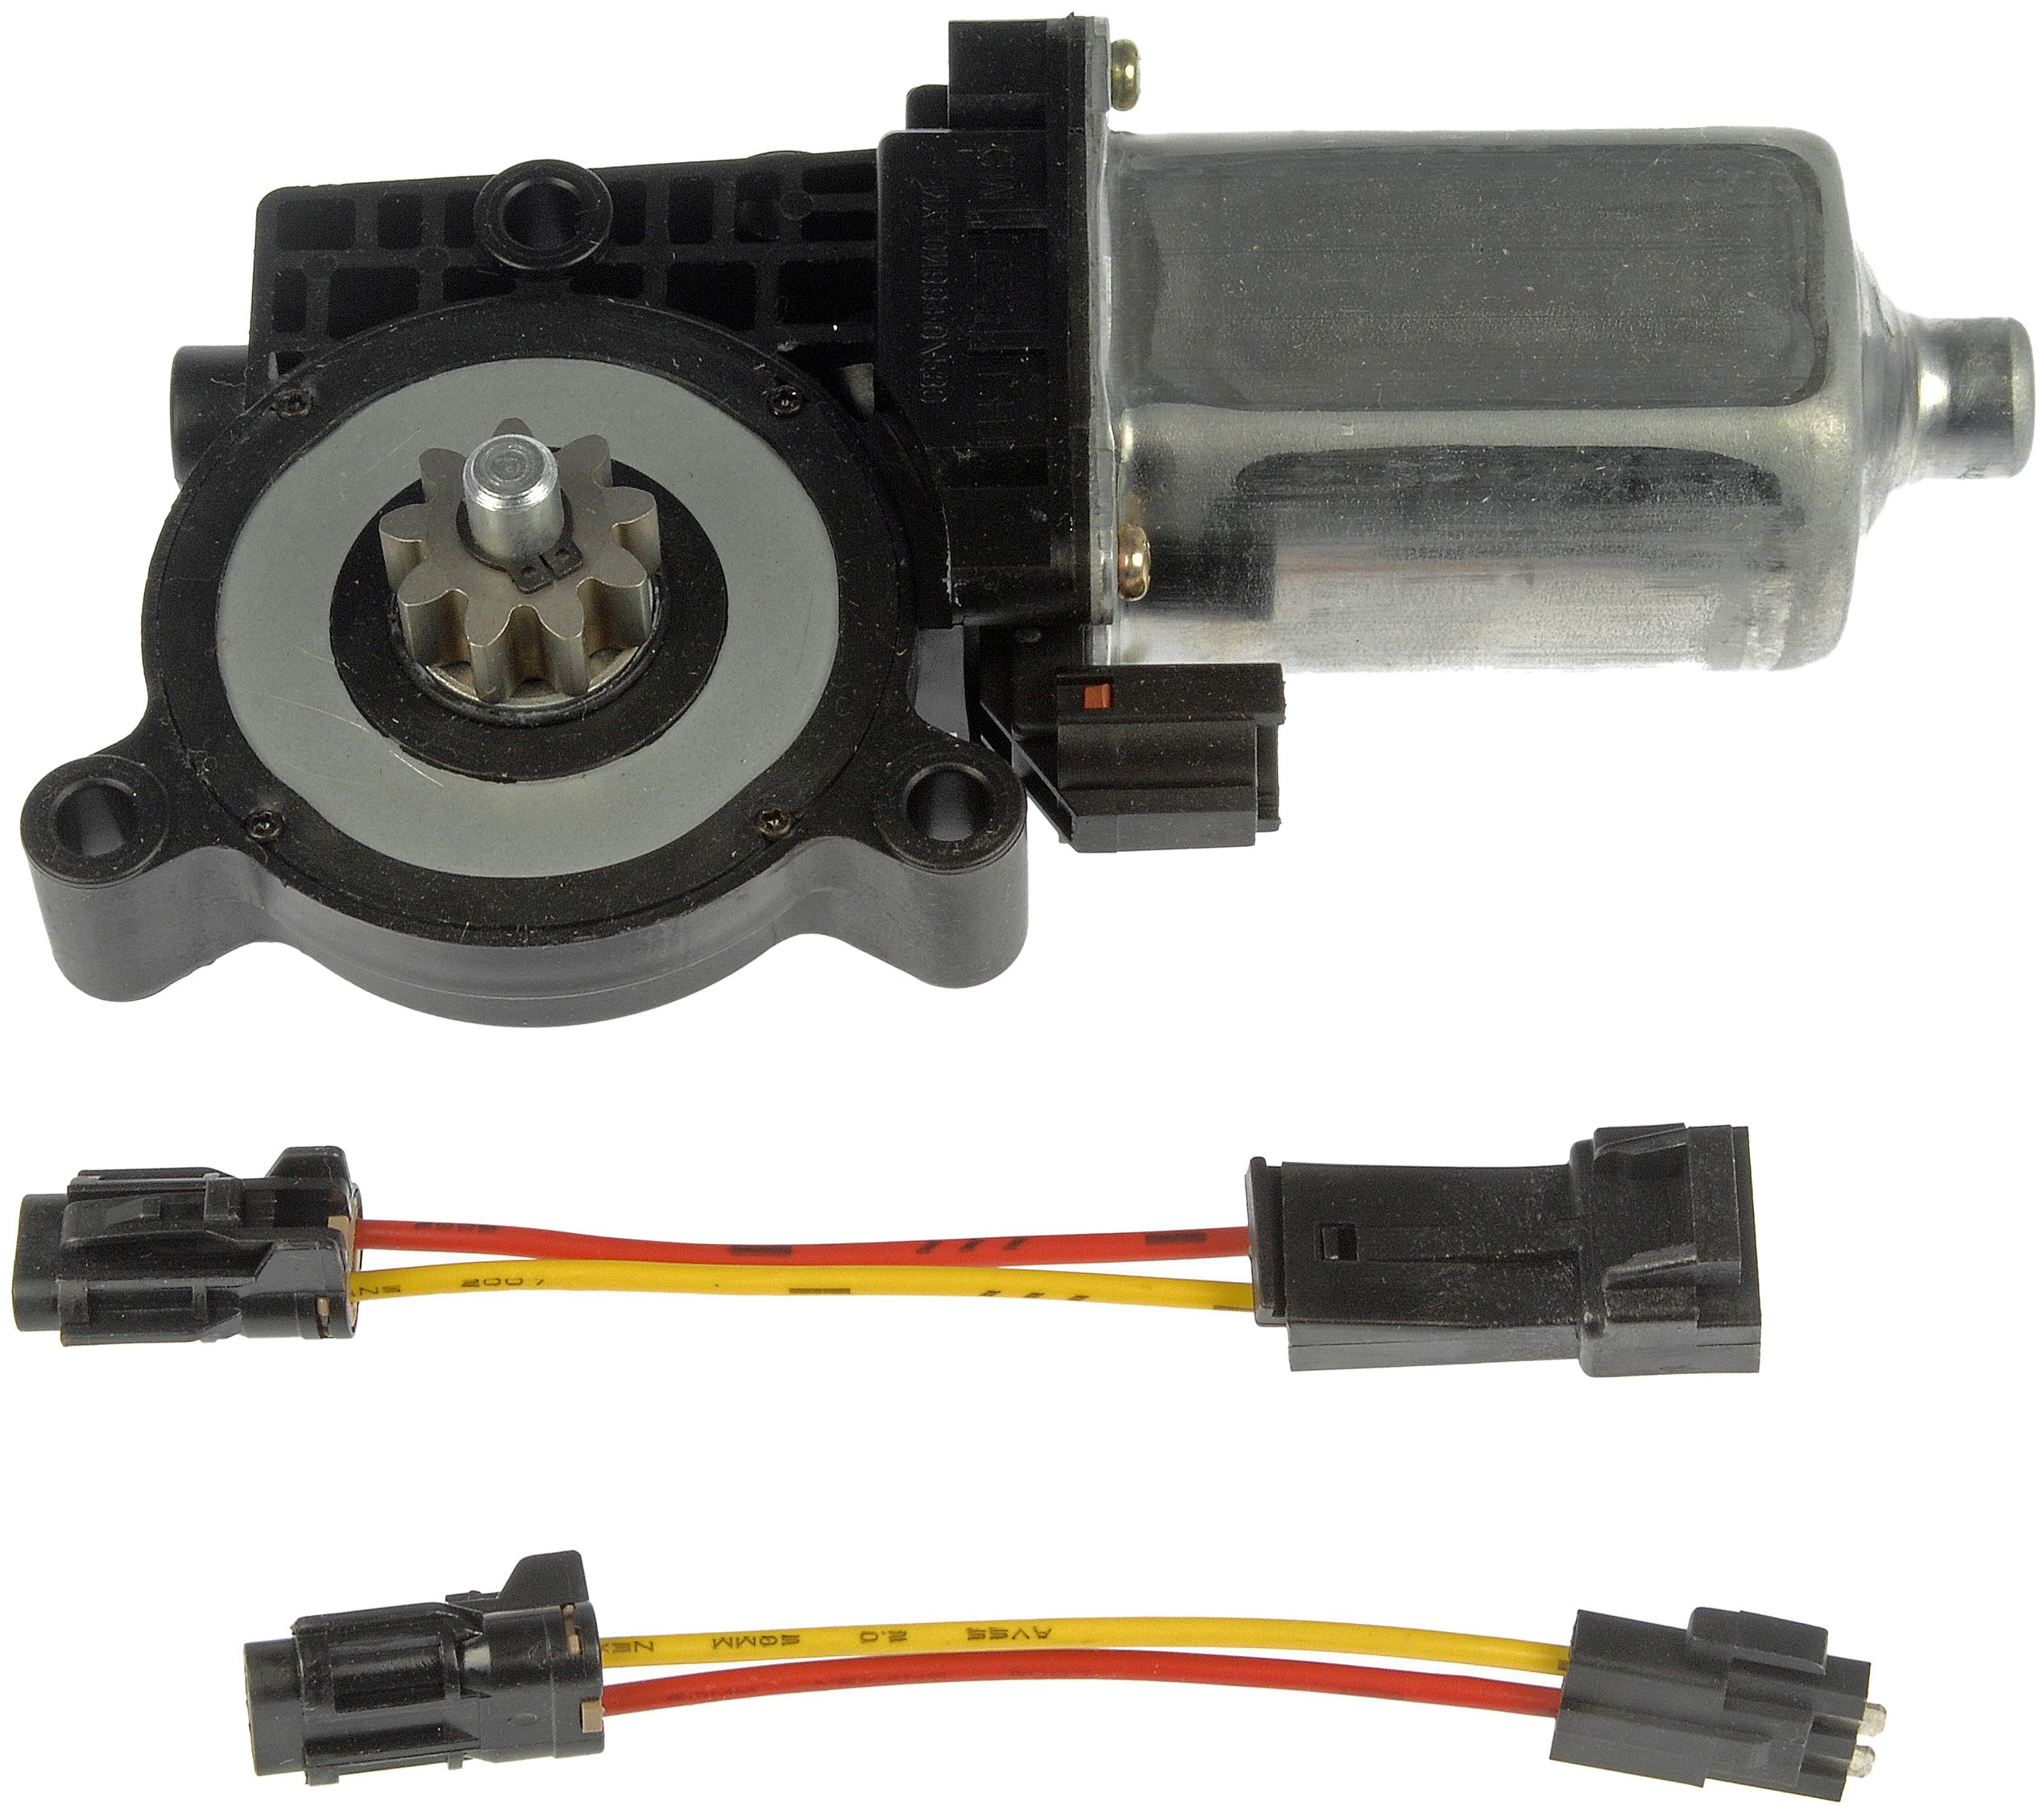
Figure 1: Dorman 742-104 Window Lift Motor assembly. This image shows the complete motor unit with its housing and gear mechanism.
Istruzioni per l'installazione
La sicurezza prima di tutto: Before beginning any automotive repair, ensure the vehicle is parked on a level surface, the parking brake is engaged, and the ignition is off. Disconnect the vehicle's battery to prevent electrical shorts or accidental operation of components.
Strumenti e materiali necessari:
- Basic hand tools (screwdrivers, sockets, wrenches)
- Trim panel removal tools (plastic pry tools recommended)
- Occhiali e guanti di sicurezza
- Acquista stracci
Procedura passo passo:
- Preparare il veicolo: Scollegare il terminale negativo della batteria del veicolo.
- Rimuovere il pannello della porta: Carefully remove the interior door panel. This typically involves removing screws hidden behind trim pieces, door handles, or armrests, and then prying the panel away from the door frame. Refer to your vehicle's service manual for specific instructions on door panel removal.
- Access Window Regulator: Remove any plastic sheeting or sound deadening material that obstructs access to the window regulator and motor assembly.
- Support Window Glass: Secure the window glass in the up position using tape or a wedge to prevent it from falling once the motor is disconnected.
- Scollegare il vecchio motore: Disconnect the electrical connector from the old window lift motor. Remove the bolts or fasteners securing the motor to the window regulator.
- Rimuovere il vecchio motore: Carefully detach and remove the old motor from the vehicle.
- Installare il nuovo motore: Position the new Dorman 742-104 Window Lift Motor onto the window regulator. Ensure the gear meshes correctly. Secure it with the provided mounting hardware.
- Collegare il cablaggio: Connect the direct-fit wiring harness of the new motor to the vehicle's electrical connector. Ensure a secure connection.

Figure 2: Close-up of the electrical connector on the Dorman 742-104 Window Lift Motor. This shows the direct-fit design for easy connection.
- Operazione di prova: Reconnect the vehicle's battery. Test the window's up and down operation to ensure the motor functions correctly and the window moves smoothly. If the window does not operate, recheck all connections.
- Rimontare: Once confirmed operational, reattach any plastic sheeting, sound deadening, and the interior door panel in reverse order of removal. Reconnect the battery if it was disconnected for testing.
Istruzioni per l'uso
The Dorman 742-104 Window Lift Motor operates as an integral part of your vehicle's power window system. Once installed, its operation is controlled by the vehicle's existing window switches. Simply use the window switches located on your door panel or center console to raise or lower the window. Ensure no obstructions are present in the window path during operation.
Manutenzione
The Dorman 742-104 Window Lift Motor is designed for long-term, maintenance-free operation. However, to ensure the longevity of your entire window system:
- Periodically inspect the window tracks for debris and clean them as necessary.
- Ensure the window glass moves freely within its channels. Lubricate rubber seals with a silicone-based lubricant if needed.
- Avoid forcing the window if it encounters an obstruction.
Risoluzione dei problemi
If you experience issues after installing your Dorman 742-104 Window Lift Motor, consider the following:
- Window Does Not Operate:
- Check all electrical connections to the motor and window switch.
- Verificare che la batteria del veicolo sia completamente carica e correttamente collegata.
- Inspect the fuse for the power window circuit in your vehicle's fuse box.
- Ensure the window switch itself is functioning correctly (test with another window if possible).
- Window Operates Slowly or Jerkily:
- Inspect the window tracks for dirt, debris, or worn seals that might be causing excessive friction. Clean and lubricate as needed.
- Check for any binding or misalignment of the window glass or regulator assembly.
- Rumori insoliti durante il funzionamento:
- This could indicate an issue with the window regulator mechanism rather than the motor itself. Inspect the regulator for bent or damaged components.
- Ensure all mounting bolts for the motor and regulator are securely tightened.
Se le procedure di risoluzione dei problemi non risolvono il problema, si consiglia di consultare un tecnico automobilistico qualificato.
Specifiche
| Marca: | Dorman |
| Modello: | 742-104 |
| Numero parte: | 742104 |
| Codice UPC: | 019495064596 |
| Produttore: | Prodotti Dorman |
| Garanzia: | Garanzia a vita limitata |
Garanzia e supporto
The Dorman 742-104 Window Lift Motor is backed by a Garanzia a vita limitata, reflecting Dorman's commitment to quality and durability. For detailed warranty information, claims, or technical support, please visit the official Dorman website or contact Dorman customer service directly. Keep your purchase receipt as proof of purchase for warranty purposes.
Dorman Customer Service: Refer to the Dorman websito o sulla confezione del prodotto per le informazioni di contatto più aggiornate.