1. Introduzione
This manual provides detailed instructions for the installation, operation, and maintenance of the Lutron MA-ALFQ35 Maestro Companion Fan and Light Control. This device is designed to work in conjunction with a compatible Lutron Maestro Multi-Location Fan and Light Control (MA-LFQ3 or MA-LFQM) to provide multi-location control of your ceiling fan speed and light levels.
2. Informazioni importanti sulla sicurezza
AVVERTENZA: Rischio di scossa elettrica.
- Prima di installare o effettuare la manutenzione di questo dispositivo, disattivare sempre l'alimentazione tramite l'interruttore automatico o la scatola dei fusibili.
- Do not use this device with any fan or light control other than specified Lutron Maestro models.
- Installation must be performed by a qualified electrician or in accordance with all local and national electrical codes.
- Non superare il limite massimo di wattage ratings for connected loads.
- Questo prodotto è destinato esclusivamente all'uso in ambienti interni.
3. Prodotto finitoview
The Lutron MA-ALFQ35 is a companion control unit that extends the functionality of a primary Maestro Multi-Location Fan and Light Control. It allows you to adjust both the fan speed and light intensity from additional locations within a room or area. This unit does not function independently and must be paired with a compatible Maestro master control.
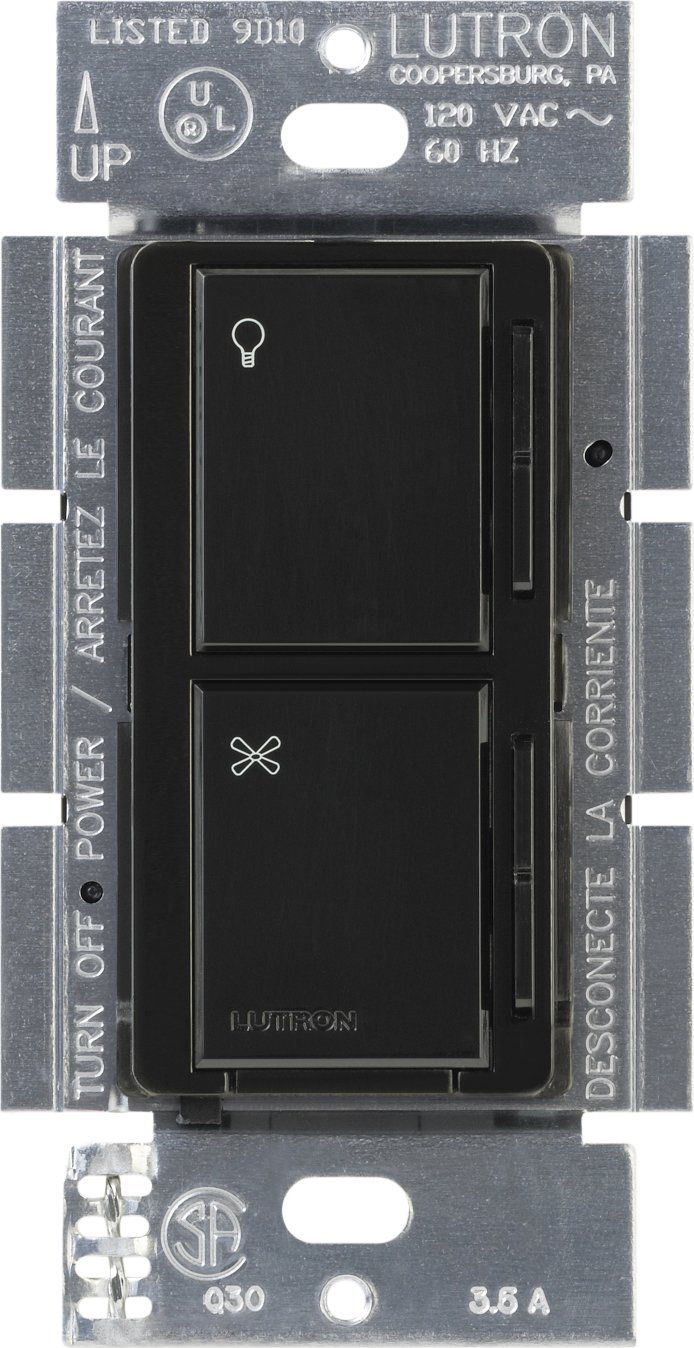
Immagine 1: anteriore view of the Lutron MA-ALFQ35 Maestro Companion Fan and Light Control. This black wall-mounted unit features separate touch controls for light (top) and fan (bottom), with a small Lutron logo at the base.
Le caratteristiche principali includono:
- Multi-location control for fan speed and light level.
- Adjusts fan speed and light level from up to three locations (when used with additional companion controls).
- Sets and recalls 7 distinct light levels and fan speeds.
- Touch control method for intuitive adjustments.
4. Compatibilità
This companion control unit is designed to operate exclusively with specific Lutron Maestro Multi-Location Fan and Light Controls. It is not a standalone device and will not function without a compatible master unit.
Compatible Master Control Models:
- Lutron MA-LFQ3
- Lutron MA-LFQM
Ensure you have one of these master units installed before attempting to install the MA-ALFQ35 companion control.
5. Installazione (configurazione)
Installation of the MA-ALFQ35 companion control requires basic electrical wiring knowledge. If you are unsure about any steps, consult a qualified electrician.
5.1 Prima di iniziare
- Spegnimento dell'alimentazione: Locate the circuit breaker or fuse box that controls the power to the fan and light fixture. Turn off the power completely to prevent electric shock. Verify power is off using a voltagetester.
- Identificare il cablaggio: Carefully remove the existing wall plate and switch. Identify the wiring in the wall box. This companion control typically requires a neutral wire, a hot wire, and a traveler wire connected to the master control. Refer to the wiring diagram provided with your maestro Maestro Multi-Location Fan and Light Control for specific connections.
- Preparare i cavi: Strip insulation from wires if necessary, ensuring approximately 1/2 inch (12 mm) of bare wire is exposed.
5.2 Wiring the Companion Control
The MA-ALFQ35 companion control connects to the master control unit via traveler wires. The exact wiring configuration will depend on your specific setup (e.g., 3-way or 4-way control). Always follow the wiring instructions provided with the maestro Lutron Maestro Multi-Location Fan and Light Control (MA-LFQ3 or MA-LFQM).
- Connect the appropriate wires from the wall box to the terminals on the MA-ALFQ35.
- Assicurarsi che tutti i collegamenti dei cavi siano sicuri.
5.3 Montaggio e finitura
- Montare il controllo: Carefully push the wired MA-ALFQ35 into the wall box. Secure it with the provided mounting screws.
- Installare la piastra a muro: Attach a coordinating Claro wallplate (sold separately) over the companion control.
- Ripristina alimentazione: Riattivare l'alimentazione tramite l'interruttore automatico o la scatola dei fusibili.
- Funzionalità di prova: Test both the fan and light controls from all locations to ensure proper operation.
6. Funzionamento
The Lutron MA-ALFQ35 companion control provides intuitive touch-based operation for your ceiling fan and lights.
6.1 Controllo della luce
- Attiva/disattiva: Tap the top section of the control (light icon) to turn the lights on or off.
- Regola luminosità: Press and hold the top section to dim or brighten the lights. Release when the desired brightness is reached. The control supports 7 distinct light levels.
- Richiama preset: A quick tap will often recall the last set brightness level.
6.2 controllo della velocità della ventola
- Attiva/disattiva: Tap the bottom section of the control (fan icon) to turn the fan on or off.
- Regola la velocità: Press and hold the bottom section to increase or decrease the fan speed. Release when the desired speed is reached. The control supports 7 distinct fan speeds.
- Richiama preset: A quick tap will often recall the last set fan speed.
7. Manutenzione
The Lutron MA-ALFQ35 requires minimal maintenance.
- Pulizia: To clean the surface of the control, wipe with a soft, damp panno. Non utilizzare detergenti abrasivi, solventi o spray chimici, poiché potrebbero danneggiare la finitura o i componenti interni.
- Nessuna parte riparabile dall'utente: There are no user-serviceable parts inside this unit. Do not attempt to open or repair the control.
8. Risoluzione Dei Problemi
If your Lutron MA-ALFQ35 companion control is not functioning as expected, consider the following:
- Nessun potere: Ensure the circuit breaker or fuse supplying power to the fan and light circuit is in the ON position.
- Non risponde: Verify that the master Maestro Multi-Location Fan and Light Control (MA-LFQ3 or MA-LFQM) is properly installed and functioning. The companion unit relies on the master unit for operation.
- Cablaggio errato: Double-check all wiring connections, especially the traveler wires between the companion and master units. Refer to the master unit's installation guide for correct wiring diagrams. Ensure all connections are secure.
- Incompatible Master Unit: Confirm that the master control unit is one of the specified compatible Lutron Maestro models (MA-LFQ3 or MA-LFQM). This companion control will not work with other types of fan or light controls.
- Collegamenti allentati: Turn off power at the breaker and re-check all wire connections in the wall box for tightness.
If problems persist after checking these points, contact Lutron customer support or a qualified electrician.
9. Specifiche
| Modello | MA-ALFQ35-BL |
| Marca | Lutron |
| Modalità di funzionamento | ACCESO SPENTO |
| Metodo di controllo | Tocco |
| Numero di posizioni | 7 (for both fan speed and light level) |
| Cosatage | 300 Watts (when used with compatible master) |
| Dispositivi compatibili | MA-LFQ3, MA-LFQM |
| Tipo di montaggio | Montaggio a spina |
| Peso dell'articolo | 0.3 libbre |
| Colore | Nero |
10. Garanzia e supporto
10.1 Informazioni sulla garanzia
The Lutron MA-ALFQ35 Maestro Companion Fan and Light Control comes with a Garanzia limitata di 1 anno on materials and manufacture. Please retain your proof of purchase for warranty claims. This warranty covers defects in materials and workmanship under normal use.
10.2 Assistenza clienti
For technical assistance, troubleshooting beyond this manual, or warranty inquiries, please contact Lutron customer support. Visit the official Lutron websito per informazioni di contatto e risorse aggiuntive.