1. Introduzione
This manual provides essential instructions for the safe and efficient assembly, setup, and maintenance of your Sealey SM3002ST Lathe Stand. This stand is designed to provide stable support for Sealey metalworking lathes and mill/drills, specifically models SM3002, SM2502, and SM2503. Please read this manual thoroughly before assembly and use, and retain it for future reference.
2. Istruzioni di sicurezza
Osservare sempre le seguenti precauzioni di sicurezza per evitare lesioni personali e danni all'apparecchiatura.
- Leggi tutte le istruzioni: Familiarize yourself with the stand's components and assembly steps before beginning.
- Superficie stabile: Ensure the stand is assembled and placed on a level, stable, and non-slip surface capable of supporting the combined weight of the stand and the machine mounted on it.
- Assemblaggio corretto: Assemble the stand strictly according to the instructions provided. Do not modify the stand in any way.
- Montaggio sicuro: Always ensure the lathe or mill/drill is securely fastened to the stand using appropriate hardware.
- Capacità di peso: Do not exceed the recommended weight capacity of the stand. Refer to the specifications section.
- Area di lavoro libera: Keep the area around the stand clear of obstructions and debris.
- Bambini e astanti: Tenere i bambini e le persone non autorizzate lontano dall'area di lavoro.
3. Contenuto della confezione
Carefully unpack all components and check against the list below. If any parts are missing or damaged, contact your supplier immediately.
- Sealey SM3002ST Lathe Stand components (legs, cross-members, sliding tool shelf, hardware)
Image 3.1: Sealey SM3002ST Lathe Stand
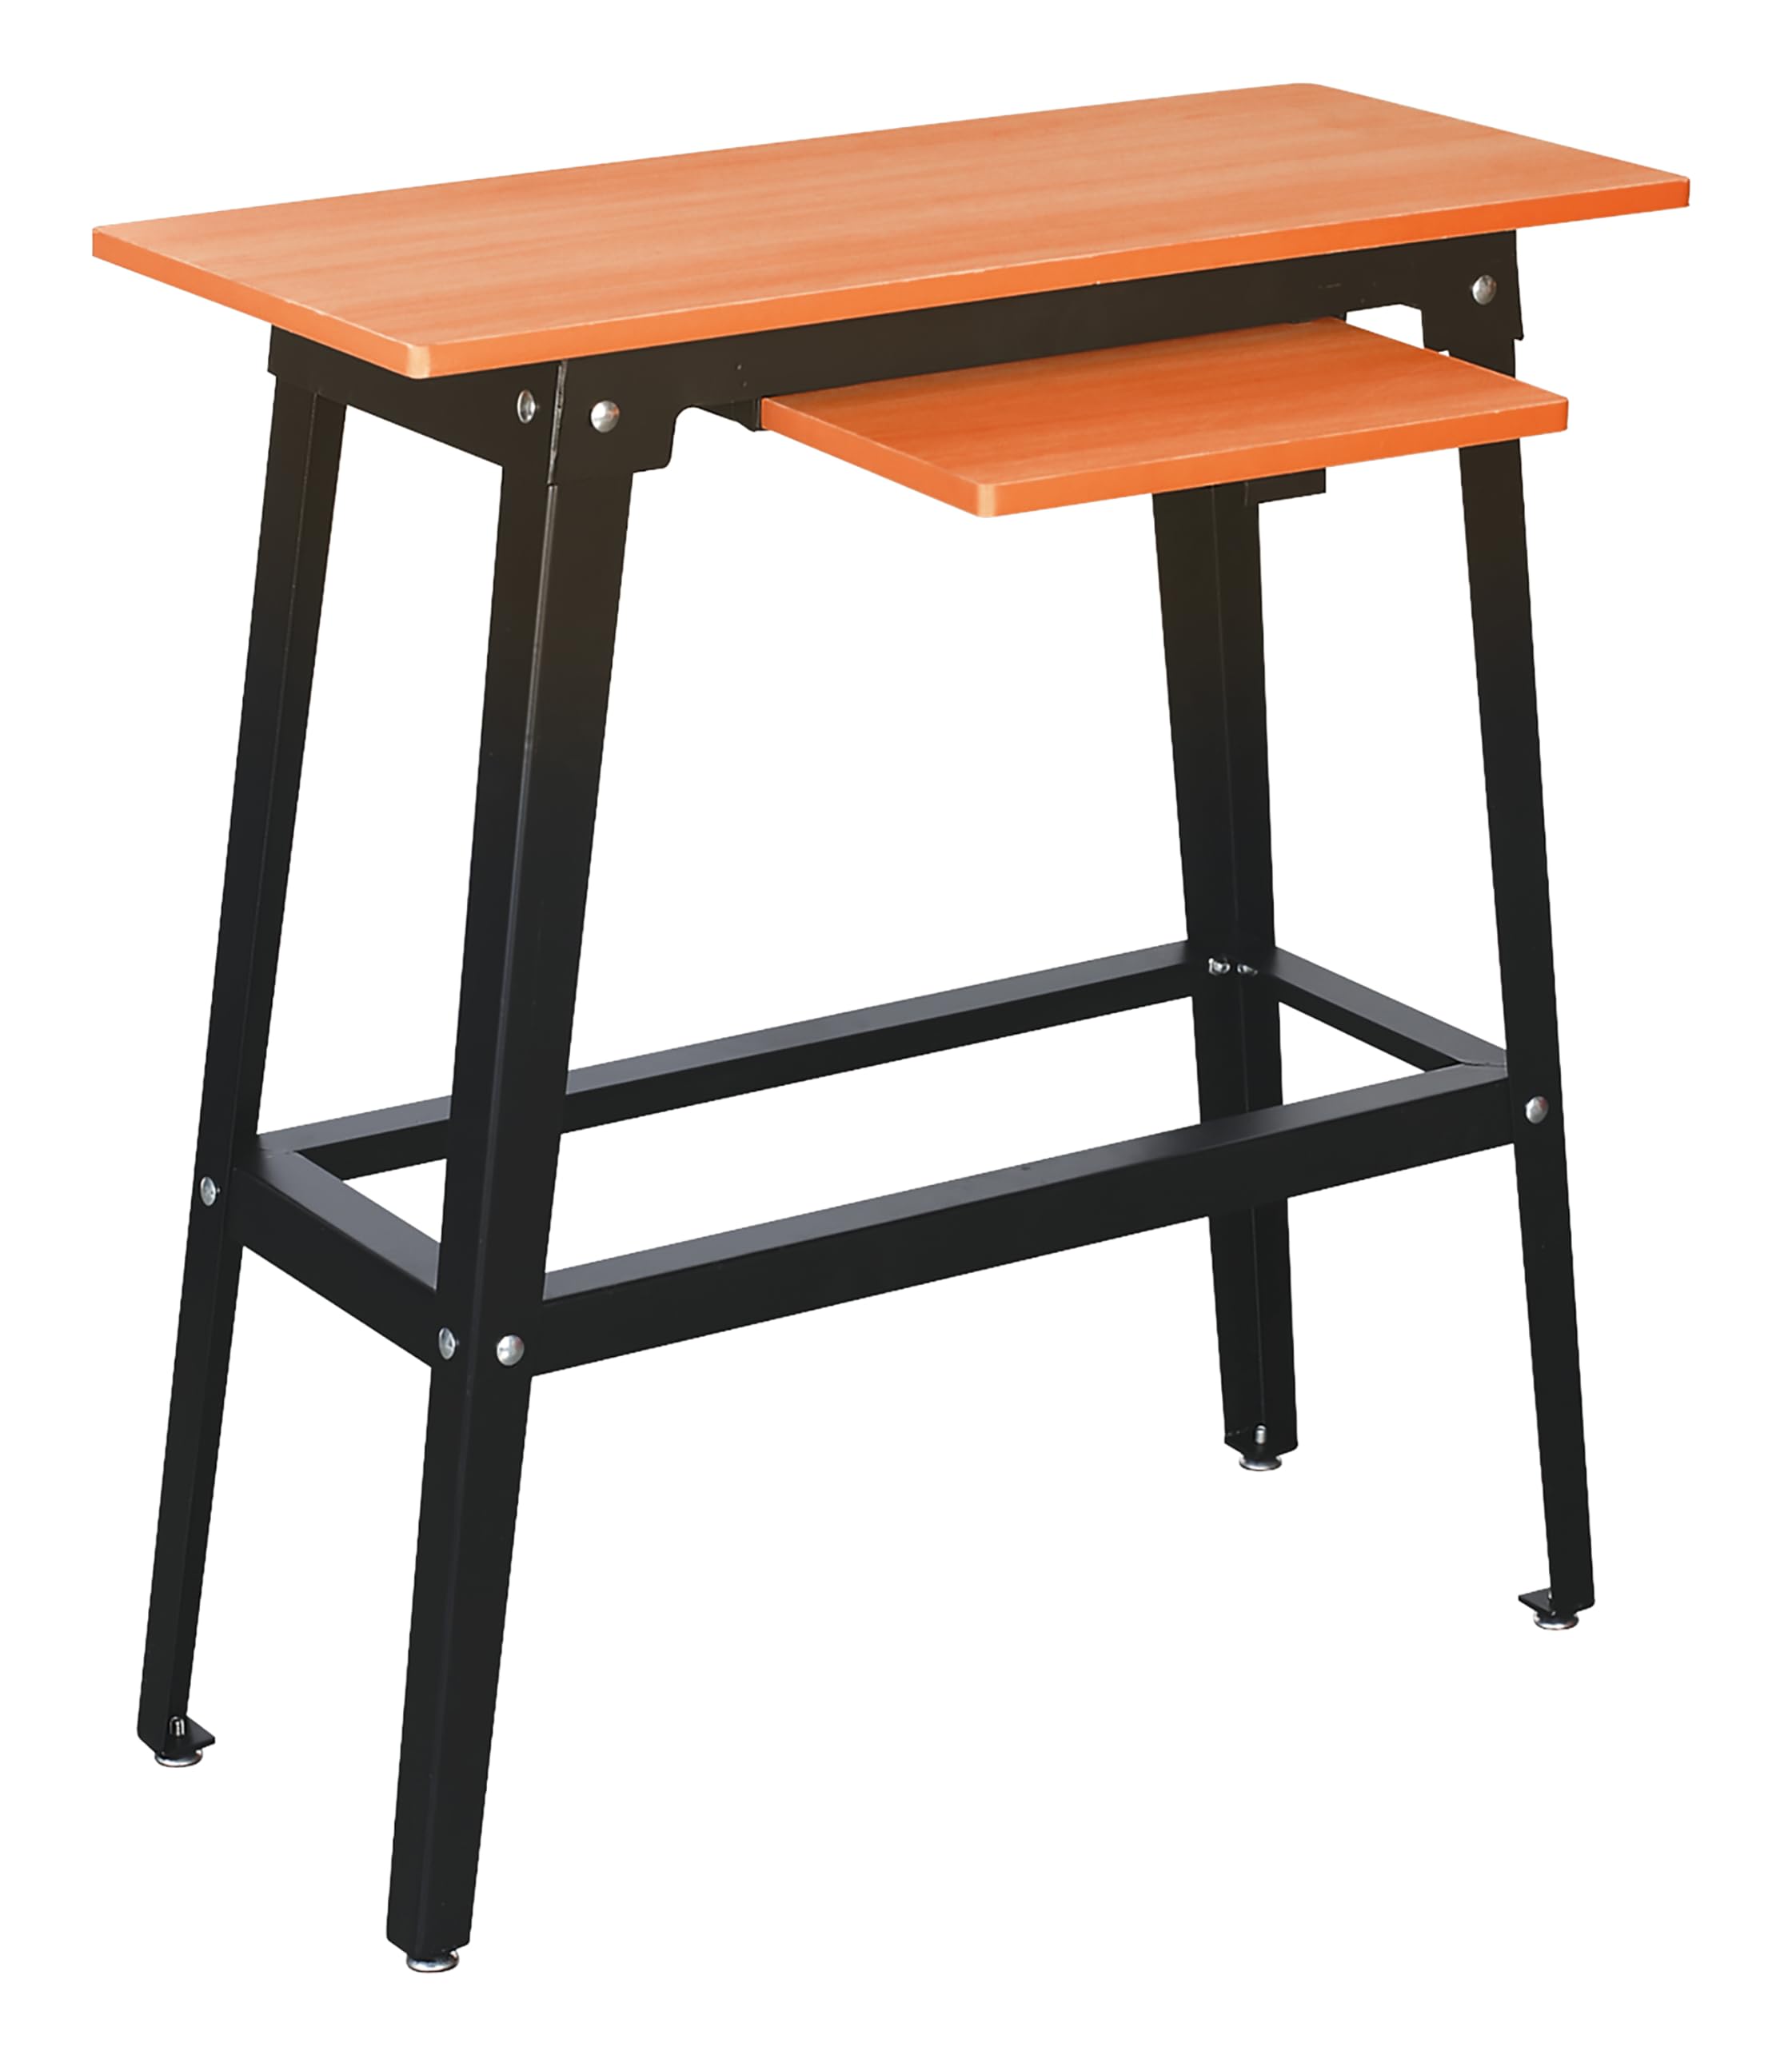
Un assemblato view of the Sealey SM3002ST Lathe Stand, showing its robust construction and design.
4. Assemblaggio
Follow these steps to assemble your Sealey SM3002ST Lathe Stand.
4.1. Strumenti richiesti
- Set di chiavi o bussole regolabili
- Screwdriver (if applicable for shelf attachment)
4.2. Fasi di assemblaggio
- Identify all components: legs, cross-members, sliding tool shelf, and all fasteners (bolts, nuts, washers).
- Attach the lower cross-members to the legs. Ensure all bolts are finger-tight at this stage.
- Attach the upper cross-members to the legs. Again, keep bolts finger-tight.
- Once all structural components are in place, carefully stand the frame upright.
- Diagonally tighten all bolts securely. Do not overtighten.
- Install the sliding tool shelf onto its designated runners or brackets. Ensure it slides smoothly.
- Verify that the stand is stable and all connections are secure before proceeding to setup.
5. Impostazione
Proper placement and securing of your machine are crucial for safe operation.
5.1. Stand Placement
- Choose a location with adequate space around the stand for safe operation of the lathe or mill/drill.
- Ensure the floor is level and capable of supporting the total weight.
- If necessary, use shims to level the stand.
5.2. Attaching the Lathe/Mill/Drill
- Carefully lift your Sealey SM3002, SM2502, or SM2503 machine onto the top surface of the stand. It is recommended to have assistance for this step due to the weight of the machines.
- Align the mounting holes on the machine with the corresponding holes on the stand's top plate.
- Secure the machine to the stand using appropriate bolts, washers, and nuts (not supplied with the stand, typically provided with the machine). Ensure all fasteners are tightened securely to prevent movement during operation.
6. Operativo
The SM3002ST stand provides a stable base and convenient storage for your metalworking machine.
6.1. Sliding Tool Shelf
- The integrated sliding tool shelf offers convenient storage for tools, accessories, and small parts within easy reach during operation.
- Ensure that items placed on the shelf do not interfere with the operation of the machine or create a hazard.
- Non sovraccaricare lo scaffale.
7. Manutenzione
Regular maintenance will ensure the longevity and safe operation of your stand.
- Pulizia: Wipe down the stand regularly with a clean, damp panno per rimuovere polvere e detriti. Evitare detergenti abrasivi.
- Ispezione: Periodically check all bolts and fasteners for tightness. Retighten as necessary.
- Controllo di stabilità: Ensure the stand remains stable and level. Adjust shims if required.
- Danno: Inspect the stand for any signs of damage, such as bent components or cracks. If damage is found, discontinue use and replace affected parts or the entire stand if necessary.
8. Risoluzione Dei Problemi
This section addresses common issues you might encounter with the stand.
- Oscillazioni del supporto:
- Check if the stand is on a level surface. Use shims if needed.
- Assicurarsi che tutti i bulloni di montaggio siano serrati saldamente.
- Machine Not Secure:
- Verify that the machine's mounting bolts are correctly installed and fully tightened.
- Ensure the machine is compatible with the stand (SM3002, SM2502, SM2503).
- Sliding Shelf Sticking:
- Clean the shelf runners to remove any debris or dust.
- Apply a small amount of dry lubricant if necessary.
9. Specifiche
| Caratteristica | Dettaglio |
|---|---|
| Numero di modello | SM3002ST |
| Compatibilità | Sealey SM3002, SM2502, SM2503 Lathes/Mill/Drills |
| Dimensioni complessive (L x P x A) | 800 x 355 x 880 mm (circa 31.5 x 14 x 34.6 pollici) |
| Peso dell'articolo | 4.41 lbs (2 kg approx.) |
| Componenti inclusi | Lathe Stand (assembly required) |
10. Garanzia e supporto
This Sealey product comes with a 1-year guarantee. For specific terms and conditions, please refer to the official Sealey warranty documentation or contact Sealey customer support.
Image 10.1: Sealey 1 Year Guarantee

The Sealey brand logo accompanied by a '1 Year Guarantee' badge, indicating the product's warranty period.
For technical support, spare parts, or warranty claims, please contact your authorized Sealey dealer or visit the official Sealey websito.