Introduzione
Welcome to the user manual for your SINGER 3116 Simple 18 Stitch Sewing Machine. This machine is designed for ease of use, making it ideal for new sewers while offering features that enhance your sewing experience. It includes 18 built-in stitches, an automatic needle threader, and a fully automatic one-step buttonhole. Please read this manual thoroughly before operating your machine to ensure safe and efficient use.
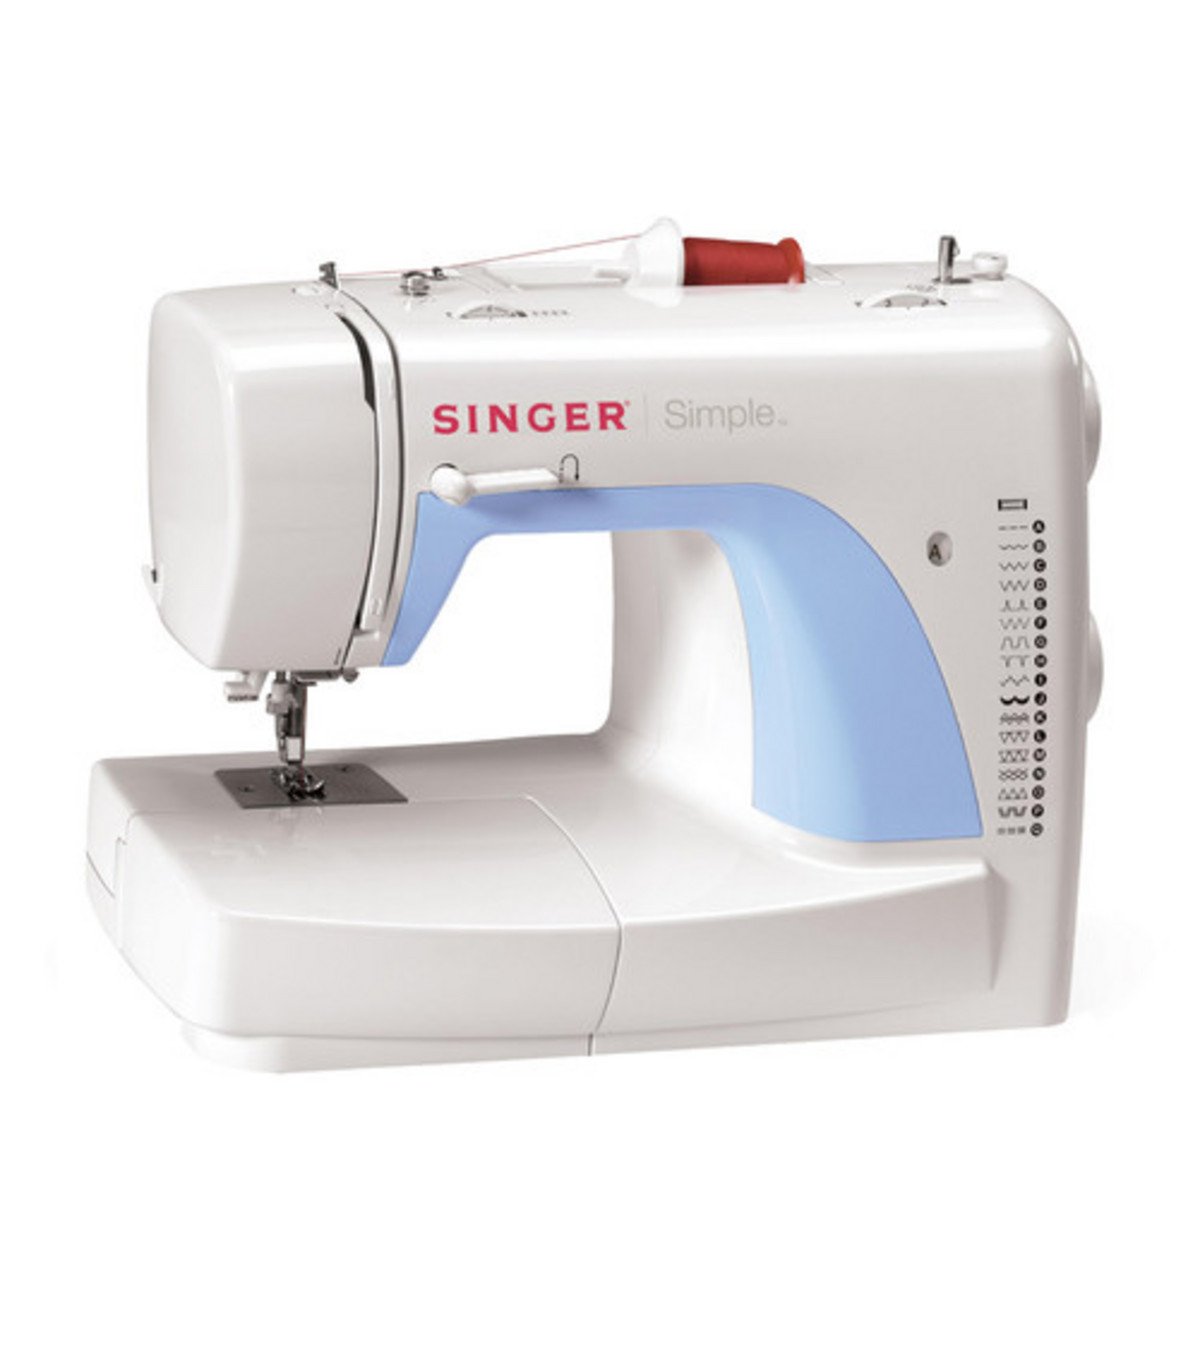
Figura 1: SINGER 3116 Simple 18 Stitch Sewing Machine. This image displays the front view of the sewing machine, highlighting its compact design and stitch selection dial.
Impostare
1. Disimballaggio e posizionamento
Carefully remove the machine from its packaging. Place the machine on a stable, flat surface. Ensure there is adequate lighting and space for your sewing projects.
2. Collegamento elettrico
- Insert the machine plug into the machine's power socket.
- Collegare il cavo di alimentazione a una presa elettrica idonea.
- The machine is designed for corded electric operation.
3. Avvolgimento della bobina
- Posizionare un rocchetto di filo sul portarocchetto.
- Far passare il filo attraverso la guida del filo superiore e attorno al disco di tensione dell'avvolgimento della bobina.
- Place an empty Class 15 bobbin onto the bobbin winder spindle.
- Avvolgere manualmente il filo attorno alla bobina per alcuni giri.
- Spingere l'alberino avvolgitore della bobina verso destra.
- Press the foot controller gently to start winding. The machine will stop automatically when the bobbin is full.
- Cut the thread and return the bobbin winder spindle to the left.
4. Inserimento della bobina
- Aprire la piastra di copertura della bobina.
- Inserire la bobina avvolta nella capsula, assicurandosi che il filo si svolga nella direzione corretta (solitamente in senso antiorario).
- Far passare il filo attraverso la molla di tensione e nel guidafilo.
- Chiudere la piastra di copertura della bobina.
5. Infilatura del filo superiore
- Sollevare l'ago nella posizione più alta utilizzando il volantino.
- Posizionare un rocchetto di filo sul portarocchetto.
- Far passare il filo attraverso il guidafilo superiore.
- Bring the thread down through the right threading channel.
- Loop the thread up through the left threading channel and over the take-up lever.
- Far passare il filo attraverso la guida del filo della barra dell'ago.
- Use the automatic needle threader (refer to the "Automatic Needle Threader" section for detailed instructions) or manually thread the needle from front to back.
- Tirare circa 6 cm di filo attraverso la cruna dell'ago.
Istruzioni per l'uso
1. Selezione del punto
Turn the stitch selector dial to choose one of the 18 built-in stitches. The machine offers basic, stretch, and decorative stitches. Refer to the stitch chart on the machine for visual guidance.
2. Cucito di base
- Posiziona il tessuto sotto il piedino.
- Abbassare la leva del piedino premistoffa.
- Premere delicatamente il pedale reostato per iniziare a cucire. La velocità di cucitura è controllata dalla pressione esercitata sul pedale reostato.
- To reverse stitch, press and hold the reverse lever/button.
- When finished, raise the needle to its highest position, lift the presser foot, and remove the fabric. Cut the threads using the thread cutter.
3. Infila ago automatico
The automatic needle threader simplifies threading the needle. Ensure the needle is in its highest position. Lower the threader mechanism, hook the thread, and release. The thread will be pulled through the needle eye.
4. One-Step Buttonhole
- Attach the one-step buttonhole foot.
- Posizionare il bottone che si intende utilizzare nel supporto del piedino per asole.
- Selezionare il punto asola sul quadrante.
- Lower the presser foot and begin sewing. The machine will automatically sew the buttonhole to the correct size.
Manutenzione
1. Pulizia della macchina
- Scollegare sempre la macchina prima della pulizia.
- Rimuovere la placca ago e la capsula della bobina.
- Use the small brush provided (or a soft brush) to remove lint and dust from the feed dogs and bobbin area.
- Pulire l'esterno della macchina con un panno morbido e asciutto. Non utilizzare detergenti liquidi.
2. Sostituzione dell'ago
- Replace the needle regularly, especially if it becomes bent, dull, or if you notice skipped stitches.
- Allentare l'ago clamp screw, remove the old needle, and insert a new one with the flat side facing the back of the machine.
- Stringere l'ago clamp avvitare saldamente.
Risoluzione dei problemi
| Problema | Possibile causa | Soluzione |
|---|---|---|
| Macchina che non si avvia | Power cord not connected; machine switched off. | Ensure power cord is securely plugged in; turn on the power switch. |
| Punti saltati | Incorrect needle; bent needle; improper threading. | Replace needle with the correct type and size; re-thread the machine correctly. |
| Rottura del filo | Improper threading; tension too tight; poor quality thread; bent needle. | Re-thread machine; adjust tension; use good quality thread; replace needle. |
| Tessuto non alimentato | Feed dogs lowered; lint accumulation. | Raise feed dogs; clean feed dog area. |
| Looped stitches (bottom) | Upper thread not correctly threaded through tension discs. | Re-thread the upper thread, ensuring it is seated correctly in the tension discs with the presser foot raised. |
Specifiche
- Modello: SINGER 3116CL Simple
- Numero di punti: 18 Built-in Stitches (Basic, Stretch, Decorative)
- Tipo di asola: 1-Step (Unistyle)
- Bobbin Class: 15
- Thread Delivery: Orizzontale
- Pressione regolabile: SÌ
- Conservazione degli accessori: Incorporato
- Dimensioni del prodotto: 18.2 x 10.5 x 13.8 pollici
- Peso dell'articolo: 3 libbre
- Fonte di energia: Elettrico con cavo
- Materiale: Plastica
- Colore: Bianco
- Codice UPC: 037431881069
Garanzia e supporto
For specific warranty information, please refer to the warranty card included with your product or visit the official SINGER website. For technical support, replacement parts, or service inquiries, please contact SINGER customer service. Keep your purchase receipt as proof of purchase for warranty claims.
Produttore: Cantante