
1. Prodotto finitoview
This 3-piece replacement set is designed for use with SWIMLINE HYDROTOOLS chlorinators. It includes a top lid, a locking collar, and an O-ring, essential components for maintaining a secure and leak-free seal on your chlorinator. Regular replacement of these parts ensures efficient and safe operation of your pool's chemical dispensing system.
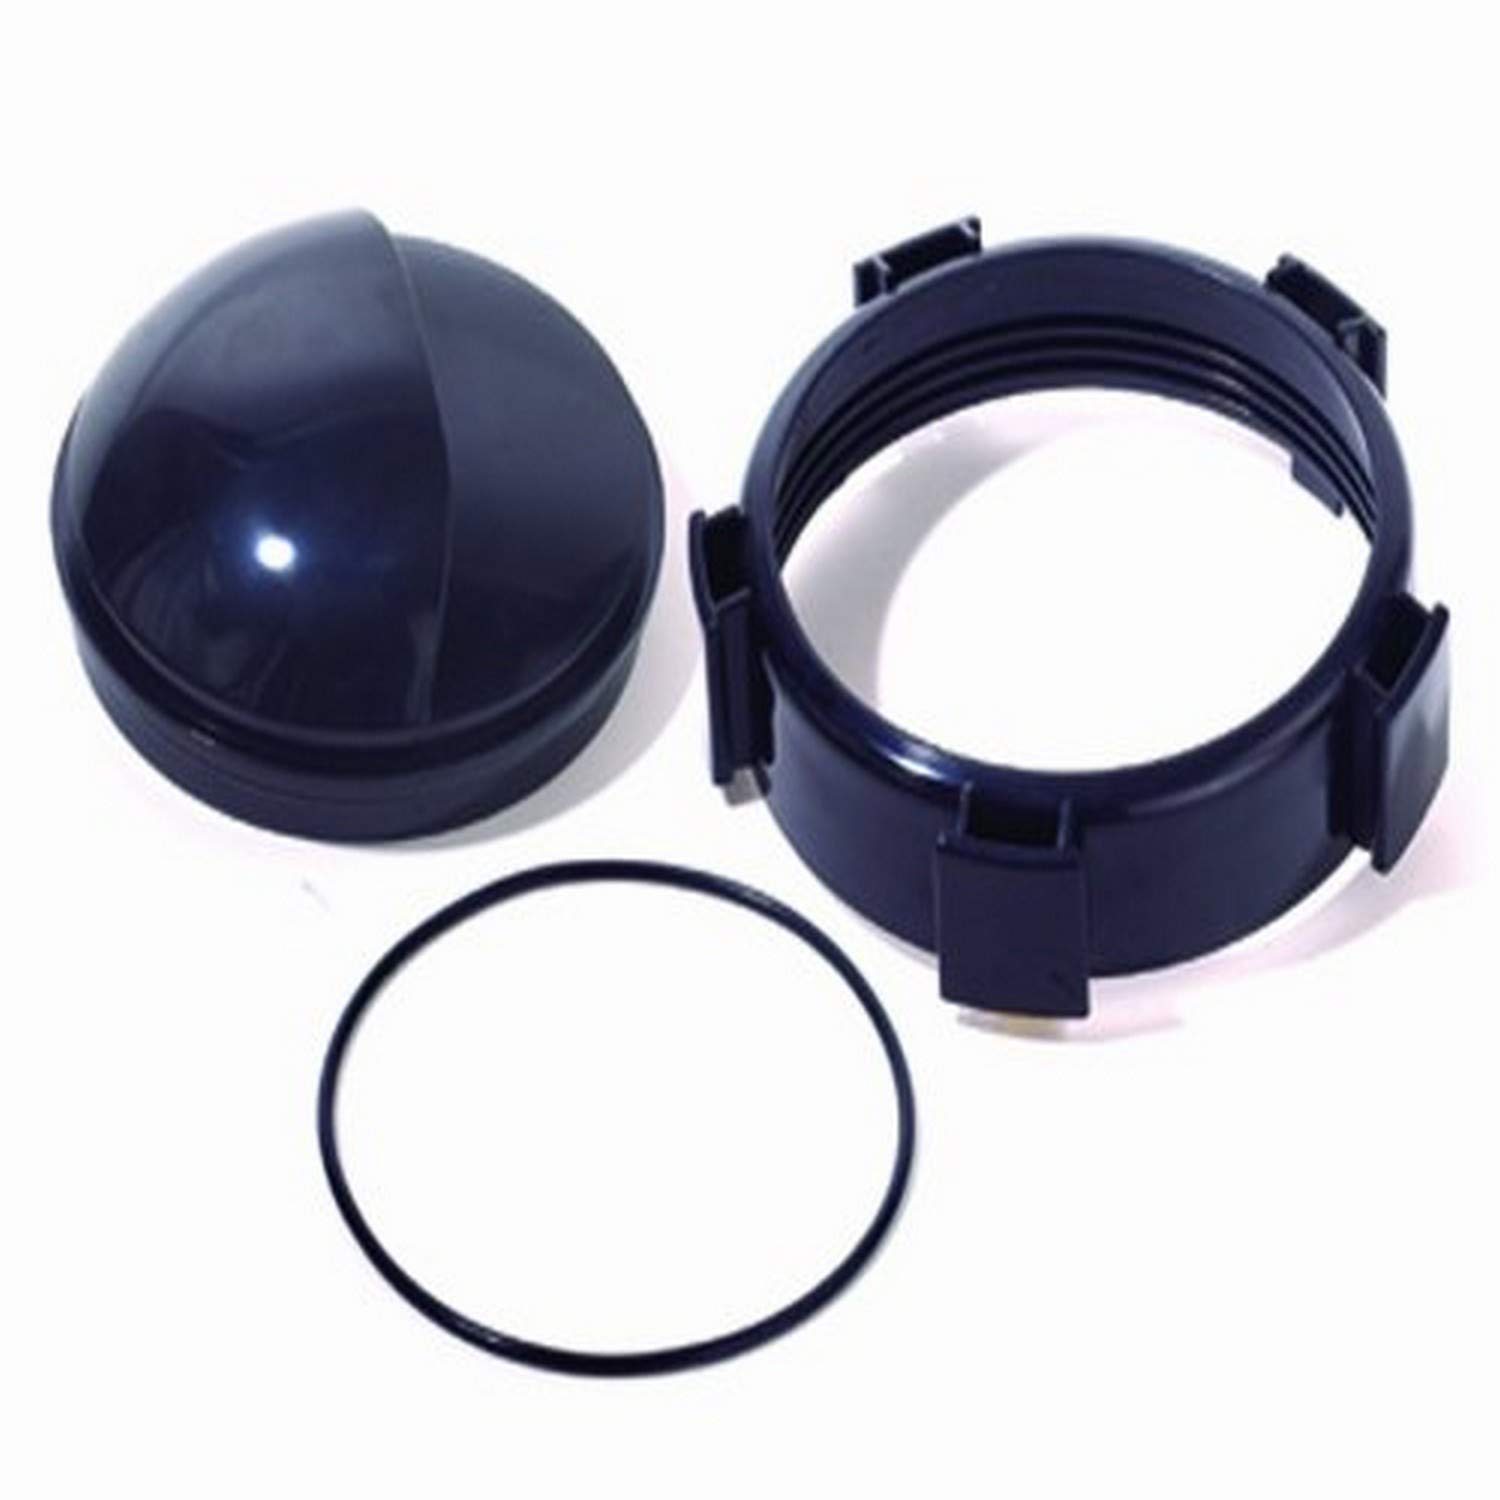
Immagine 1.1: The SWIMLINE HYDROTOOLS Chlorinator Top Lid and Locking Collar 3-Piece Replacement Set. This image displays the three components: the circular top lid, the threaded locking collar, and the rubber O-ring, all designed to fit together for a secure seal on a pool chlorinator.
2. Informazioni sulla sicurezza
- Always turn off the pool pump and close any relevant valves before servicing the chlorinator.
- Wear appropriate personal protective equipment, such as gloves and eye protection, when handling pool chemicals or chlorinator components.
- Ensure the chlorinator is depressurized before attempting to open the lid.
- Keep all pool chemicals and chlorinator parts out of reach of children and pets.
3. Contenuto della confezione
Verificare che tutti i componenti siano presenti e integri prima di procedere con l'installazione:
- 1 x Chlorinator Top Lid
- 1 x Locking Collar (threaded ring)
- 1 x O-ring (rubber gasket)
4. Istruzioni per l'installazione
Follow these steps to replace the chlorinator top lid and locking collar:
- Prepare the Chlorinator: Turn off the pool pump and close any valves leading to and from the chlorinator. Allow any pressure to dissipate.
- Rimuovere i vecchi componenti: Unscrew the existing locking collar counter-clockwise. Carefully lift off the old top lid and remove the old O-ring from its groove.
- Clean the Sealing Surface: Thoroughly clean the O-ring groove and the sealing surface on the chlorinator body. Remove any debris, chemical residue, or old lubricant.
- Installare il nuovo O-ring: Lightly lubricate the new O-ring with a silicone-based lubricant specifically designed for pool equipment. Place the O-ring into the clean groove on the chlorinator body, ensuring it is seated evenly and without twists.
- Place New Top Lid: Position the new top lid onto the chlorinator body, aligning it correctly.
- Install New Locking Collar: Place the new locking collar over the top lid and carefully thread it onto the chlorinator body. Turn clockwise until hand-tight. Non stringere eccessivamente, as this can damage the collar or lid. The O-ring should create a snug seal.
- Controllare eventuali perdite: Slowly reopen the valves and restart the pool pump. Observe the chlorinator for any signs of leaks around the lid and collar. If leaks occur, turn off the pump, depressurize, and re-tighten the collar slightly, or re-seat the O-ring.
5. Funzionamento
Once the replacement parts are installed and confirmed to be leak-free, the chlorinator will operate as designed. The primary function of these components is to securely contain the chlorine tablets and maintain the pressure within the chlorinator, allowing for controlled chemical dispensing into your pool water. Ensure the lid is always securely fastened before operating the pool pump.
6. Manutenzione
- Ispezione regolare: Periodically inspect the top lid, locking collar, and O-ring for signs of wear, cracks, or chemical degradation. Chlorine can be corrosive over time.
- Lubrificazione dell'O-ring: Re-lubricate the O-ring with a silicone-based lubricant at least once per season, or more frequently if the lid becomes difficult to open or close. This helps maintain the seal and prolong O-ring life.
- Pulizia: Keep the O-ring groove and sealing surfaces clean from debris and chemical buildup.
- Sostituzione: Replace the O-ring, lid, or collar if any damage or persistent leaks are observed. The lifespan of these components can vary depending on chemical exposure and environmental conditions.
7. Risoluzione Dei Problemi
Issue: Water Leakage from Chlorinator Lid
- Causa: O-ring improperly seated or damaged.
- Soluzione: Turn off pump and depressurize. Remove the lid and inspect the O-ring. Ensure it is clean, free of twists, and properly seated in its groove. Lubricate the O-ring. If the O-ring is cracked, stretched, or brittle, replace it.
- Causa: Locking collar not tightened sufficiently.
- Soluzione: Turn off pump and depressurize. Hand-tighten the locking collar firmly. Avoid overtightening.
- Causa: Lid or collar is cracked or damaged.
- Soluzione: Inspect the lid and collar for any visible cracks or damage. If found, replace the affected component(s).
Issue: Difficulty Opening or Closing Lid
- Causa: L'O-ring è asciutto o gonfio.
- Soluzione: Turn off pump and depressurize. Remove the lid and inspect the O-ring. Lubricate the O-ring with silicone lubricant. If the O-ring appears swollen or significantly deformed, it may need replacement.
- Causa: Threads on collar or chlorinator body are dirty or damaged.
- Soluzione: Clean the threads on both the locking collar and the chlorinator body. Check for any physical damage to the threads.
8. Specifiche
| Specificazione | Dettaglio |
|---|---|
| Numero di modello | 8752 |
| Marca | Linea di nuoto |
| Materiale | Other (Durable Plastic) |
| Peso dell'articolo | 0.01 Milligrams (approximate, for components) |
| Dimensioni del prodotto | 7.1 x 7 x 2.6 pollici (imballaggio/in generale) |
| Codice UPC | 723815087522 |
9. Garanzia e supporto
For warranty information or technical support regarding your SWIMLINE HYDROTOOLS Chlorinator Top Lid and Locking Collar 3-Piece Replacement Set, please contact Swimline customer service directly. Refer to the original chlorinator manual or the Swimline websito per i contatti.