1. Prodotto finitoview
The Renkforce 751560 Dual Motion Sensor is a passive infrared (PIR) detector designed for reliable motion detection in various environments. It features a dual sensor for enhanced accuracy and reduced false alarms, making it suitable for security and surveillance applications in private, commercial, and industrial settings. The sensor offers selectable Normally Open (NO) and Normally Closed (NC) operation, allowing integration with different alarm systems or for controlling lighting, such as staircase lights. It also includes an anti-tamper mechanism for added security.

Figura 1: Davanti view of the Renkforce 751560 Dual Motion Sensor. This image shows the white rectangular housing with the curved detection lens at the top and the Renkforce logo at the bottom.
2. Istruzioni di sicurezza
- Leggere attentamente questo manuale prima dell'installazione e del funzionamento.
- L'installazione e il cablaggio devono essere eseguiti solo da personale qualificato.
- Prima di qualsiasi intervento di installazione o manutenzione, assicurarsi che l'alimentazione elettrica sia scollegata.
- Non esporre il dispositivo a temperature estreme, umidità o luce solare diretta.
- Avoid mounting the sensor near heat sources or objects that may cause rapid temperature changes, as this can lead to false alarms.
- Do not paint or cover the sensor lens, as this will impair its functionality.
- Questo dispositivo è progettato esclusivamente per l'uso in ambienti interni.
3. Configurazione e installazione
3.1. Contenuto della confezione
- Renkforce 751560 Motion Detector
- Materiale di montaggio (viti, tasselli)
- Manuale d'uso
3.2. Posizione di montaggio
Choose a suitable location for the motion sensor, typically in a corner or on a wall, where it can cover the desired detection area without obstruction. Avoid aiming the sensor directly at windows, heating vents, or areas with significant air currents.
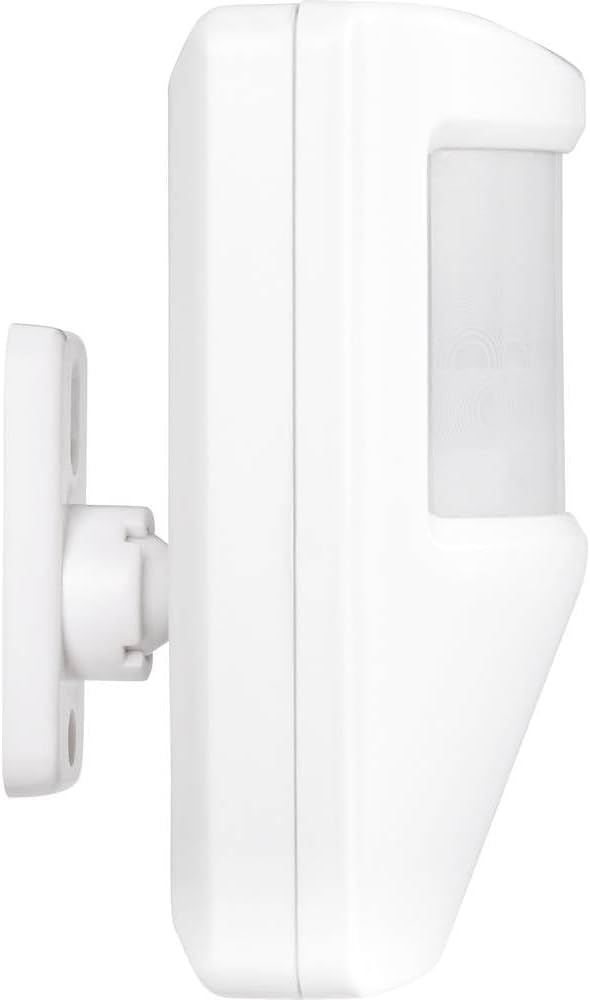
Figura 2: Lato view of the sensor showing the detachable wall mounting bracket. This bracket allows for easy installation and adjustment.
3.3. Fasi di installazione
- Preparare la superficie di montaggio: Mark the drilling points for the mounting bracket on the wall.
- Fori di perforazione: Drill holes at the marked positions and insert the wall plugs (if necessary).
- Fissare la staffa di montaggio: Fissare la staffa di montaggio alla parete utilizzando le viti fornite.
- Collegare il cablaggio: Open the sensor housing carefully. Connect the power supply (12V DC) and alarm output wires to the designated terminals inside the sensor. Ensure correct polarity.
- Set NO/NC Mode: Configure the sensor's output mode (Normally Open or Normally Closed) according to your alarm system's requirements using the internal jumper or switch.
- Attach Sensor to Bracket: Mount the sensor unit onto the attached bracket. Ensure it clicks securely into place.
- Regola l'angolo di rilevamento: Adjust the sensor's angle to cover the desired detection area.

Figura 3: Dettagliato view of the mounting bracket, showing the screw holes and the swivel mechanism for angle adjustment.
4. Istruzioni per l'uso
4.1. Accensione
Once installed and wired, apply 12V DC power to the sensor. The sensor will typically undergo a brief initialization period (e.g., 30-60 seconds) during which its LED indicator may flash. Avoid movement in the detection area during this time.
4.2. Detection and Alarm Output
The dual PIR sensor detects infrared radiation changes caused by moving objects within its 12-meter range. Upon detection, the sensor's alarm output will change state (either open or closed, depending on your NO/NC setting) to trigger the connected alarm system or device.
4.3. Anti-Tampquesta funzione
The sensor is equipped with an anti-tamper switch. If the sensor's housing is opened or forcibly removed from its mounting bracket while powered, this switch will activate, triggering a separate tamper alarm output to your connected system.
5. Manutenzione
- Pulizia: Periodically wipe the sensor lens and housing with a soft, dry cloth to remove dust and dirt. Do not use abrasive cleaners or solvents.
- Prova: Regularly test the sensor's functionality by walking through its detection area to ensure it triggers the connected alarm system.
- Ispezione: Visually inspect the wiring and mounting for any signs of damage or loosening.
6. Risoluzione Dei Problemi
| Problema | Possibile causa | Soluzione |
|---|---|---|
| Il sensore non rileva il movimento. |
|
|
| Falsi allarmi. |
|
|
| Tampl'allarme scatta inaspettatamente. |
|
|
7. Specifiche tecniche
| Marca: | Renkforce |
| Numero modello: | 751560 |
| Tecnologia di rilevamento: | Dual PIR (Passive Infrared) |
| Alimentazione elettrica: | 12V CC |
| Portata massima: | 12 metri |
| Tipo di montaggio: | Parete |
| Tipo di uscita: | Selectable NO (Normally Open) / NC (Normally Closed) |
| Anti Tamplui: | SÌ |
| Dispositivi compatibili: | Alarm systems |
| Uso consigliato: | Security and surveillance |
| Dimensioni (A x L x P): | Approx. 150 x 90 x 50 mm (based on image) |
| Batteria richiesta: | NO |

Figura 4: Davanti view of the sensor with approximate dimensions: 15cm height, 9cm width, and 5cm depth.
8. Informazioni sulla garanzia
According to the product specifications, there is no warranty specified for this product. Please refer to your point of purchase for any return or defect policies.
EU spare parts availability is stated as 1 year.
9. Supporto e contatto
For technical support or further inquiries, please contact your retailer or the Renkforce customer service department. Refer to the contact information provided with your purchase documentation.
You can also visit the official Renkforce store for more information: Renkforce Store