
1. Introduzione
Thank you for choosing the Polk Audio TL1 Satellite Speaker. This compact speaker is designed to deliver high-quality audio performance for your home entertainment system. It features Polk's PowerPort Technology and Time Lens Technology for superior sound imaging and blending with a subwoofer. This manual provides essential information for the proper setup, operation, and maintenance of your speaker.

Figura 1.1: Fronte view of the Polk Audio TL1 Satellite Speaker. This image shows the compact design and the speaker's drivers.
2. Importanti istruzioni di sicurezza
- Read these instructions thoroughly before operating the speaker.
- Conservare queste istruzioni per riferimento futuro.
- Prestare attenzione a tutte le avvertenze riportate sul prodotto e nel presente manuale.
- Follow all instructions for safe use and installation.
- Non utilizzare questo apparecchio vicino all'acqua o all'umidità.
- Pulire solo con un panno asciutto.
- Non ostruire le aperture di ventilazione. Installare secondo le istruzioni del produttore.
- Non installare vicino a fonti di calore come radiatori, bocchette di riscaldamento, stufe o altri apparecchi (inclusi amplificatori) che producono calore.
- Utilizzare solo accessori/componenti specificati dal produttore.
- Affidare tutte le operazioni di manutenzione a personale di assistenza qualificato. L'assistenza è necessaria quando l'apparecchio è stato danneggiato in qualsiasi modo.
3. Contenuto della confezione
Assicurarsi che tutti gli articoli siano presenti nel pacco:
- Polk Audio TL1 Satellite Speaker (White)
- Manuale di istruzioni (questo documento)
Note: Speaker wire and mounting hardware are typically sold separately.
4. Configurazione e installazione
4.1 Posizionamento degli altoparlanti
Optimal speaker placement is crucial for sound quality. As satellite speakers, TL1 units are designed to complement a subwoofer and can be used as front, center, or surround channels in a home theater system.
- Altoparlanti anteriori: Place them equidistant from your primary listening position, typically on either side of your television or projection screen.
- Altoparlante centrale: If using a TL1 as a center channel, place it directly above or below the center of your television/screen, aimed towards the listening area.
- Altoparlanti surround: For surround sound, place the TL1 speakers to the sides or slightly behind your listening position, at or slightly above ear level.
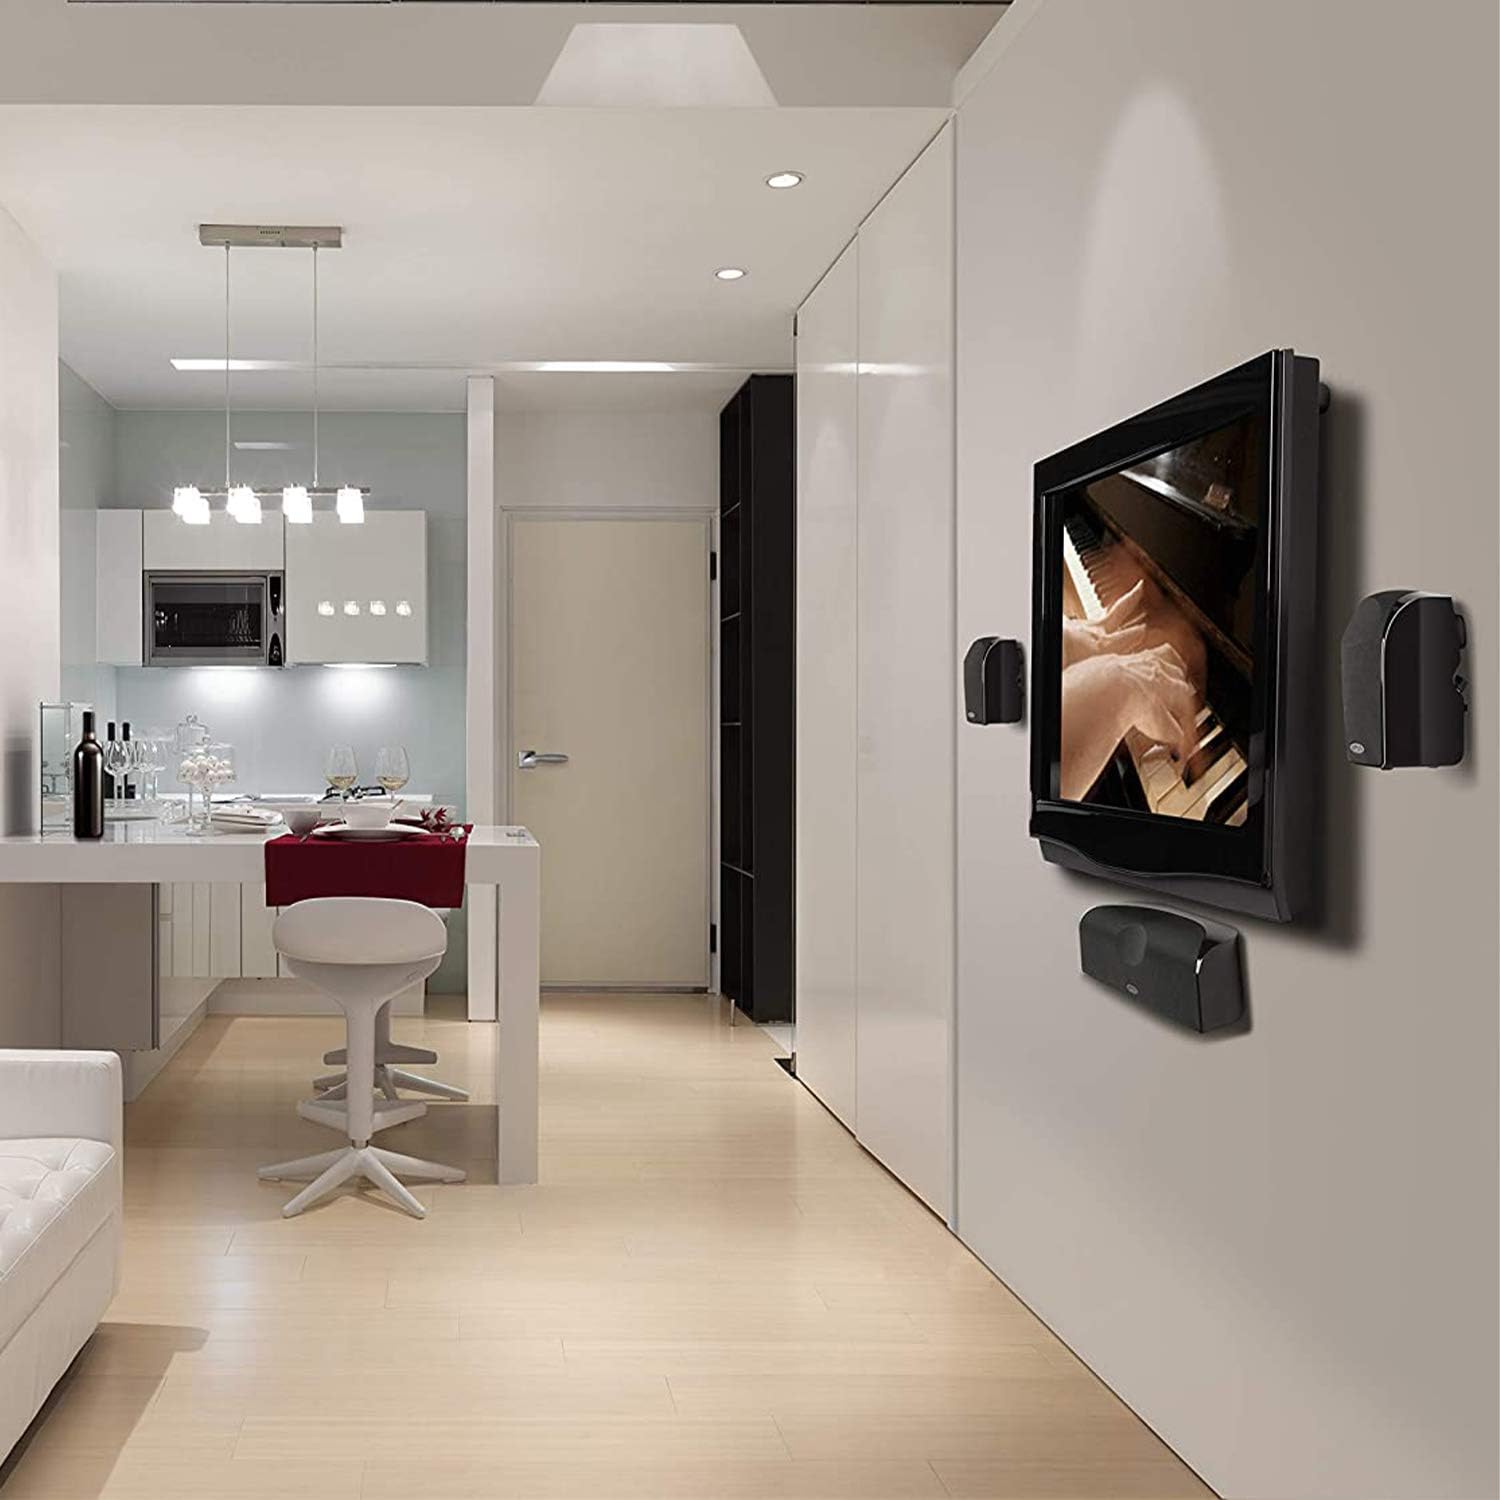
Figura 4.1: Example of Polk Audio TL1 Satellite Speakers wall-mounted in a living room setup, demonstrating flexible placement options.
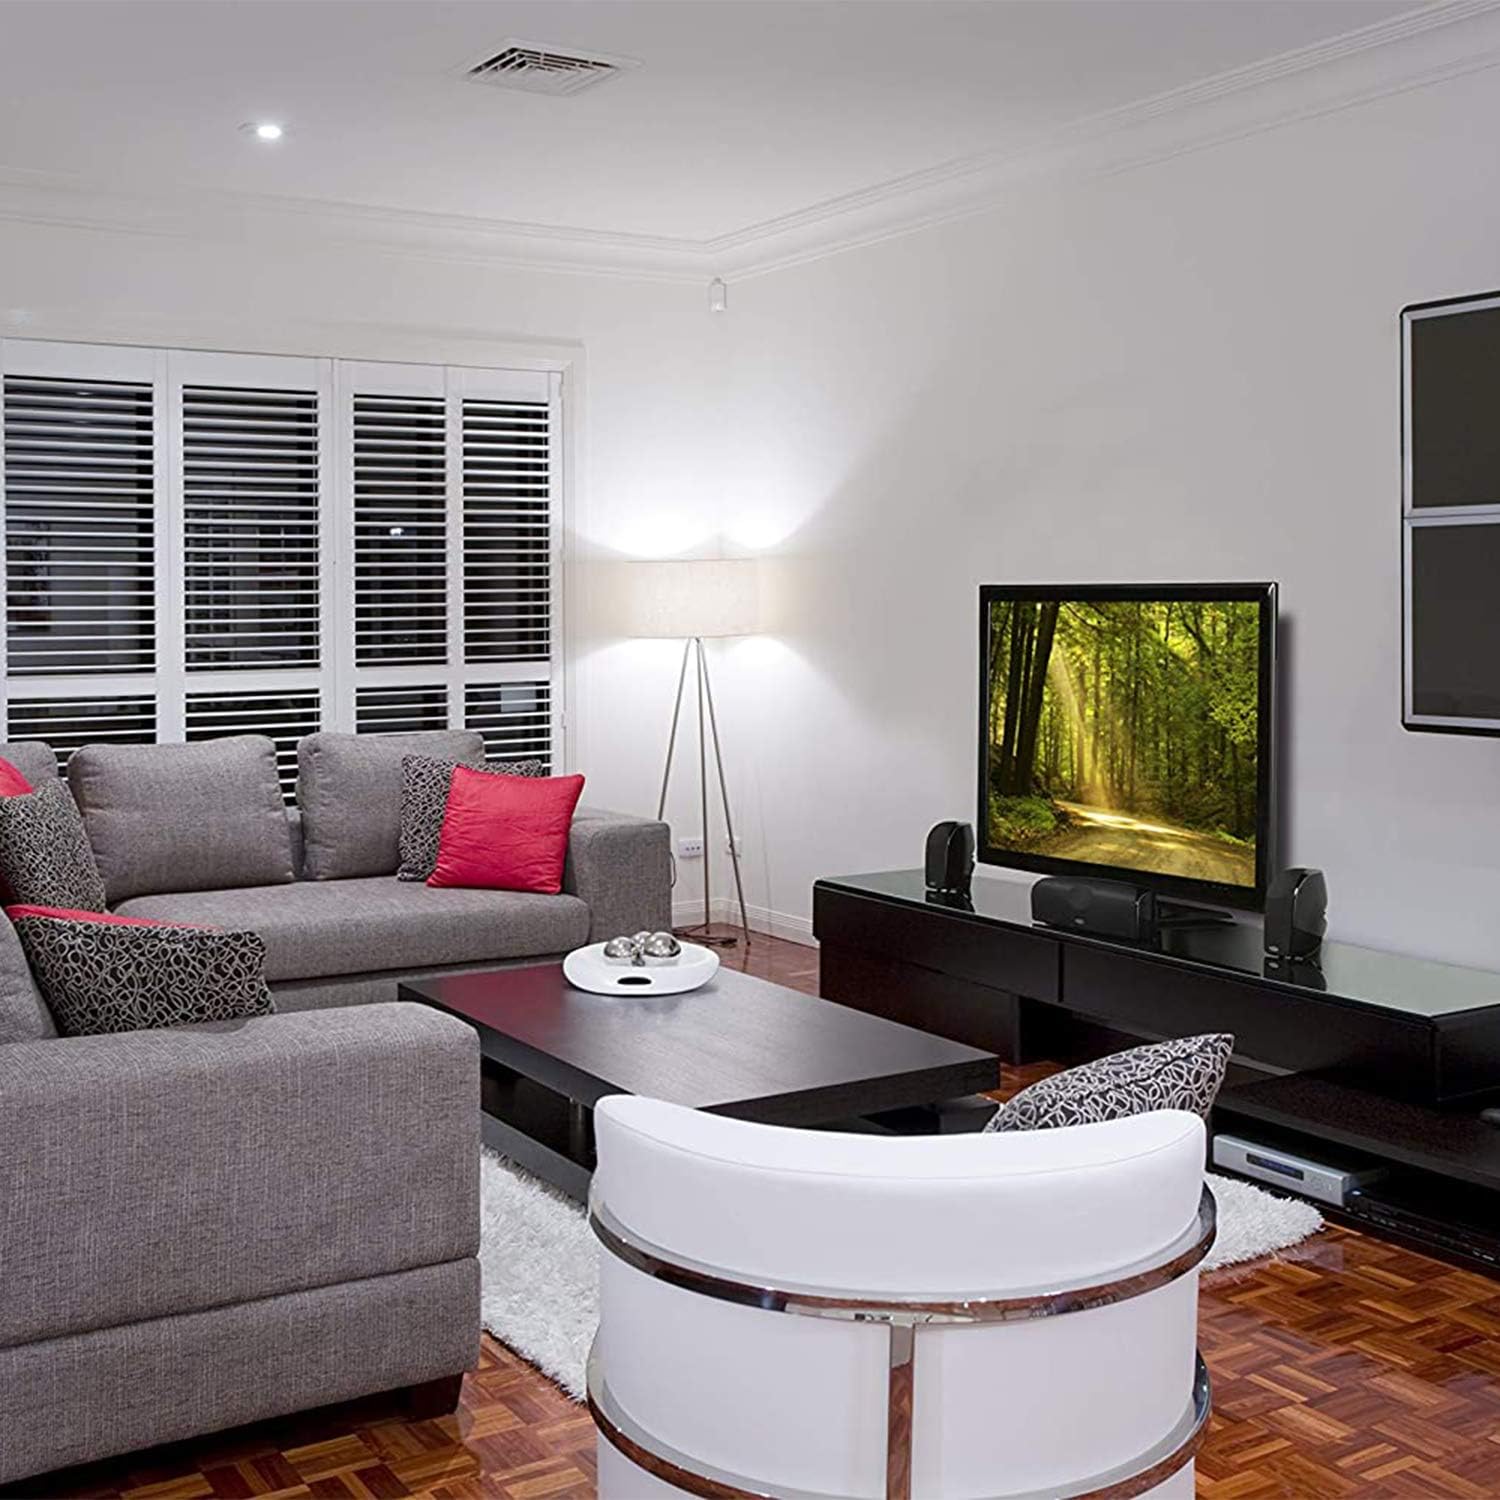
Figura 4.2: Example of Polk Audio TL1 Satellite Speakers placed on a media console, illustrating another common setup.
4.2 Connecting the Speaker
The TL1 Satellite Speaker connects to your audio receiver or amplifier using standard speaker wire.
- Ensure your receiver/amplifier è spento e scollegato dalla presa di corrente.
- Togliere circa 12 mm di isolamento dalle estremità del cavo dell'altoparlante. Attorcigliare strettamente i fili scoperti.
- Locate the binding posts on the back of the TL1 speaker. Connect the positive (+) terminal (red) on the speaker to the positive (+) terminal on your receiver/amppiù vivace.
- Connect the negative (-) terminal (black) on the speaker to the negative (-) terminal on your receiver/amppiù vivace.
- Ensure there are no stray wire strands touching between the positive and negative terminals, as this can cause a short circuit.
Importante: Maintain correct polarity (+ to + and - to -) for all speakers in your system to ensure proper sound reproduction.
4.3 Opzioni di montaggio
The TL1 Satellite Speaker offers versatile mounting options:
- Keyhole Slot: The speaker features a combination keyhole slot on the rear for easy wall mounting using a screw (not included) securely fastened into a wall stud or appropriate wall anchor.
- 1/4" x 20 Threaded Insert: A 1/4" x 20 threaded insert is provided for compatibility with various aftermarket ceiling and wall brackets (sold separately). This offers robust and flexible mounting solutions.
Always ensure mounting hardware is appropriate for the speaker's weight and the wall/ceiling material. Consult a professional if unsure about installation.
5. Istruzioni per l'uso
Once your TL1 Satellite Speakers are connected to your receiver/amplifier, you can begin using them.
- Plug in and turn on your receiver/amppiù vivace.
- Select the desired audio source (e.g., Blu-ray player, streaming device).
- Adjust the volume on your receiver/amplifier ad un livello di ascolto confortevole.
- For optimal performance, especially in a home theater setup, it is highly recommended to pair the TL1 Satellite Speakers with a dedicated subwoofer. The TL1 speakers are designed to handle mid-range and high frequencies, while a subwoofer will reproduce the low-frequency effects.
- Utilize your receiver's automatic speaker calibration feature (if available) to optimize sound levels, crossover frequencies, and delays for your specific room and speaker configuration.
The TL1 speakers are rated for up to 100 Watts of power. Avoid exceeding the recommended power handling to prevent damage.
6. Cura e manutenzione
Proper care will ensure the longevity and performance of your Polk Audio TL1 Satellite Speaker.
- Pulizia: Dust the speaker cabinet with a soft, dry cloth. Avoid using harsh chemicals, abrasive cleaners, or excessive moisture, as these can damage the finish or internal components.
- Cura della griglia: The speaker grille can be gently removed for cleaning if necessary. Use a soft brush or vacuum with a brush attachment to remove dust. Reattach carefully.
- Ambiente: Keep the speaker away from direct sunlight, extreme temperatures, and high humidity. Ensure adequate ventilation around the speaker, especially if placed in an enclosed cabinet.
- Gestione: Evitare di toccare direttamente i coni degli altoparlanti (woofer e tweeter), poiché ciò potrebbe danneggiarli.
7. Risoluzione Dei Problemi
If you encounter issues with your TL1 Satellite Speaker, refer to the following common problems and solutions:
| Problema | Possibile causa | Soluzione |
|---|---|---|
| Nessun suono dall'altoparlante |
|
|
| Suono distorto o poco chiaro |
|
|
| Speaker sounds weak or lacks bass |
|
|
If the problem persists after trying these solutions, please refer to the Warranty and Support section.
8. Specifiche
| Caratteristica | Dettaglio |
|---|---|
| Marca | Audio Polk |
| Numero di modello | TL 1 Satellite White |
| Tipo di altoparlante | Satellitare |
| Colore | Bianco |
| Potenza massima in uscita dell'altoparlante | 100 Watt |
| Risposta in frequenza | 22 KHz (Upper limit, lower limit depends on subwoofer integration) |
| Tecnologia di connettività | Ausiliario (cablato) |
| Modalità di uscita audio | Stereo (when paired with another speaker) |
| Tipo di montaggio | Ceiling Mount, Wall Mount (via keyhole slot or 1/4" x 20 threaded insert) |
| Materiale di recinzione | Composite or Plastic |
| Diametro del tweeter | 0.5 pollici (cupola di seta) |
| Diametro del woofer | 2.5 Inches (Long Throw Drivers with Dynamic Balance Technology) |
| Impedenza | 8 Ohm |
| Peso dell'articolo | 0.84 chilogrammi |
| Dimensioni dell'articolo (P x L x A) | 1"D x 1"W x 1"H (Note: These dimensions seem incorrect based on typical speaker size, likely placeholder data. Refer to product packaging for accurate dimensions.) |
| Usi specifici per il prodotto | Home Theatre |
9. Garanzia e supporto
9.1 Garanzia limitata
Polk Audio warrants this product against defects in materials and workmanship for a period of 5 anni per parti e manodopera from the original date of purchase. This warranty is valid only for the original purchaser and is not transferable.
This warranty does not cover damage caused by accident, misuse, abuse, neglect, unauthorized product modification or repair, or failure to follow the instructions outlined in this manual.
9.2 Assistenza clienti
For technical assistance, troubleshooting, or warranty service, please contact Polk Audio customer support. You can typically find contact information on the official Polk Audio webposto (www.polkaudio.com) or through your authorized dealer. Please have your product model number and proof of purchase ready when contacting support.