
Introduzione
This manual provides essential instructions for the safe operation, assembly, maintenance, and troubleshooting of your STANLEY SL18133 4.5 Gallon 4 Horsepower Wall-Mounted Wet/Dry Vacuum. Please read all instructions carefully before using the appliance to ensure proper function and to prevent injury or damage.

Immagine: Frontale view of the STANLEY SL18133 Wet/Dry Vacuum, showcasing its compact design and stainless steel tank.
Informazioni importanti sulla sicurezza
Quando si utilizza questo apparecchio, seguire sempre le precauzioni di sicurezza di base per ridurre il rischio di incendi, scosse elettriche o lesioni.
- Leggi tutte le istruzioni: Familiarize yourself with the vacuum's functions and safety guidelines before operation.
- Sicurezza elettrica: Do not operate with a damaged cord or plug. Unplug the vacuum from the electrical outlet when not in use or before servicing.
- Materiali infiammabili: Do not vacuum or use this appliance near flammable or combustible liquids, gases, or explosive dusts.
- Ritiro a umido: Ensure the foam filter is correctly installed for wet vacuuming. Do not pick up water near electrical outlets or equipment.
- Ritiro a secco: Ensure the reusable dry filter or disposable dust bag is correctly installed for dry vacuuming.
- Supervisione: È necessaria un'attenta supervisione quando un elettrodomestico viene utilizzato da bambini o nelle loro vicinanze.
- Uso previsto: Utilizzare solo come descritto nel presente manuale. Utilizzare solo gli accessori consigliati dal produttore.
- Manutenzione: Perform maintenance and filter changes only when the unit is unplugged.
Contenuto della confezione
Verifica che tutti gli articoli elencati di seguito siano inclusi nella confezione. Se qualche parte risulta mancante o danneggiata, contatta il servizio clienti.

Image: A visual representation of all components included with the STANLEY SL18133 Wet/Dry Vacuum.
- Wet/Dry Vacuum Unit (1)
- 1-1/4" x 20’ Flexible Hose (1)
- Bacchette di estensione (2)
- Bocchetta per fessure (1)
- Gulper Nozzle (1)
- Spazzola per pavimenti (1)
- Staffa di montaggio (1)
- Accessory Bag (1)
- Foam Filter (1)
- Sacchetto antipolvere monouso (1)
- Reusable Dry Filter and Clamp Ring (1 set)
- Manuale d'uso (1)
Assemblaggio e configurazione
Disimballaggio e ispezione iniziale
Carefully remove all components from the packaging. Inspect for any shipping damage. Retain packaging materials for future storage or transport.
Installazione del filtro
Il tipo di filtro richiesto dipende dal fatto che si voglia aspirare a umido o a secco.
- Per l'aspirazione a secco: Install the reusable dry filter over the filter cage and secure it with the clamp ring. Alternatively, for fine dust, install a disposable dust bag over the inlet port inside the tank. Ensure the bag opening is fully sealed around the port.
- Per l'aspirazione a umido: Remove any dry filters or dust bags. Install the foam filter over the filter cage. Ensure it covers the entire cage for effective wet pickup and motor protection.
Hose and Accessory Attachment
Attach the flexible hose to the inlet port on the tank for vacuuming. For blowing functions, attach the hose to the blower port. Connect extension wands and desired nozzles (crevice, gulper, floor brush) to the end of the hose.
Montaggio a parete
The vacuum is designed for convenient wall-mounted use. Use the provided mounting bracket to secure the vacuum to a sturdy wall surface. Ensure the mounting location allows for easy access to the power switch and sufficient clearance for hose movement. The vacuum can be easily removed from the bracket for emptying or portable use.

Image: The STANLEY SL18133 Wet/Dry Vacuum shown mounted on a garage wall, demonstrating its space-saving design and extended reach for cleaning vehicles.
Istruzioni per l'uso
Aspirazione a secco
- Ensure the appropriate dry filter (reusable or disposable bag) is installed.
- Attach the flexible hose to the vacuum inlet port.
- Connect the desired extension wands and cleaning accessory (e.g., floor brush for large areas, crevice tool for tight spaces).
- Collegare il cavo di alimentazione a una presa elettrica idonea.
- Accendere l'aspirapolvere tramite l'interruttore di alimentazione.
- Iniziare ad aspirare i detriti asciutti.

Image: A user demonstrating dry vacuuming with the STANLEY SL18133, effectively cleaning a wooden floor with the floor brush attachment.
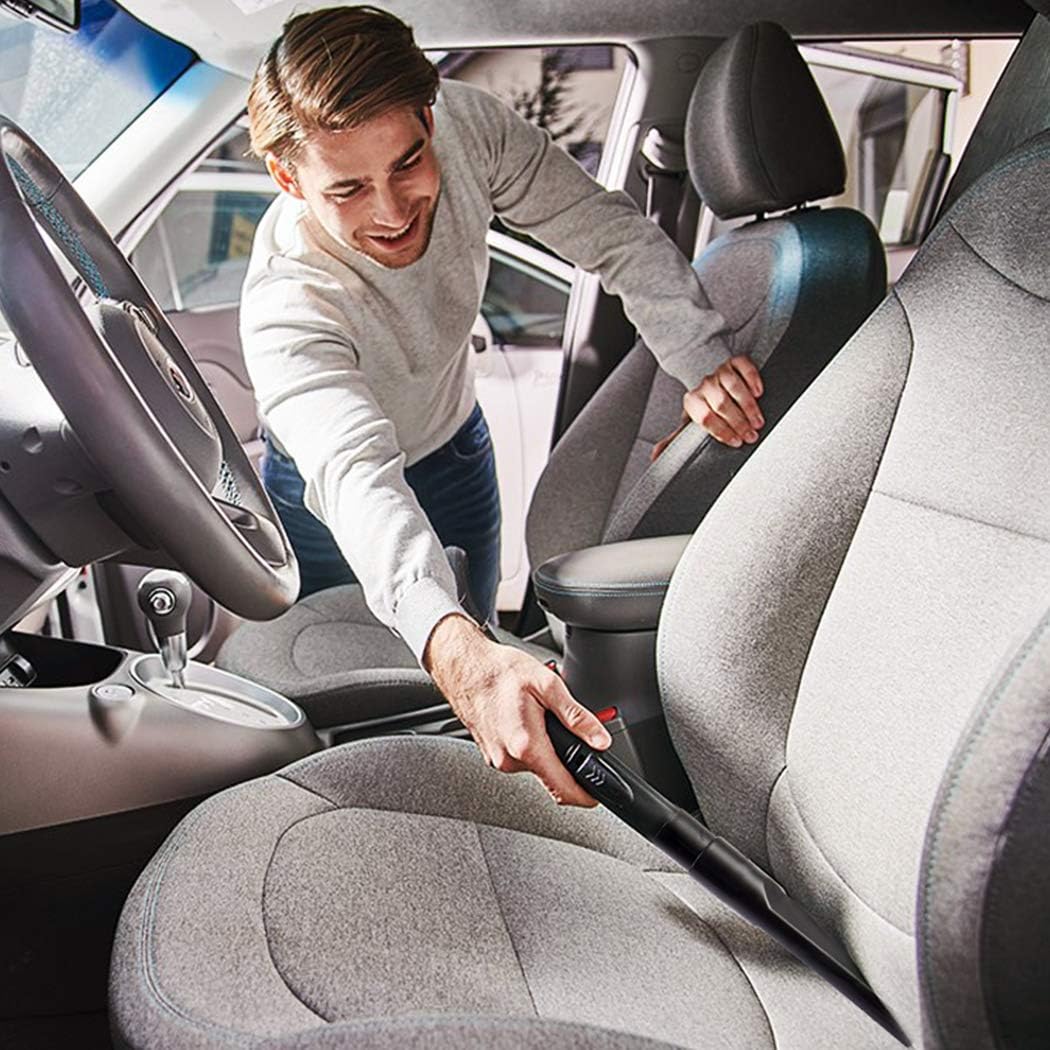
Image: A user utilizing the crevice tool of the STANLEY SL18133 to clean tight spaces within a car interior.
Aspirazione a umido
- Remove all dry filters and dust bags. Install the foam filter over the filter cage.
- Attach the flexible hose to the vacuum inlet port.
- Connect the desired wet pickup accessory.
- Collegare il cavo di alimentazione a una presa elettrica idonea.
- Accendere l'aspirapolvere tramite l'interruttore di alimentazione.
- Begin vacuuming liquids. The vacuum will automatically stop suction when the tank is full due to a float mechanism.
- Turn off the vacuum and unplug it before emptying the tank.
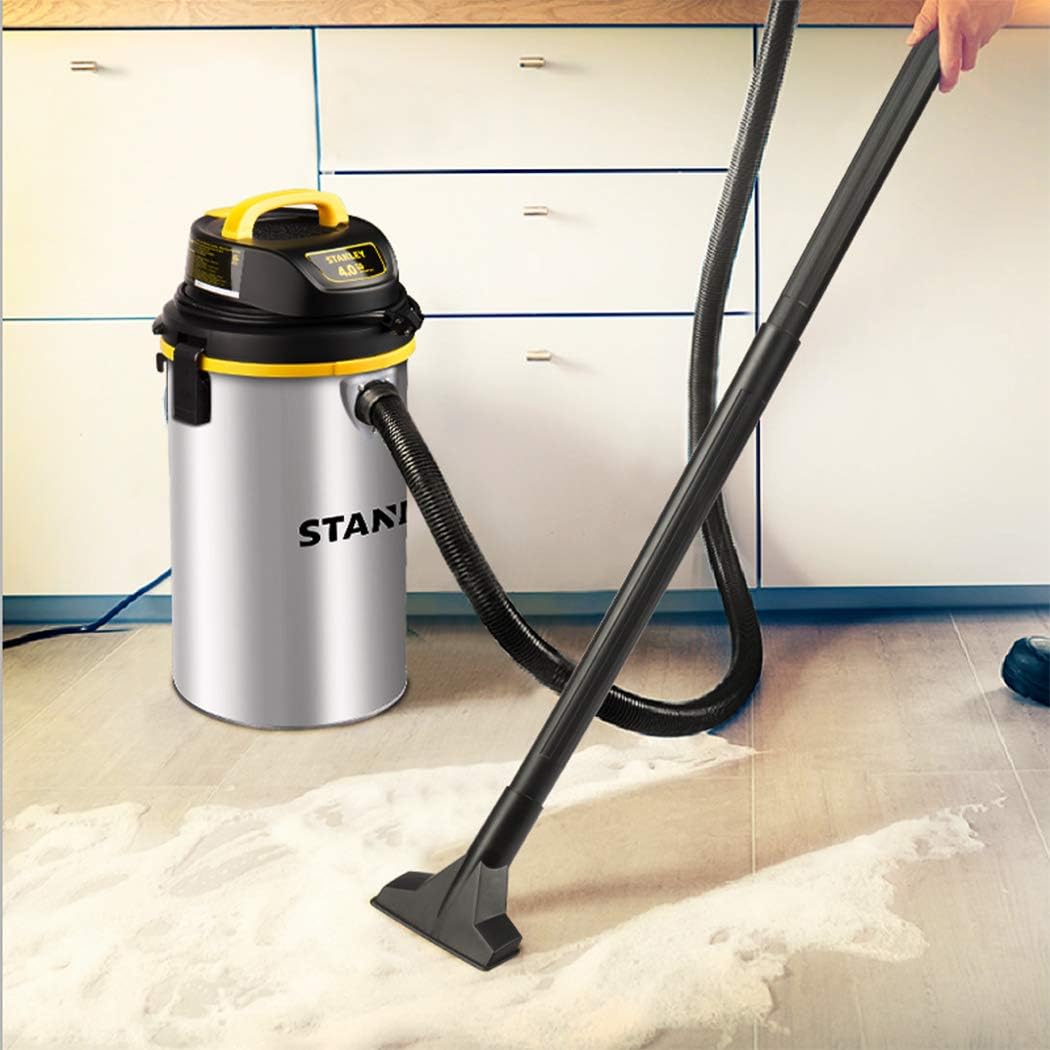
Image: The STANLEY SL18133 Wet/Dry Vacuum effectively cleaning a liquid spill from a tiled floor, demonstrating its wet pickup capability.
Funzione ventilatore
- Assicurarsi che il serbatoio sia vuoto e pulito.
- Attach the flexible hose to the blower port located on the motor head.
- Collegare il cavo di alimentazione a una presa elettrica idonea.
- Turn the vacuum on using the power switch to activate the blower.
Manutenzione
Svuotamento del serbatoio
Always unplug the vacuum before emptying. Release the latches on the sides of the tank, lift off the motor head, and carefully pour out the contents. Clean the inside of the tank as needed.
Pulizia e sostituzione filtri
- Foam Filter (Wet Pickup): After wet vacuuming, remove the foam filter, rinse it thoroughly with water, and allow it to air dry completely before reinstallation or storage.
- Reusable Dry Filter: For dry vacuuming, periodically remove the reusable dry filter and gently tap it to dislodge accumulated dust. If heavily soiled or damaged, replace it with a new filter.
- Sacchetto antipolvere monouso: Replace the disposable dust bag when it is full or when suction performance decreases.
Cura dei tubi e degli accessori
Inspect the hose and accessories regularly for blockages or damage. Clear any obstructions to maintain optimal suction. Clean accessories with mild soap and water as needed.
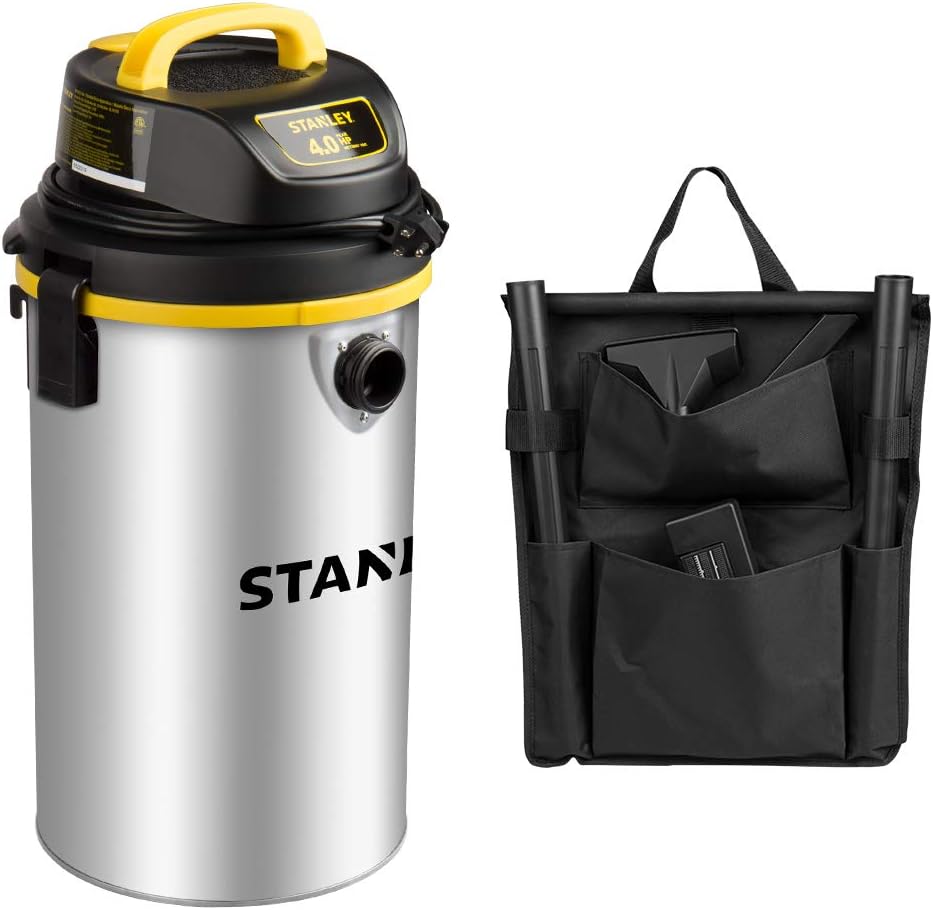
Image: The STANLEY SL18133 Wet/Dry Vacuum alongside its accessory bag, illustrating convenient storage for attachments.
Risoluzione dei problemi
| Problema | Possibile causa | Soluzione |
|---|---|---|
| L'aspirazione non si accende | No power to outlet; Power cord not plugged in; Power switch off; Faulty switch | Check power outlet; Plug in power cord securely; Turn power switch on; Contact customer service |
| Bassa potenza di aspirazione | Hose or accessory clogged; Tank full; Filters dirty or improperly installed; Lid not sealed properly | Clear clogs; Empty tank; Clean/reinstall filters; Ensure lid is securely latched |
| Perdita d'acqua dal serbatoio | Foam filter missing or improperly installed; Lid not sealed properly; Tank damaged | Install/reposition foam filter; Ensure lid is securely latched; Inspect tank for damage, contact customer service if damaged |
| Il motore si arresta durante il prelievo di liquidi | Il serbatoio è pieno (meccanismo galleggiante attivato) | Spegnere l'aspirapolvere, staccare la spina e svuotare il serbatoio. |
Specifiche

Image: Dimensions of the STANLEY SL18133 Wet/Dry Vacuum, indicating its length, width, and height for installation planning.
| Caratteristica | Dettaglio |
|---|---|
| Marca | STELLA |
| Nome del modello | SL18133 |
| Capacità | 4.5 galloni (circa 17 litri) |
| Potenza | 4 CV di picco |
| Fonte di alimentazione | Elettrico con cavo |
| Voltage | 116 Volt |
| Cosatage | 50 Watt |
| Lunghezza del tubo flessibile | 20 piedi (6.09 metri) |
| Lunghezza del cavo di alimentazione | 6 piedi |
| Total Cleaning Range | 26 piedi |
| Peso dell'articolo | 13 libbre |
| Dimensioni (L x P x A) | 12.6" x 9" x 15" |
| Tipo di filtro | Foam (wet), Reusable Dry, Disposable Dust Bag |
| Livello di rumore | 80 dB |
| Caratteristiche speciali | Powerful blower port, Wall-mount design |
Garanzia e supporto
Informazioni sulla garanzia
This STANLEY Wet/Dry Vacuum SL18133 comes with a 1 anni di garanzia a vita limitata. Please refer to the warranty card included in your package for specific terms and conditions. Keep your purchase receipt as proof of purchase for warranty claims.
Assistenza clienti
For technical assistance, replacement parts, or warranty inquiries, please contact STANLEY customer service. Refer to the contact information provided on the product packaging or the official STANLEY websito per i dettagli di supporto più aggiornati.