
Brillante 35832/56
BRILLIANT Luca 4-Flame Spot Tube Light
Modello: 35832/56
Introduzione
This manual provides essential information for the safe and efficient installation, operation, and maintenance of your BRILLIANT Luca 4-Flame Spot Tube Light. Please read these instructions carefully before installation and retain them for future reference.
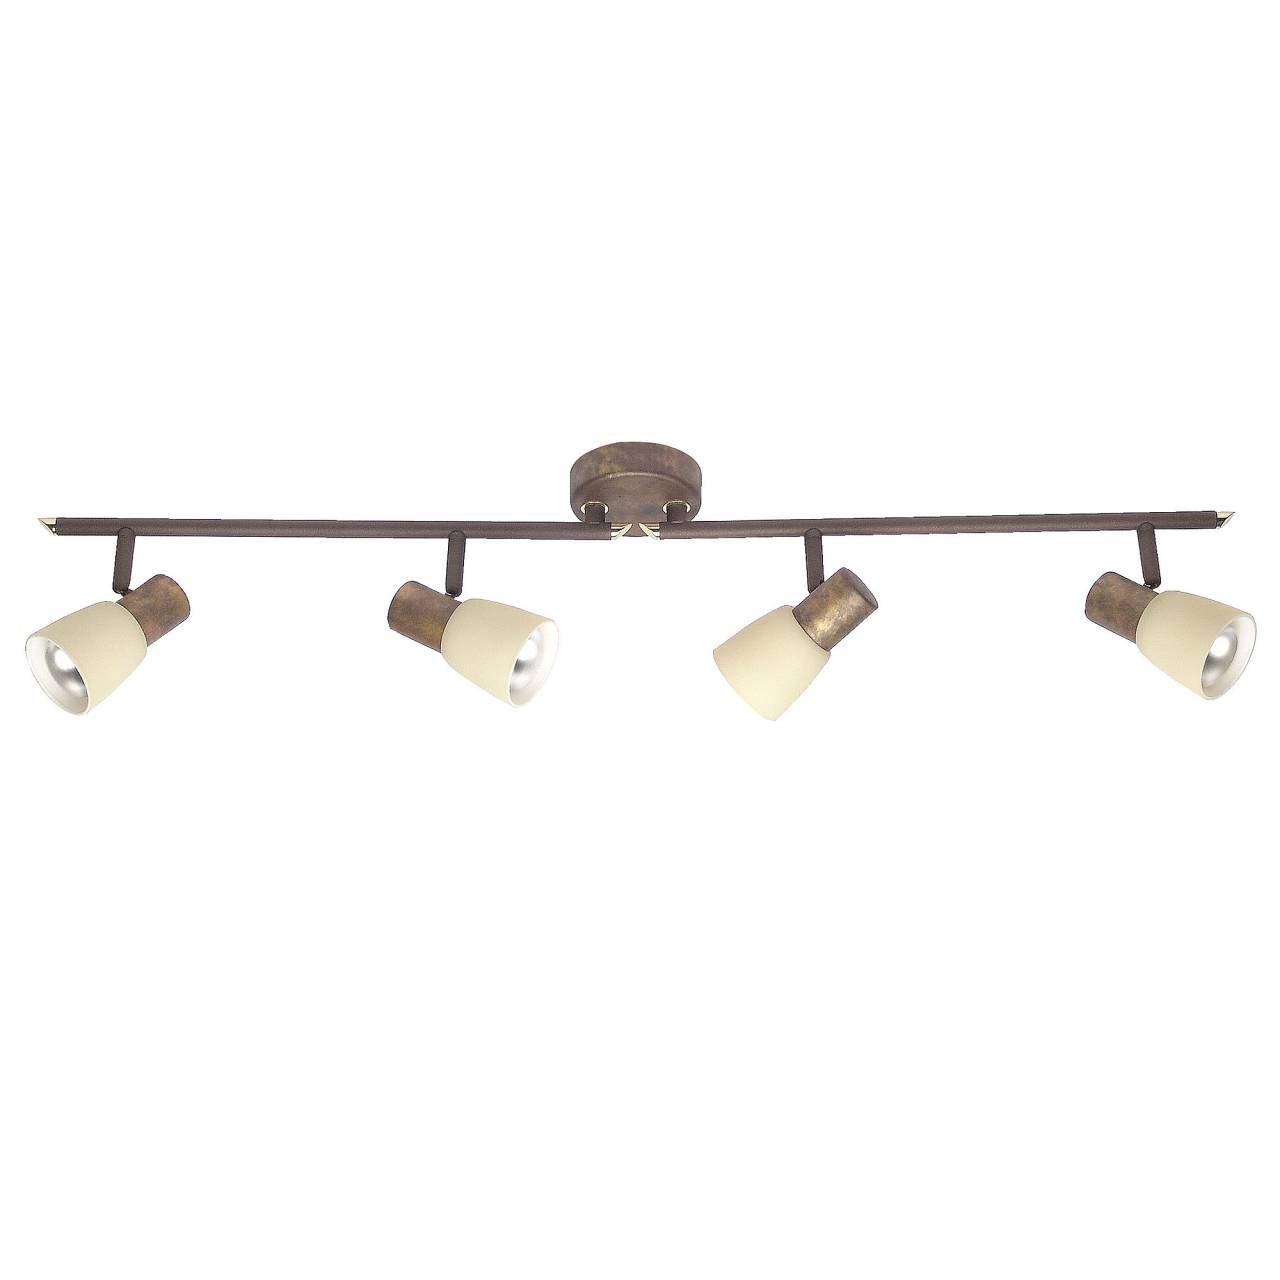
Image 1: The BRILLIANT Luca 4-Flame Spot Tube Light. This image displays the complete light fixture, featuring a long, brown metal bar with four individual spot heads. Each spot head is adjustable and includes a beige glass shade, designed to direct light. The central mounting plate is also visible.
Istruzioni di sicurezza
- Prima di procedere all'installazione, alla manutenzione o alla sostituzione della lampadina, scollegare sempre l'alimentazione dal fusibile principale o dall'interruttore automatico.
- L'installazione deve essere eseguita da un elettricista qualificato o da una persona competente.
- Assicurarsi che la superficie di montaggio possa sostenere il peso dell'apparecchio.
- Non superare il limite massimo di wattage specified for the bulbs (40W per bulb).
- Questo prodotto è progettato esclusivamente per uso interno (grado di protezione IP20). Non esporre a umidità o temperature estreme.
- Allow bulbs to cool before touching or replacing them.
- Tenere i materiali di imballaggio fuori dalla portata dei bambini.
Contenuto della confezione
Verificare che tutti i componenti siano presenti prima di iniziare l'installazione:
- 1x BRILLIANT Luca 4-Flame Spot Tube Light fixture
- Mounting material (screws, wall plugs, etc.)
- Manuale di istruzioni
Note: Light bulbs (E14, R50 reflector type, max 40W) are not included and must be purchased separately. LED bulbs are compatible.
Specifiche
| Marca | Brillante |
| Numero di modello | 35832/56 |
| Dimensioni (L x P x A) | Dimensioni: 85 x 23.2 x 23.2 cm |
| Peso | 1.22 kg |
| Materiale | Metallo, Vetro |
| Colore | Brown (fixture), Beige (shade) |
| Numero di lampadine | 4 |
| Tipo di portalampada | E14 |
| Max Wattage per lampadina | 40 Watt |
| Voltage | 240 Volt |
| Grado di protezione IP | IP20 (solo per uso interno) |
| Caratteristiche speciali | Dimmable (with appropriate bulbs and external dimmer), Adjustable Spot Heads |
| Tipo di installazione | Montaggio a soffitto |
Configurazione e installazione
Importante: Before starting installation, ensure the power supply is switched off at the main circuit breaker to prevent electric shock.
- Preparare la superficie di montaggio: Choose a suitable location on your ceiling or wall. Ensure the surface is clean, dry, and structurally sound to support the light fixture.
- Segnare i punti di foratura: Hold the mounting bracket of the fixture against the desired installation spot. Use a pencil to mark the positions for drilling holes.
- Fori di perforazione: Drill holes at the marked positions using an appropriate drill bit for your ceiling/wall material. Insert the provided wall plugs into the drilled holes.
- Staffa di montaggio sicura: Attach the mounting bracket to the ceiling/wall using the provided screws. Ensure it is firmly secured.
- Collegamento elettrico: Connect the household electrical wires to the terminal block on the fixture. Follow standard wiring color codes (e.g., Live to Live, Neutral to Neutral, Earth to Earth). Ensure all connections are secure.
- Fissare l'apparecchio alla staffa: Carefully align the light fixture with the secured mounting bracket and attach it using the remaining screws or fastening mechanism.
- Installa le lampadine: Insert four E14 R50 reflector bulbs (not included) into the lamp holders. Do not exceed 40 Watts per bulb. LED bulbs are recommended for energy efficiency.
- Ripristina alimentazione: Una volta completata l'installazione e verificati tutti i collegamenti, ripristinare l'alimentazione all'interruttore principale.
Se non si è sicuri di una qualsiasi fase del processo di installazione, consultare un elettricista qualificato.
Istruzioni per l'uso
- Accensione/Spegnimento: Aziona la luce tramite il tuo normale interruttore a parete.
- Regolazione delle testine spot: The individual spot heads are pivotable and the arms are rotatable. Gently adjust each spot head and arm to direct the light to your desired area.
- Funzione di attenuazione: If you are using dimmable E14 bulbs and have an external dimmer switch installed, you can adjust the light intensity by operating the dimmer. Ensure your bulbs are compatible with your dimmer type.
Manutenzione
- Pulizia: Disconnect power before cleaning. Wipe the fixture with a soft, dry cloth. Do not use abrasive cleaners or solvents, as these can damage the finish.
- Sostituzione della lampadina:
- Ensure the light is switched off and has cooled down completely.
- Carefully unscrew the old E14 bulb from its socket.
- Screw in a new E14 R50 reflector bulb, ensuring it is no more than 40 Watts.
- Ripristinare l'alimentazione e testare la luce.
- Controlli regolari: Periodically check all connections and mounting screws to ensure they remain tight and secure.
Risoluzione dei problemi
| Problema | Possibile causa | Soluzione |
|---|---|---|
| La luce non si accende. |
|
|
| Sfarfallio di luce. |
|
|
| L'oscuramento non funziona. |
|
|
Se i problemi persistono, contattare l'assistenza clienti o un elettricista qualificato.
Garanzia e supporto
Information regarding warranty and spare parts availability is not provided in the product details. For support, please refer to the retailer or manufacturer's official websito.
Produttore: Brillante
Ask a question about this manual
Ask about setup, troubleshooting, compatibility, parts, safety, or missing instructions. Manuals+ will review the question and use this page’s manual context to help answer it.