
Introduzione
This manual provides essential information for the safe and effective operation of your Laserliner SoundTest-Master 082.070A Noise Level Meter. Please read these instructions carefully before using the device and keep them for future reference. The SoundTest-Master 082.070A is designed for precise measurement of noise levels, featuring integrated long-term memory and PC connectivity for comprehensive documentation.
Istruzioni di sicurezza
- Always operate the device within its specified environmental conditions.
- Non esporre il dispositivo a temperature estreme, umidità o luce solare diretta.
- Evitare di far cadere il dispositivo o di sottoporlo a forti impatti.
- Non tentare di aprire o modificare il dispositivo. Le riparazioni devono essere eseguite solo da personale autorizzato.
- Tenere il dispositivo lontano da forti campi magnetici.
- Ensure the microphone is clean and free from obstructions for accurate measurements.
Prodotto finitoview
The Laserliner SoundTest-Master 082.070A is a handheld noise level meter equipped with a sensitive electret condenser microphone and a clear, illuminated display. It features various controls for measurement settings and data management.

Figura 1: Davanti view of the SoundTest-Master 082.070A, showing the display, microphone with windshield, and control buttons.
Componenti chiave:
- Microfono a condensatore elettrete: For capturing sound. Includes a removable windshield.
- Display illuminato: Shows measurement values, settings, and status.
- Pulsanti di controllo: Power, Setup, Max, Record, A/C weighting, Fast/Slow time weighting, Level adjustment, Data send.
- Uscite analogiche: DC and AC outputs for external connections.
- Interfaccia RS232: Optoisolated port for PC connection and data transfer.
Impostare
1. Installazione della batteria
The device requires batteries for operation. Ensure correct polarity when inserting batteries into the compartment, typically located on the rear of the unit.
2. Accensione iniziale
Premere il tasto Energia button to turn on the device. The display will illuminate and show initial readings.
3. Windshield Attachment
Attach the removable windshield to the microphone to minimize wind noise interference during outdoor measurements.
Istruzioni per l'uso
1 Misurazione di base
- Accendere il dispositivo utilizzando il Energia pulsante.
- Puntare il microfono verso la sorgente sonora.
- The current noise level will be displayed in decibels (dB).
2. Frequency Weighting (dB(A), dB(C))
Utilizzare il Aria condizionata button to switch between frequency weighting curves:
- dB(A): Simula la risposta dell'orecchio umano al suono, comunemente utilizzato per le misurazioni del rumore ambientale.
- dB(C): Provides a flatter response, suitable for measuring peak sound pressure levels or low-frequency noise.
3. Time Weighting (Fast/Slow)
Premere il tasto VELOCE LENTO button to select the desired time weighting:
- FAST (125 ms): For measuring rapidly changing noise levels.
- SLOW (1 second): For measuring average noise levels over a longer period, suitable for stable noise sources.
4. Data Logging and PC Connection
The device features a long-term recording function with 16,000 memory points and real-time logging capabilities when connected to a PC.
- Registrazione dati interna: Premere il tasto DOCUMENTAZIONE button to start/stop internal data recording. The device can store up to 16,000 measurement points.
- Connessione PC: Connect the device to a computer using the provided RS232 cable.
- Software: Install the provided software on your PC. This software allows for real-time data display, analysis, and download of recorded data.
- Invio dati: Utilizzare il INVIA I DATI button to initiate data transfer to the connected PC.
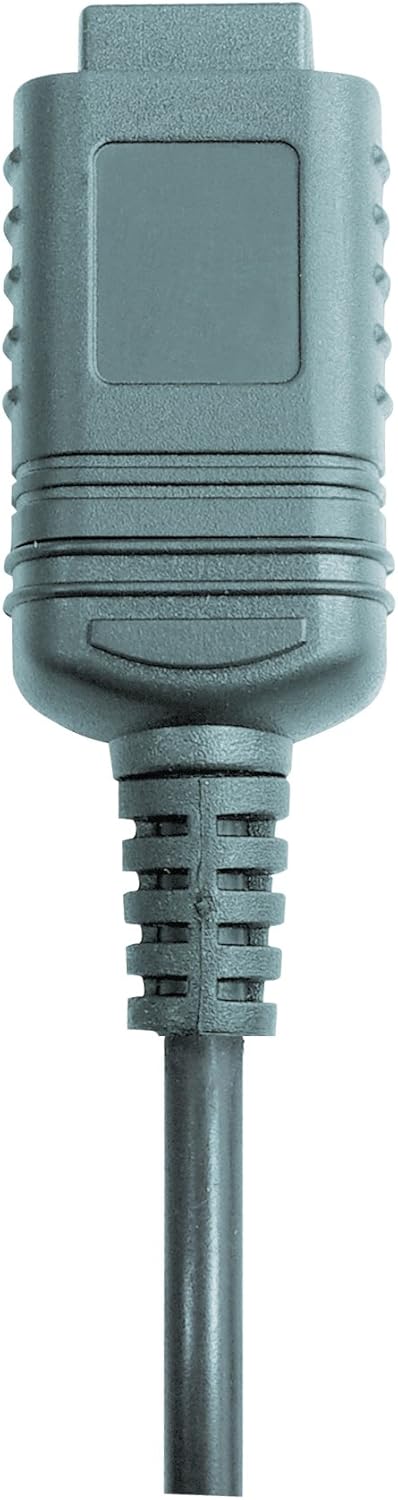

Figura 2: RS232 cable connectors used for connecting the SoundTest-Master to a PC.
5. Calibrazione
The device can be calibrated and adjusted using a standard noise level calibrator (94 dB / 1 kHz). Refer to the calibrator's instructions for the specific calibration procedure.
Manutenzione
1. Pulizia
- Pulisci il dispositivo casing con un panno morbido e asciutto.
- Non utilizzare detergenti abrasivi o solventi.
- Ensure the microphone is kept clean and free of dust or debris.
2. Conservazione
When not in use, store the SoundTest-Master in its protective case in a cool, dry place, away from direct sunlight and extreme temperatures. Remove batteries if storing for extended periods.
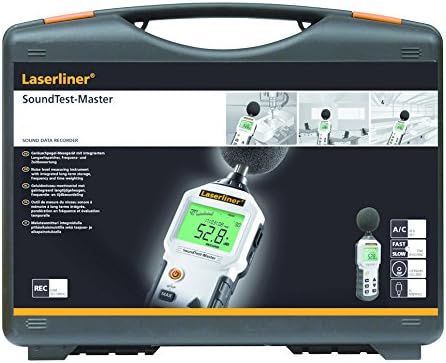
Figura 3: The SoundTest-Master 082.070A stored in its protective carrying case.
Risoluzione dei problemi
| Problema | Possibile causa | Soluzione |
|---|---|---|
| Il dispositivo non si accende. | Batterie scariche o installate in modo errato. | Sostituire le batterie assicurandosi che la polarità sia corretta. |
| Letture imprecise. | Microphone obstructed or dirty; device needs calibration. | Clean microphone; perform calibration with a standard calibrator. |
| Nessun trasferimento dati al PC. | Incorrect cable connection; software not installed or configured. | Check RS232 cable connection; ensure PC software is correctly installed and running. |
| Il display è scuro o illeggibile. | Low battery power; display backlight off. | Replace batteries; check device settings for backlight control. |
Specifiche
| Caratteristica | Dettaglio |
|---|---|
| Nome del modello | SoundTest-Master |
| Numero di parte | 082.070A |
| Produttore | Umarex |
| Marca | Laserliner |
| Ponderazione in frequenza | dB(A), dB(C) |
| Ponderazione del tempo | FAST (125 ms), SLOW (1 second) |
| Memoria dati | 16,000 punti di misura |
| Interfaccia | Optoisolated RS232 |
| Uscite analogiche | CC e CA |
| Calibrazione | Adjustable with 94 dB / 1 kHz standard calibrator |
| Microfono | Sensitive electret condenser with removable windshield |
| Display | Illuminated, clear display |
| Peso dell'articolo | 1.18 chilogrammi (2.6 libbre) |
| Dimensioni del prodotto | 10.33 x 5.51 x 13.78 pollici |
| Materiale | Metal (Frame, Barrel) |
| Colore | Nero e grigio |
| Batterie richieste | Yes (not included, type not specified in data) |
Garanzia e supporto
For warranty information and technical support, please refer to the documentation included with your purchase or visit the official Laserliner websito.