
1. Introduzione
This manual provides instructions for the proper setup, operation, and maintenance of your Nady MSC3 Microphone Stand Kit. Please read this manual thoroughly before using the product to ensure optimal performance and longevity.
2. Contenuto della confezione
Verifica che tutti gli articoli elencati di seguito siano presenti nel tuo pacco:
- Nady Dynamic Microphone
- Adjustable Tripod Microphone Stand
- Clip per microfono
- 15 ft XLR to 1/4" (6.35mm) Audio Cable

Image: Complete Nady MSC3 Microphone Stand Kit components.
3. Istruzioni per l'installazione
Follow these steps to assemble and prepare your microphone stand kit for use:
- Montare il treppiede:
Unfold the tripod legs of the microphone stand until they are fully extended and stable. Adjust the height of the stand by loosening the height adjustment clutch, extending the upper shaft to the desired height, and then tightening the clutch securely.
- Fissare la clip del microfono:
Screw the microphone clip onto the threaded top of the stand's upper shaft. Ensure it is tightened firmly to prevent the microphone from rotating or falling.
- Inserire il microfono:
Gently insert the Nady dynamic microphone into the microphone clip. The clip is designed to hold the microphone securely.
- Collegare il cavo audio:
Connect the XLR end of the provided 15 ft cable to the XLR input port at the bottom of the microphone. Connect the 1/4" (6.35mm) end of the cable to the microphone input of your audio interface, mixing console, digital recorder, or amppiù vivace.
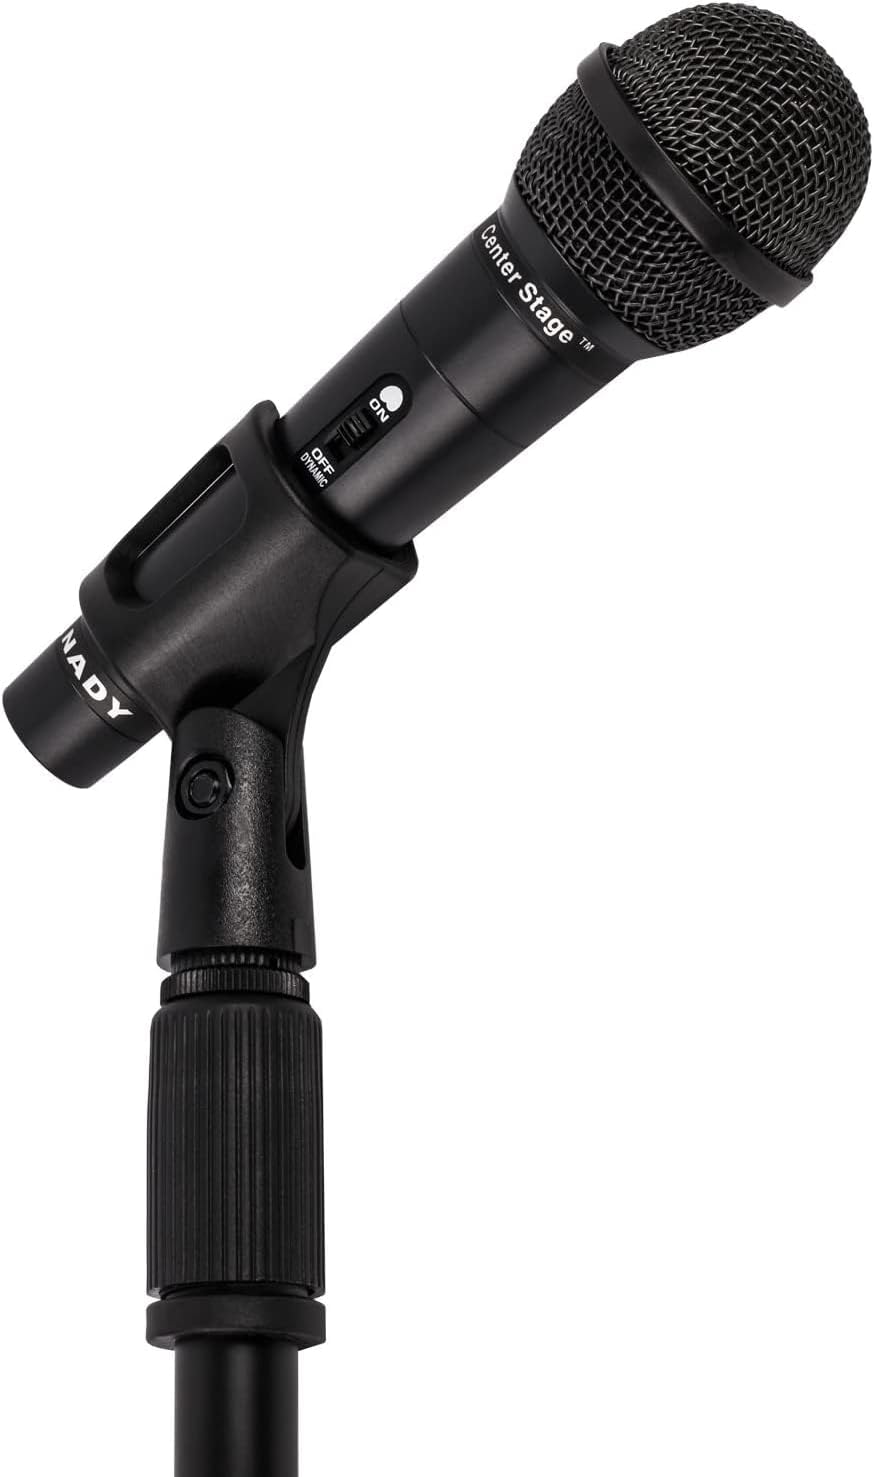
Image: Nady microphone mounted on the adjustable stand.
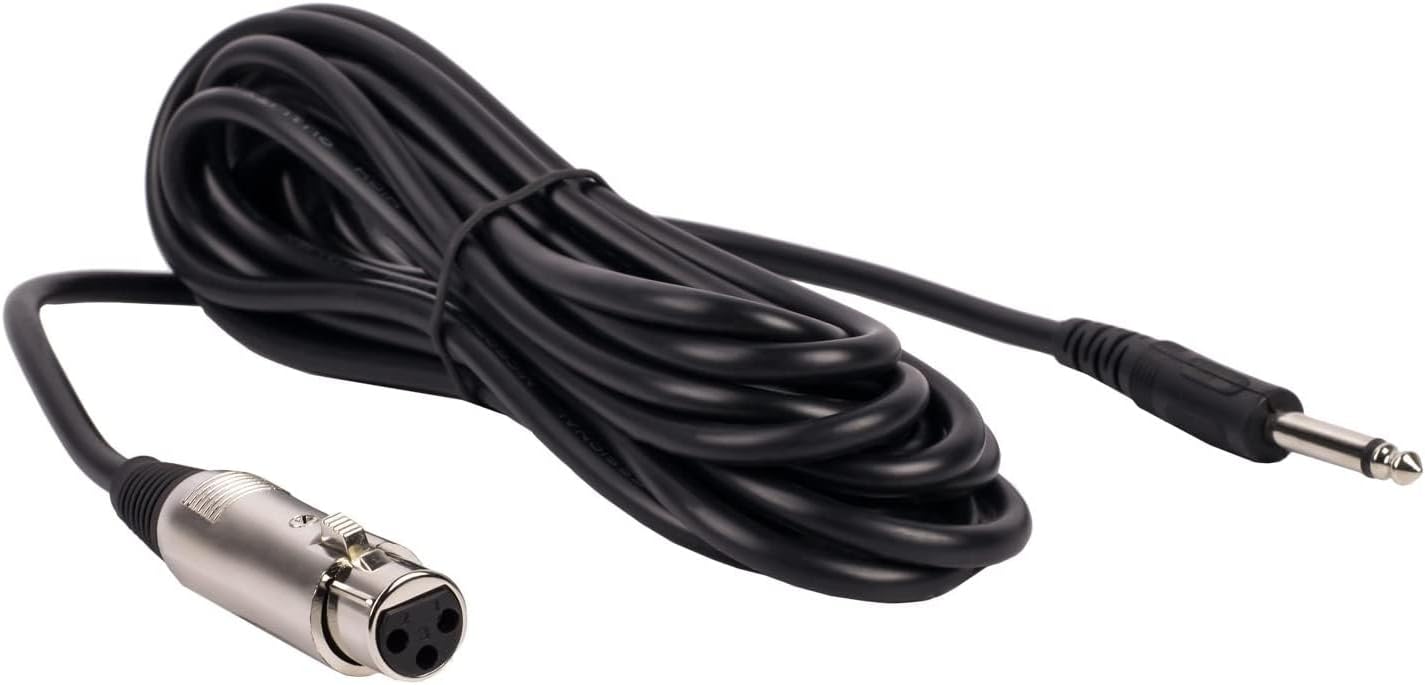
Image: The included 15 ft XLR to 1/4" audio cable.
4. Istruzioni per l'uso
Once assembled, operate your Nady microphone kit as follows:
- Interruttore di accensione/spegnimento del microfono:
Locate the ON/OFF switch on the microphone body. Slide the switch to the 'ON' position to activate the microphone. Slide it to 'OFF' when not in use to prevent unwanted noise or feedback.
- Collegamento del dispositivo audio:
Ensure your audio device (mixer, amplifier, etc.) is powered on and its input volume for the microphone channel is set to a low level before increasing it gradually to avoid sudden loud sounds.
- Posizionamento del microfono:
Position the microphone approximately 2-6 inches from the sound source for optimal vocal or instrument pickup. Experiment with distance and angle to achieve the desired sound quality.

Image: Nady microphone with visible ON/OFF switch.
5. Manutenzione
Proper maintenance ensures the longevity and performance of your microphone kit:
- Pulizia: Use a soft, dry cloth to wipe down the microphone and stand. Avoid using liquid cleaners or solvents, as they may damage the finish or internal components.
- Magazzinaggio: When not in use, store the microphone and stand in a dry, cool place, away from direct sunlight and extreme temperatures. Disassemble the stand for compact storage if needed.
- Cura del cavo: Avoid kinking or sharply bending the audio cable. Coil it loosely when storing to prevent damage to the internal wiring.
6. Risoluzione Dei Problemi
In caso di problemi, fare riferimento ai seguenti problemi comuni e alle relative soluzioni:
| Problema | Possibile causa/soluzione |
|---|---|
| Nessuna uscita audio |
|
| Poor Audio Quality / Static |
|
| Instabilità del supporto |
|
7. Specifiche
Key technical specifications for the Nady MSC3 Microphone Kit (Model Nad-6572):
- Fattore di forma del microfono: Portatile
- Diagramma polare: Unidirezionale
- Tecnologia di connettività: XLR
- Tipo di connettore: XLR to 1/4" (6.35mm)
- Impedenza: 600 Ohm
- Sensibilità audio: 55 decibel
- Rapporto segnale-rumore: 60 dB
- Risposta in frequenza: Fino a 20 KHz
- Fonte di energia: Corded Electric (via audio device)
- Materiale: Metallo
- Peso dell'articolo (kit): Circa 3.7 libbre
- Utilizzi consigliati: Canto, karaoke
- Dispositivi compatibili: Audio Interfaces, Mixing Consoles, Digital Recorders, Amplificatori
8. Garanzia e supporto
For warranty information or technical support regarding your Nady MSC3 Microphone Stand Kit (Model Nad-6572), please refer to the documentation included with your purchase or visit the official Nady websito. Contattare il servizio clienti per assistenza con problemi o richieste relative ai prodotti.