
1. Introduzione
This manual provides instructions for the Mad Catz STRIKE7 Modular Gaming Keyboard. The STRIKE7 is designed for customization, featuring a modular layout, programmable macro buttons, RGB backlighting, and an integrated LCD touchscreen. This keyboard is compatible with Windows 7, 8, and 10 operating systems.

Figure 1: Mad Catz STRIKE7 Modular Gaming Keyboard fully assembled.
2. Impostazione
2.1 Disimballaggio e identificazione dei componenti
Carefully remove all components from the packaging. The STRIKE7 keyboard consists of several modular parts:
- Main Keyboard Module
- Numeric Keypad Module
- VENOM LCD Module
- Left Palm Rest Module (with control wheel)
- Right Palm Rest Module
- Poggiapolsi regolabili
- Cavo USB e alimentatore

Figure 2: Individual modular components of the STRIKE7 keyboard.
2.2 Assemblaggio modulare
The STRIKE7 allows for various configurations. Connect the modules by aligning the connectors and gently pushing them together until they click into place. Ensure a secure connection for proper functionality.
- Attach the Numeric Keypad Module to the right side of the Main Keyboard Module, if desired.
- Connect the VENOM LCD Module to the top-left or top-right of the Main Keyboard Module.
- Attach the Left and Right Palm Rest Modules to the bottom of the Main Keyboard Module and Numeric Keypad Module, respectively.
- Adjust the integrated wrist rests for optimal comfort.
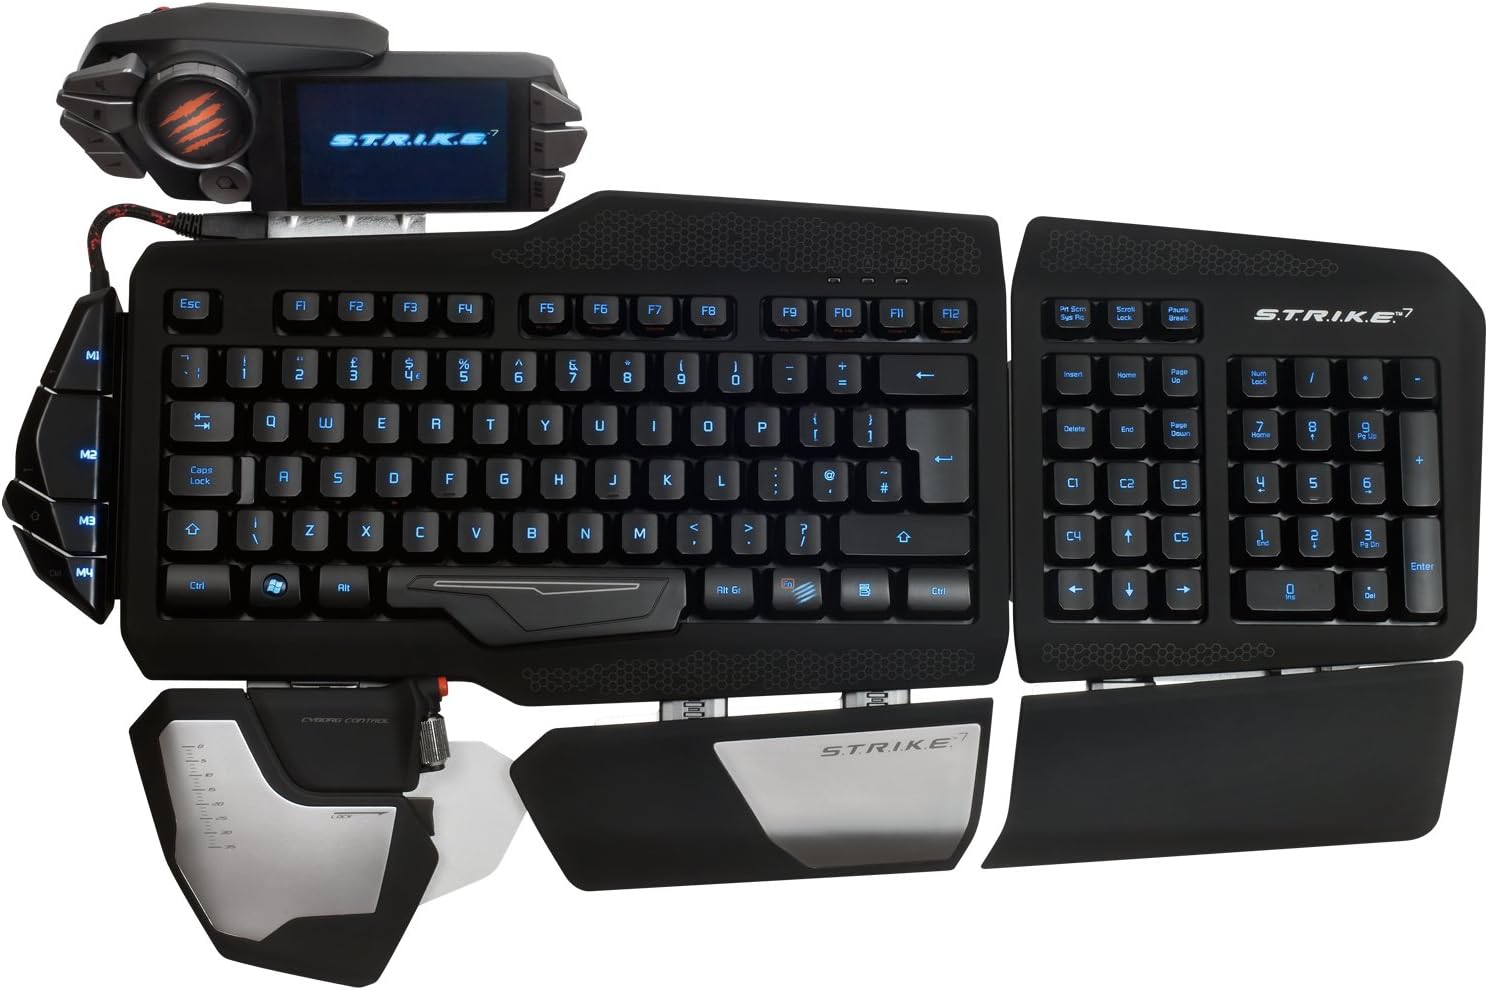
Figura 3: in alto view of the STRIKE7 in a common assembled configuration.
2.3 Connecting to Your PC
Connect the keyboard to your computer using the provided USB cable. The STRIKE7 requires an external power adapter for full functionality, including the VENOM LCD module and integrated USB ports. Plug the power adapter into a wall outlet and connect it to the keyboard.
Nota importante:
Ensure your system's USB ports are compatible. Some users have reported issues with USB 3.0 ports without updated firmware. If experiencing connectivity problems, try connecting to a USB 2.0 port or updating the keyboard's firmware from the official Mad Catz support websito.
2.4 Installazione di driver e software
After connecting the keyboard, your operating system (Windows 7, 8, or 10) should automatically detect the device. For full customization and macro programming, download and install the latest drivers and software from the official Mad Catz support websito. Seguire le istruzioni visualizzate sullo schermo durante l'installazione.
3. Istruzioni per l'uso
3.1 VENOM LCD Module
The VENOM LCD Module provides access to various functions and settings. Use the touchscreen interface to navigate through menus, launch applications, and manage profiles. The module also includes two high-speed USB 2.0 ports for connecting additional peripherals.

Figure 4: VENOM LCD Module with integrated USB ports.
3.2 Programmable Macros
The STRIKE7 features 24 programmable macro buttons. These buttons can be assigned complex commands or sequences using the keyboard's software. Refer to the software's user interface for detailed instructions on macro creation and assignment.
3.3 Retroilluminazione RGB
The keyboard's RGB backlighting can be customized to various colors and effects through the Mad Catz software. Adjust brightness, color, and lighting patterns to suit your preferences.
3.4 Adjustable Palm and Wrist Rests
The 3-part active palm rest and two integrated wrist rests are designed for ergonomic comfort. Adjust their positions to find the most comfortable typing and gaming posture.
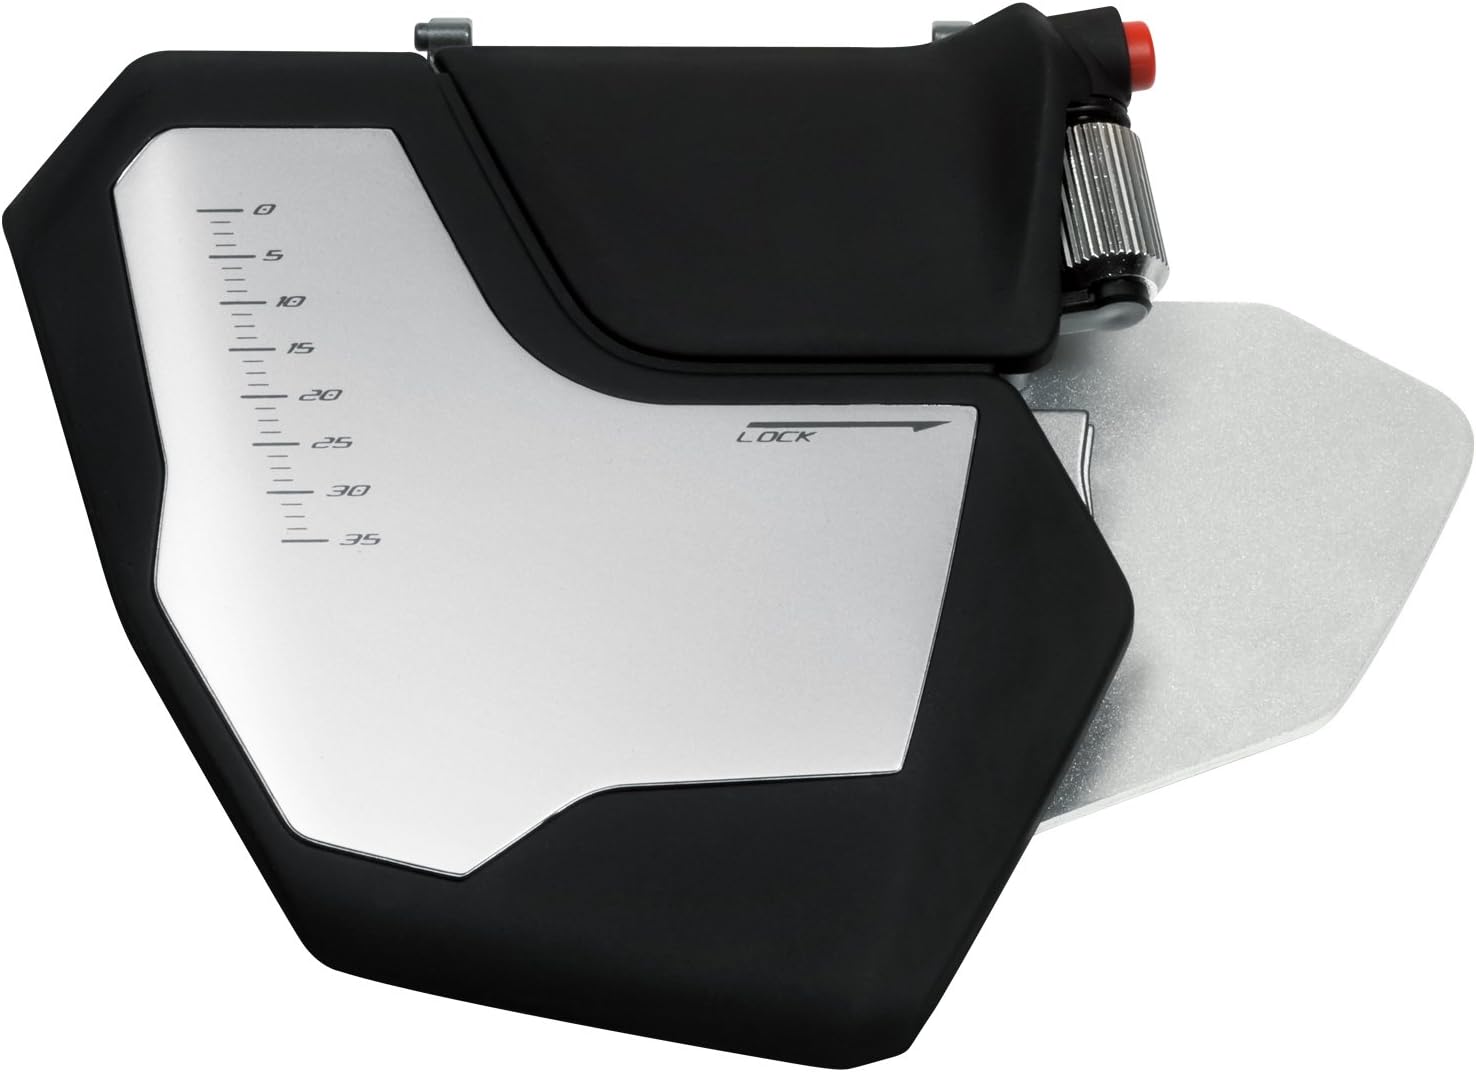
Figure 5: Left palm rest module with integrated control wheel.
3.5 Interchangeable Keys
The STRIKE7 includes interchangeable WASD and arrow keys. These can be swapped to provide a different tactile feel or visual distinction for common gaming controls.
4. Manutenzione
4.1 Pulizia della tastiera
To clean the keyboard, disconnect it from your computer and power source. Use a soft, dry cloth to wipe down the surfaces. For stubborn dirt, a slightly damp cloth with mild soap can be used, ensuring no liquid enters the key switches or electronic components. Do not use harsh chemicals or abrasive materials.
4.2 Pulizia dello schermo LCD
Use a soft, lint-free cloth specifically designed for electronics to clean the VENOM LCD screen. Avoid excessive pressure and do not use chemical cleaners directly on the screen.
5. Risoluzione Dei Problemi
5.1 La tastiera non risponde
- Assicurarsi che il cavo USB sia collegato saldamente sia alla tastiera che al computer.
- Verify the external power adapter is properly connected and plugged into a working outlet.
- Try connecting the keyboard to a different USB port on your computer. If using a USB 3.0 port, try a USB 2.0 port or ensure firmware is updated.
- Riavvia il computer.
5.2 VENOM LCD Module Not Displaying
- Confirm the external power adapter is connected, as the LCD requires external power.
- Ensure the VENOM LCD Module is securely attached to the Main Keyboard Module.
- Check for updated drivers and software from the Mad Catz support websito.
5.3 Macro Programming Issues
- Ensure the Mad Catz software is correctly installed and running.
- Refer to the software's help documentation for detailed macro creation steps.
- Verificare che il pro correttofile is active on the VENOM LCD Module.
5.4 Retroilluminazione non funzionante
- Check the backlighting settings within the Mad Catz software.
- Ensure the external power adapter is connected, as backlighting may require additional power.
6. Specifiche
| Caratteristica | Dettaglio |
|---|---|
| Marca | Gatto pazzo |
| Numero di modello | MCB43109N002/02/1 |
| Tecnologia di connettività | USB |
| Piattaforma hardware | PC |
| Compatibilità del sistema operativo | Windows 10, Windows 7, Windows 8, Windows Vista |
| Peso dell'articolo | 7.28 libbre (circa 3.3 kg) |
| Dimensioni del prodotto (LxWxH) | 9.33 x 7.52 x 15.08 pollici (circa 23.7 x 19.1 x 38.3 cm) |
| Colore | Nero |
| Fonte di alimentazione | USB Power (with external adapter) |
| Numero di porte USB 2.0 | 2 (on VENOM LCD Module) |
| Retroilluminazione della tastiera | Colore RGB |
| Materiale | Metallo |
7. Informazioni sulla garanzia
This product is covered by a limited manufacturer's warranty. For specific warranty terms, conditions, and duration, please refer to the warranty card included with your product or visit the official Mad Catz websito. Conservare la prova d'acquisto per eventuali reclami in garanzia.
8. Supporto e contatto
For technical assistance, driver downloads, firmware updates, or further product information, please visit the official Mad Catz support website. You may also find FAQs and community forums there to assist with common inquiries.
Official Mad Catz Websito: www.madcatz.com (Nota: questo è un segnaposto URL. Refer to your product packaging for the most current support contact information.)