
Introduzione
Thank you for choosing the Kingfisher SLSL3 100 LED Solar String Lights. These lights are designed to provide ambient outdoor illumination using solar energy, offering an eco-friendly and convenient lighting solution for your garden, patio, or outdoor spaces. The system features 100 LED lights, automatic dusk-to-dawn operation, and two lighting modes: static and flashing. This manual provides essential information for the safe and efficient use of your solar string lights.
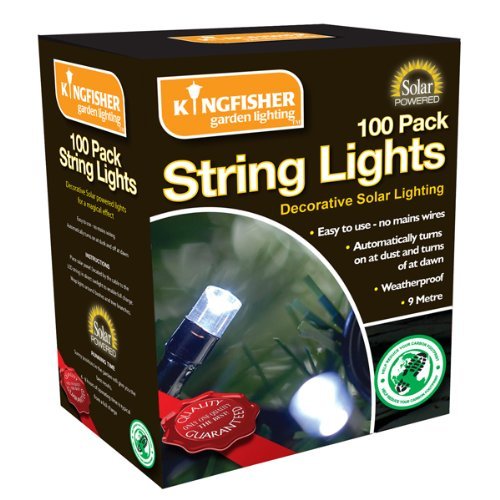
Figure 1: Kingfisher 100 LED Solar String Lights in use.
Informazioni sulla sicurezza
- Leggere attentamente tutte le istruzioni prima dell'installazione e dell'uso.
- Tenere fuori dalla portata dei bambini. Questo prodotto non è un giocattolo.
- Do not attempt to open or modify the solar panel or battery compartment, except for battery replacement as instructed.
- Avoid placing the solar panel in shaded areas as this will reduce charging efficiency.
- Assicurarsi che il pannello solare sia pulito and free from debris for optimal performance.
- Do not immerse the solar panel or light string in water. While weather-resistant, prolonged submersion can cause damage.
- Dispose of batteries responsibly secondo le normative locali.
Contenuto della confezione
Controllare la confezione per assicurarsi che tutti i componenti siano presenti:
- 1 x 100 luci a LED solari
- 1 x Solar Panel with integrated rechargeable battery
- 1 x Ground Stake (for solar panel mounting)
- 1 x Manuale utente
Impostare
- Disimballare i componenti: Estrarre con cautela tutti gli articoli dall'imballaggio.
- Montare il picchetto di terra: Attach the ground stake to the back of the solar panel. Ensure it is securely fastened.
- Posizione del pannello solare: Choose a location for the solar panel that receives maximum direct sunlight for at least 6-8 hours daily. Avoid shaded areas from trees, buildings, or other obstructions.
- Installare le luci: Unwind the string lights and arrange them in your desired location (e.g., around bushes, along a fence, or draped over a patio). Ensure the string is not excessively stretched or tangled.
- Carica iniziale: Before first use, ensure the solar panel is exposed to direct sunlight for a full day (at least 8 hours) with the power switch in the "ON" position. This allows the internal battery to fully charge.
- Attiva le luci: Locate the power switch on the back of the solar panel. Slide it to the "ON" position. The lights will automatically turn on at dusk and off at dawn.
Note: The solar panel has a light sensor that detects ambient light. For testing during daylight, cover the solar panel completely to simulate darkness and check if the lights illuminate.
Istruzioni per l'uso
Your Kingfisher Solar String Lights are designed for simple, automatic operation.
- Accensione/spegnimento automatico: Once the power switch is in the "ON" position, the lights will automatically turn on when it gets dark (dusk) and turn off when it gets light (dawn).
- Selezione della modalità: On the back of the solar panel, there is a "MODE" button. Press this button to cycle between the two available lighting modes:
- Statico: Le luci rimangono accese ininterrottamente.
- Lampeggiante: Lights blink intermittently.
- Ricarica: The solar panel charges the internal battery during daylight hours. The duration of illumination at night depends on the amount of sunlight received during the day.
Manutenzione
Regular maintenance ensures optimal performance and extends the lifespan of your solar string lights.
- Pannello solare pulito: Pulire periodicamente il pannello solare con un panno morbido e asciutto.amp panno per rimuovere polvere, sporco e detriti. Un pannello pulito garantisce il massimo assorbimento della luce solare e l'efficienza di ricarica.
- Controllare eventuali ostruzioni: Ensure no new obstructions (e.g., growing foliage) are shading the solar panel.
- Sostituzione della batteria: Over time, the rechargeable battery's capacity may diminish. If the lights' operating time significantly decreases, the battery may need replacement.
- Locate the battery compartment on the solar panel.
- Aprire con cautela il vano.
- Replace with a new, equivalent rechargeable battery (e.g., Ni-MH AA, specific voltage/mAh as indicated on the original battery).
- Chiudere bene il vano.
- Rimessaggio invernale: During prolonged periods of low sunlight or freezing temperatures, you may choose to bring the lights indoors. Clean them thoroughly and store them in a dry place.
Risoluzione dei problemi
| Problema | Possibile causa | Soluzione |
|---|---|---|
| Di notte le luci non si accendono. |
|
|
| Le luci sono fioche o restano accese solo per poco tempo. |
|
|
| Lights flicker erratically (not in flashing mode). |
|
|
Specifiche
| Caratteristica | Dettaglio |
|---|---|
| Numero di modello | SLSL3 |
| Tipo di sorgente luminosa | GUIDATO |
| Numero di luci | 100 |
| Fonte di alimentazione | Alimentato ad energia solare |
| Dimensioni del prodotto | 1190 x 4 x 4 cm (approx. 11.9 meters length) |
| Peso | 220 grammi |
| Produttore | King Fisher |
| Colore | White (LED light color) |
| Modalità di illuminazione | Static, Flashing |
| Resistenza alle intemperie | SÌ |
Garanzia e supporto
This product is covered by a standard manufacturer's warranty against defects in materials and workmanship. Please retain your proof of purchase for warranty claims. For technical support or further assistance, please contact your retailer or the manufacturer directly. Contact information can typically be found on the product packaging or the retailer's websito.
Per maggiori informazioni, potete visitare il sito pagina del prodotto.