
Introduzione
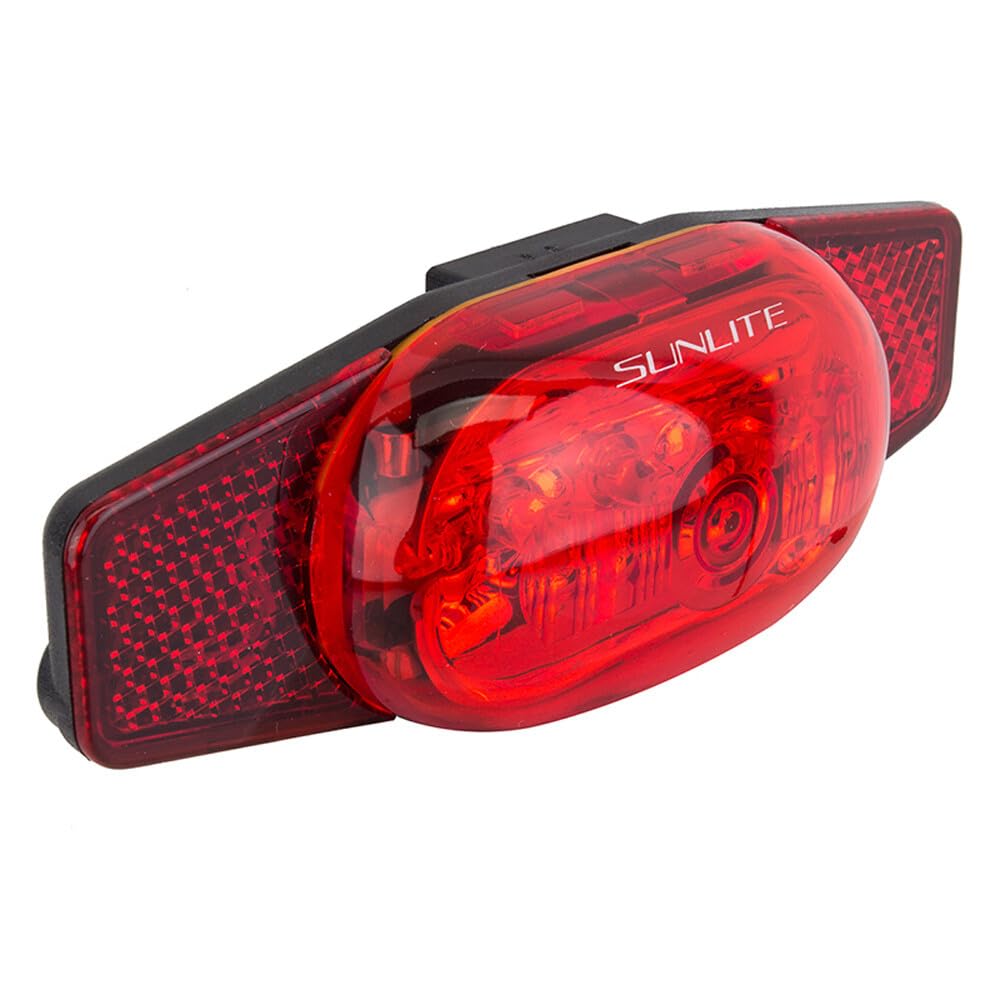
Thank you for choosing the Sunlite TL-L505 Tail Light. This manual provides essential information for the proper installation, operation, and maintenance of your new bicycle tail light. Designed for enhanced visibility, this rack-mounted light features 5 LEDs and an integrated reflector to ensure safety during your rides. Please read these instructions thoroughly before use.
Impostare
1. Installazione della batteria
The Sunlite TL-L505 Tail Light requires two (2) AAA batteries for operation. These are typically included with your purchase. To install or replace batteries:
- Locate the battery compartment cover on the rear of the tail light.
- Aprire con cautela il coperchio.
- Inserire le due batterie AAA, assicurandosi che la polarità sia corretta (+/-) come indicato all'interno del vano.
- Chiudere saldamente il coperchio del vano batterie.
2. Montaggio del fanale posteriore
This tail light is designed for rack mounting and offers a universal fit for most standard rear bicycle racks. It attaches using two bolts.
- Align the two mounting holes on the tail light with the corresponding holes on your bicycle's rear rack.
- Insert the provided bolts through the tail light and rack holes.
- Securely fasten the bolts with nuts, ensuring the light is firmly attached and does not wobble. Over-tightening may damage the plastic housing.
Istruzioni per l'uso
The Sunlite TL-L505 Tail Light features multiple lighting modes for various conditions. To cycle through the modes:
- Locate the power button, typically on the side or rear of the light.
- Press the button once to turn the light ON.
- Subsequent presses will cycle through the available modes:
- Modalità fissa: Fornisce un'illuminazione continua.
- Flashing Mode 1: A slow, consistent flash.
- Flashing Mode 2: A rapid, consistent flash.
- Flashing Mode 3: An irregular, attention-grabbing flash pattern.
- To turn the light OFF, press and hold the power button for approximately 2-3 seconds, or cycle through all modes until the light turns off.
Manutenzione
Sostituzione della batteria
Replace batteries when the light appears dim or stops functioning. Refer to the 'Battery Installation' section under Setup for detailed steps.
Pulizia
Pulisci la superficie della luce con un panno morbido eamp cloth. Avoid using abrasive cleaners or solvents, as these can damage the plastic and reflector. Ensure the battery compartment is sealed before cleaning.
Resistenza all'acqua
The Sunlite TL-L505 Tail Light has an International Protection Rating of IPX5, meaning it is water-resistant and can withstand sustained low-pressure water jet sprays. It is not designed for submersion. Ensure the battery compartment is properly sealed to maintain water resistance.
Risoluzione dei problemi
- La luce non si accende:
- Controllare che le batterie siano installate correttamente e con la giusta polarità.
- Sostituisci le vecchie batterie con nuove batterie AAA.
- Assicurarsi che il coperchio del vano batteria sia chiuso saldamente.
- La luce tremola o è fioca:
- Le batterie potrebbero essere scariche; sostituirle.
- Assicurarsi che i contatti della batteria siano puliti e privi di corrosione.
- Light falls off the rack:
- Ensure mounting bolts are securely tightened.
- Verify the light is correctly seated on the rack's mounting points.
Specifiche
| Caratteristica | Dettaglio |
|---|---|
| Marca | Luce solare |
| Numero di modello | 98284 |
| Colore | Rosso |
| Materiale | Multiplo |
| Fonte di alimentazione | Alimentato a batteria (2 batterie AAA) |
| Livello di resistenza all'acqua | Resistente all'acqua (IPX5) |
| Peso dell'articolo | 2.88 once |
| Tipo di montaggio | Rear Rack Mount |
| Numero di impostazioni | 4 (3 flashing, 1 steady) |
| Dimensioni del prodotto (L x P x A) | 9" x 5.5" x 1" |
| Componenti inclusi | Fanale posteriore |
Garanzia e supporto
The Sunlite TL-L505 Tail Light comes with a Limited Warranty. For specific warranty details, claims, or technical support, please refer to the warranty information provided with your purchase or contact Sunlite customer service directly. Keep your proof of purchase for warranty purposes.