Keystone KSTAD70B
Keystone KSTAD70B 70-Pint Dehumidifier User Manual
1. Introduzione
This manual provides essential information for the safe and efficient operation of your Keystone KSTAD70B 70-Pint Dehumidifier. This unit is designed to remove up to 70 pints of moisture from the air daily, suitable for rooms up to 4500 square feet. Key features include electronic controls with an LED display, a 24-hour timer, a transparent water level indicator, and a full bucket alert with automatic shutoff. It also offers a continuous draining option and a removable, easy-to-clean dust filter with a clean-filter alert. The auto-restart function preserves your settings after a power outage, and rolling casters facilitate easy movement.
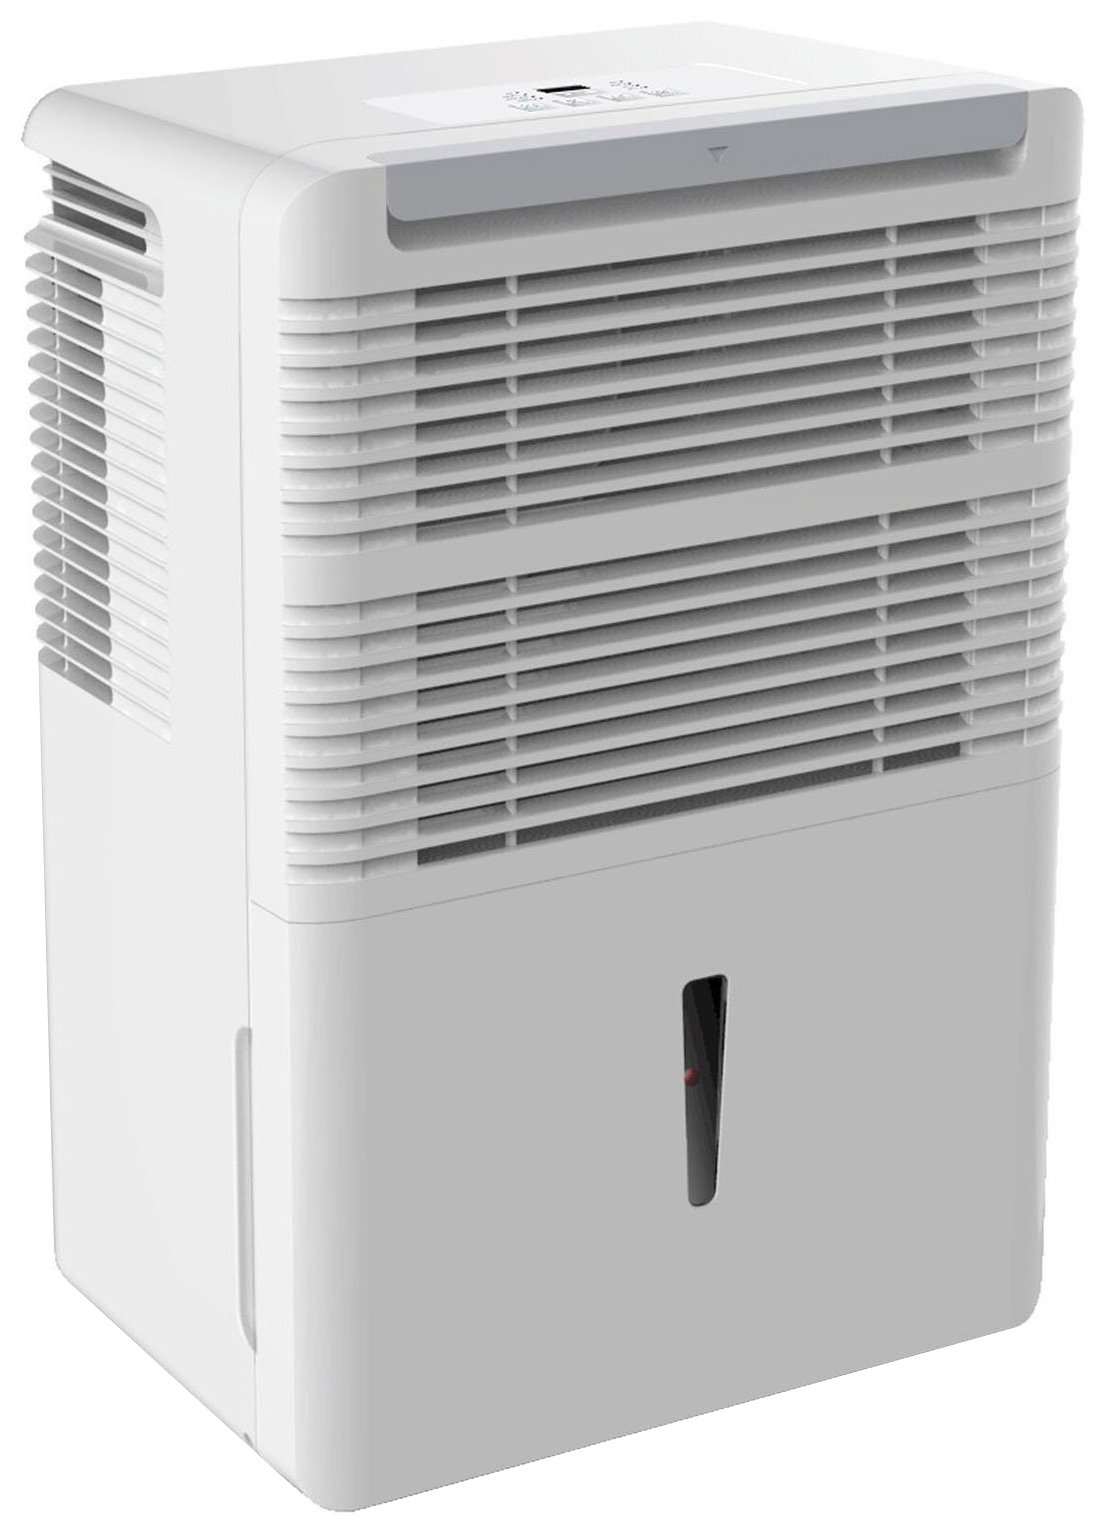
Figura 1: Fronte view of the Keystone KSTAD70B Dehumidifier.
2. Informazioni sulla sicurezza
Leggere attentamente tutte le istruzioni di sicurezza prima di utilizzare il deumidificatore per evitare lesioni o danni. Conservare il presente manuale per riferimento futuro.
- Always connect the unit to a properly grounded electrical outlet of the correct voltage.
- Non utilizzare l'unità con un cavo di alimentazione o una spina danneggiati.
- Ensure adequate clearance (at least 12-18 inches) around the air intake and outlet to prevent overheating and ensure efficient operation.
- Non ostruire le prese d'aria.
- Non utilizzare il deumidificatore vicino all'acqua o in ambienti eccessivamente umidi.
- Scollegare l'unità prima di pulirla o di effettuare qualsiasi intervento di manutenzione.
- Questo apparecchio non è destinato all'uso da parte di persone (bambini compresi) con ridotte capacità fisiche, sensoriali o mentali, o prive di esperienza e conoscenza, a meno che non siano supervisionate o abbiano ricevuto istruzioni riguardanti l'uso dell'apparecchio da una persona responsabile della loro sicurezza.
- Non utilizzare solventi chimici o detergenti abrasivi sull'unità.
3. Installazione e posizionamento
3.1 Disimballaggio
Estrarre con cautela il deumidificatore dall'imballaggio. Conservare il materiale di imballaggio per un eventuale stoccaggio o trasporto futuro. Ispezionare l'unità per verificare la presenza di eventuali danni durante il trasporto.
3.2 Posizionamento
For optimal performance, place the dehumidifier in a location where air can circulate freely around it. The unit circulates air from the sides, not the top. Therefore, avoid placing it directly in a corner or against walls. Maintain a minimum clearance of 12-18 inches (30-45 cm) on all sides to ensure proper airflow.
3.3 Accensione iniziale
Collegare il cavo di alimentazione a una presa elettrica dotata di messa a terra. L'unità è ora pronta per l'uso.
4. Istruzioni per l'uso
4.1 Pannello di controllo Sopraview

Figure 2: Control panel of the Keystone KSTAD70B Dehumidifier.
The control panel features an LED display and various buttons for setting the dehumidifier's functions:
- Pulsante di accensione: Accende o spegne l'unità.
- Pulsante ventola: Adjusts fan speed (typically Low, Medium, High).
- Pulsante Timer: Imposta il timer di accensione/spegnimento su 24 ore.
- Frecce su/giù: Adjust humidity level settings or timer duration.
- Indicatore del filtro: Si illumina quando è necessario pulire il filtro dell'aria.
- Indicatore completo: Illuminates when the water bucket is full and needs emptying.
- Cont. (Continuous) Indicator: Illuminates when the unit is set for continuous operation.
- Modalità Turbo: Activates maximum dehumidification.
- Modalità normale: Funzionamento standard di deumidificazione.
- Auto scongelamento: Automatically defrosts the coils if ice builds up.
4.2 Impostazione del livello di umidità desiderato
Press the Up or Down arrow buttons to set your desired humidity level. The unit will operate until the set humidity is reached, then cycle on and off to maintain it. The recommended humidity range for comfort is typically between 45% and 55%.
4.3 Funzionamento continuo
To run the dehumidifier continuously, select the 'Cont.' setting. In this mode, the unit will operate regardless of the ambient humidity level. Note that when continuous operation is selected, the humidity setpoint buttons will not respond.
4.4 Funzione timer
Use the Timer button to program the unit to turn on or off automatically after a set number of hours (up to 24 hours).
4.5 Riavvio automatico
The unit features an auto-restart function that saves your settings. In the event of a power outage, una volta ripristinata l'alimentazione, il deumidificatore riprenderà automaticamente a funzionare con le ultime impostazioni.
5. Manutenzione
Una manutenzione regolare garantisce prestazioni ottimali e longevità del deumidificatore.
5.1 Svuotamento del secchio dell'acqua
When the water bucket is full, the 'Full' indicator light will illuminate, and the unit will automatically shut off. Carefully remove the bucket and empty the collected water. Reinsert the bucket firmly until it clicks into place to resume operation.

Figura 3: Rimozione del secchio di raccolta dell'acqua.

Figure 4: Transparent water level indicator.
5.2 Continuous Draining Option
For continuous operation without emptying the bucket, you can connect a standard garden hose (not included) to the unit's low-level drain. The unit includes an adapter with a clear hose that pushes onto a smooth plastic fitting inside the unit. This adapter has male hose threads for attaching a garden hose. Ensure the hose is routed downwards to a suitable drain to allow gravity to remove the water.
5.3 Pulizia del filtro dell'aria
The 'Filter' indicator light will remind you when it's time to clean the air filter. A clean filter ensures efficient operation and better air quality. To clean, lift the filter straight up from the top at the front corner of the unit and slide it out. Wash the filter with warm, soapy water, rinse thoroughly, and allow it to air dry completely before reinserting.

Figure 5: Removing the air filter for cleaning.
6. Risoluzione Dei Problemi
Prima di contattare l'assistenza, prova questi comuni passaggi per la risoluzione dei problemi:
| Problema | Possibile causa | Soluzione |
|---|---|---|
| Il deumidificatore non si accende. | No power; power cord loose; 'Full' indicator on. | Check power supply; ensure cord is plugged in; empty water bucket. |
| L'unità funziona ma non deumidifica. | Air filter clogged; room temperature too low; unit size too small for area. | Clean air filter; ensure room temperature is above 41°F (5°C); consider unit placement. |
| L'unità è rumorosa. | Unità non a livello; ventola ostruita. | Place on a flat, stable surface; check for obstructions in fan area. |
| Perdite d'acqua dall'unità. | Water bucket not properly seated; continuous drain hose loose or clogged. | Ensure bucket is fully inserted; check continuous drain hose connection and clear any blockages. |
7. Specifiche
| Caratteristica | Dettaglio |
|---|---|
| Marca | Chiave di volta |
| Nome del modello | KSTAD70B |
| Capacità di deumidificazione | 70 pinte al giorno |
| Dimensioni consigliate della stanza | Fino a 4500 piedi quadrati |
| Colore | Bianco |
| Caratteristiche speciali | Automatic Restart, Automatic Shutoff |
| Numero di velocità | 3 |
| Modalità di funzionamento | Normal, Turbo, Auto-Defrost |
| Cosatage | 720 watt |
| Peso dell'articolo | 40 libbre |
| Dimensioni del prodotto (L x P x A) | 11.25 x 15.5 x 23.25 pollici |
| Usi consigliati | Residenziale |
8. Informazioni sulla garanzia
The Keystone KSTAD70B Dehumidifier comes with a Garanzia di 1 anno su parti e manodopera, e un 5 anni di garanzia limitata on the sealed system. Please refer to the physical warranty card included with your product for full terms and conditions.
9. Assistenza clienti
For product registration, warranty claims, or technical assistance, please refer to the contact information provided in the physical instruction manual that came with your dehumidifier. Online registration or direct manufacturer contact information may not be readily available; therefore, retaining your original manual is important for support inquiries.
Ask a question about this manual
Ask about setup, troubleshooting, compatibility, parts, safety, or missing instructions. Manuals+ will review the question and use this page’s manual context to help answer it.