
1. Introduzione
This manual provides detailed instructions for the safe and proper installation and operation of your Techly Tilting Wall Mount, Model B00DEBVVHS. This wall mount is designed to securely hold LED/LCD TVs ranging from 13 to 30 inches, with a maximum weight capacity of 23 kg (51 lbs). It features adjustable mounting holes compatible with VESA standards 75x75 mm and 100x100 mm, and offers a tilt range of +/- 15 degrees for optimal viewing angles. The mount maintains a distance of 98 mm from the wall.
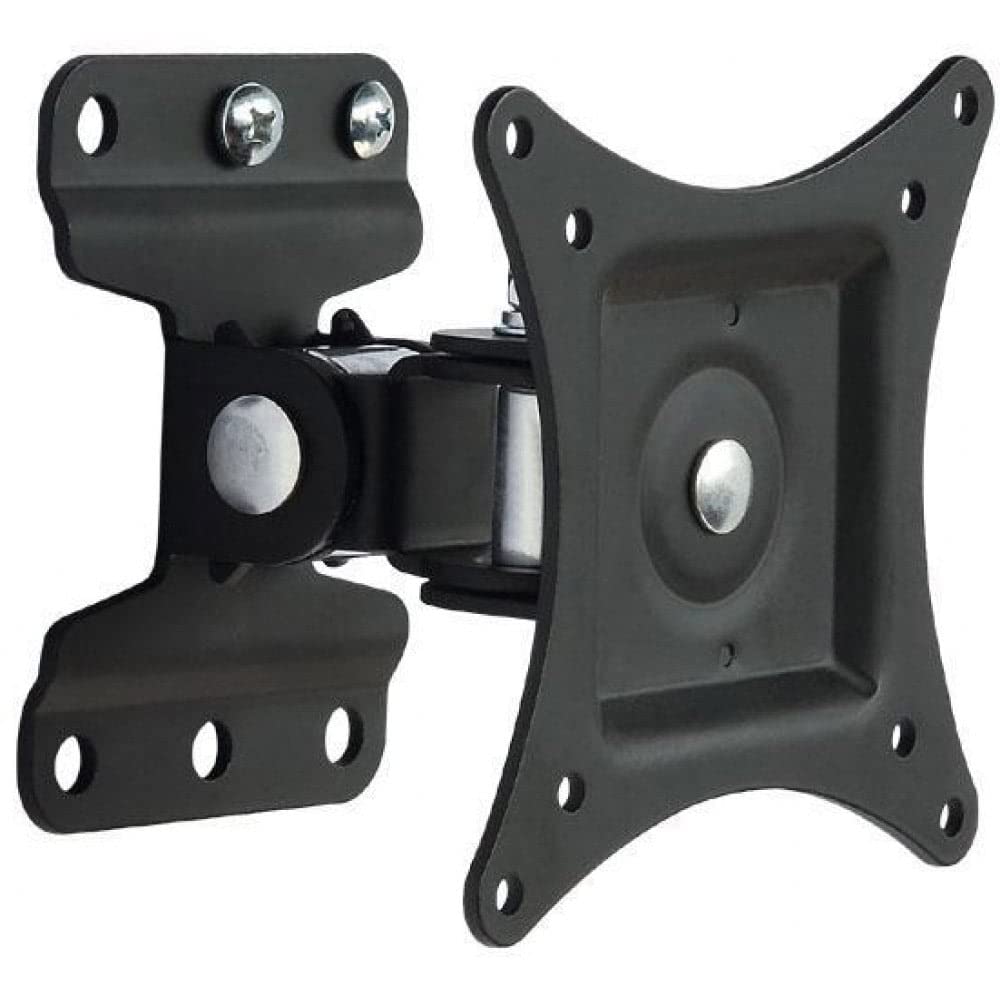
Immagine 1.1: anteriore view of the Techly Tilting Wall Mount.
2. Informazioni sulla sicurezza
- Leggere attentamente tutte le istruzioni: Before installation, ensure you understand all instructions. If you have any doubts, consult a qualified professional.
- Capacità di peso: Non superare la capacità di peso massima di 23 kg (51 libbre). Il sovraccarico può causare gravi lesioni o danni materiali.
- Dimensioni dello schermo: Questo supporto è progettato per TV da 13 a 30 pollici. L'utilizzo con TV di dimensioni diverse potrebbe comprometterne la stabilità.
- Tipo di parete: Ensure the mounting surface can safely support the combined weight of the mount and your TV. This mount is intended for installation on solid concrete walls, brick walls, or wood stud walls. Do not install on drywall alone.
- Utensili: Utilizzare gli strumenti appropriati per l'installazione. Indossare occhiali di sicurezza e altri dispositivi di protezione individuale, se necessario.
- Bambini: Tenere i bambini lontani dalla zona di installazione.
- Manutenzione: Controllare periodicamente che il supporto sia ben fissato e che tutti i dispositivi di fissaggio siano ben serrati.
3. Contenuto della confezione
Verificare che tutti i componenti siano presenti prima di iniziare l'installazione. Se qualche componente risulta mancante o danneggiato, non procedere con l'installazione e contattare l'assistenza clienti.
- Wall Mount Assembly (1 unit)
- Mounting Hardware (screws, anchors, washers, spacers)
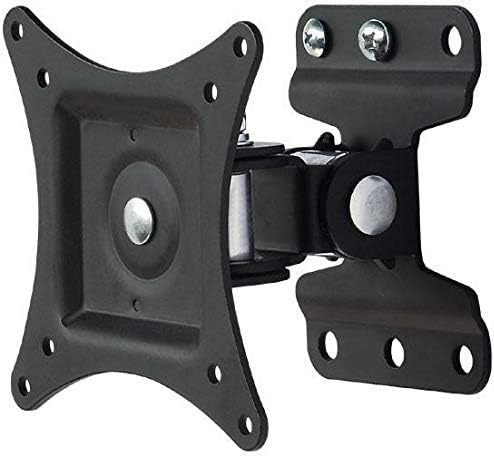
Immagine 3.1: View of the wall mount components, including the main bracket and articulating arm.
4. Specifiche
| Modello | B00DEBVVHS |
| Marca | Tecnicamente |
| Tipo di montaggio | Montaggio a parete |
| Tipo di movimento | Articulating, Tilt |
| Dimensioni dello schermo compatibili | 13 - 30 pollici |
| Peso massimo TV | 23 kg (51 libbre) |
| Compatibilità VESA | 75x75 mm, 100x100 mm |
| Angolo di inclinazione | +/- 15 gradi |
| Distanza dal muro | 98 mm (3.9 pollici) |
| Materiale | Alluminio |
| Colore | Nero |
Image 4.1: Technical drawing showing key dimensions and VESA mounting points.
5. Configurazione e installazione
Strumenti necessari (non inclusi): Pencil, Stud Finder (for wood studs), Drill, Drill Bits (appropriate for wall type), Level, Phillips Head Screwdriver, Socket Wrench.
Passaggio 1: Fissare le staffe TV al televisore
- Posizionare con cautela il televisore a faccia in giù su una superficie morbida e pulita per evitare di danneggiare lo schermo.
- Identifica i fori di montaggio VESA sul retro del televisore.
- Select the appropriate screws, washers, and spacers from the provided hardware kit that fit your TV's mounting holes. Ensure the screws are not too long, which could damage internal components, or too short, which would not provide a secure fit.
- Attach the VESA plate of the wall mount to the back of your TV using the selected hardware. Tighten securely, but do not overtighten.

Image 5.1: The VESA plate of the mount, which attaches to the TV.
Step 2: Mark Drilling Holes on the Wall
- Determine the desired height for your TV. Consider viewing angles and furniture placement.
- Hold the wall plate portion of the mount against the wall at the desired height. Use a level to ensure it is perfectly horizontal.
- Mark the drilling locations through the holes on the wall plate using a pencil.
- For wood stud installation, use a stud finder to locate the center of a wood stud and ensure at least two mounting holes align with the stud.
Step 3: Drill Holes and Install Wall Plate
- Drill pilot holes at the marked locations. The drill bit size will depend on your wall type and the anchors/screws provided.
- For concrete/brick walls, insert the plastic wall anchors into the drilled holes. Tap gently with a hammer until flush with the wall surface.
- Position the wall plate over the drilled holes and secure it to the wall using the provided screws and washers. Tighten all screws firmly to ensure the wall plate is securely fastened.
Fase 4: montare la TV sulla piastra a muro
- With assistance, carefully lift the TV (with the VESA plate attached) and align the VESA plate with the arm extending from the wall plate.
- Slide the VESA plate onto the arm until it clicks into place or can be secured with the provided locking mechanism (if applicable).
- Double-check that the TV is securely attached to the wall mount before releasinidiota.
6. Funzionamento del supporto
This wall mount allows for tilting adjustments to achieve your preferred viewangolo di ing.
- Inclinazione: The mount allows for a tilt range of +/- 15 degrees. To adjust the tilt, gently push or pull the top or bottom of your TV to the desired angle. The friction mechanism will hold the TV in place.
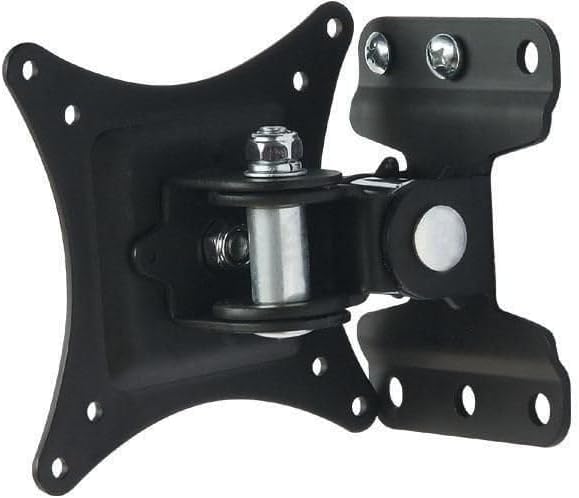
Image 6.1: Diagram illustrating the +/- 15 degree tilt capability of the mount.
7. Manutenzione
- Pulizia: Pulire il supporto con un panno morbido e asciutto. Non utilizzare detergenti abrasivi o solventi.
- Controlli periodici: Regularly inspect the mount and all fasteners to ensure they remain tight and secure. If any components appear loose or damaged, tighten them or replace them immediately.
- Lubrificazione: The articulating joints are designed for smooth movement. No lubrication is typically required.
8. Risoluzione Dei Problemi
- La TV non è in piano: Ensure the wall plate was installed level. If not, remove the TV, loosen the wall plate screws, adjust with a level, and re-tighten.
- Il supporto sembra allentato: Check all screws securing the mount to the wall and the TV to the mount. Tighten any loose fasteners. Do not overtighten.
- Difficoltà nell'inclinazione della TV: Ensure no cables are obstructing the movement. The tilt mechanism is designed to hold position, so some resistance is normal. If it's excessively stiff, check for any debris in the joint.
- Mounting screws do not fit TV: Refer to your TV's manual for correct VESA screw sizes. The provided hardware kit includes common sizes, but some TVs may require specific screws.
9. Informazioni sulla garanzia
This Techly Tilting Wall Mount comes with a Garanzia di 2 anno from the date of purchase. This warranty covers manufacturing defects and material flaws under normal use. It does not cover damage caused by improper installation, misuse, accidents, or unauthorized modifications. Please retain your proof of purchase for warranty claims.
10. Assistenza clienti
For technical assistance, missing parts, or warranty inquiries, please contact Techly customer support. Refer to the product packaging or the official Techly websito per le informazioni di contatto più aggiornate.