1. Introduzione
Grazie per l'acquistoasing the DBPOWER RD-806 HD Home Theater Projector. This manual provides essential information for setting up, operating, and maintaining your projector. Please read these instructions carefully before use to ensure optimal performance and longevity of your device. Keep this manual for future reference.
2. Prodotto finitoview
The DBPOWER RD-806 is a high-definition home theater projector designed for a versatile viewing experience. It features a native resolution of 1280x800, supporting 1080P input, and offers 2800 lumens brightness for clear images. Its LED lamp has an impressive lifespan of 50,000 hours. The projector includes multiple input options and built-in speakers, making it suitable for movies, gaming, and presentations.
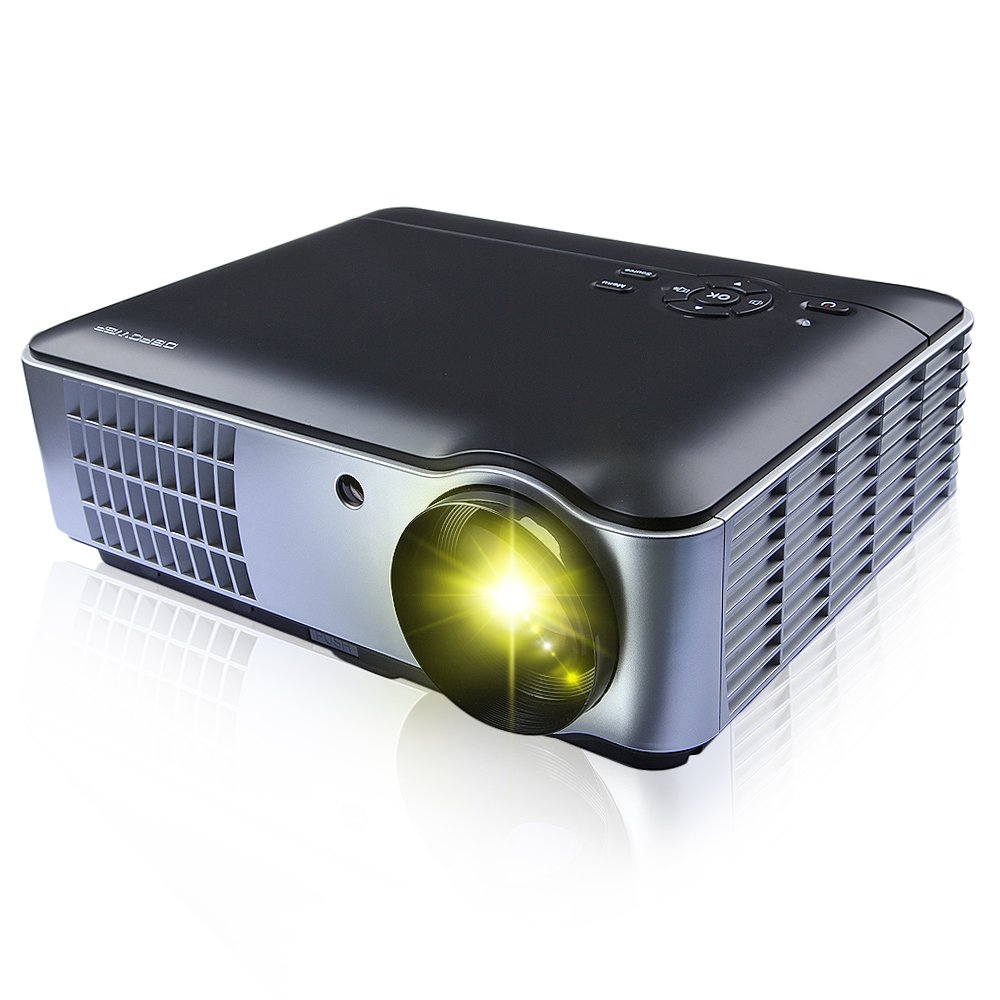
Figura 2.1: Davanti, di lato e in basso view of the DBPOWER RD-806 projector, showing its dimensions (33.6cm length, 26.3cm width, 11.8cm height) and the included remote control.
3. Contenuto della confezione
Al momento del disimballaggio, verificare che tutti gli articoli siano presenti e in buone condizioni:
- 1 x DBPOWER RD-806 Projector
- 1 x telecomando
- 1 cavo VGA
- 1 x cavo AV
- 1 x cavo di alimentazione
- 1 x Copriobiettivo
- 1 x Manuale utente (questo documento)
4. Impostazione
4.1 Posizionamento
Position the projector on a stable, flat surface or mount it to the ceiling. Ensure there is adequate ventilation around the projector to prevent overheating. The projection distance should be between 1.85 and 5.8 meters for an optimal screen size of 50 to 200 inches.

Figura 4.1: The projector can be placed on a table or mounted to the ceiling using a compatible bracket.
4.2 Collegamento di alimentazione
- Collegare il cavo di alimentazione alla porta di ingresso alimentazione del proiettore.
- Plug the other end of the power cord into a standard AC 110-240V, 50/60Hz electrical outlet.
4.3 Collegamento dei dispositivi
The RD-806 projector offers multiple input options for various devices:

Figura 4.2: Rear panel connections including USB, AV, VGA, HDMI, and power input.
- HDMI: Connect Blu-ray players, gaming consoles, laptops, or streaming devices using an HDMI cable to either HDMI1 or HDMI2 port.
- USB: Insert a USB flash drive into USB1 or USB2 port to play multimedia filedirettamente.
- VGA: Connect a computer or laptop using a VGA cable to the VGA port.
- AV: Use the provided AV cable to connect older devices like DVD players or VCRs to the AV input.
- Component/TV: Additional input options are available for specific devices.
5. Istruzioni per l'uso
5.1 Accensione/Spegnimento
- Press the power button on the projector or the remote control to turn the unit on. The power indicator light will illuminate.
- To turn off, press the power button again. Allow the projector to cool down before unplugging it.
5.2 Regolazione della messa a fuoco
To achieve a clear image, adjust the focus ring located around the projector lens.

Figura 5.1: Rotate the lens ring to adjust image focus.
5.3 Correzione trapezoidale
If the projected image appears trapezoidal (wider at the top or bottom), use the keystone correction dial to adjust the image geometry. This corrects the distortion when the projector is not perfectly perpendicular to the screen.
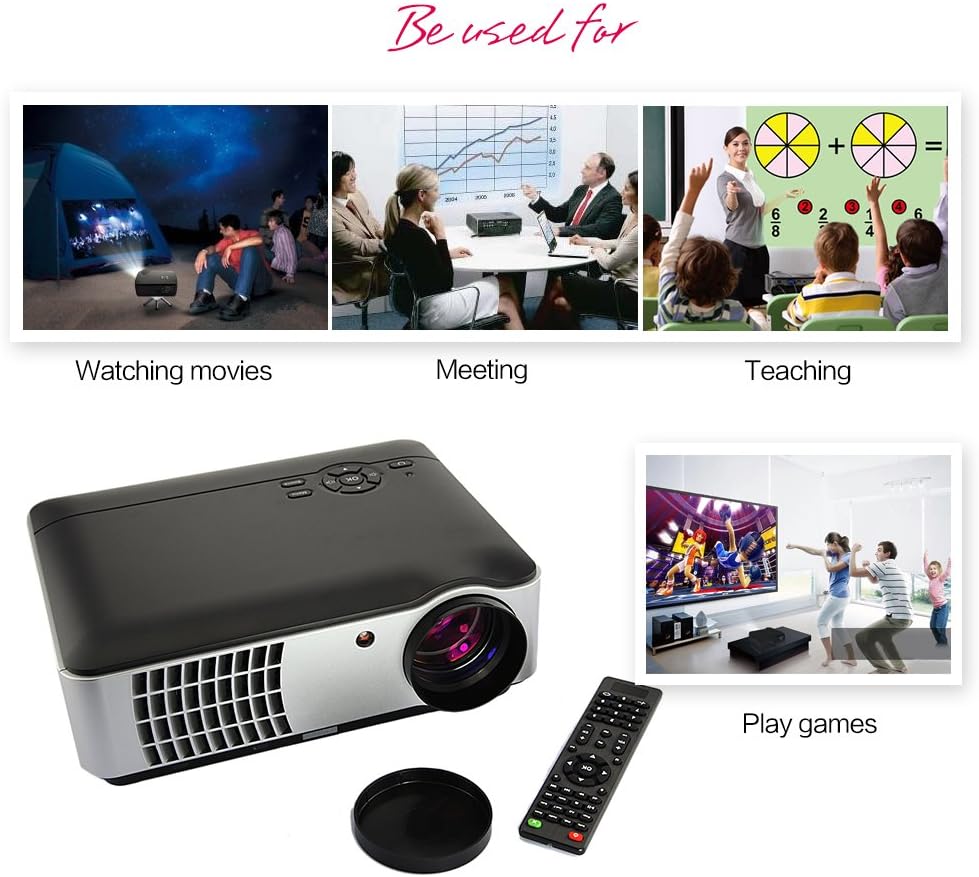
Figura 5.2: Adjust the keystone dial to correct image distortion.
5.4 Selezione della sorgente di input
After connecting your devices, select the appropriate input source using the projector's control panel or the remote control.

Figura 5.3: Projector control panel. Use the 'Source' button to cycle through input options.
- Press the 'Source' button on the control panel or remote.
- Navigate through the input options (HDMI1, HDMI2, USB1, USB2, AV, VGA, TV) using the arrow keys.
- Premere 'OK' o 'Invio' per confermare la selezione.
5.5 Utilizzo del telecomando
The included remote control allows for convenient operation of the projector from a distance. It provides access to power, menu, source selection, volume, and navigation functions.
6. Manutenzione
Una corretta manutenzione garantisce la longevità e le prestazioni del proiettore.
- Pulizia della lente: Utilizzare un panno morbido e privo di lanugine, specificamente progettato per lenti ottiche. Non utilizzare detergenti abrasivi o panni che potrebbero graffiare le lenti.
- Pulizia del corpo del proiettore: Pulire l'esterno con un panno morbido e asciutto. Per lo sporco ostinato, un panno leggermenteamp Si può usare un panno, seguito da un panno asciutto. Evitare l'uso di prodotti chimici aggressivi.
- Ventilazione: Assicurarsi che le aperture di ventilazione del proiettore siano libere da polvere e ostruzioni per evitare il surriscaldamento.
- Lamp Vita: The LED light source has an estimated lifespan of 50,000 hours, requiring no regular lamp replacement under normal use.
7. Risoluzione Dei Problemi
Se riscontri problemi con il proiettore, fai riferimento ai seguenti problemi comuni e alle relative soluzioni:
- Nessun potere:
- Verificare che il cavo di alimentazione sia collegato saldamente sia al proiettore sia alla presa di corrente.
- Assicurarsi che la presa di corrente sia funzionante.
- Nessuna immagine:
- Verificare che sia selezionata la sorgente di ingresso corretta (ad esempio, HDMI1, USB).
- Controllare il cavo di collegamento tra il proiettore e il dispositivo sorgente.
- Assicurarsi che il dispositivo sorgente sia acceso e che emetta un segnale.
- Immagine sfocata:
- Regolare l'anello di messa a fuoco sull'obiettivo del proiettore.
- Assicurarsi che la distanza di proiezione sia compresa nell'intervallo consigliato (1.85-5.8 m).
- Immagine trapezoidale:
- Adjust the keystone correction dial on the projector.
- Nessun suono:
- Controllare le impostazioni del volume sia sul proiettore che sul dispositivo sorgente.
- Se si utilizzano altoparlanti esterni, assicurarsi che i cavi audio siano collegati correttamente.
8. Specifiche
| Caratteristica | Specificazione |
|---|---|
| Modello | RD-806 |
| Sistema di proiezione | Single 5.8-inch LCD |
| Risoluzione nativa | 1280 x 800 (supports 1080P) |
| Luminosità | 2800 lumen |
| Rapporto di contrasto | 1500:1 |
| Metodo di proiezione | Front / Rear / Hanging Cast |
| Lente di proiezione | Messa a fuoco manuale |
| Proporzioni | 16:9 / 4:3 |
| Altoparlante incorporato | 5W x 2 |
| Distanza di proiezione | 1.85 - 5.8 metri |
| Sorgente luminosa | LED150W |
| Vita della fonte di luce | 50,000 ore |
| Dimensioni della proiezione | 50 - 200 pollici |
| Correzione Keystone | ± 15 gradi |
| Livello di rumore | <25 dB |
| Alimentazione elettrica | AC110-240V / 50-60Hz |
| Porte di ingresso | HDMI1, HDMI2, USB1, USB2, Video, Computer (VGA), Component, TV |
| Dimensioni del prodotto | Dimensioni: 33.6 x 26.3 x 11.8 cm |
| Peso del prodotto | 4.15 kg |
9. Garanzia e supporto
The DBPOWER RD-806 projector comes with a standard manufacturer's warranty. Please refer to the warranty card included in your package for specific terms and conditions. For technical support, troubleshooting assistance beyond this manual, or warranty claims, please contact DBPOWER customer service through their official websito o rivenditore presso cui è stato acquistato il prodotto.