1. Introduzione
Grazie per l'acquistoasing the Pioneer TS-G1020S 4-inch 2-Way G-Series Coaxial Car Speakers. These speakers are designed to provide enhanced audio performance in your vehicle. This manual provides essential information for proper installation, operation, and maintenance to ensure optimal performance and longevity of your speakers.
2. Informazioni sulla sicurezza
Please read all safety instructions before installing or operating these speakers. Failure to follow these guidelines may result in injury or damage to the product or vehicle.
- Installazione professionale consigliata: In caso di dubbi su qualsiasi aspetto dell'installazione, consultare un professionista qualificato.
- Scollegare la batteria: Prima di iniziare qualsiasi intervento elettrico, scollegare sempre il terminale negativo della batteria del veicolo per evitare cortocircuiti.
- Cablaggio corretto: Assicurarsi che tutti i collegamenti elettrici siano saldi e correttamente polarizzati. Un cablaggio errato può danneggiare gli altoparlanti o l'impianto audio del veicolo.
- Evitare il sovraccarico: Do not operate speakers at excessively high volumes for extended periods, as this can cause damage to the speakers and potentially your hearing.
- Sicurezza del montaggio: Montare saldamente gli altoparlanti per evitare che si allentino durante il funzionamento del veicolo, causando lesioni o danni.
- Condizioni ambientali: Avoid exposing speakers to extreme moisture, heat, or direct sunlight, which can degrade performance and lifespan.
3. Contenuto della confezione
Verificare che tutti gli articoli siano presenti nel pacco:
- Pioneer TS-G1020S 4-inch 2-Way Coaxial Speakers (1 pair)
- Mounting screws and clips
- Speaker wire (may vary by region/package)
- Manuale di istruzioni (questo documento)
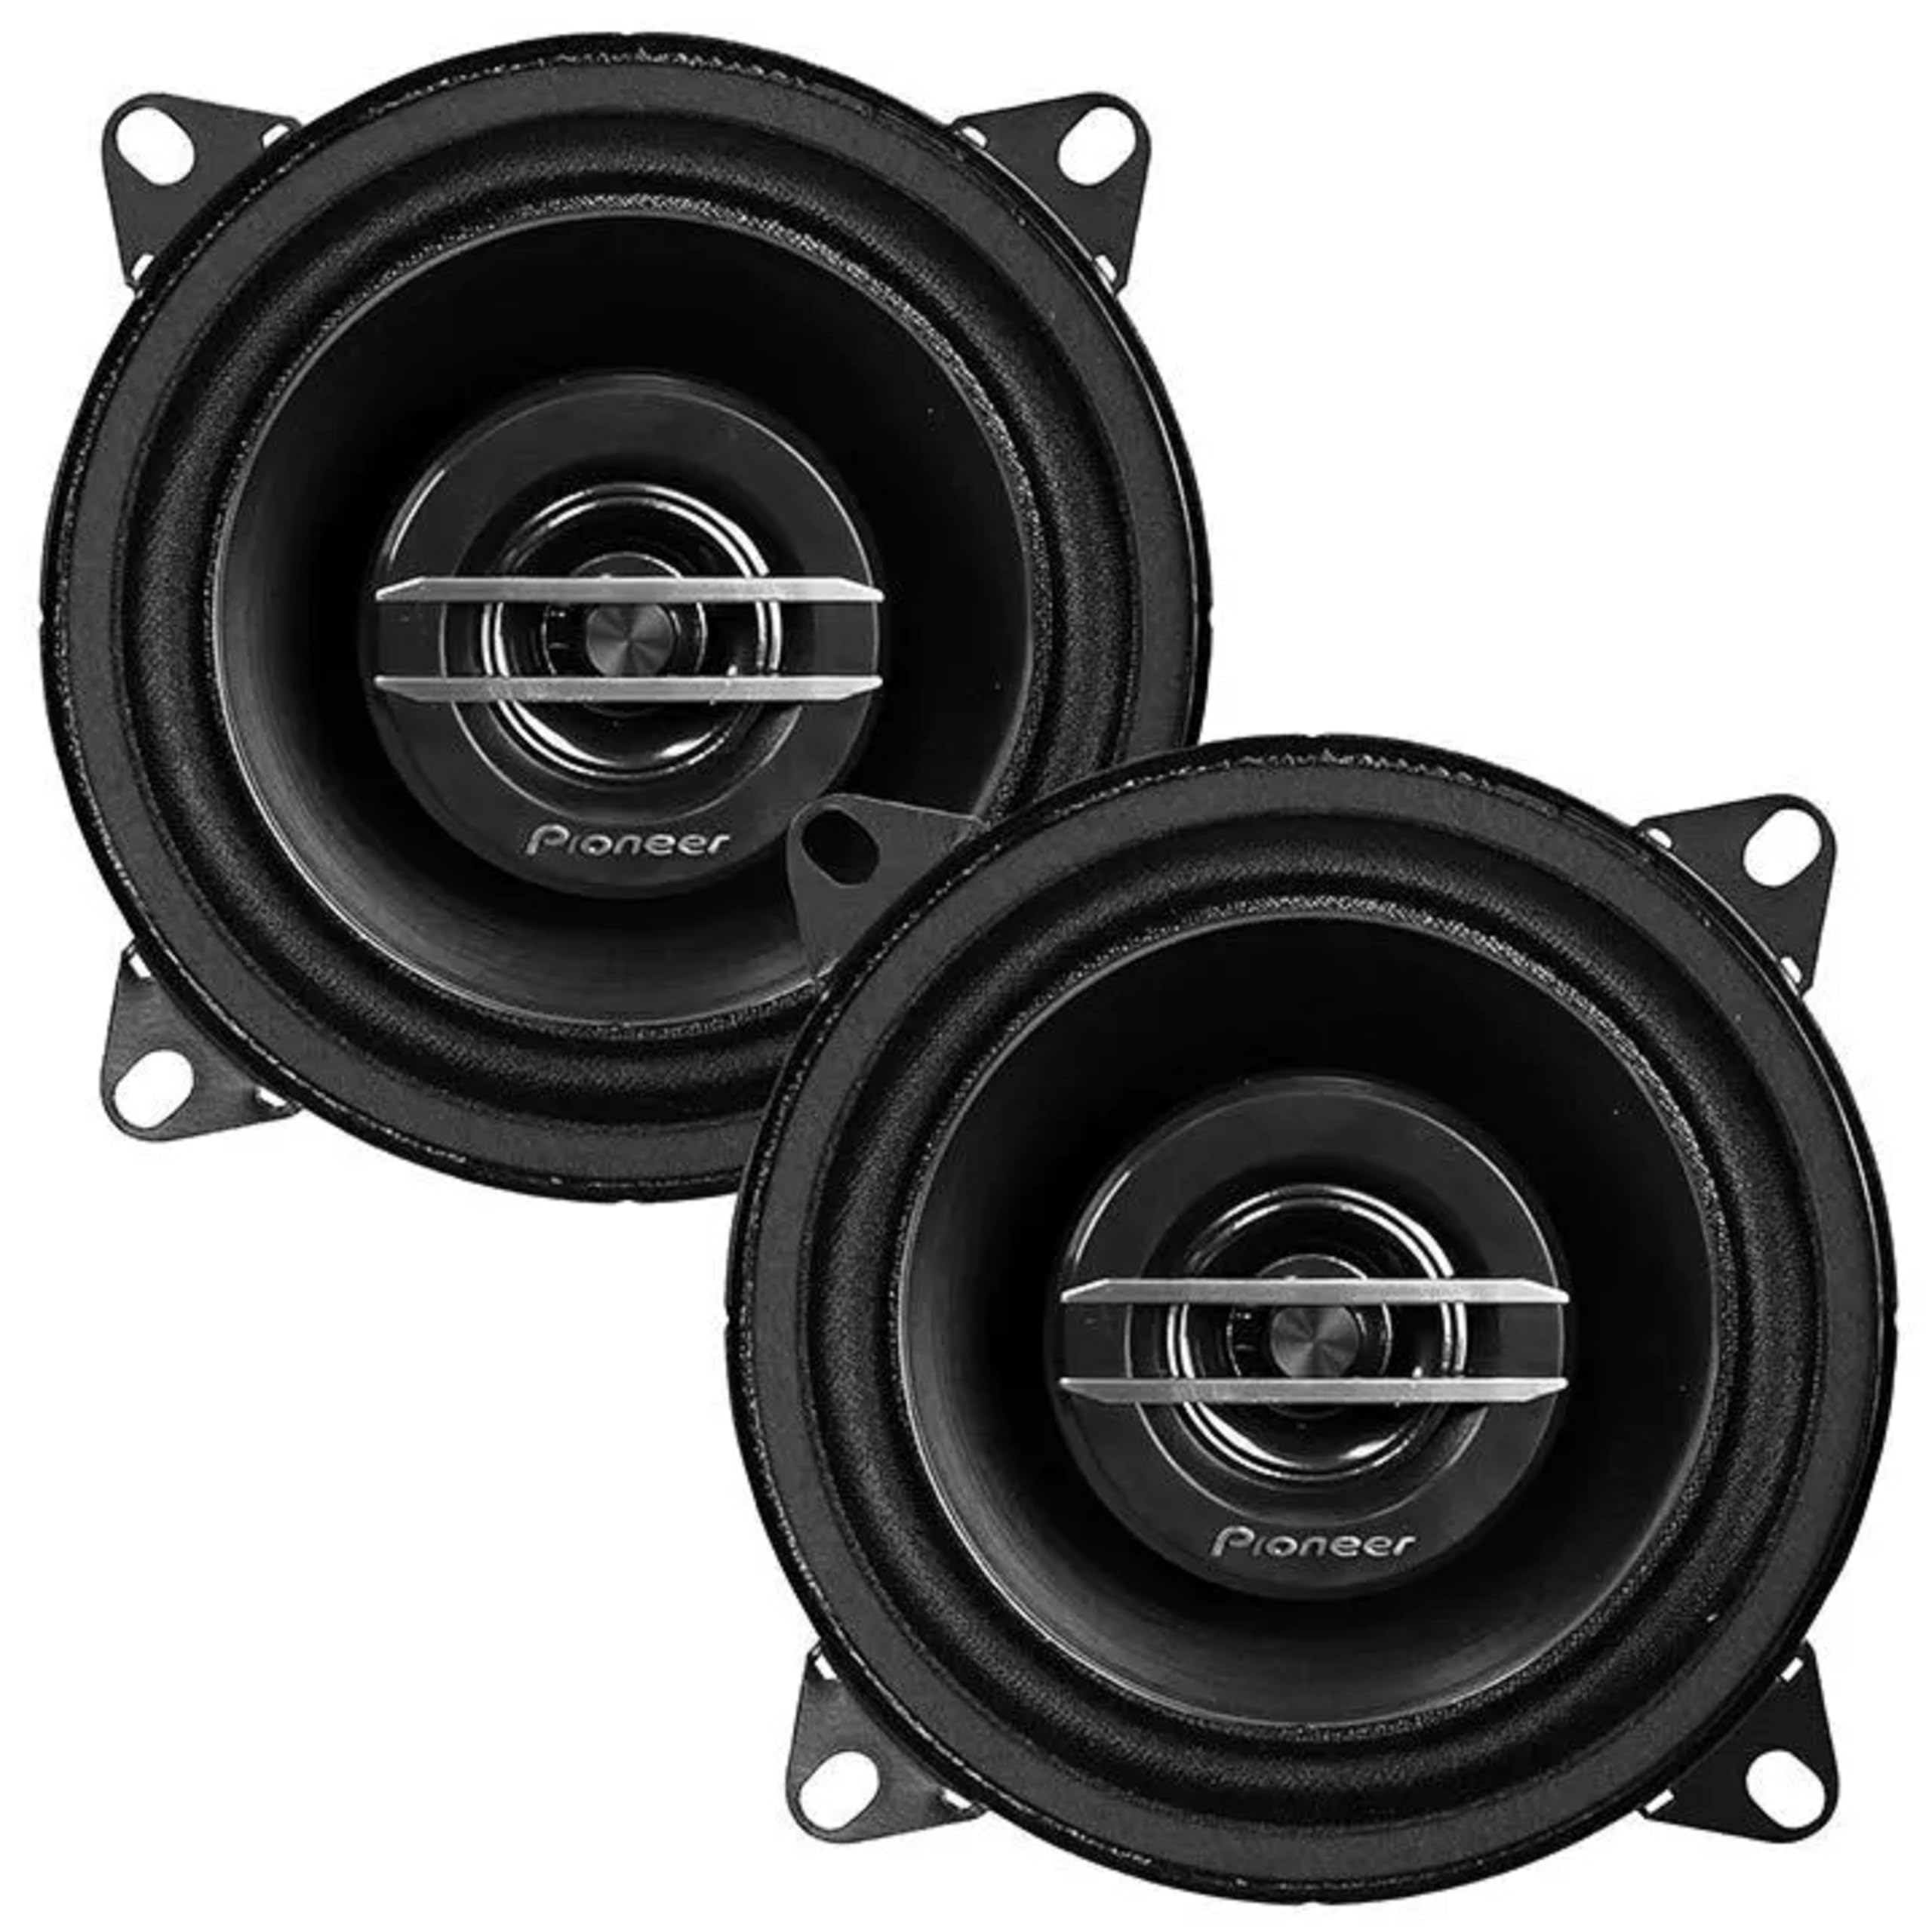
Immagine: Fronte e retro view of the Pioneer TS-G1020S 4-inch coaxial speakers, showing the cone, tweeter, and magnet structure.
4. Configurazione e installazione
Proper installation is crucial for optimal sound quality and speaker longevity. Follow these general steps for installing your TS-G1020S speakers.
4.1 Controlli pre-installazione
- Compatibilità del veicolo: Confirm that the 4-inch speaker size is compatible with your vehicle's speaker locations.
- Liquidazione: Ensure there is sufficient mounting depth and clearance behind the speaker location. The top-mount depth is 1-3/4 inches.
- Utensili: Gather necessary tools including screwdrivers, wire strippers, crimpers, and a drill (if new holes are required).
4.2 Dimensioni di montaggio

Image: Technical diagram illustrating the dimensions of the Pioneer TS-G1020S speaker, including a 4-5/8 inch diameter and 1-3/4 inch top-mount depth.
- Profondità di montaggio superiore: 1-3/4 pollici (44 mm)
- Dimensioni del ritaglio: 4-1/4 inches (108 mm) diameter
- Diametro complessivo: 4-5/8 pollici (117 mm)
4.3 Collegamenti di cablaggio
The TS-G1020S speakers have a 4 ohms impedance. Ensure your amplifier or head unit is stable at this impedance. Connect the speaker wires to the corresponding positive (+) and negative (-) terminals. Incorrect polarity will result in poor sound quality and reduced bass response.
- Collegare il terminale positivo (+) dell'altoparlante all'uscita positiva (+) del amplificatore/unità principale.
- Collegare il terminale negativo (-) dell'altoparlante all'uscita negativa (-) del amplificatore/unità principale.
- Use appropriate gauge speaker wire for your installation.
4.4 Passaggi di installazione
- Rimuovere gli altoparlanti o i pannelli di rivestimento esistenti dalla posizione di installazione desiderata.
- Carefully place the new Pioneer speakers into the opening. Ensure a snug fit.
- Align the mounting holes and secure the speakers using the provided screws. Do not overtighten.
- Connect the speaker wires as described in Section 4.3.
- Test the speakers before reassembling any removed panels.
- Reassemble all panels and grilles.
5. Istruzioni per l'uso
Once installed, your Pioneer TS-G1020S speakers are ready for use. Follow these guidelines for optimal performance.
- Gestione della potenza: These speakers have a peak power handling of 210 watts per speaker (420 watts per pair) and an RMS power handling of 30 watts per speaker (60 watts per pair). Ensure your ampl'output del lifier corrisponde a queste specifiche per evitare danni.
- Controllo del volume: Start with a low volume level and gradually increase it to a comfortable listening level. Avoid pushing the speakers to distortion.
- Impostazioni audio: Adjust your head unit's equalizer and audio settings to fine-tune the sound to your preference. The speakers have a frequency response of 35 Hz to 27,000 Hz.
- Periodo di rodaggio: New speakers may benefit from a short break-in period (a few hours of moderate listening) to allow the cone and surround materials to loosen up, potentially improving sound quality.
6. Manutenzione
Regular maintenance helps preserve the appearance and performance of your speakers.
- Pulizia: Use a soft, dry cloth to wipe dust from the speaker cones and grilles. For stubborn dirt, a slightly damp È possibile utilizzare un panno, ma assicurarsi che non penetri umidità nei componenti dell'altoparlante.
- Evitare i prodotti chimici: Do not use harsh chemicals, solvents, or abrasive cleaners, as these can damage the speaker materials.
- Ispezione: Periodically check speaker connections for tightness and inspect the speaker surrounds for any signs of wear or damage.
7. Risoluzione Dei Problemi
Se riscontri problemi con gli altoparlanti, fai riferimento ai seguenti problemi comuni e alle relative soluzioni.
- Nessun suono:
- Check all wiring connections at both the speaker and the amplifier/head unit. Ensure they are secure and correctly polarized.
- Verificare che il amplifier/head unit is powered on and functioning correctly.
- Check the audio source (radio, CD, Bluetooth) for proper operation.
- Suono distorto:
- Reduce the volume level. Overdriving the speakers can cause distortion.
- Controllare che non vi siano collegamenti allentati o fili sfilacciati.
- Assicurare il ample impostazioni del guadagno del convertitore non siano troppo alte.
- Ispezionare il cono e la cornice dell'altoparlante per verificare la presenza di eventuali danni fisici.
- Bassi deboli o assenti:
- Check speaker wire polarity. Reversed polarity will cause bass cancellation.
- Ensure the speakers are securely mounted and there are no air leaks around the mounting area.
- Adjust the bass settings on your head unit or amppiù vivace.
8. Specifiche
Detailed technical specifications for the Pioneer TS-G1020S speakers:
| Caratteristica | Specificazione |
|---|---|
| Tipo di altoparlante | Coassiale, 2 vie |
| Dimensioni dell'altoparlante | 4 pollici (10 cm) |
| Gestione della potenza di picco | 420 Watt (per coppia) / 210 Watt (ciascuno) |
| Gestione della potenza RMS | 60 Watt (per coppia) / 30 Watt (ciascuno) |
| Impedenza | 4 Ohm |
| Risposta in frequenza | 35 Hz - 27,000 Hz |
| Sensibilità | 87 dB |
| Materiale del woofer | Injection Molded Polypropylene with Mica Cone |
| Materiale del contorno | Rubber Coated Cloth |
| Tipo tweeter | 1-3/16 inch Balanced Dome Tweeter |
| Struttura del magnete | Ferrite |
| Profondità di montaggio superiore | 1-3/4 pollici (44 mm) |
| Dimensioni del ritaglio | 4-1/4 pollici (108 mm) |
| Peso dell'articolo | 2.24 once (per altoparlante, approssimativo) |
9. Informazioni sulla garanzia
Pioneer provides a limited warranty for the TS-G1020S speakers. The specific terms and duration of the warranty may vary by region and purchase location. Please retain your proof of purchase for warranty claims.
For detailed warranty information, including coverage, limitations, and the process for making a claim, please refer to the official Pioneer website or contact Pioneer customer support directly.
10. Supporto
If you require further assistance with your Pioneer TS-G1020S speakers, please contact Pioneer customer support. You can typically find contact information on the official Pioneer websito o tramite il tuo rivenditore locale.
When contacting support, please have your product model number (TS-G1020S) and proof of purchase readily available.