
1. Introduzione
This manual provides essential information for the safe and efficient installation, operation, and maintenance of your Gira Radio Wall Transmitter 1f Sys55 rw, Model 242103. Please read these instructions carefully before beginning installation or use, and retain them for future reference. The Gira Radio Wall Transmitter is designed for wireless control applications within a compatible Gira system.
2. Informazioni sulla sicurezza
- Leggi tutte le istruzioni: Ensure you understand all safety warnings and instructions before installation and operation.
- Personale qualificato: Installation and electrical connections should only be performed by a qualified electrician in accordance with local electrical codes and regulations.
- Scollegare l'alimentazione: Always disconnect power to the circuit at the main breaker or fuse box before performing any installation, maintenance, or repair work.
- Evitare l'umidità: Non esporre il dispositivo a umidità, pioggia o temperature estreme.
- Uso corretto: Utilizzare il dispositivo solo per lo scopo previsto, come descritto nel presente manuale.
- Disposizione: Dispose of the device and any batteries (if applicable) according to local regulations.
3. Contenuto della confezione
Verificare che tutti gli articoli siano presenti nel pacco:
- Gira Radio Wall Transmitter 1f Sys55 rw unit (Model 242103)
- Materiale di montaggio (viti, tasselli)
- Manuale di istruzioni
4. Prodotto finitoview
The Gira Radio Wall Transmitter 1f Sys55 rw is a wireless control device designed for integration into your Gira smart home system. It allows for convenient control of various functions from a fixed wall-mounted location.
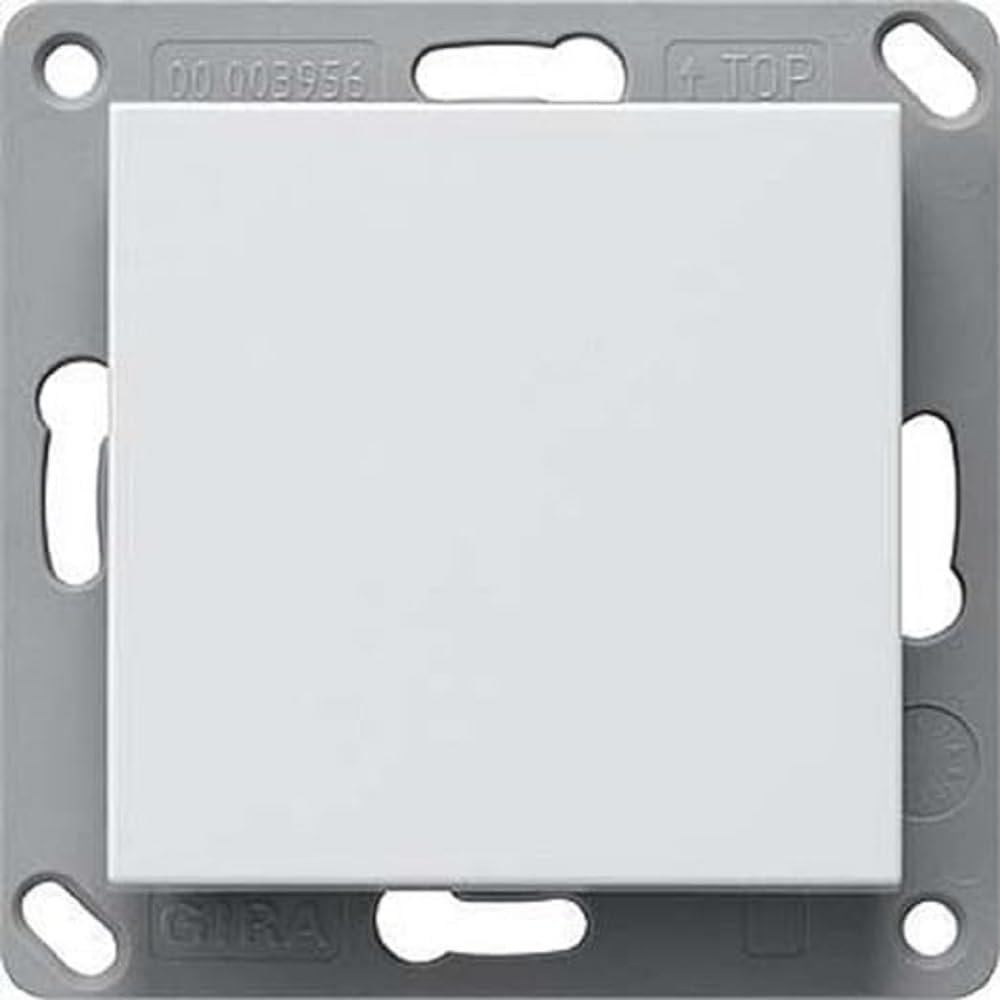
Figura 1: Davanti view of the Gira Radio Wall Transmitter 1f Sys55 rw 242103. This image shows the compact design and the single control surface of the pure white wall transmitter.
5. Configurazione e installazione
5.1 Montaggio del trasmettitore
The transmitter is designed for flush-mounted installation in a standard wall box.
- Prepare the wall box: Ensure the wall box is clean and free of debris.
- Scollegare l'alimentazione: Turn off the main power supply to the installation area at the circuit breaker. Verify with a voltagetester.
- Position the base plate: Place the transmitter's base plate onto the wall box, aligning the mounting holes.
- Secure the base plate: Use the provided screws to firmly attach the base plate to the wall box. Do not overtighten.
- Fissare il pannello frontale: Carefully snap or screw the front panel onto the secured base plate.
5.2 Accensione iniziale
After mounting, restore power to the circuit. The device may perform an initial self-test. Refer to the Gira system documentation for specific pairing procedures with your central control unit or receiver.
6. Funzionamento
6.1 Funzionalità di base
The Gira Radio Wall Transmitter 1f Sys55 rw features a single control surface (1f indicates one function). The exact function (e.g., switching lights, controlling blinds) is determined during the pairing and configuration process with your Gira receiver or smart home system.
- Premendo il pulsante: A short press typically triggers the assigned function (e.g., toggle light ON/OFF).
- Holding the button: A long press may trigger a different function (e.g., dimming, continuous movement), depending on configuration.
6.2 Abbinamento con un ricevitore
To enable wireless control, the transmitter must be paired with a compatible Gira radio receiver or smart home gateway. The pairing process typically involves:
- Activate pairing mode on receiver: Refer to your Gira receiver's manual for instructions on how to put it into pairing mode. This often involves pressing a button on the receiver.
- Initiate pairing on transmitter: While the receiver is in pairing mode, press the button on the Gira Radio Wall Transmitter. This sends a pairing signal.
- Conferma: The receiver will typically provide visual or audible feedback (e.g., LED flash, beep) to confirm successful pairing.
- Funzionalità di prova: After pairing, test the transmitter to ensure it controls the intended device correctly.
Note: Specific pairing steps may vary depending on the Gira receiver or system. Always consult the documentation for your specific Gira components.
7. Manutenzione
7.1 Pulizia
To clean the surface of the transmitter, use a soft, damp cloth. Do not use abrasive cleaners, solvents, or harsh chemicals, as these can damage the finish. Ensure no moisture enters the device.
7.2 Battery Replacement (If Applicable)
If your model is battery-powered (check product specifications or internal design), replace batteries when the indicator light (if present) signals low power or when the device becomes unresponsive. Use only the specified battery type. Ensure correct polarity when inserting new batteries. Dispose of old batteries responsibly.
8. Risoluzione Dei Problemi
| Problema | Possibile causa | Soluzione |
|---|---|---|
| Il trasmettitore non risponde |
|
|
| Intermittent control |
|
|
| Function incorrect after pairing |
|
|
9. Specifiche tecniche
| Marca | Gira |
| Produttore | GIRELLA |
| Modello | 242103 |
| Numero di parte | 166418 |
| Dimensioni articolo (L x P x A) | 12.2 x 5.91 x 3.94 pollici |
| Conteggio unità | 1.0 Conteggio |
| Colore | n.a. (Pure White as per product description) |
| Materiale | Altro |
| Finitura esterna | Incompiuto |
| ASIN | B00XCHLDZE |
Note: Additional technical specifications such as radio frequency, power supply, and environmental conditions are typically found in the comprehensive Gira system documentation or on the product packaging.
10. Garanzia e supporto
Gira products are manufactured to high-quality standards. For information regarding warranty terms and conditions, please refer to the warranty card included with your product or visit the official Gira website. For technical support, troubleshooting assistance beyond this manual, or spare parts, please contact Gira customer service or your authorized Gira dealer. Contact details can typically be found on the Gira websito o confezione del prodotto.
Gira Websito: www.gira.com