
1. Introduzione
Thank you for choosing the Philips DashCam 4K Front and Rear. This device is designed to provide reliable video recording of your journeys, enhancing driving safety and providing crucial evidence in case of incidents. Featuring 4K front recording, 1080P rear recording, super night vision, 24-hour parking monitoring, loop recording, and smart app control via Wi-Fi, this dashcam offers comprehensive coverage and ease of use. Please read this manual thoroughly before installation and operation to ensure optimal performance and safety.
2. Contenuto della confezione
Si prega di controllare la confezione per verificare la presenza dei seguenti elementi:
- Philips DashCam (Main Unit)
- Telecamera posteriore
- Cavo di alimentazione (caricabatteria da auto)
- Mounting Bracket with Adhesive
- Scheda MicroSD da 32 GB
- Manuale d'uso
- Hardwire Kit (Optional, for 24-hour parking monitoring)
3. Prodotto finitoview
Familiarize yourself with the components of your Philips DashCam.

Immagine 3.1: Main DashCam unit with labeled parts including Type-C interface, TF card slot, display, reset button, lens, mute button, power switch, arrow keys, and speaker.

Immagine 3.2: Davanti view of the Philips DashCam showing its compact size (approx. 10cm height, 5cm width) and key features like 4K+1080P recording, wide-angle lens, Wi-Fi, loop recording, WDR, 24-hour parking monitor, free 32GB card, voice transmission, and supercapacitor.
4. Impostazione
4.1. Installazione
Follow these steps to install your dashcam in your vehicle:
- Clean the area on your windshield where you intend to mount the dashcam. Ensure it does not obstruct your view.
- Fissare la staffa di montaggio alla dashcam.
- Peel off the protective film from the adhesive pad on the mounting bracket and firmly press it onto the chosen spot on your windshield. Hold for a few seconds to ensure a secure bond.
- Connect the power cable to the dashcam and route it neatly along the windshield edge and dashboard to your car's 12V power outlet (cigarette lighter socket).
- Plug the car charger into the 12V power outlet.
- Install the rear camera (if applicable) on the rear windshield and connect its cable to the main dashcam unit.
4.1 video: This video demonstrates the physical installation of the Philips DashCam, including mounting the front unit on the windshield, connecting the power cable, and showing the initial power-on sequence. It also shows the Wi-Fi connection process and hardwire kit installation.
4.2. Accensione iniziale
Once connected to power, the dashcam will automatically power on and begin recording. The screen will display the live view from the front camera. Ensure the date and time are correct in the settings.
4.3. Connessione Wi-Fi e controllo delle app
The dashcam features built-in Wi-Fi for easy control and video management via a smartphone app.
- Download the dedicated app (e.g., REDTIGER app) from your smartphone's app store (iOS or Android).
- On the dashcam, navigate to the settings menu and enable the mobile internet/Wi-Fi option. A QR code and Wi-Fi name/password will be displayed.
- On your smartphone, go to Wi-Fi settings and connect to the dashcam's Wi-Fi network (e.g., "PHILIPS-TAC1279_0A5B3A"). Enter the password displayed on the dashcam screen.
- Open the app. It should automatically detect and connect to your dashcam.
- Attraverso l'app puoi view cibo vivotage, riprodurre video registrati, scaricare filesul tuo telefono e regola le impostazioni della dashcam.
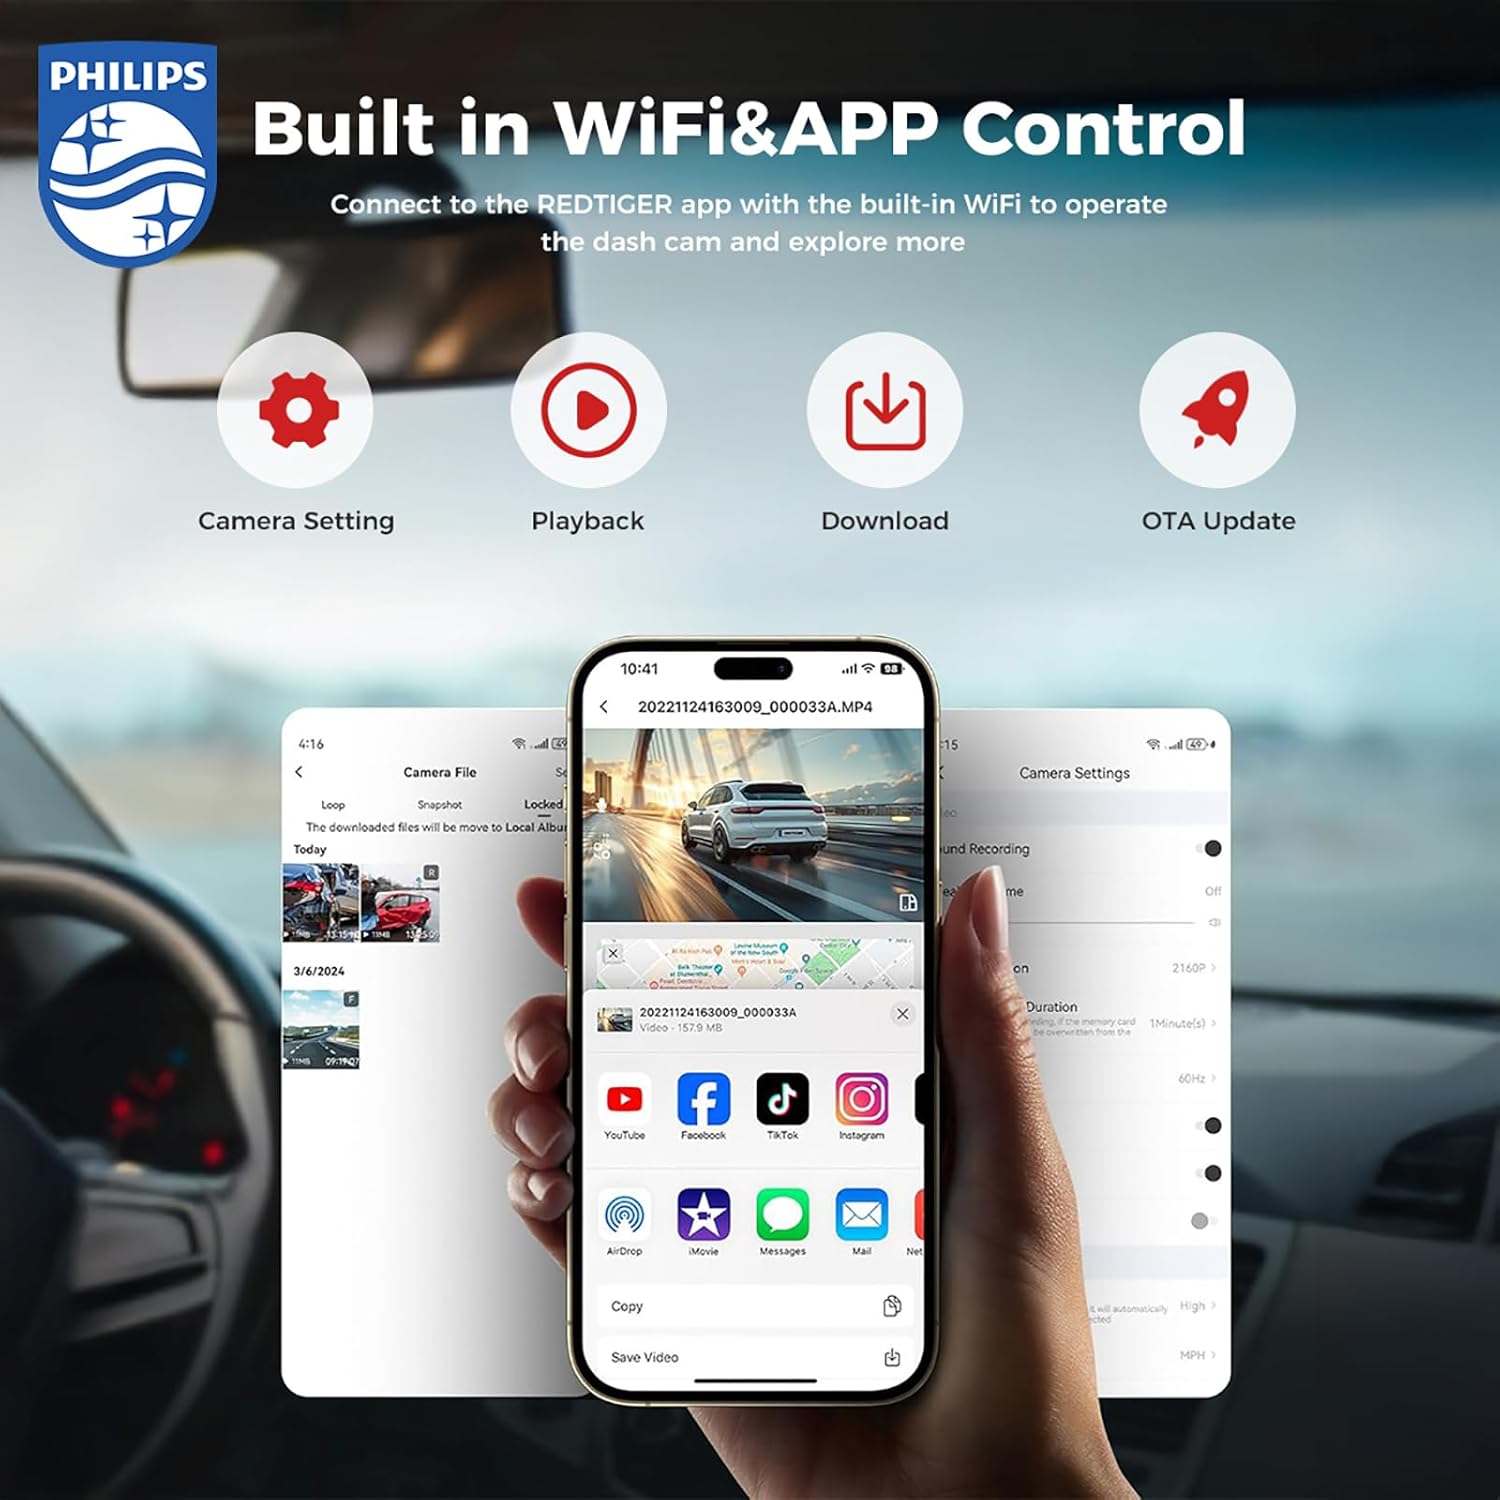
Immagine 4.1: The dashcam connects to a smartphone app via Wi-Fi, allowing for camera settings adjustment, video playback, downloading, and OTA updates.
4.4. Hardwire Kit Installation (for 24-hour Parking Monitoring)
To enable continuous 24-hour parking monitoring, connect the optional hardwire kit to your vehicle's fuse box. This ensures the dashcam receives power even when the engine is off, protecting your car while parked.
Nota: Professional installation is recommended for hardwiring to avoid damage to your vehicle's electrical system.
4.2 video: This segment of the video demonstrates how to connect the hardwire kit to the vehicle's fuse box for continuous power supply, enabling 24-hour parking monitoring.
5. Istruzioni per l'uso
5.1. Modalità di registrazione
The dashcam supports various recording modes to capture your driving experience.
5.1.1. Dual Dash Cam - 4K Front + 1080P Rear
The front camera records in crystal-clear UHD 4K resolution, while the wide-angle rear camera captures FHD 1080P video. This dual-camera setup provides comprehensive coverage, reducing blind spots and ensuring a safer driving experience. Both cameras feature an F1.5 aperture for depth capture.

Immagine 5.1: Illustration of the 4K front camera with a 140-degree view and the 1080P rear camera with a 130-degree view, ensuring wide coverage.
5.1 video: This segment shows an example of 4K resolution recording during nighttime driving conditions, demonstrating the clarity of the footage.
5.1.2. Registrazione in loop
The dashcam supports loop recording, automatically overwriting the oldest non-essential videos when the memory card is full. This ensures continuous recording without manual intervention. The device comes with a 32GB card and supports up to 256GB.
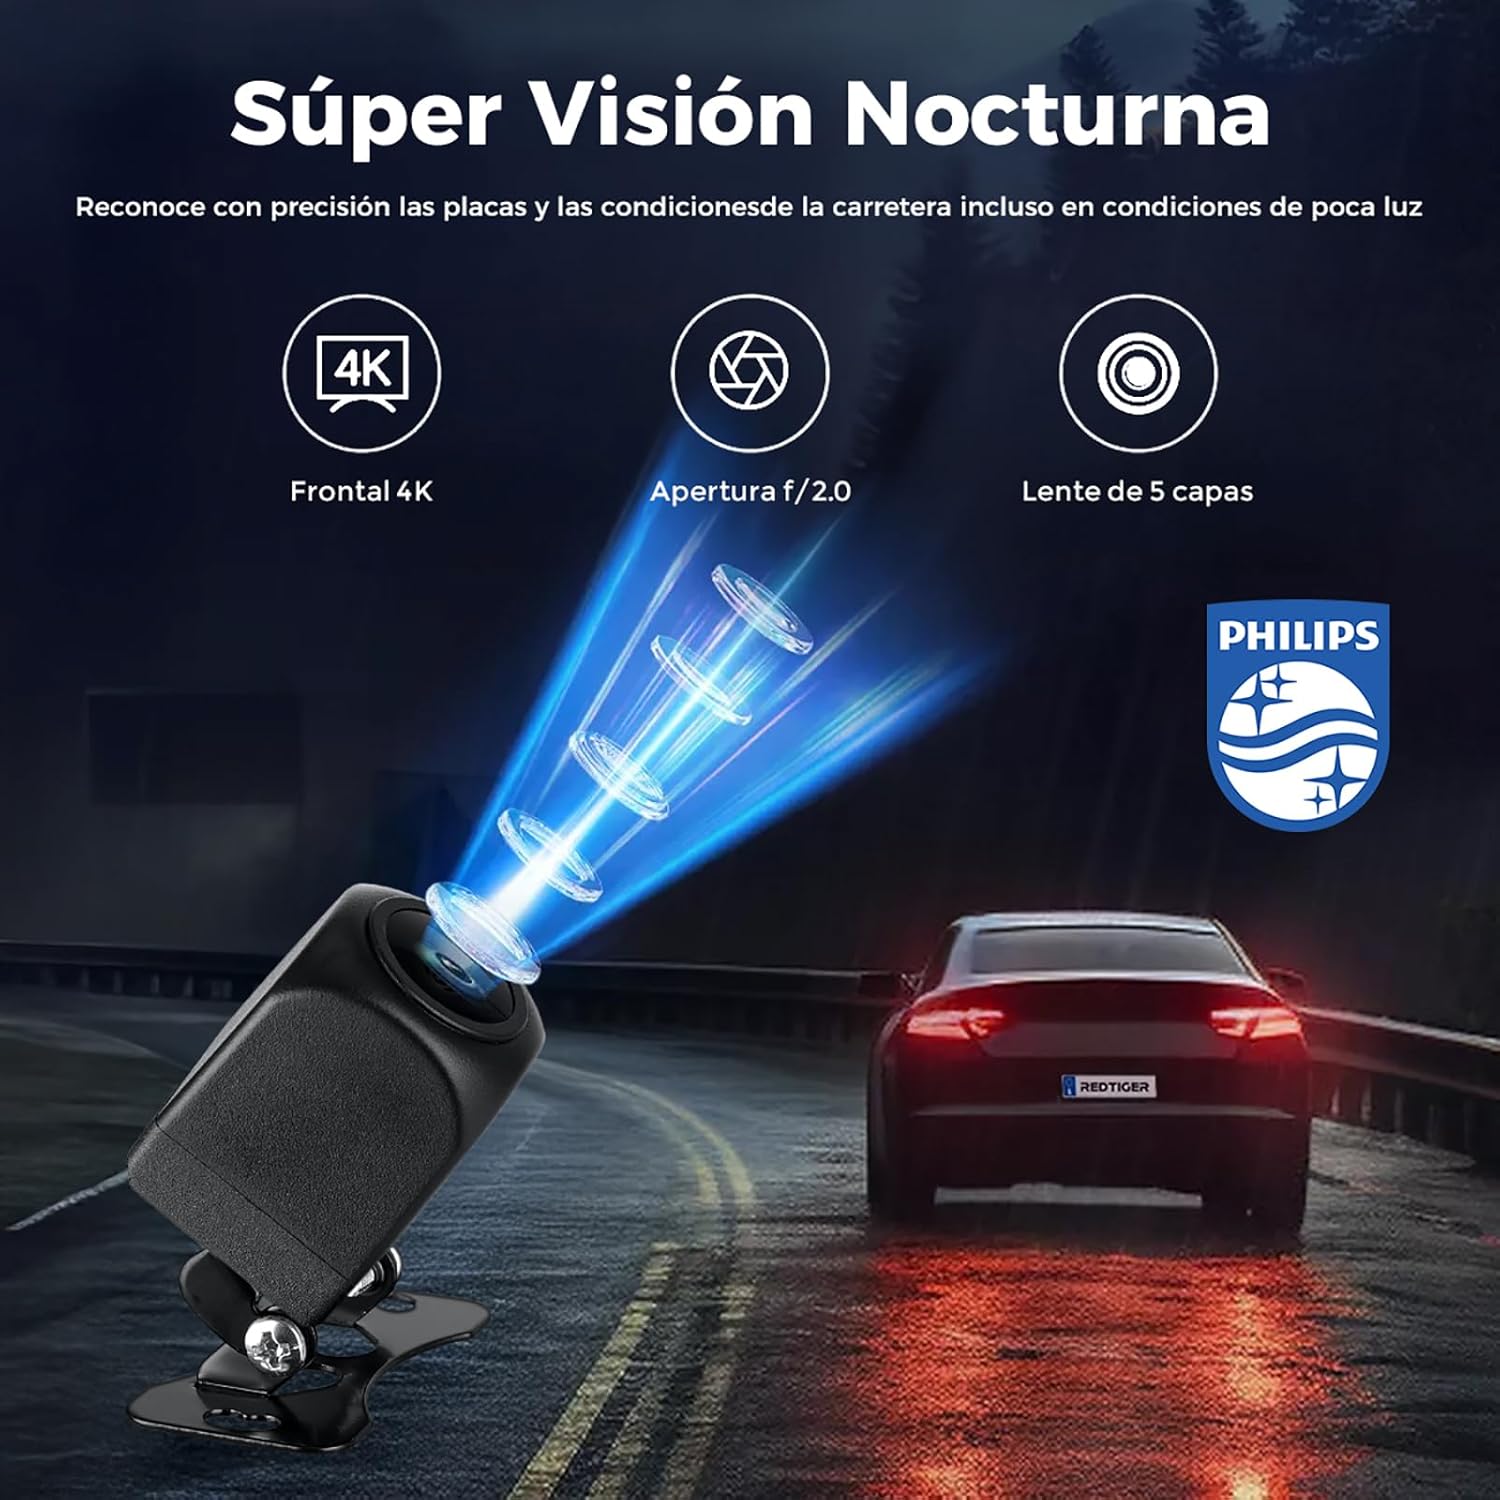
Immagine 5.2: The dashcam unit with a visual representation of loop recording, where older footage is continuously replaced by new recordings.
5.1.3. 24-Hour Parking Monitoring (G-Sensor)
Equipped with a built-in collision sensor (G-sensor), the dashcam can detect impacts while parked. The G-sensor has four sensitivity modes (Off, Low, Medium, High). When an impact is detected, the dashcam will automatically record and lock the footage, protecting it from being overwritten. Time-lapse recording provides continuous 24-hour surveillance.

Immagine 5.3: The dashcam automatically records and locks footage upon detecting an impact, ensuring critical event videos are saved.
5.2. Excellent Night Vision
The 4K dashcam features 6-layer glass, an F1.5 aperture, and WDR (Wide Dynamic Range) technology, providing excellent night vision capabilities. This allows for high-resolution recording during both day and night, significantly improving driving safety in low-light conditions. It precisely recognizes license plates and road conditions even in dim light.

Immagine 5.4: The dashcam's advanced night vision technology, featuring Light-Balanced Tech and F1.5 Large Aperture, captures clear images in low-light environments.
6. Manutenzione
6.1. Gestione della scheda MicroSD
- Formattazione: It is recommended to format the MicroSD card regularly (e.g., once a month) to ensure optimal performance and prevent data corruption. This can usually be done through the dashcam's settings menu or the mobile app.
- Durata della carta: MicroSD cards have a limited number of write cycles. If you experience recording issues, consider replacing the card. Use high-endurance MicroSD cards specifically designed for dashcams.
6.2. Pulizia
- Per garantire una qualità video nitida, pulire delicatamente l'obiettivo della fotocamera con un panno morbido e privo di lanugine.
- Clean the dashcam body with a dry or slightly damp stoffa. Non utilizzare prodotti chimici aggressivi o detergenti abrasivi.
7. Risoluzione Dei Problemi
Se riscontri problemi con la tua dashcam, fai riferimento ai seguenti problemi comuni e alle relative soluzioni:
| Problema | Possibile soluzione |
|---|---|
| La dashcam non si accende. | Check if the power cable is securely connected to both the dashcam and the car's power outlet. Ensure the car's power outlet is functioning. |
| La registrazione si interrompe o footage è corrotto. | Format the MicroSD card. If the issue persists, try a new high-endurance MicroSD card. Ensure the card is correctly inserted. |
| La connessione Wi-Fi non funziona. | Ensure Wi-Fi is enabled on the dashcam and your smartphone. Re-enter the Wi-Fi password. Try restarting both the dashcam and your phone. |
| Scarsa qualità video. | Pulisci l'obiettivo della fotocamera. Assicurati di aver rimosso la pellicola protettiva dall'obiettivo. Controlla le impostazioni di risoluzione video nell'app. |
| Il monitoraggio del parcheggio non funziona. | Ensure the hardwire kit is correctly installed and connected. Check G-sensor sensitivity settings. |
8. Specifiche
Key technical specifications for the Philips DashCam CVR308/93 (TAC-1279):
- Marca: Philips
- Nome modello: TAC-1279 (CVR308/93)
- Tecnologia di connettività: Wifi
- Caratteristica speciale: Monitor di parcheggio
- Tipo di servizio del veicolo: Auto
- Risoluzione di registrazione video: 4K (anteriore), 1080P (posteriore)
- Dimensioni dello schermo: 3 pollici
- Vehicle Part Position: Front Left Upper (for main unit)
- Batteria inclusa: SÌ
- Tipo di batteria: Ioni di litio
- Dispositivi compatibili: Auto
- Automatic Part Orientation: Anteriore e posteriore
- Colore: Nero
- Item Dimensions (Depth x Width x Height): 12 x 10 x 16 centimetri
- Produttore: PHILIPS
- Paese di origine: Cina
9. Garanzia e supporto
This Philips DashCam comes with a standard manufacturer's warranty. Please refer to the warranty card included in your package for specific terms and conditions. For technical support, troubleshooting assistance, or warranty claims, please contact Philips customer service or visit the official Philips support websito. Conserva la ricevuta d'acquisto come prova d'acquisto.