1. Guida all'installazione
This section provides instructions for the initial setup of your Pioneer Elite SX-N30 Network Stereo Receiver.
1.1 Disimballaggio
Carefully remove the receiver and all accessories from the packaging. Ensure all components are present:
- Ricevitore stereo di rete Pioneer Elite SX-N30
- Telecomando e batterie
- Antenna interna FM
- Antenna ad anello AM
- Cavo di alimentazione
- Guida rapida (se inclusa)
1.2 Pannello posteriore sopraview
Familiarize yourself with the rear panel connections before proceeding with setup.
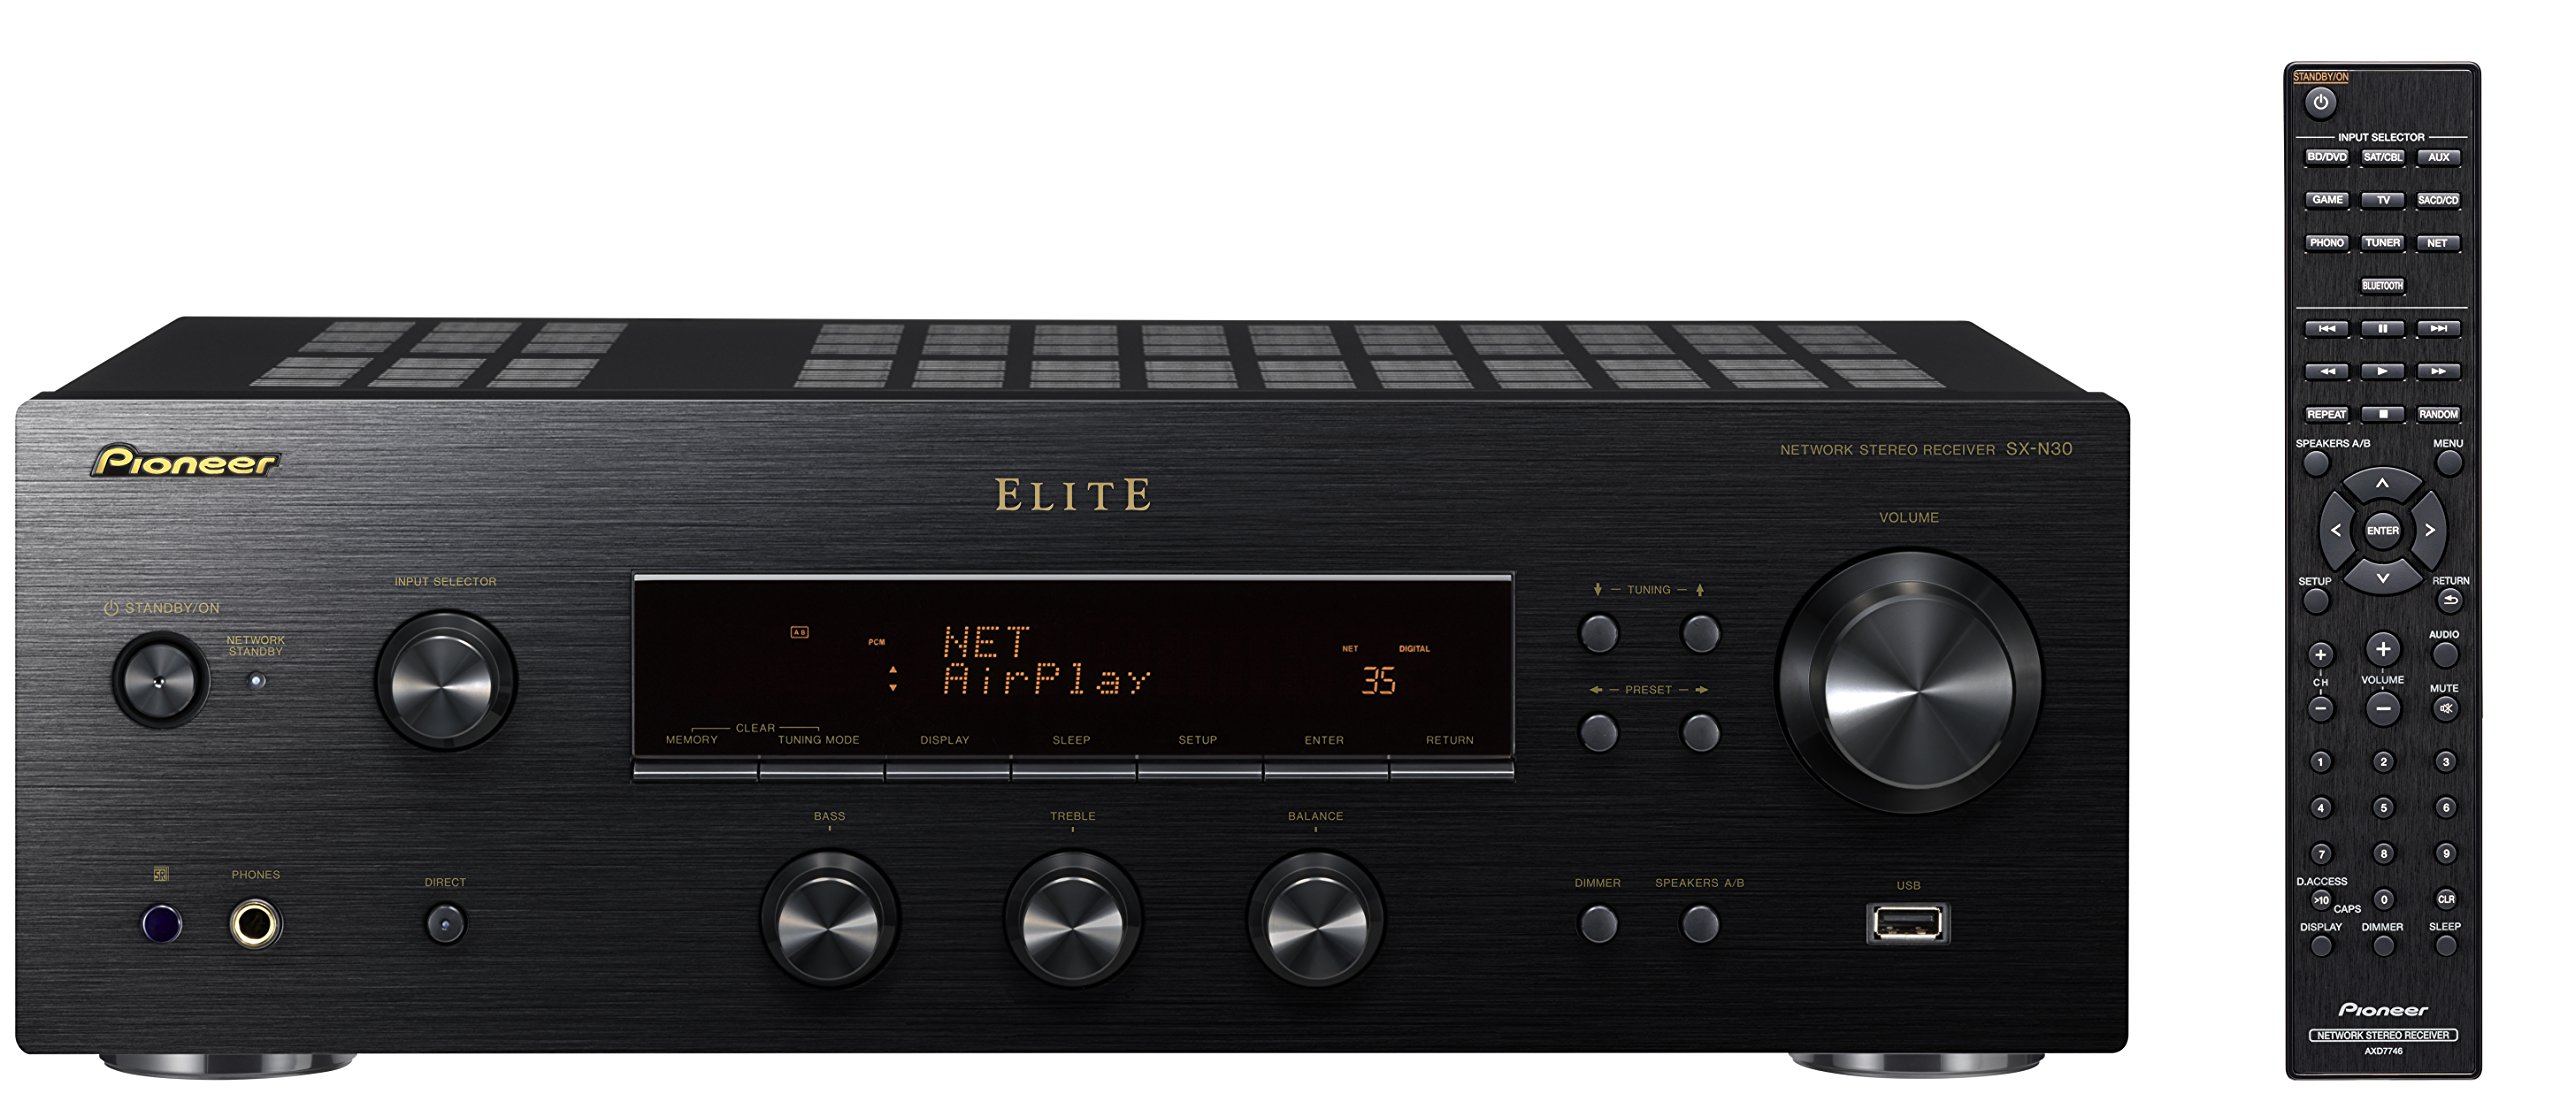
Figura 1: Rear panel of the Pioneer Elite SX-N30 receiver. This image displays all available input and output ports, including digital audio inputs, analog line inputs, speaker terminals, network connections, and antenna inputs. Key areas include the digital coaxial and optical inputs on the left, various analog line inputs (PHONO, SACD/CD, TV, GAME, AUX, SAT/CBL, BD/DVD), speaker terminals (A and B) in the center-right, and network/antenna connections at the top.
1.3 Collegamento degli altoparlanti
The SX-N30 supports two sets of speakers (A and B). Ensure your speakers have an impedance rating within the specified range.
- Impedenza dell'altoparlante: For speaker system A or B used individually, connect speakers with an impedance of 4Ω to 16Ω. When using both A and B speaker systems simultaneously, connect speakers with an impedance of 8Ω to 16Ω.
- Connect the positive (+) terminal of each speaker to the corresponding positive (+) terminal on the receiver, and the negative (-) terminal of each speaker to the corresponding negative (-) terminal on the receiver.
- Ensure all speaker wires are securely connected and do not touch each other or the receiver's metal casing to prevent short circuits.
1.4 Collegamento delle sorgenti audio
Collegare i componenti audio agli appositi jack di ingresso sul pannello posteriore.
- Ingressi digitali: Use coaxial or optical cables for digital audio sources like CD players, game consoles, or TVs. The receiver has two coaxial and two optical inputs, which can be assigned.
- Ingressi di linea analogici: Connect devices such as SACD/CD players, game consoles, TVs, auxiliary devices, satellite/cable boxes, or BD/DVD players using RCA audio cables to the corresponding "LINE IN" jacks.
- Ingresso PHONO: For connecting a turntable, use the dedicated PHONO input. Ensure your turntable has a moving magnet (MM) cartridge or use an external phono preamplifier if it has a moving coil (MC) cartridge. Connect the turntable's ground wire to the SIGNAL GND terminal on the receiver.
- Terminale USB: Connect a USB storage device (5V/1A) for audio playback.
- Pre-uscita: Use the LINE OUT or ZONE2 PRE OUT for connecting to an external amplifier o subwoofer amplificato.
1.5 Connessione di rete
The SX-N30 offers both wired and wireless network connectivity.
- LAN cablata: Connect an Ethernet cable from your router or network hub to the LAN (10/100) port on the receiver's rear panel.
- Wifi: The receiver has built-in Wi-Fi (2.4 GHz). Ensure the Wi-Fi antennas are upright for optimal signal reception. Follow the on-screen instructions or refer to the full manual for connecting to your wireless network.
- Bluetooth: The receiver features built-in Bluetooth Wireless Technology (Version: 2.1+EDR, Profile: A2DP/AVRCP, Codec: SBC). Ensure the Bluetooth antennas are upright. For pairing, select the Bluetooth input on the receiver and initiate pairing from your smartphone or compatible device.
1.6 Collegamento dell'antenna
Connect the supplied antennas for FM and AM radio reception.
- Antenna FM: Connect the supplied FM UNBAL 75Ω antenna to the corresponding terminal. Extend the wire for better reception.
- Antenna AM: Assemble the supplied AM loop antenna and connect its two wires to the AM LOOP terminals. Position the antenna for best reception.
1.7 Collegamento di alimentazione
After all other connections are made, connect the power cord.
- Plug the power cord into the AC IN inlet on the receiver's rear panel.
- Collegare l'altra estremità del cavo di alimentazione a una presa a muro adatta.
2. Funzionamento
This section details the basic and advanced operational features of your receiver.
2.1 Riproduzione di base
- Accensione/spegnimento: Premere il pulsante POWER sul pannello anteriore o sul telecomando.
- Selezione della fonte: Use the INPUT SELECTOR knob on the front panel or the input buttons on the remote control to choose your desired audio source (e.g., CD, Network, Bluetooth).
- Controllo del volume: Regolare la manopola MASTER VOLUME sul pannello frontale o i pulsanti VOLUME +/- sul telecomando.
- Selezione degli altoparlanti: Use the A/B speaker buttons on the front panel or remote to select Speaker A, Speaker B, or both (A+B).
2.2 Funzionalità di rete
Leverage the receiver's network capabilities for diverse audio streaming.
- Wi-Fi/DLNA: Once connected to your network, you can stream audio files from DLNA-certified devices (e.g., network-attached storage, computers) on your home network.
- Funzione AirPlay: Stream audio directly from Apple devices (iPhone, iPad, Mac) to the receiver via AirPlay.
- Bluetooth: Pair your Bluetooth-enabled smartphone, tablet, or computer to stream audio wirelessly. Select "Bluetooth" as the input source and pair from your device's Bluetooth settings.
- Radio Internet: Access a wide range of internet radio stations. Use the receiver's display and controls or the ControlApp to navigate and select stations.
- ControlApp: Download the Pioneer ControlApp for iOS or Android devices to control the receiver, select inputs, adjust volume, and manage network features from your smartphone or tablet.
2.3 Funzionamento della radio
Sintonizzati sulle tue stazioni AM/FM preferite.
- tuning: Select the "TUNER" input. Use the tuning buttons on the remote or front panel to manually tune or scan for stations.
- Preselezioni: The receiver supports 40 station presets. Once a station is tuned, use the MEMORY button to save it to a preset number. Recall presets using the PRESET +/- buttons.
- Preset Station Naming: You can name preset stations (up to 10 characters) for easier identification. Refer to the on-screen menu or full manual for detailed instructions.
2.4 Riproduzione USB
Riproduci audio files da un dispositivo di archiviazione USB.
- Connect a USB flash drive or external hard drive (formatted to FAT16/FAT32) to the USB TERMINAL on the rear panel.
- Selezionare "USB" come sorgente di ingresso.
- Use the remote control or ControlApp to navigate through folders and select audio files per la riproduzione.
- Supported formats include WMA and Hi-Res Audio files.
3. Manutenzione
Una corretta manutenzione garantisce la longevità e le prestazioni ottimali del ricevitore.
3.1 Pulizia
- Scollegare sempre il cavo di alimentazione prima della pulizia.
- Pulire le superfici esterne con un panno morbido e asciutto. Per lo sporco ostinato, strofinare leggermenteampBagnare il panno con acqua o un detergente delicato e non abrasivo.
- Non utilizzare prodotti chimici aggressivi, solventi o spugne abrasive, poiché potrebbero danneggiare la finitura.
- Evitare di spruzzare liquidi direttamente sull'unità.
- Mantenere le aperture di ventilazione libere da polvere e ostruzioni.
3.2 Aggiornamenti firmware
Controllare periodicamente il supporto Pioneer website for available firmware updates. Firmware updates can improve performance, add new features, or resolve issues. Follow the instructions provided with the update carefully.
4. Risoluzione Dei Problemi
If you encounter issues, refer to the following common problems and solutions before seeking service.
| Problema | Soluzione |
|---|---|
| Nessun suono dagli altoparlanti. |
|
| Impossibile connettersi alla rete Wi-Fi/rete. |
|
| L'associazione Bluetooth non riesce. |
|
| Ricezione radiofonica scadente. |
|
5. Specifiche
Key technical specifications for the Pioneer Elite SX-N30 Network Stereo Receiver.
| Caratteristica | Dettaglio |
|---|---|
| Marca | PIONEER |
| Numero di modello | SX-N30 |
| Tecnologia di connettività | Wifi bluetooth |
| Tecnologia senza fili | AirPlay, Bluetooth, Wi-Fi |
| Potenza di uscita | 85 Watt per canale |
| Numero di canali | 2 (Stereo) |
| Modalità di uscita audio | Stereo |
| Servizi Internet supportati | Internet Radio, Spotify |
| Dispositivi compatibili | Personal Computer, Smartphone |
| Metodo di controllo | Remote, iOS/Android ControlApp |
| Colore | Nero |
| Peso dell'articolo | 18.74 libbre |
| Codice UPC | 889951000013 |
6. Informazioni sulla garanzia
Pioneer products are manufactured to high quality standards. For specific warranty terms and conditions, please refer to the warranty card included with your product or visit the official Pioneer websito. Conservare la prova d'acquisto per eventuali reclami in garanzia.
7. Assistenza clienti
If you require further assistance or have questions not covered in this manual, please contact Pioneer customer support. You can typically find contact information (phone, email, or support portal) on the official Pioneer websito o nella documentazione fornita con il prodotto.
Before contacting support, please have your model number (SX-N30) and serial number ready.