1. Introduzione
Thank you for choosing the HUBSAN H501S X4 GPS FPV Drone. This manual provides essential information for the safe and effective operation of your quadcopter. Please read it thoroughly before your first flight and retain it for future reference.
1 video: Sopraview of the Hubsan X4 Brushless FPV Quadcopter. This video provides a general introduction to the drone's features and capabilities.
2. Cosa c'è nella scatola
The HUBSAN H501S X4 package includes the following components:
- HUBSAN H501S X4 RC Quadcopter
- Trasmettitore (telecomando)
- Quadcopter Battery (LiPo)
- Caricabatterie
- Blades (Propellers)
- Camera (Integrated 1080P HD)
- Memory Card (4G TF card, Max support: 64G card)
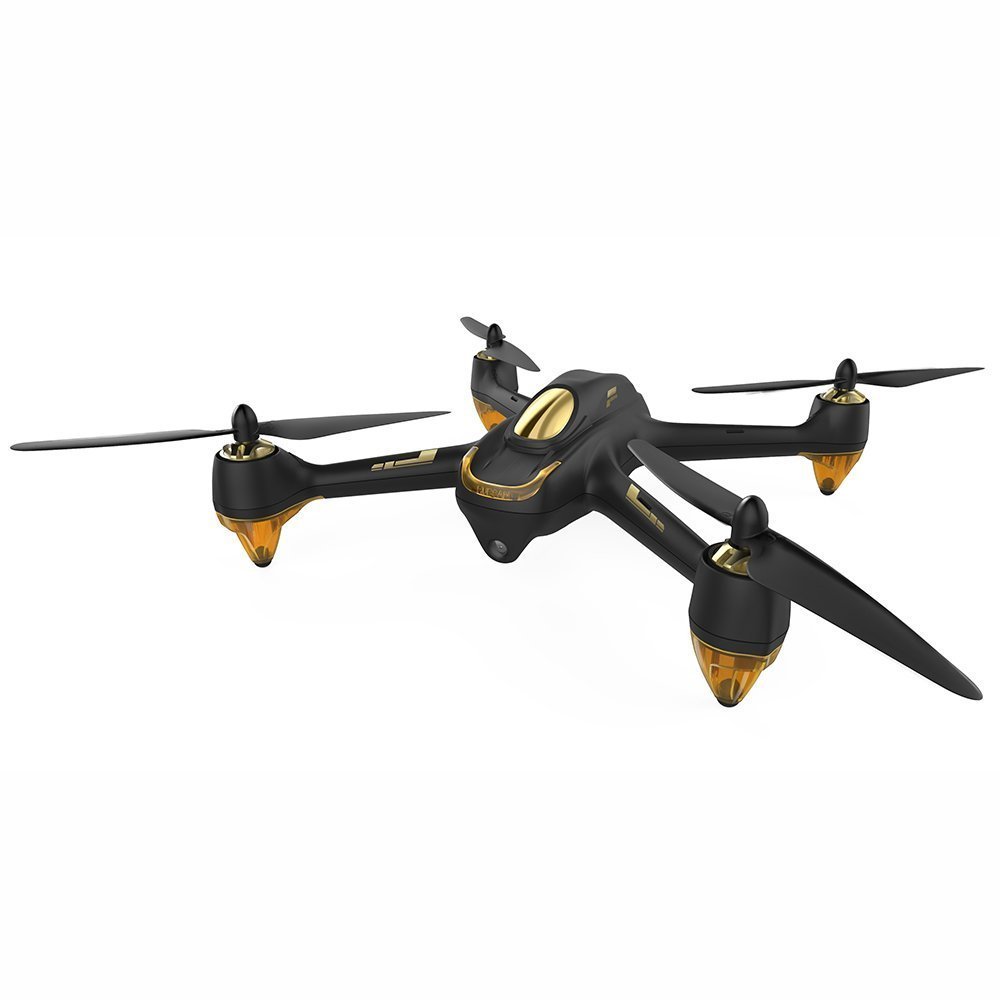
Immagine 1: The HUBSAN H501S X4 GPS FPV Drone. This image shows the complete quadcopter with its propellers.
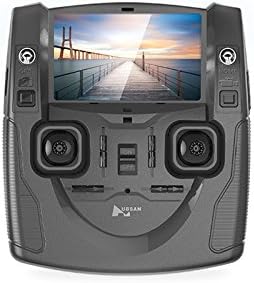
Immagine 2: The HUBSAN H501S X4 Transmitter. This image displays the remote control unit with its integrated LCD screen and control sticks.
3. Impostazione
3.1 Ricarica e installazione della batteria
- Ensure the quadcopter's LiPo battery is fully charged using the provided charger before use. Charging time is approximately 150 minutes.
- Install the charged battery into the quadcopter's battery compartment.
- Insert the provided 4G TF card (or a compatible SD card up to 64G) into the quadcopter's SD card slot.
3.2 Installazione della batteria del trasmettitore
The transmitter requires 4 x 1.5V AA batteries (not included). Install them into the transmitter's battery compartment, ensuring correct polarity.
3.3 Propeller Assembly
The propellers are classified as 'A' and 'B'. Ensure correct assembly:
- Assemble 'A' propellers to motor threads marked 'A' by turning them counter-clockwise.
- Assemble 'B' propellers to motor threads marked 'B' by turning them clockwise.
- Lock and tighten all propellers securely.
3.4 Procedura vincolante
To link the quadcopter with the transmitter:
- Ensure all transmitter switches are in the downward position.
- Turn on the transmitter power while simultaneously holding down the photo button. The transmitter screen will display "Bind to Plane".
- Connect the battery to the quadcopter to power it on.
- Place the quadcopter and transmitter as close as possible for optimal linkage.
- The binding is successful when the video feed appears on the transmitter's LCD, and the quadcopter's LED indicators turn red and blink. The controller screen will flash twice to confirm binding.
2 video: Hubsan H501S Troubleshooting: How to Bind. This video demonstrates the step-by-step process for binding your H501S quadcopter to its transmitter.
3.5 Calibrazione della bussola
Compass calibration is crucial for accurate flight and should be performed after binding, especially in a new flight location:
- Rotate the quadcopter horizontally (flat) clockwise until the LED indicators turn green and blink.
- Then, point the quadcopter's nose downward and rotate it clockwise slowly.
- Calibration is successful when the green LED indicators are no longer lit.
4. Istruzioni per l'uso
4.1 Motor Start and Stop
- To Start Motors: Push the left stick to the left bottom and the right stick to the right bottom simultaneously. Check motor sound and speed for proper function.
- To Stop Motors: Perform the same stick operation (left stick to left bottom, right stick to right bottom).
- Importante: When unlocking motors, ensure the RTH (Return to Home) switch is OFF. Otherwise, motors cannot be unlocked.
4.2 Controlli di volo di base
Familiarize yourself with the transmitter's control sticks:
- Acceleratore (leva sinistra su/giù): Pushing up makes the quadcopter rise; pulling down makes it descend.
- Imbardata (levetta sinistra sinistra/destra): Pushing left rotates the quadcopter counter-clockwise; pushing right rotates it clockwise.
- Passo (levetta destra su/giù): Pushing up tilts the quadcopter forward; pulling down tilts it backward.
- Rotola (levetta destra sinistra/destra): Pushing left tilts the quadcopter left; pushing right tilts it right.
4.3 Regolazioni dell'assetto
Two black trim buttons are located next to the control sticks:
- One trim button adjusts rotation (yaw) and throttle.
- The other trim button adjusts pitch and roll.
- Use these buttons to fine-tune flight performance if the quadcopter drifts.
4.4 Indicatori LED
The quadcopter's LED indicators provide status information. You can control their power:
- Power Off LEDs: Long press the throttle trim button.
- LED di accensione: Perform the same long press on the throttle trim button.
4.5 Fotocamera e registrazione video
The camera key is on the left side of the transmitter, and the record key is on the right.
- Scatta una foto: Press the camera key. Two beeps indicate a picture has been saved to the SD card.
- Avvia la registrazione: Press the record key. One beep indicates recording has started. The recording time will display on the transmitter's LCD.
- Interrompi registrazione: Press the record key again to save the video.
4.6 Special Flight Modes
The transmitter sticks control special flight modes:
- Modalità senza testa: Press the throttle stick vertically. Two beeps and "Headless ON" on the LCD indicate activation. One beep indicates deactivation.
- Modalità Seguimi: Press the elevator stick vertically. Two beeps and "Follow ON" on the LCD indicate activation. Pushing the elevator stick will exit this mode.
- Manual Mode (Acrobatic Flight): Pull down the GPS switch. This mode enables acrobatic flight performance.
- Ritorno a casa (RTH): The RTH switch is on the right side of the transmitter. Ensure GPS is active when using RTH.
4.7 Arresto di emergenza
The following operations are for emergencies only, such as avoiding collisions with airplanes or birds:
- (Specific emergency stop procedure not detailed in provided transcript, but typically involves cutting motor power or initiating an immediate landing. Refer to the full product manual for precise steps.)
5. Transmitter Display Information
The transmitter's LCD provides critical flight data:
- A sinistra in alto: Quadcopter battery capacity, quadcopter battery voltage, quadcopter yaw/pitch orientation, and quadcopter coordinates.
- In alto a destra: Transmitter battery capacity, flight speed, flight height, and flight distance.
- Metter il fondo a: GPS satellites count and parameters for both the quadcopter and the transmitter.
The transmitter has a built-in antenna and should be pointed towards the quadcopter without obstructions for optimal video transmission.
6. Manutenzione
Regular maintenance ensures the longevity and safe operation of your HUBSAN H501S X4 drone:
- Pulizia: Gently wipe the drone and transmitter with a soft, dry cloth after each use. Avoid using solvents or harsh chemicals.
- Ispezione dell'elica: Controllare regolarmente le eliche per verificare la presenza di crepe, piegature o danni. Sostituire immediatamente le eliche danneggiate per prevenire instabilità di volo.
- Ispezione del motore: Assicurarsi che i motori siano privi di detriti e possano girare liberamente.
- Cura della batteria: Store batteries in a cool, dry place. Do not overcharge or over-discharge batteries. If storing for extended periods, charge batteries to approximately 50% capacity.
- Magazzinaggio: Store the drone and its components in a safe, dry environment, away from direct sunlight and extreme temperatures.
7. Risoluzione Dei Problemi
| Problema | Possibile causa | Soluzione |
|---|---|---|
| Il drone va alla deriva durante il volo | Improper compass calibration; uneven surface at takeoff; strong winds. | Perform compass calibration before each flight, especially in new locations. Ensure drone is on a level surface for takeoff. Adjust trim buttons for minor drifts. Avoid flying in strong winds. |
| Motors do not start | RTH switch is ON; binding failed; low battery; incorrect motor start procedure. | Ensure RTH switch is OFF. Re-perform binding procedure. Charge quadcopter battery. Follow correct motor start procedure (left stick left-bottom, right stick right-bottom). |
| No video feed on transmitter | Binding failed; drone too far from transmitter; interference. | Re-perform binding procedure. Ensure drone is within control range. Minimize obstructions between drone and transmitter. |
| Segnale GPS perso/debole | Flying in an area with poor GPS reception (e.g., indoors, near tall buildings, dense trees). | Spostarsi in un'area esterna aperta con cielo sereno view. Wait for at least 6 GPS satellites to be acquired before flight. |
| Quadcopter cannot ascend vertically | Vertical or horizontal angle value is outside normal range (more than 1 or less than -1). | Recalibrate the compass and enter manual mode as described in section 3.5. |
8. Specifiche
| Caratteristica | Dettaglio |
|---|---|
| Marca | HUBSAN |
| Nome del modello | H501S X4 |
| Caratteristiche speciali | Follow-Me, FPV-Capable, GPS |
| Fascia d'età (descrizione) | Adulto |
| Colore | Nero |
| Risoluzione di acquisizione video | Formato: 1080p |
| Tecnologia di connettività | 5.8GHz |
| Livello di abilità | Principiante |
| Peso dell'articolo | 3.35 libbre (1.52 kg) |
| Capacità della batteria | 2300 milioneamp Hours (7.4V LiPo) |
| Formato di acquisizione video | MP4 |
| Portata massima | 300 metri |
| Materiale | Plastica |
| Tecnologia di comunicazione wireless | Radiofrequenza (RF) |
| Composizione delle celle della batteria | Polimero di litio |
| Formato immagine supportato | JPEG, PNG |
| Risoluzione dell'uscita video | 1920x1080 pixel |
| Dimensioni del prodotto | 13.4 cm L x 13.4 cm P x 4.2 cm A |
| Produttore | HUBSAN |
| Primo disponibile | 2 dicembre 2015 |
9. Garanzia e supporto
For warranty information and technical support, please refer to the official HUBSAN webo contattare direttamente il servizio clienti. Conservare la ricevuta d'acquisto come prova d'acquisto per eventuali reclami in garanzia.
Risorse online:
- Visitare il HUBSAN Store on Amazon per ulteriori informazioni sui prodotti e sugli accessori.