
Introduzione
This manual provides comprehensive instructions for the installation, operation, and maintenance of your Armor All 3-in-1 Universal Phone Mount. Please read these instructions carefully before use to ensure proper functionality and safety. Retain this manual for future reference.
Prodotto finitoview
The Armor All 3-in-1 Universal Phone Mount is designed to securely hold your smartphone in a vehicle. It offers versatile mounting options for the dashboard, windshield, or air vent. The mount features an adjustable grip, 360-degree rotation, and a quick-release button for ease of use.
Contenuto della confezione:
- One Universal Suction Phone/GPS Mount

Configurazione e installazione
The mount offers three primary installation methods: dashboard, windshield, and air vent. Choose the method that best suits your vehicle and viewing preferenza.
1. Dashboard or Windshield Mounting (Suction Cup)
- Pulisci la superficie: Ensure the dashboard or windshield surface is clean, dry, and free of dust or oils.
- Posizionare il supporto: Place the suction cup firmly against the desired smooth, flat surface.
- Attiva aspirazione: Press down on the suction cup and then push the lever down to create a strong vacuum seal.
- Regola l'angolo: Use the adjustable arm and ball joint to position the phone cradle at your preferred viewing angle. Tighten any locking nuts to secure the position.


2. Air Vent Mounting
- Attach Vent Clip: Securely attach the vent clip accessory to the back of the phone cradle.
- Insert into Vent: Carefully slide the vent clip onto one of your vehicle's air vent blades. Ensure it is firmly seated.
- Regola l'angolo: Adjust the phone cradle to your desired viewangolo di ing.

Istruzioni per l'uso
Inserimento dello smartphone:
- Open Arms: Squeeze the side release buttons on the mount to open the adjustable side arms. They will click and stay in the open position.
- Luogo Telefono: Gently place your smartphone against the trigger button located in the center of the mount. The arms will automatically close and secure your device.


Rimozione dello smartphone:
- Press the quick-release button located on the side of the mount. The arms will open, allowing you to safely remove your phone with one hand.
Regolazione Viewing Angle (360° Rotation):
- The mount features a 360-degree rotatable ball joint. Loosen the locking nut (if present), adjust your phone to portrait or landscape orientation, and then tighten the nut to secure the position.

Accesso alla ricarica:
- The mount is designed with reserved space at the bottom to allow easy access for charging cables while your phone is secured.

Manutenzione
- Pulizia: Pulisci il supporto con un panno morbido eamp cloth. Avoid using abrasive cleaners or solvents, as these may damage the material.
- Cura della ventosa: If the suction cup loses adhesion, rinse it with warm water and let it air dry. This can help restore its stickiness.
- Magazzinaggio: Quando non viene utilizzato per lunghi periodi, conservare il supporto in un luogo fresco e asciutto, lontano dalla luce solare diretta.
Risoluzione dei problemi
| Problema | Possibile causa | Soluzione |
|---|---|---|
| Mount not adhering to surface (suction cup) | La superficie è sporca, unta o irregolare; la ventosa è sporca o usurata. | Clean the mounting surface and the suction cup. Ensure the surface is smooth and flat. Re-engage the suction lever firmly. |
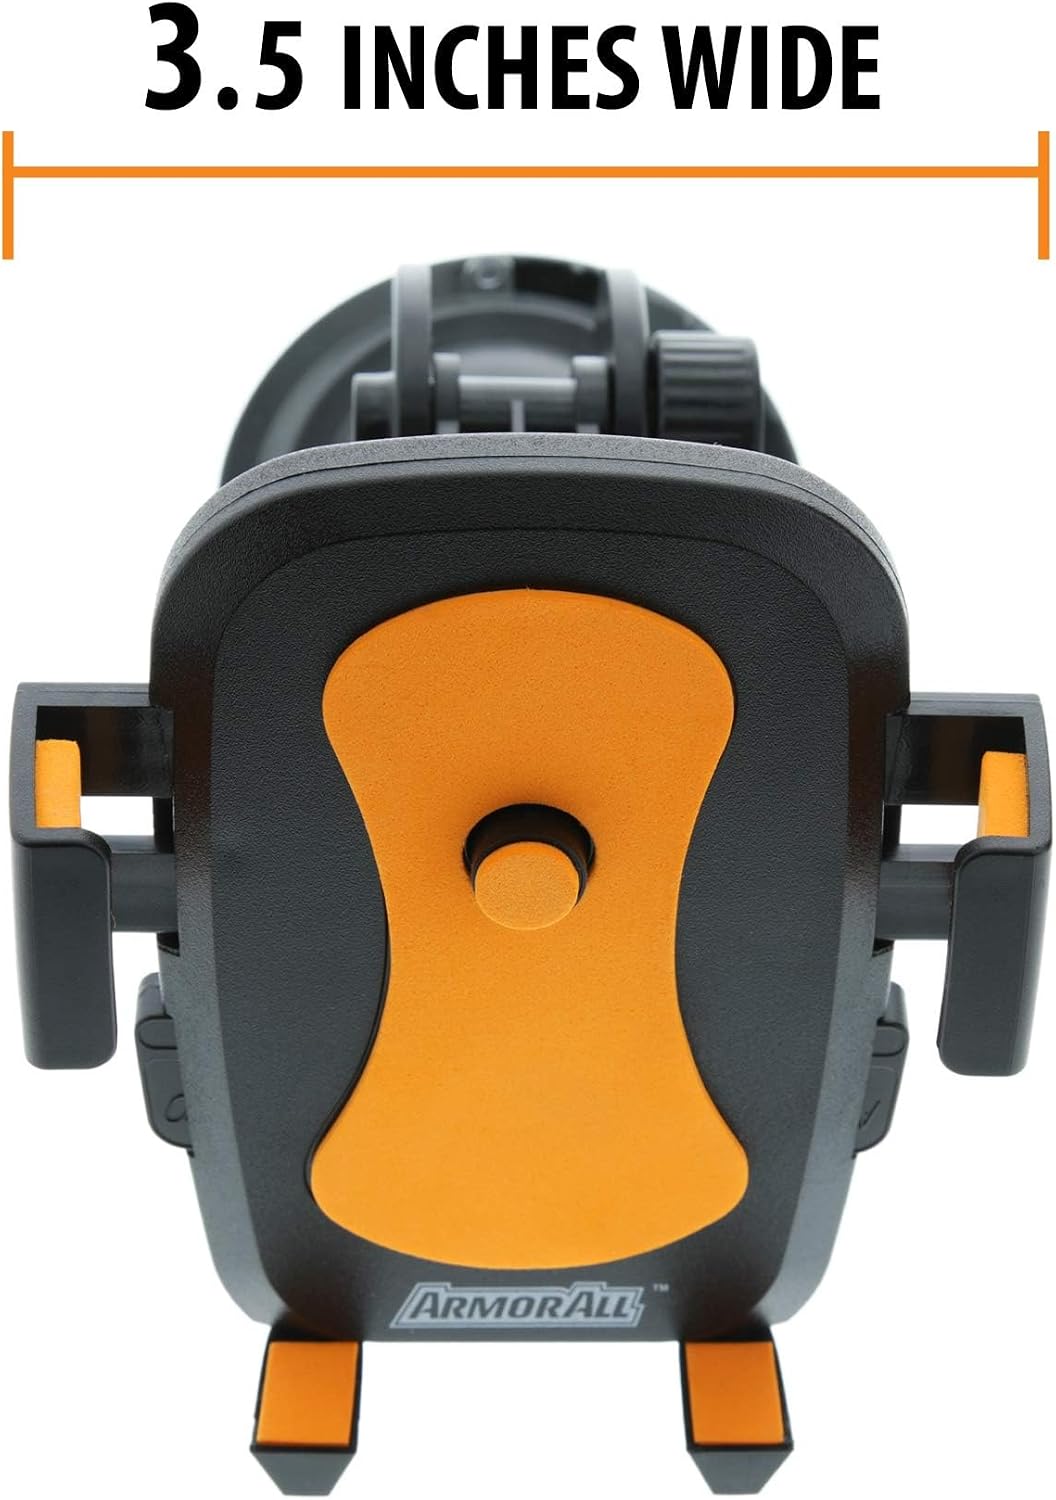
| Il telefono non è tenuto saldamente | Side arms not fully closed; phone too wide for the mount. | Ensure the phone is placed against the trigger button to fully engage the arms. Verify your phone's width is within the mount's capacity (up to 3.5 inches). |
| Vent clip is loose | Clip not fully inserted into vent blade; vent blades are too thin or thick. | Ensure the vent clip is securely attached to a stable vent blade. Some vent designs may not be compatible. |
| Mount wobbles or shifts | Locking nuts are loose; mounting surface is unstable. | Tighten all adjustable locking nuts. Ensure the suction cup or vent clip is firmly secured to a stable part of the vehicle. |
Specifiche
- Modello: AMK3-0117-BLK
- Marca: Armatura Tutto
- Produttore: Accessori Jem
- Tipo di montaggio: Suction (Dashboard/Windshield), Vent
- Dispositivi compatibili: Smartphones (up to 3.5 inches wide)
- Caratteristiche speciali: 360° Rotatable, Quick Release Button
- Dimensioni del prodotto: 4 x 3 x 7 pollici
- Peso dell'articolo: 6.4 once
Garanzia e supporto
Specific warranty information for the Armor All 3-in-1 Universal Phone Mount (Model AMK3-0117-BLK) is not provided in this manual. For warranty details, product support, or to inquire about replacement parts, please contact Armor All customer service or refer to the product packaging for contact information.