1. Prodotto finitoview
The Baomain CN101A is a digital LCD programmable timer switch designed for controlling electrical equipment with precise daily and weekly schedules. It features a 110V AC input and a 200-250V 16A output, making it suitable for various applications including lighting and equipment control. The timer offers dual-mode programmable control with up to 28 on/off settings, alongside instant manual control for flexibility. Its user-friendly backlit LCD interface ensures easy programming and real-time status viewing. An integrated lithium battery provides backup, preserving schedules and allowing setup even during power outages.

Figura 1: Fronte view of the Baomain CN101A Digital LCD Programmable Timer Switch, showing the LCD display and control buttons.
2. Specifiche
| Caratteristica | Specificazione |
|---|---|
| Ingresso volumetage | 110 V CA |
| Volume di uscitatage | 200-250V AC |
| Corrente di uscita | 16A |
| Frequenza | Frequenza 50/60 Hz |
| Programmi | 28 On/Off settings (Daily/Weekly) |
| Materiale | Plastica |
| Dimensioni (P x L x A) | 1.26" x 2.36" x 2.36" (32 mm x 60 mm x 60 mm) |
| Peso dell'articolo | 62 grammi |
| Montaggio | Panel-mount with Φ3.2mm holes |
| Batteria di backup | Integrated lithium battery for program memory |

Figure 2: Detailed dimensions of the timer switch for installation planning.
3. Contenuto della confezione
The package typically includes the Baomain CN101A Digital LCD Programmable Timer Switch and a basic instruction sheet. Please verify all components upon receipt.
Video 1: Un overview of the Baomain CN101A timer switch, demonstrating its physical appearance and basic handling. This video can assist in identifying the product and its components.
4. Schema elettrico e installazione
Proper wiring is essential for safe and correct operation. The timer features a 4-pin configuration compatible with 1/4" female connectors. It is designed for secure installation in panels with Φ3.2mm (approx. 1/8") mounting holes. Refer to the diagram below for connection details.
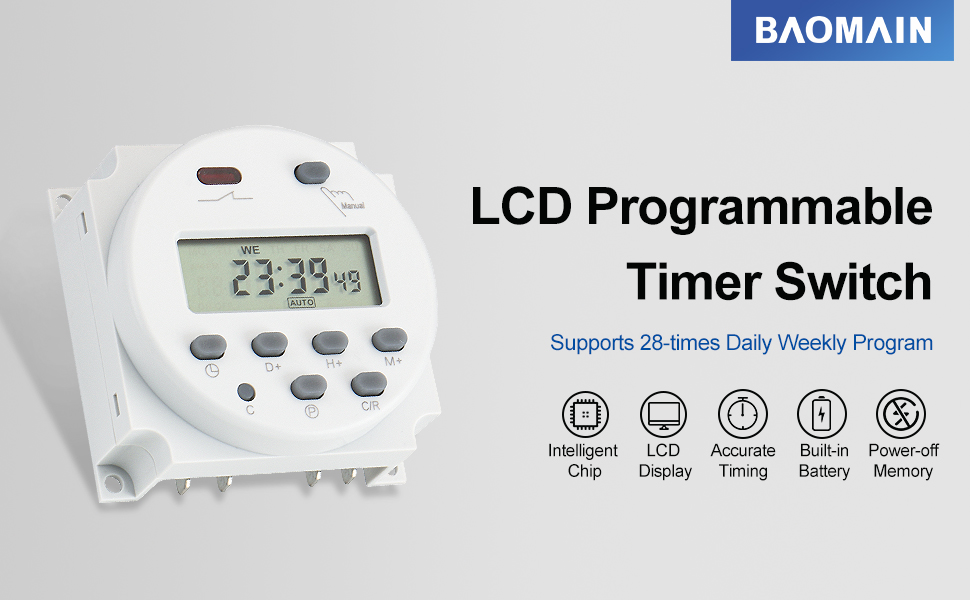
Figure 3: Wiring diagram showing connections for power input (110V AC) and output (200-250V AC) to the device. Terminals 1 and 2 are for power input, while terminals 4 and 5 are for the switched output to the device. Terminal 3 is not used for this configuration.

Figura 4: Posteriore view of the timer switch, illustrating the input and output terminals for electrical connections.
5. Istruzioni per l'uso
5.1 Impostazione dell'ora corrente
- Premere il tasto Orologio pulsante (
 ) to enter time setting mode.
 - Utilizzare il D+ button to adjust the day of the week (MO, TU, WE, TH, FR, SA, SU).
- Utilizzare il H+ button to adjust the hour (1-24 hours).
- Utilizzare il M+ button to adjust the minutes (1-60 minutes).
- Premere il tasto Orologio button again to save the current time and exit time setting mode.
5.2 Programmazione degli orari di accensione/spegnimento
The timer supports up to 28 ON/OFF programs. Follow these steps to set your desired schedules:
- Premere il tasto P button to enter programming mode. The display will show "1 ON".
- Utilizzo D+, H+, M+ buttons to set the desired ON time (day, hour, minute) for the first program.
- Premere il tasto P nuovamente il pulsante. Il display mostrerà "1 OFF".
- Utilizzo D+, H+, M+ buttons to set the desired OFF time (day, hour, minute) for the first program.
- Ripetere i passaggi da 2 a 4 per ulteriori programmi ON/OFF (fino a 28).
- Dopo aver impostato tutti i programmi desiderati, premere il tasto Orologio pulsante () to exit programming mode and save settings.
If you do not require all 28 settings, simply press the Orologio button to end programming after setting your last desired program.
Figure 5: Visual guide for setting the current time and programming ON/OFF schedules using the timer's buttons.
6. Special Button Functions
- Pulsante Orologio (): Press and hold for 4 seconds to lock all buttons. The LCD screen will display "a" to indicate locked status. Press and hold for 4 seconds again to unlock.
- C/R Button: Press and hold for 5 seconds. The LCD display will flash, indicating a factory reset has been performed.
- Pulsante manuale: Press and hold for 5 seconds. The LCD screen will turn off, meaning the timer is turned off. To turn it back on, press and hold for 5 seconds again. The setting data will not be lost when the LCD screen is turned ON or OFF using this function.

Figura 6: Oltreview of the special functions for the Clock, C/R, and Manual buttons.
7. Risoluzione dei problemi (domande e risposte)
- Q: The display screen of the Time Switch can't turn on?
A: Please press the 'Manual' key for 5 seconds. If you received a power-off switch, or please charge it for 10 minutes. - Q: The Timer Switch does not energize when the Proper Voltage viene applicato.
A: Please check the wiring if correct according to the instruction type A, and Correct Input Voltage. - Q: Is it for DC input and DC output?
A: No, the CN101A series is for DC/AC 12V Input, AC 220V Output. Please choose CN101C Series, for Input or Output AC/DC 12V. - Q: Can the built-in battery be rechargeable or replaced?
A: It's a CR2032 lithium button battery which can't be recharged, but you can open and replace it. The battery is for the program's power-off memory, not for powering the switch for control.

Figure 7: Common questions and answers regarding the operation and maintenance of the timer switch.
8. Manutenzione
The Baomain CN101A Digital LCD Programmable Timer Switch requires minimal maintenance. Keep the device clean and free from dust and moisture. Do not attempt to open the casing beyond replacing the battery as described in the troubleshooting section, as there are no other user-serviceable parts. Ensure the operating environment is within the specified temperature and humidity ranges to prolong the device's lifespan.
9. Garanzia e supporto
For warranty information, technical support, or service inquiries, please refer to the documentation provided with your purchase or contact Baomain customer service directly. Keep your purchase receipt as proof of purchase for any warranty claims.