Introduzione
This manual provides instructions for the setup, operation, and maintenance of your iHome iH402B Dual Charging Alarm Clock. This device features dual alarms, a USB charging port, and a removable USB battery pack for portable power. Please read these instructions carefully before using your device.
Prodotto finitoview
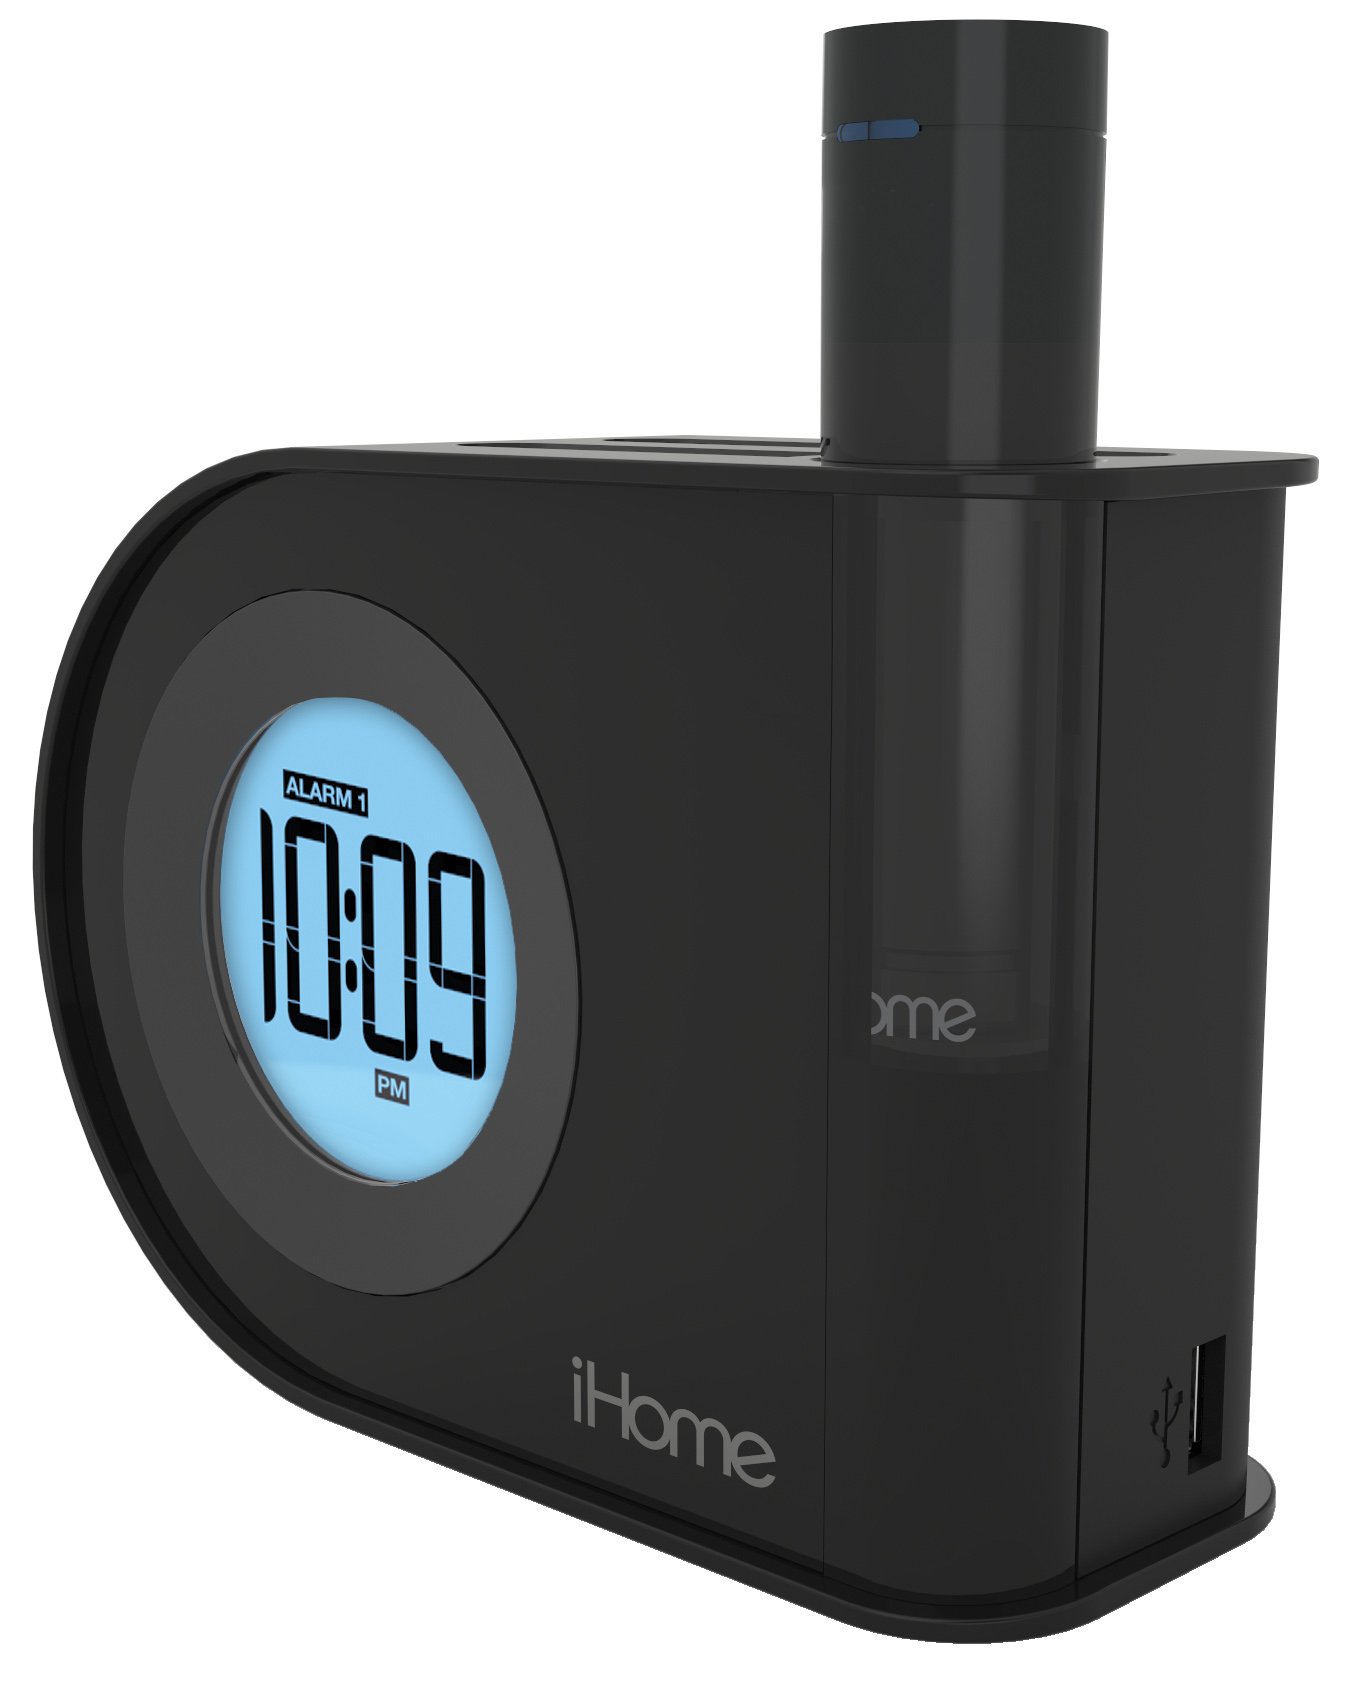
Immagine: The iHome iH402B alarm clock displaying 10:09 PM, with a smartphone and a tablet connected via USB cables for charging. The removable power pack is visible on the right side of the clock.
The iH402B is designed to provide reliable timekeeping and alarm functions, along with convenient charging capabilities for your mobile devices. It includes a main unit with a digital display, a built-in USB charging port, and a unique pop-out removable lithium-ion battery pack with its own USB port.
Impostare
1. Collegamento elettrico
Connect the power adapter (not included, but required for primary power) to the DC jack on the back of the iH402B unit and then plug the adapter into a standard wall outlet. The unit will power on and the display will illuminate.
2. Batteria di backup
The iH402B requires 2 AA batteries (included) for battery backup. Install these batteries into the compartment located on the bottom of the unit. This backup ensures that time and alarm settings are maintained during a power outage.
3. Impostazione dell'ora
- Premere e tenere premuto il tasto Ora impostata button (refer to unit for exact location).
- Utilizzare il + or - pulsanti per regolare l'ora. Osservare l'indicatore PM per la corretta impostazione AM/PM.
- Premere il tasto Ora impostata button again to confirm the hour and proceed to minute adjustment.
- Utilizzare il + or - pulsanti per regolare i minuti.
- Premere il tasto Ora impostata un'ultima volta per salvare l'ora e uscire dalla modalità di impostazione dell'ora.
4. Daylight Saving Time (DST) Switch
Individuare il Ora legale switch on the back of the unit. Slide the switch to the appropriate position (DST or Standard Time) to instantly adjust the clock for seasonal time changes.
Istruzioni per l'uso
1. Impostazione degli allarmi (allarme 1 e allarme 2)
The iH402B features two independent alarms. Follow these steps for each alarm:
- Premere e tenere premuto il tasto Allarme 1 or Allarme 2 button until the alarm time flashes on the display.
- Utilizzare il + or - buttons to adjust the desired alarm hour. Ensure the AM/PM indicator is correct.
- Premere il rispettivo Allarme button again to confirm the hour and proceed to minute adjustment.
- Utilizzare il + or - pulsanti per regolare i minuti desiderati della sveglia.
- Premere il tasto Allarme button one last time to save the alarm time. The alarm indicator will light up, confirming the alarm is active.
- Per disattivare una sveglia attiva, premere il tasto corrispondente Allarme button once. The alarm indicator will turn off.
An alarm volume switch (High/Low) is located on the back of the unit to adjust the buzzer volume.
2. Funzione snooze
Quando suona un allarme, premere il tasto Posticipare button (typically a large button on top of the unit) to temporarily silence the alarm. The alarm will sound again after a preset interval (usually 9 minutes).
3. Luminosità del display
La luminosità del display può essere regolata. Individuare il Oscuratore or Luminosità button (refer to unit for exact location). Press it repeatedly to cycle through various brightness levels, including an option to turn the display off entirely.
4. Ricarica USB
The iH402B offers two ways to charge your mobile devices:
- Porta USB integrata: Connect your device's USB charging cable to the USB port located on the side or back of the main unit.
- Removable USB Battery Pack: The unit includes a pop-out lithium-ion battery pack with its own USB port. To use it, press the release button (typically on the back) to eject the pack. Connect your device's USB charging cable to the port on the battery pack. To recharge the battery pack, reinsert it into the main unit.

Immagine: Un più vicino view of the iHome iH402B, highlighting the USB charging capabilities. A smartphone is connected to the built-in USB port, and a tablet is connected to the removable power pack, which is inserted into the alarm clock.
Manutenzione
1. Pulizia
Wipe the unit with a soft, dry cloth. Do not use liquid cleaners or abrasive materials, as they may damage the finish.
2. Sostituzione della batteria (backup)
If the display flickers or settings are lost during a power interruption, the AA backup batteries may need replacement. Open the battery compartment on the bottom of the unit, remove the old batteries, and insert two new AA batteries, observing correct polarity.
Risoluzione dei problemi
- L'unità non si accende: Ensure the power adapter is securely plugged into both the unit and a working wall outlet. Check the power source.
- L'allarme non suona: Verify that the alarm is set and activated (alarm indicator lit). Check the alarm volume switch on the back of the unit.
- La ricarica USB non funziona: Ensure the unit is powered on. Check the USB cable connection to both the alarm clock/battery pack and your device. Some devices may require more power than the removable pack can provide for a full charge.
- Time/settings lost during power outage: Replace the AA backup batteries.
- Display is too dim or off: Regolare la luminosità del display tramite il pulsante dedicato.
Specifiche
| Marca | ioCasa |
| Numero di modello | iH402B |
| Tipo di visualizzazione | Digitale |
| Fonte di alimentazione | Battery Powered (for backup), Electrical (main) |
| Batterie di backup | 2 batterie AA (incluse) |
| Connettività | USB |
| Dimensioni del prodotto | 2.36 x 5.71 x 4.06 pollici |
| Peso dell'articolo | 1.5 libbre |
| Produttore | SDI Technologies, Inc. |
Garanzia e supporto
For warranty information and technical support, please refer to the documentation included with your purchase or visit the official iHome websito. Conservare la prova d'acquisto per eventuali reclami in garanzia.