Mopar 68053218aa.2
Mopar OEM Fuse Relay Instruction Manual
Model: 68053218aa.2
Introduzione
This manual provides essential information for the proper installation, operation, maintenance, and troubleshooting of your Mopar OEM Fuse Relay, part number 68053218aa.2. This component is designed for use in Chrysler, Jeep, and Dodge vehicles, serving as a critical part of the vehicle's electrical system to control various circuits.
Ensure you read and understand all instructions before attempting any installation or maintenance.
Informazioni importanti sulla sicurezza
Always prioritize safety when working with automotive electrical systems. Failure to follow these safety guidelines may result in personal injury, damage to the vehicle, or damage to the component.
- Scollegare la batteria: Always disconnect the vehicle's negative battery terminal before working on any electrical components to prevent accidental short circuits or electrical shocks.
- Utilizzare gli strumenti adeguati: Ensure you use the correct tools for installation and removal to avoid damaging the relay or surrounding components.
- Verifica compatibilità: Confirm that this relay is the correct part for your specific vehicle model and application. Refer to your vehicle's service manual for exact specifications.
- Evitare l'umidità: Keep the relay and its connections dry. Moisture can cause corrosion and electrical malfunctions.
- Installazione professionale: In caso di dubbi su qualche passaggio, si consiglia di chiedere assistenza a un tecnico automobilistico qualificato.
Configurazione e installazione
The Mopar OEM Fuse Relay is typically installed in a fuse box or relay block within the engine bay or passenger compartment. The installation process involves identifying the correct slot and securely seating the relay.
Identifying the Relay

Figura 1: Davanti view of the Mopar OEM Fuse Relay, showing the Omron branding, "MADE IN U.S.A.", and the internal circuit diagram with pin numbers (1, 2, 3, 4, 5) and the part code 26X5A11. This diagram is crucial for understanding the relay's function and pinout.

Figura 2: Superiore view of the Mopar OEM Fuse Relay, providing a clear perspective of the circuit diagram and pin numbering. This view is helpful for verifying the correct orientation during installation.

Figura 3: Metter il fondo a view of the Mopar OEM Fuse Relay, clearly displaying the five electrical pins. These pins connect to the corresponding terminals in the vehicle's relay socket.
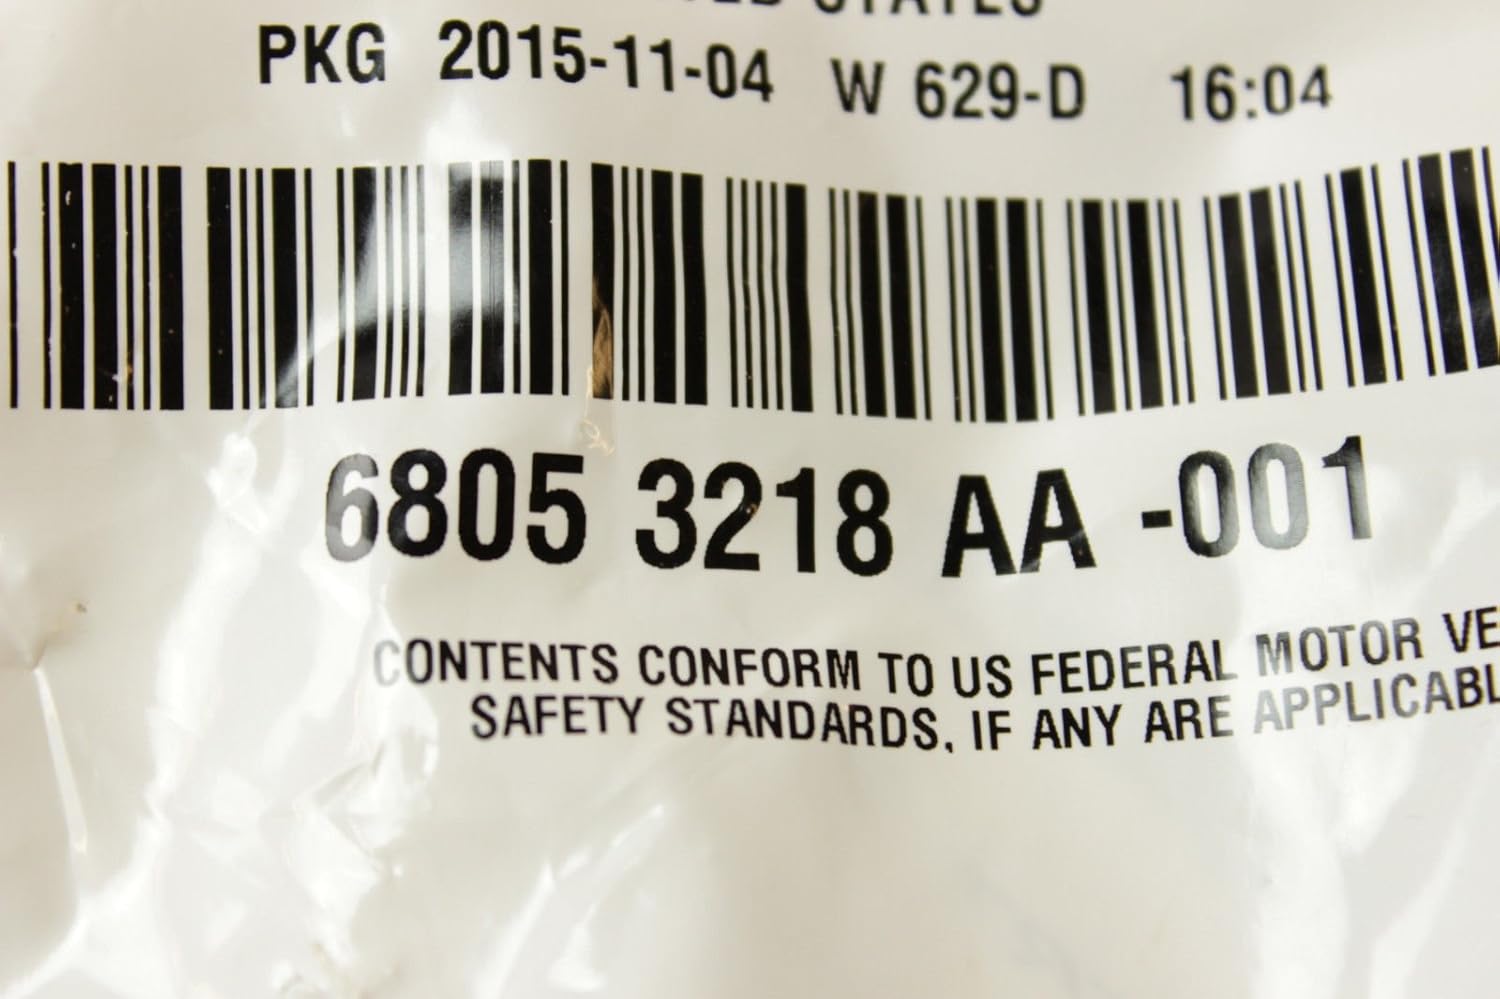
Figura 4: Packaging of the Mopar OEM Fuse Relay, highlighting the part number 6805 3218 AA -001. This number confirms the authenticity and specific model of the relay.
Fasi di installazione
- Locate Fuse/Relay Box: Consult your vehicle's owner's manual to locate the fuse and relay box where the relay needs to be installed or replaced.
- Identify Correct Slot: Within the fuse/relay box, identify the specific slot designated for the relay you are installing. Vehicle manuals often include diagrams of the fuse box layout.
- Insert Relay: Align the pins of the Mopar OEM Fuse Relay with the corresponding holes in the relay socket. Gently but firmly push the relay straight down until it is fully seated. You should feel a slight click or resistance as it locks into place.
- Verifica connessione: Ensure the relay is seated flush and securely in its socket. A loose connection can lead to intermittent operation or failure.
- Ricollegare la batteria: Once the relay is securely installed, reconnect the negative battery terminal.
- Funzionalità di prova: Turn on the vehicle and test the circuit controlled by the newly installed relay to ensure it is functioning correctly.
Principi operativi
The Mopar OEM Fuse Relay (Model 68053218aa.2) is an electromechanical switch. It uses a small amount of current to control a larger amount of current. This is particularly useful in automotive applications where high-current devices (like headlights, fuel pumps, or starter motors) need to be controlled by low-current switches (like those on your dashboard).
When a small electrical current is applied to the relay's control coil (pins 1 and 2 in the diagram), it creates a magnetic field. This magnetic field pulls a movable armature, closing a set of contacts (pins 3 and 5). This action completes a separate, higher-current circuit, allowing power to flow to the connected component. When the current to the coil is removed, the magnetic field collapses, and a spring returns the contacts to their original (normally open) position, breaking the high-current circuit.
Manutenzione
Mopar OEM relays are designed for long-term reliability and typically require minimal maintenance. However, periodic inspection can help ensure optimal performance and longevity.
- Ispezione visiva: Periodically inspect the relay and its socket for any signs of corrosion, melting, or physical damage. Discoloration or a burnt smell may indicate an issue.
- Terminali puliti: If corrosion is present on the relay pins or within the socket, carefully clean them using a suitable electrical contact cleaner and a small brush. Ensure the area is dry before reinserting the relay.
- Posti a sedere sicuri: Ensure the relay remains firmly seated in its socket. Vibrations from vehicle operation can sometimes cause components to loosen over time.
- Protezione ambientale: Keep the fuse/relay box cover securely closed to protect the components from dust, dirt, and moisture.
Risoluzione dei problemi
If the circuit controlled by the relay is not functioning, consider the following troubleshooting steps:
| Sintomo | Possibile causa | Soluzione |
|---|---|---|
| Component (e.g., headlights, horn) does not activate. |
|
|
| Relay makes a clicking sound but component does not activate. |
|
|
| Relay feels hot or smells burnt. |
|
|
For complex electrical issues, it is highly recommended to consult a certified automotive electrician or your vehicle's service center.
Specifiche
Key specifications for the Mopar OEM Fuse Relay (Model 68053218aa.2):
| Attributo | Valore |
|---|---|
| Marca | Mopar |
| Numero modello articolo | 68053218aa.2 |
| Dimensioni del prodotto | 10 x 7 x 2 pollici; 1 libbre |
| Tipo di connettore | Screw (Note: This might be a generic spec, the relay itself has pins for socket mount) |
| Tipo di contatto | Normalmente aperto |
| Tipo di montaggio | Supporto per presa |
| Modalità di funzionamento | Automatico |
| Data prima disponibilità | 23 marzo 2016 |
Note: Some specifications are general and may apply to a broader category of relays. Always refer to your vehicle's specific requirements.
Informazioni sulla garanzia
Mopar OEM parts are typically covered by a limited warranty against defects in material or workmanship. The exact terms and duration of the warranty may vary depending on the purchase location and specific Mopar warranty policies in effect at the time of purchase.
For detailed warranty information, please retain your proof of purchase and refer to the warranty documentation provided with your vehicle or contact an authorized Mopar dealer or service center. General Mopar parts warranty information can often be found on the official Mopar websito.
This warranty typically covers manufacturing defects and does not cover damage resulting from improper installation, misuse, neglect, accident, or unauthorized modification.
Assistenza clienti
For technical assistance, questions regarding compatibility, or warranty claims, please utilize the following resources:
- Authorized Mopar Dealer: Your local authorized Chrysler, Jeep, or Dodge dealership is equipped to provide expert advice and service for Mopar parts.
- Mopar Ufficiale Websito: Visita il sito ufficiale Mopar website for product information, service manuals, and contact details. You can often find a "Contact Us" section or a dealer locator.
- Manuale di assistenza del veicolo: Your vehicle's specific service manual contains detailed diagrams and procedures relevant to electrical components.
When contacting support, please have your vehicle's VIN (Vehicle Identification Number) and the relay's part number (68053218aa.2) readily available.