CONTEC CMS50M
CONTEC CMS50M Fingertip Pulse Oximeter User Manual
Model: CMS50M | Brand: CONTEC
1. Introduzione
The CONTEC CMS50M Fingertip Pulse Oximeter is a portable, non-invasive device designed for spot-checking of arterial hemoglobin oxygen saturation (SpO2) and pulse rate (PR) through the finger. It is suitable for use in home environments and for sporting and aviation activities. This device is not intended for continuous monitoring or as a medical device for diagnosis or treatment.
It features a small volume, light weight, and is convenient for carrying. The device displays pulse rate value and a bar graph for easy reading.

Figura 1: Fronte view of the CONTEC CMS50M Fingertip Pulse Oximeter showing the display with SpO2 and PR readings.
2. Contenuto della confezione
Dopo aver aperto la confezione, verificare che tutti gli articoli siano presenti e in buone condizioni:
- Main unit (CONTEC CMS50M Fingertip Pulse Oximeter)
- cordino
- Manuale d'uso
Nota: le batterie non sono incluse nella confezione e devono essere acquistate separatamente.

Figure 2: The CONTEC CMS50M Pulse Oximeter shown with its included lanyard.
3. Impostazione
3.1 Installazione della batteria
The device requires two AAA batteries (not included). Follow these steps to install them:
- Individuare il coperchio del vano batteria sul retro del dispositivo.
- Far scorrere il coperchio nella direzione indicata dalla freccia.
- Insert two AAA batteries, ensuring the polarity (+ and -) matches the diagrams inside the compartment. Note that one positive terminal may align with a spring, which is an uncommon but correct orientation for this device.
- Richiudere il coperchio del vano batterie facendolo scorrere indietro finché non scatta in posizione.
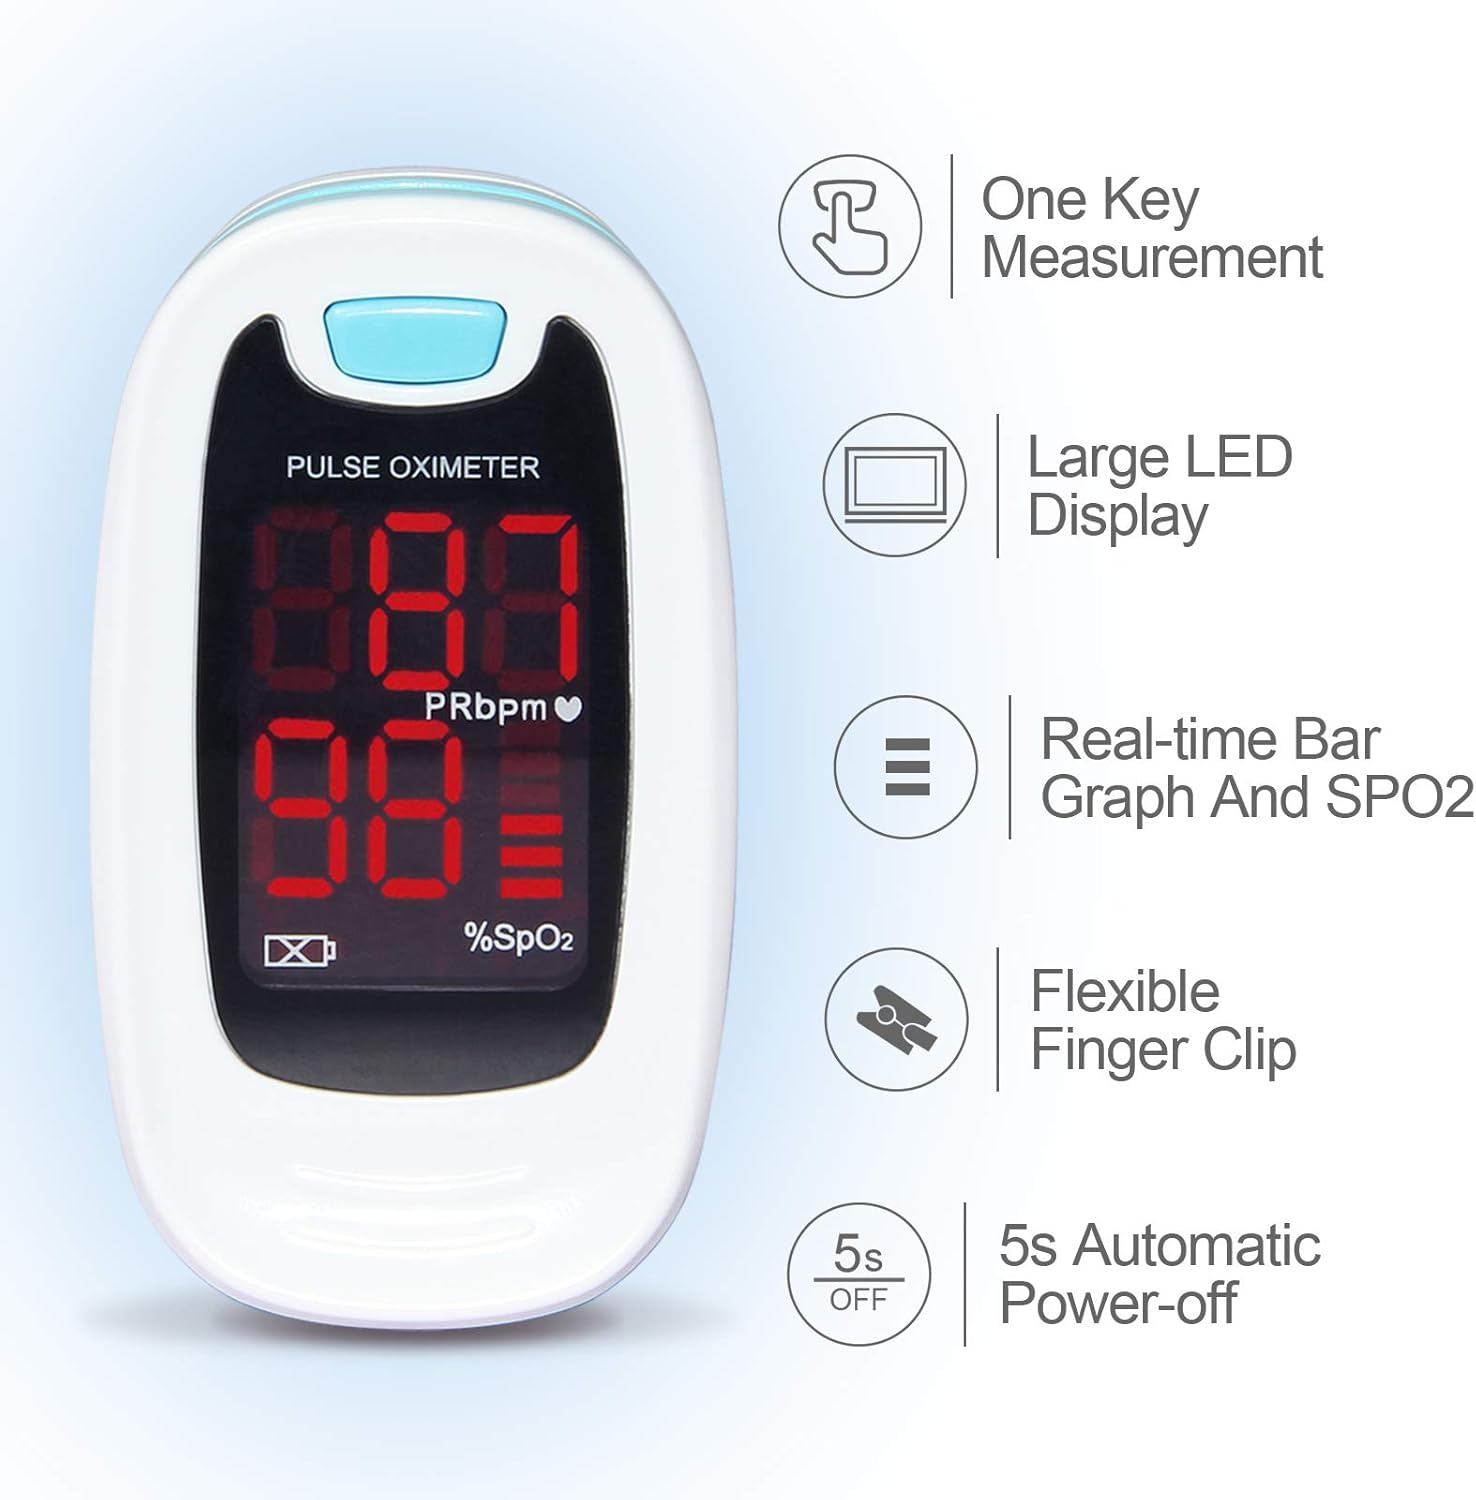
Figura 3: Posteriore view of the pulse oximeter showing the battery compartment. Ensure correct battery polarity during installation.
3.2 Fissaggio del cordino
To attach the lanyard:
- Thread the thin loop end of the lanyard through the lanyard hole on the device.
- Pass the larger end of the lanyard through the small loop you just created and pull it tight to secure.
- The lanyard features a quick-release buckle for easy detachment if not needed.
4. Istruzioni per l'uso
4.1 Esecuzione di una misurazione
- Aprire il clamp dell'ossimetro.
- Insert one of your fingers (preferably the index or middle finger) into the rubber opening of the oximeter with the nail surface upward. Ensure the finger is fully inserted and rests on the sensor.
- Rilasciare il clamp.
- Press the power button on the front panel once to turn on the oximeter.
- Keep your hand still during the measurement. Do not shake your finger.
- The SpO2 and Pulse Rate values will appear on the display within a few seconds.

Figure 4: Proper finger placement in the pulse oximeter for accurate readings.
4.2 Comprensione del display
The bright LED display shows the following information:
- SpO2 (%): Blood Oxygen Saturation Level.
- PRbpm: Pulse Rate (beats per minute).
- Istogramma: Indicates pulse intensity.
- Indicatore della batteria: Mostra la durata residua della batteria.
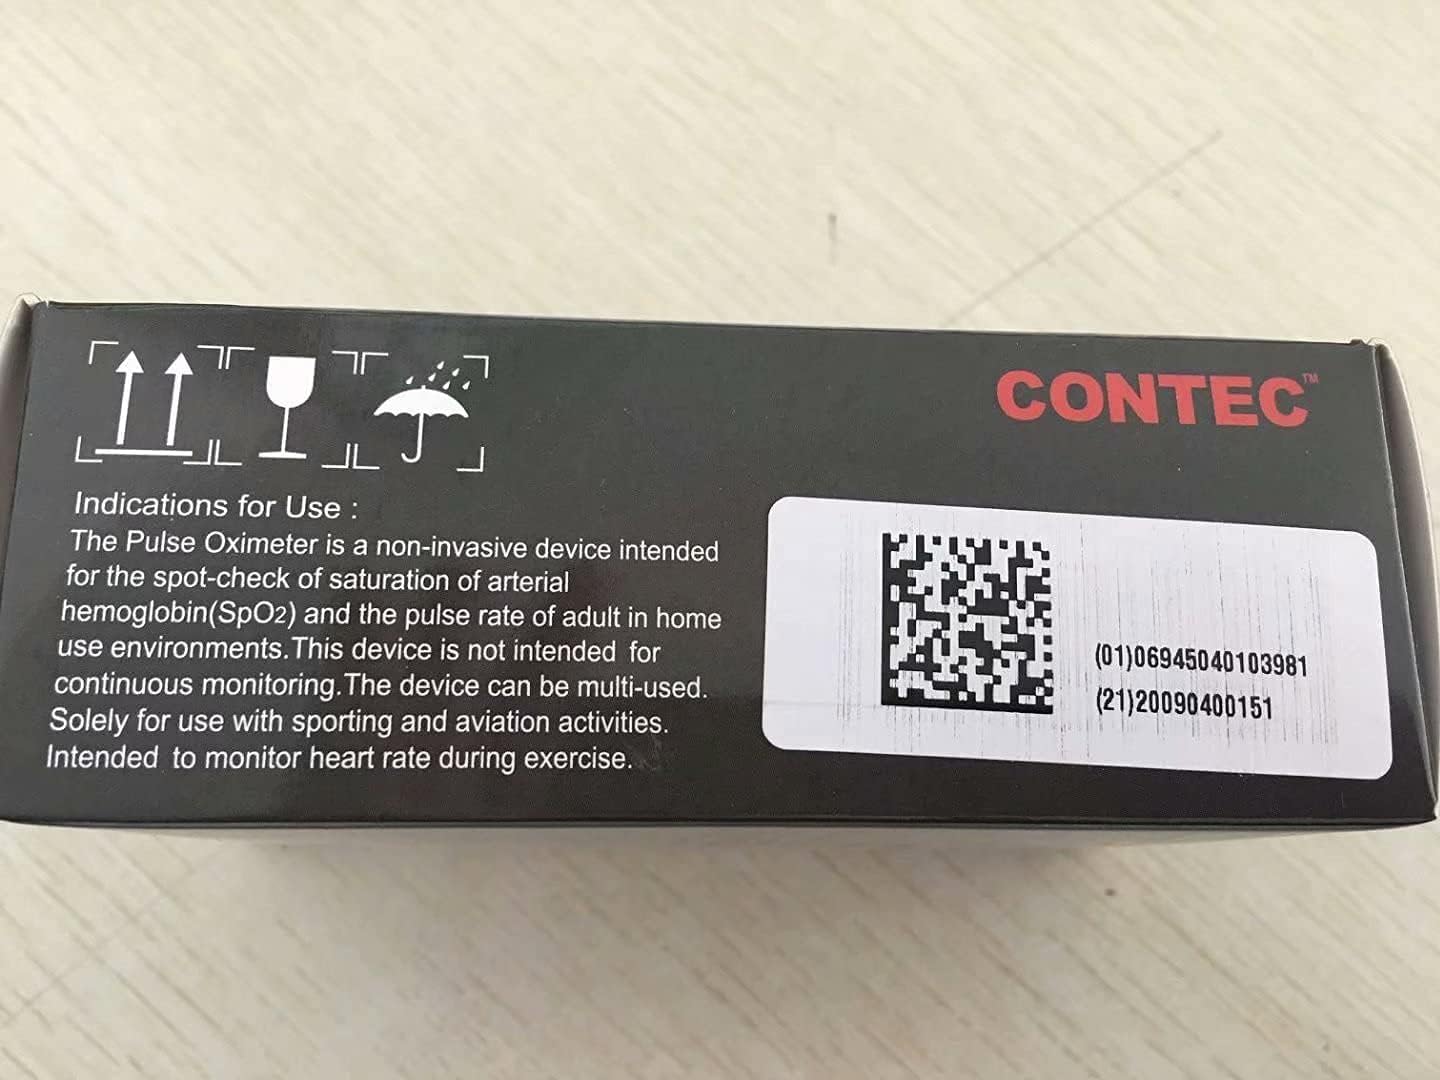
Figura 5: dettagliata view of the pulse oximeter display, highlighting SpO2, PRbpm, and the pulse intensity bar graph.
4.3 Spegnimento automatico
The device will automatically power off after approximately 5 seconds of inactivity or when the finger is removed from the sensor.
5. Manutenzione
5.1 Pulizia del dispositivo
To ensure longevity and hygiene, clean the oximeter regularly:
- Wipe the surface of the device with a soft cloth dampened with medical alcohol (75% ethanol) or isopropyl alcohol.
- Clean the inside of the finger clip with the same method.
- Allow the device to air dry completely before use.
- Non immergere il dispositivo in acqua o in soluzioni detergenti.
5.2 Sostituzione e conservazione della batteria
When the low battery indicator appears on the display, replace the batteries promptly. If the device will not be used for an extended period, remove the batteries to prevent leakage and damage.
Conservare l'ossimetro in un luogo fresco e asciutto, lontano dalla luce solare diretta e da temperature estreme.
6. Risoluzione Dei Problemi
| Problema | Possibile causa | Soluzione |
|---|---|---|
| Nessuna visualizzazione dopo l'accensione | Le batterie sono scariche o installate in modo errato. | Replace batteries or re-install them with correct polarity. |
| Display unstable or inaccurate readings | Finger not properly inserted; finger shaking; ambient light interference; cold fingers. | Re-insert finger correctly and keep still. Avoid strong light. Warm hands if cold. |
| "Finger Out" message displayed | Dito non rilevato o rimosso. | Ensure finger is fully inserted into the sensor. |
7. Specifiche
- Modello: CMS50M
- Marca: CONTEC
- Intervallo di misura (SpO2): 35%~100%
- Dimensioni del prodotto: 2.24 x 1.34 x 1.22 pollici
- Peso: 1.76 once (senza batterie)
- Alimentazione elettrica: 2 batterie AAA (non incluse)
- Ambiente operativo: Temperature: +10°C ~ +40°C, Relative humidity: ≤75%, Atmospheric Pressure: 700 hPa ~ 1060 hPa

Figure 6: Dimensions of the CONTEC CMS50M Pulse Oximeter.
8. Important Information and Disclaimers
This product is intended for sports and aviation use only and is not a medical device. It is not intended for continuous monitoring. Solely for use with sporting and aviation activities. Intended to monitor heart rate during exercise.
Le dichiarazioni relative agli integratori alimentari non sono state valutate dalla FDA e non intendono diagnosticare, trattare, curare o prevenire alcuna malattia o condizione di salute.
9. Garanzia e supporto
For warranty information and customer support, please refer to the official CONTEC websito o contattare direttamente il venditore. Conservare la ricevuta d'acquisto per eventuali reclami in garanzia.
Manufacturer: CONTEC
Data di prima disponibilità: 27 maggio 2017
Ask a question about this manual
Ask about setup, troubleshooting, compatibility, parts, safety, or missing instructions. Manuals+ will review the question and use this page’s manual context to help answer it.