
Introduzione
The NEC E436 is a 43-inch direct-lit, commercial-grade LED backlit display designed for various applications including education, corporate environments, and digital signage. This display features LED backlighting for reduced power consumption, a thinner profile, and lighter weight. It offers Full HD resolution for clear image quality and includes an integrated ATSC/NTSC tuner and built-in speakers for broadcast capabilities. Additionally, the E436 incorporates a USB player for displaying video, audio, or JPEG image files.
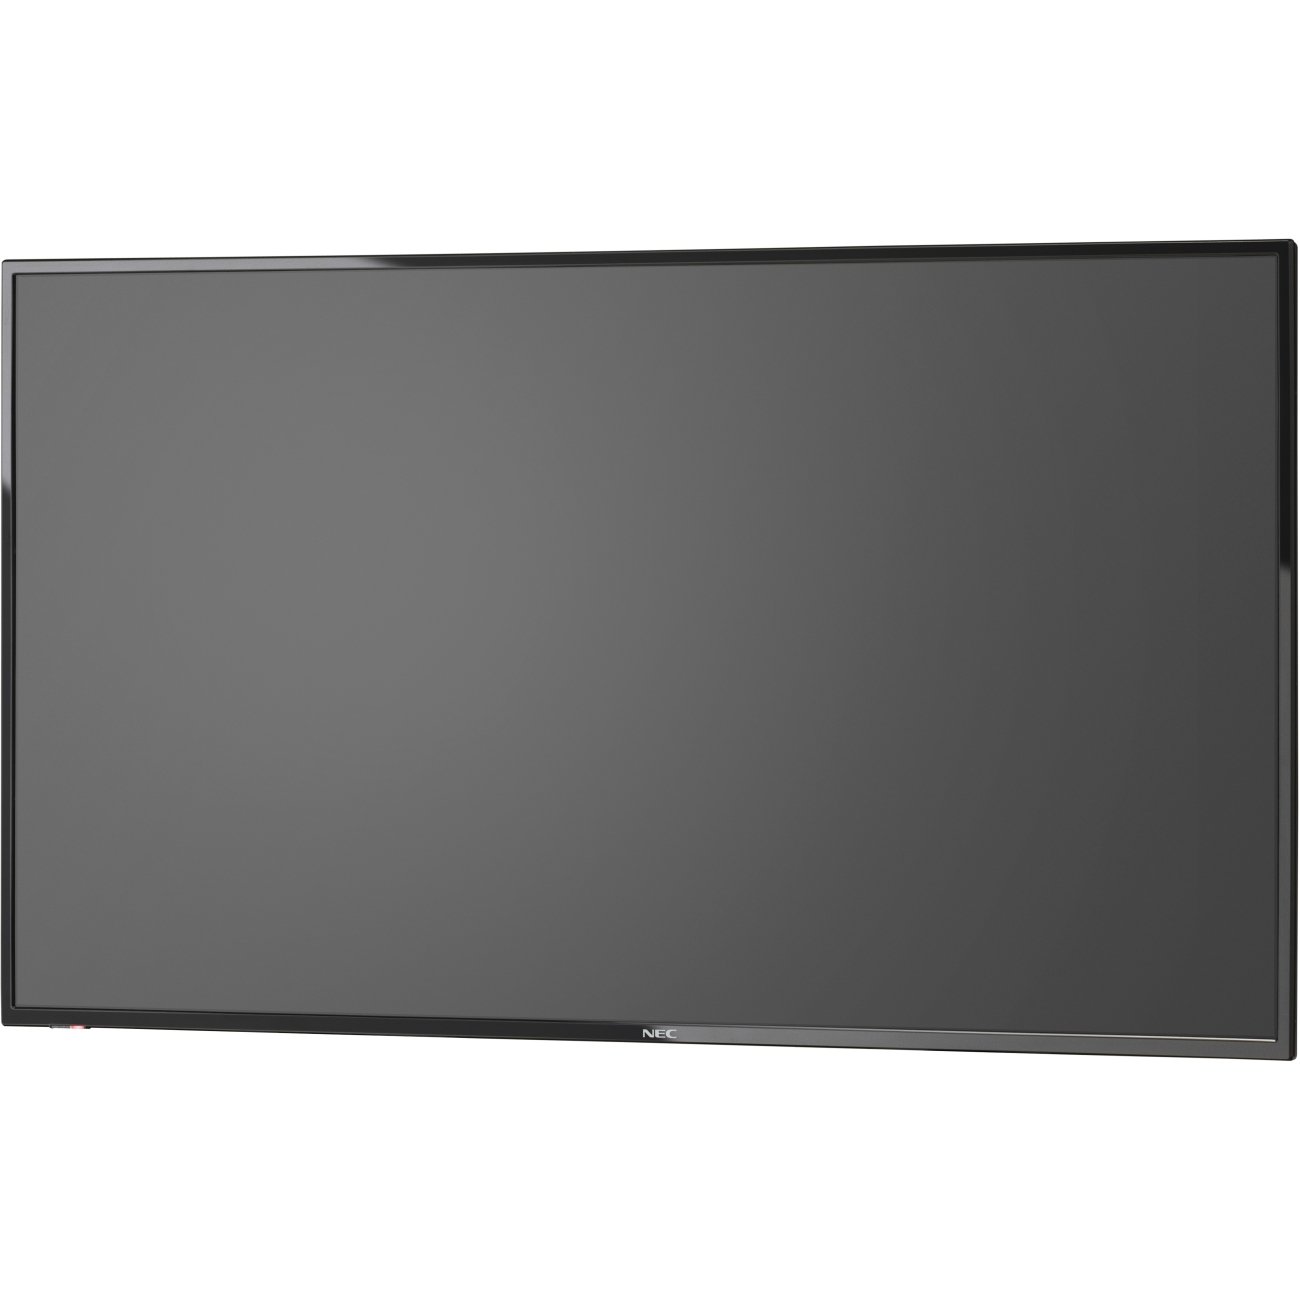
Immagine 1: anteriore view of the NEC E436 43-inch LED Backlit Display with its stand, showcasing a vibrant beach landscape on the screen.
Impostare
1. Unpacking the Display
Carefully remove the display and all components from the packaging. Ensure all items listed below are present:
- NEC E436 43" LED Backlit Display
- Cavo di alimentazione
- Telecomando (se incluso)
- Manuale dell'utente (questo documento)
- Componenti del supporto (se applicabile)
2. Installazione fisica
The display can be installed using its included stand or mounted on a VESA-compatible wall mount or stand.
Montaggio dello stand (se applicabile)
- Place the display face down on a soft, clean surface to prevent screen damage.
- Attach the stand base to the display using the provided screws. Ensure it is securely fastened.
- Carefully lift the display and place it on a stable, level surface.
Montaggio a parete VESA
The NEC E436 supports VESA 200 x 200mm mounting. Use M6 x 16mm screws for attachment. Consult your wall mount's instructions for proper installation. Ensure the mounting surface can support the display's weight (approximately 20 pounds).
3. Cavi di collegamento
Connect the necessary cables to the display's input ports.
- Cavo di alimentazione: Collegare il cavo di alimentazione all'ingresso di alimentazione del display e quindi a una presa elettrica dotata di messa a terra.
- Cavo HDMI: For video and audio input from a source device (e.g., computer, media player), connect an HDMI cable to the display's HDMI port and the source device's HDMI output.
- Dispositivo USB: To use the integrated multimedia player, insert a USB flash drive containing your media files into the display's USB port.
- Antenna/cavo: To utilize the integrated ATSC/NTSC tuner, connect an antenna or cable TV feed to the RF input port.
4. Accensione iniziale
After connecting all cables, press the power button on the display or remote control to turn on the unit. Follow any on-screen prompts for initial setup, such as language selection or channel scanning for the integrated tuner.
Istruzioni per l'uso
1. Controlli di base
The display can be controlled using the buttons on the unit itself or via the remote control.
- Energia: Accende o spegne il display.
- Ingresso/sorgente: Selects the desired input source (HDMI, TV, USB).
- Volume su/giù: Adjusts the audio output level from the built-in 10W speakers.
- Menu: Accesses the on-screen display (OSD) menu for advanced settings.
- Pulsanti di navigazione: Utilizzato per navigare tra le opzioni del menu.
- OK/Inserisci: Conferma le selezioni nel menu.
2. Using the Integrated Tuner
To watch broadcast television, ensure an antenna or cable feed is connected to the RF input.
- Premere il tasto Ingresso/Sorgente button and select "TV".
- Access the menu and navigate to the "Channel" or "Setup" section.
- Select "Auto Scan" or "Channel Search" to find available channels.
- Once scanning is complete, use the Channel Up/Down buttons to browse channels.
3. Using the USB Multimedia Player
The integrated USB player allows playback of video, audio, and JPEG image files direttamente da un dispositivo di archiviazione USB.
- Insert a USB flash drive containing your media files into the display's USB port.
- Premere il tasto Ingresso/Sorgente button and select "USB".
- The display will typically open a file browser. Navigate to your desired media file (video, audio, or image).
- Selezionare il file per iniziare la riproduzione.
- Use the remote control for playback functions such as play, pause, stop, next, and previous.
4. Regolazione delle impostazioni di visualizzazione
Access the OSD menu to customize picture, sound, and other display settings.
- Impostazioni immagine: Adjust brightness, contrast, color, sharpness, and picture mode (e.g., Standard, Dynamic, Movie).
- Impostazioni audio: Regola bassi, alti, bilanciamento e modalità audio.
- Impostazioni di tempo: Set the current time, sleep timer, or auto power-off.
- Impostazioni di sistema: General display options, including language, factory reset, and software updates.
Manutenzione
1. Pulizia del display
To maintain optimal picture quality, clean the display regularly.
- Schermo: Pulire delicatamente lo schermo con un panno morbido e privo di lanugine. Per i segni ostinati, strofinare leggermenteampPulisci il panno con acqua o con un detergente specifico per schermi. Non fare spruzzare il liquido direttamente sullo schermo.
- Consiglio dei ministri: Wipe the display's frame and back with a soft, dry cloth.
- Attenzione: Always unplug the display from the power outlet before cleaning. Avoid using abrasive cleaners, waxes, or solvents.
2. Assistenza generale
- Avoid placing the display in direct sunlight or near heat sources.
- Ensure adequate ventilation around the display to prevent overheating.
- Protect the display from moisture and extreme temperatures.
- Non ostruire le aperture di ventilazione.
Risoluzione dei problemi
Prima di contattare l'assistenza, prova le seguenti soluzioni per i problemi più comuni:
| Problema | Possibile soluzione |
|---|---|
| Nessun potere |
|
| No signal/No picture |
|
| L'immagine è distorta o poco chiara |
|
| Nessun suono |
|
Specifiche
| Caratteristica | Dettaglio |
|---|---|
| Marca | NEC |
| Numero di modello | E436 |
| Dimensioni dello schermo | 43 pollici |
| Tipo di visualizzazione | Retroilluminazione a LED |
| Risoluzione | Risoluzione Full HD (1920 x 1080) |
| Proporzioni | 16:9 |
| Frequenza di aggiornamento | Frequenza 60 Hz |
| Tempo di risposta | 8 millisecondi |
| Rapporto di contrasto | 2000:1 |
| Connettività | 1x HDMI, 1x USB (USB 3.0) |
| Sintonizzatore integrato | ATSC/NTSC |
| Audio | Altoparlanti integrati da 10 W |
| Tipo di montaggio | VESA 200 x 200mm (M6 x 16mm) |
| Peso dell'articolo | 20 libbre |
Garanzia e supporto
Informazioni sulla garanzia
The NEC E436 display comes with a Garanzia di 3 anno. This warranty covers defects in materials and workmanship under normal use. Please retain your proof of purchase for warranty claims. For specific terms and conditions, refer to the warranty card included with your product or visit the official NEC websito.
Assistenza clienti
For technical assistance, troubleshooting beyond this manual, or warranty service, please contact NEC customer support. Contact details can typically be found on the official NEC websito o nella documentazione fornita con l'acquisto.
When contacting support, please have your model number (E436) and serial number ready.