
1. Prodotto finitoview
The LDSOLAR SD Series Sky Dream PWM Solar Charge Controller is designed for off-grid solar home systems, traffic indicators, solar street lights, and solar garden lights. It operates in series PWM mode, featuring full digital technology and an LCD display for intuitive operation. The intelligent charging process is optimized for extended battery life and enhanced system performance.
Caratteristiche principali:
- Advanced CPU: Equipped with a 32-bit CPU for higher sampprecisione e velocità operativa più elevata.
- Volume del sistema automaticotage Identificazione: Rileva automaticamente la tensione del sistema 12V/24V DCtage.
- Tre-Stage Ricarica PWM: Utilizza le modalità di ricarica Bulk, Boost e Floattagper una salute ottimale della batteria.
- Compatibilità della batteria: Supports Sealed, Gel, and Flooded battery types with selectable charging procedures.
- LCD intuitivo: Features a humanized LCD display showing dynamic operation data and working status.
- Registro delle operazioni integrato: Records system working state for easy monitoring.
- Molteplici modalità di controllo del carico: Include la modalità Normale, la modalità Sensore e la modalità Timer.
- Compensazione della temperatura: Ensures accurate charging based on ambient temperature.
- Protezione completa: Full digital protection functions against overcharging, over-discharging, overload, short circuit, and reverse connection.
- Connettori robusti: Supports up to 16mm² connectors.
- Uscita USB: Includes a 5V 1A USB output for charging small devices.

Figura 1.1: Davanti view of the LDSOLAR SD Series Solar Charge Controller, showing the LCD display and control buttons. The unit is dark gray with a blue border around the display.
2. Configurazione e installazione
Una corretta installazione è fondamentale per il funzionamento sicuro ed efficiente del regolatore di carica solare. Seguire attentamente questi passaggi.
2.1 Disimballaggio e ispezione
- Carefully unpack the controller and inspect it for any shipping damage.
- Verificare che tutti i componenti elencati nella confezione siano presenti.

Figura 2.1: The retail packaging box for the LDSOLAR SD Series Solar Charge Controller, displaying product features and branding.
2.2 Posizione di montaggio
- Mount the controller indoors, away from direct sunlight, high temperatures, and water.
- Ensure adequate ventilation around the controller to dissipate heat.
- Montare il controller verticalmente su una superficie non infiammabile.
2.3 Sequenza di cablaggio
AVVERTIMENTO: Connect the components in the following order to prevent damage to the controller or other system components. Always ensure correct polarity.
- Collegare la batteria: Connect the battery to the controller's battery terminals first. The controller will automatically detect the system voltage (12V or 24V). Ensure the battery is charged sufficiently (above 10V) for the controller to recognize it.
- Collegare il pannello solare: Connect the solar panel to the controller's PV terminals. Ensure the solar panel voltage is within the controller's specifications (Max Input Voltage: 55 V).
- Collegare il carico: Connect the DC load to the controller's load terminals. Do not exceed the maximum discharge current.
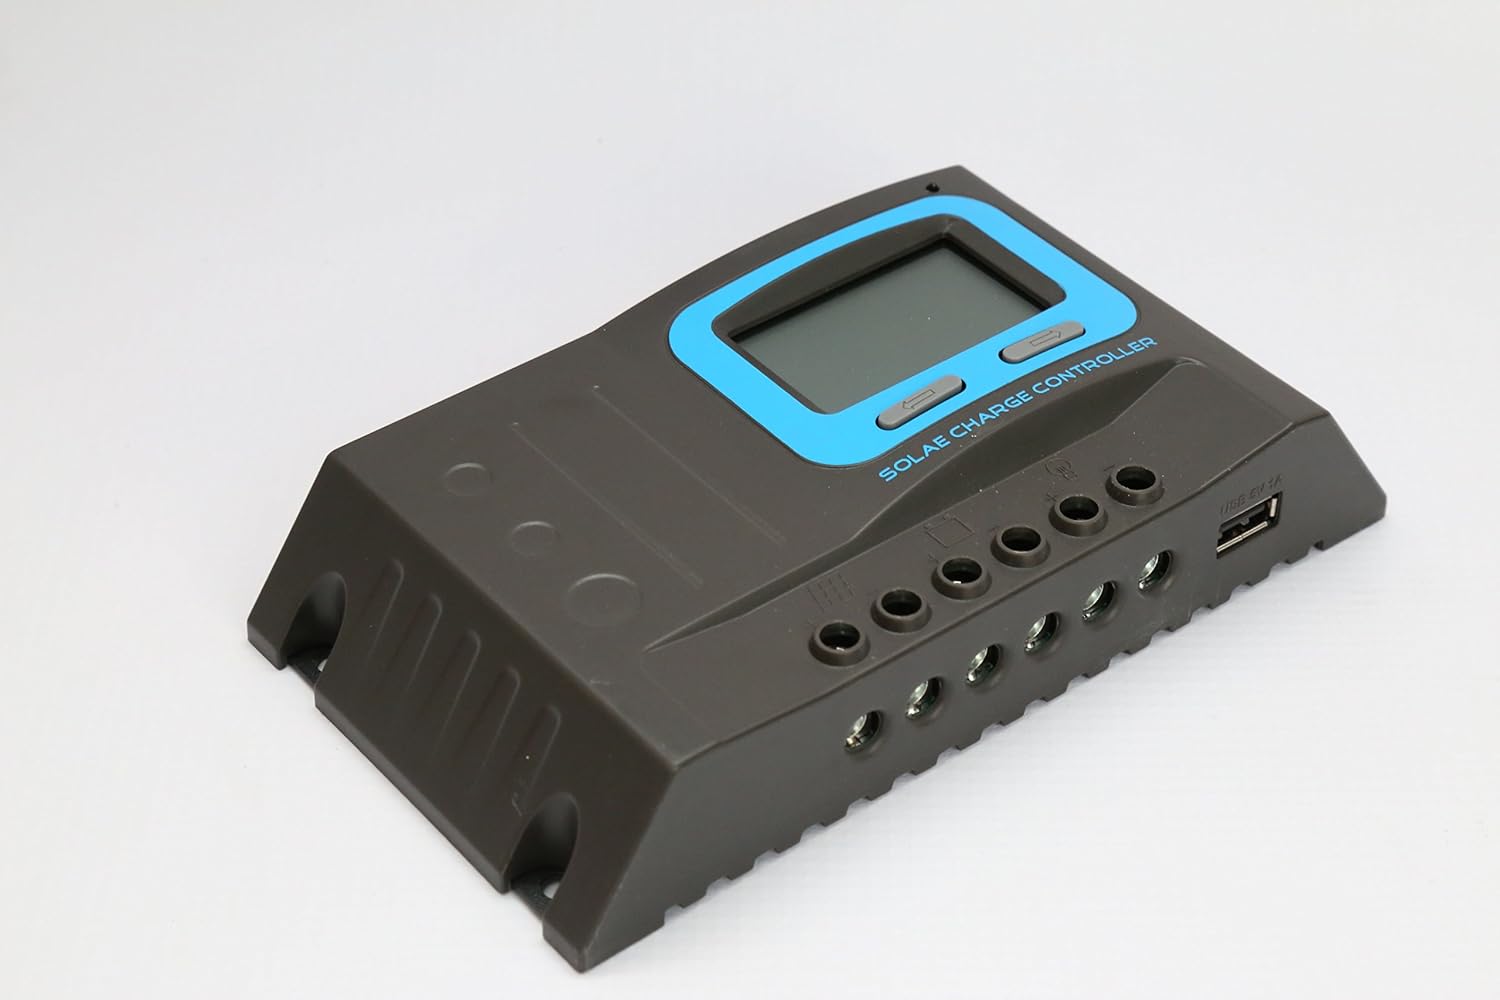
Figura 2.2: Lato view of the controller, illustrating the various wiring terminals for battery, solar panel, and load connections, along with the USB output port.
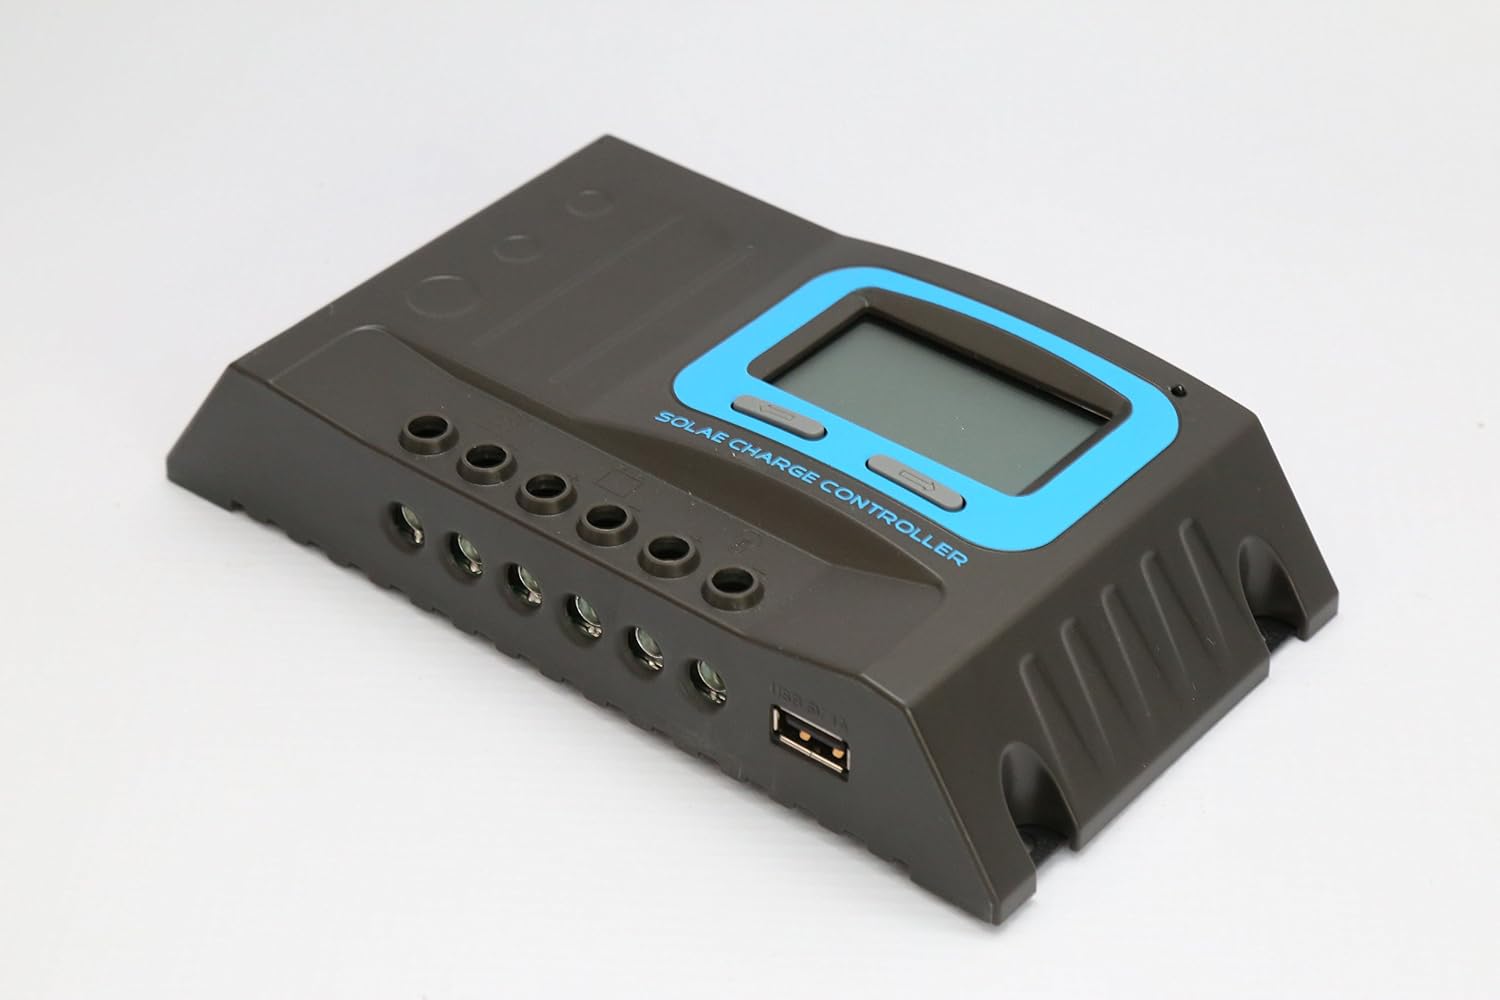
Figura 2.3: An angled perspective of the solar charge controller, highlighting the robust terminal connections and the integrated USB charging port.
2.4 Selezione del tipo di batteria
The controller supports Sealed, Gel, and Flooded battery types. Refer to the controller's LCD menu to select the appropriate battery type for optimal charging parameters. Incorrect selection can lead to reduced battery life.
3. Istruzioni per l'uso
The LCD display provides real-time system information, and the buttons allow for navigation and setting adjustments.
Display LCD 3.1
Il display LCD visualizza vari parametri, tra cui il volume della batteriatage, charging current, discharging current, battery state of charge, and load status. Cycle through the display screens using the navigation buttons.
3.2 Funzioni dei pulsanti
- Pulsante Menu: Press to enter the menu or confirm a setting.
- Pulsanti su/giù: Utilizzare per navigare tra le opzioni del menu o per regolare i valori.
3.3 Modalità di controllo del carico
The controller offers several load control modes:
- Modalità normale: Load is continuously ON.
- Modalità sensore: Load turns ON/OFF based on light conditions (e.g., dusk to dawn).
- Modalità timer: Il carico si accende al tramonto e rimane acceso per un periodo di tempo impostato.
Per la configurazione dettagliata di ciascuna modalità, fare riferimento al menu sullo schermo.
3.4 Uscita USB
The integrated 5V 1A USB port can be used to charge small electronic devices. This output is active when the controller is powered.
4. Manutenzione
Una manutenzione regolare garantisce la longevità e le prestazioni ottimali del regolatore di carica solare.
- Controllare le connessioni: Controllare periodicamente tutti i collegamenti elettrici per assicurarsi che siano ben saldi e privi di corrosione.
- Pulizia: Mantenere il controller pulito e privo di polvere e detriti. Utilizzare un panno asciutto per la pulizia.
- Ventilazione: Assicurarsi che le aperture di ventilazione non siano ostruite per consentire una corretta dissipazione del calore.
- Stato della batteria: Monitorare il voltage and performance regularly. Ensure the battery type setting on the controller matches your battery.
5. Risoluzione Dei Problemi
Questa sezione affronta i problemi più comuni che potresti riscontrare con il tuo regolatore di carica solare.
5.1 Problemi comuni e soluzioni
- Nessun display/Nessuna alimentazione:
- Controllare i collegamenti della batteria e assicurarsi che la batteria sia carica.tage è superiore a 10 V.
- Verificare la polarità della batteria.
- Batteria non in carica:
- Controllare i collegamenti e la polarità del pannello solare.
- Assicurarsi che i pannelli solari ricevano sufficiente luce solare.
- Verificare il volume del pannello solaretage rientra nell'intervallo di input del controller.
- Carico non funzionante:
- Controllare i collegamenti del carico e la polarità.
- Ensure the load current does not exceed the controller's maximum discharge current.
- Check the load control mode settings (Normal, Sensor, Timer).
- The controller has Load Over Current Protection; it will auto-restart every 30 seconds if an overload is detected. Reduce the load.
- Codici di errore: The controller's built-in operation log and LCD display may show error codes. Refer to the specific error code meanings in the full product manual (if available) or contact customer support.
6. Specifiche tecniche
| Specificazione | Valore |
|---|---|
| Modello | Modello SD2430C |
| Volume di sistematage | 12V/24V (identificazione automatica) |
| Vol. ingresso max PVtage | 55V |
| Autoconsumo | ≤12mA |
| Corrente di carica massima | 30A |
| Corrente di scarica massima | 20A |
| Basso volumetage Disconnessione (LVD) | 11.0V ADJ (9V-12V); ×2/24V |
| Basso volumetage Riconnessione (LVR) | 12.6V ADJ (11V-13.5V); ×2/24V |
| Volume galleggiantetage | 13.8V ADJ (13V-15V); ×2/24V |
| Aumenta volumetage | 14.4V; ×2/24V (auto boost for 2 hours if battery voltage < 12.6V) |
| Batteria oltre il volumetageDisconnessione | 16.5 V; ×2/24 V |
| Protezione della connessione inversa | SÌ |
| Protezione da sovraccarico di corrente | Sì, riavvio automatico ogni 30 secondi |
| Tipo di carica | Movimentazione continua |
| Compensazione della temperatura | -24 mV /℃ per sistema a 12 V; ×2/24 V |
| Temperatura di lavoro | da -20℃ a +55℃ |
| Scala terminale | 14-6 AWG (16mm²) |
| Grado di impermeabilità | Grado di protezione IP32 |
| Dimensioni del prodotto | 190 mm × 108 mm × 41.5 mm (7.48 x 4.25 x 1.63 pollici) |
| Peso netto | 450 g (15.8 once) |
| Produttore | LDSOLARE |
| Codice UPC | 652042950784 |
* Please ensure the product is used under its rated power, especially in high-temperature environments.
7. Garanzia e supporto
Le informazioni relative alla garanzia del prodotto e all'assistenza clienti non sono state fornite nei dati disponibili. Fare riferimento alla confezione del prodotto o al manuale d'uso ufficiale del produttore. website for warranty details and contact information for technical support.