
HERTZ ML-Power-5
Hertz Mille Legend Series ML-Power-5 AmpManuale utente lifier
Model: ML-Power-5
1. Introduzione
Thank you for choosing the Hertz Mille Legend Series ML-Power-5 D-Class 5-Channel Amplifier. Questo ad alte prestazioni amplifier is designed to deliver exceptional sound quality and power for your car audio system. This manual will guide you through the proper installation, setup, and operation to ensure you get the best possible experience from your new amplifier. Please read this manual thoroughly before installation and use, and keep it for future reference.
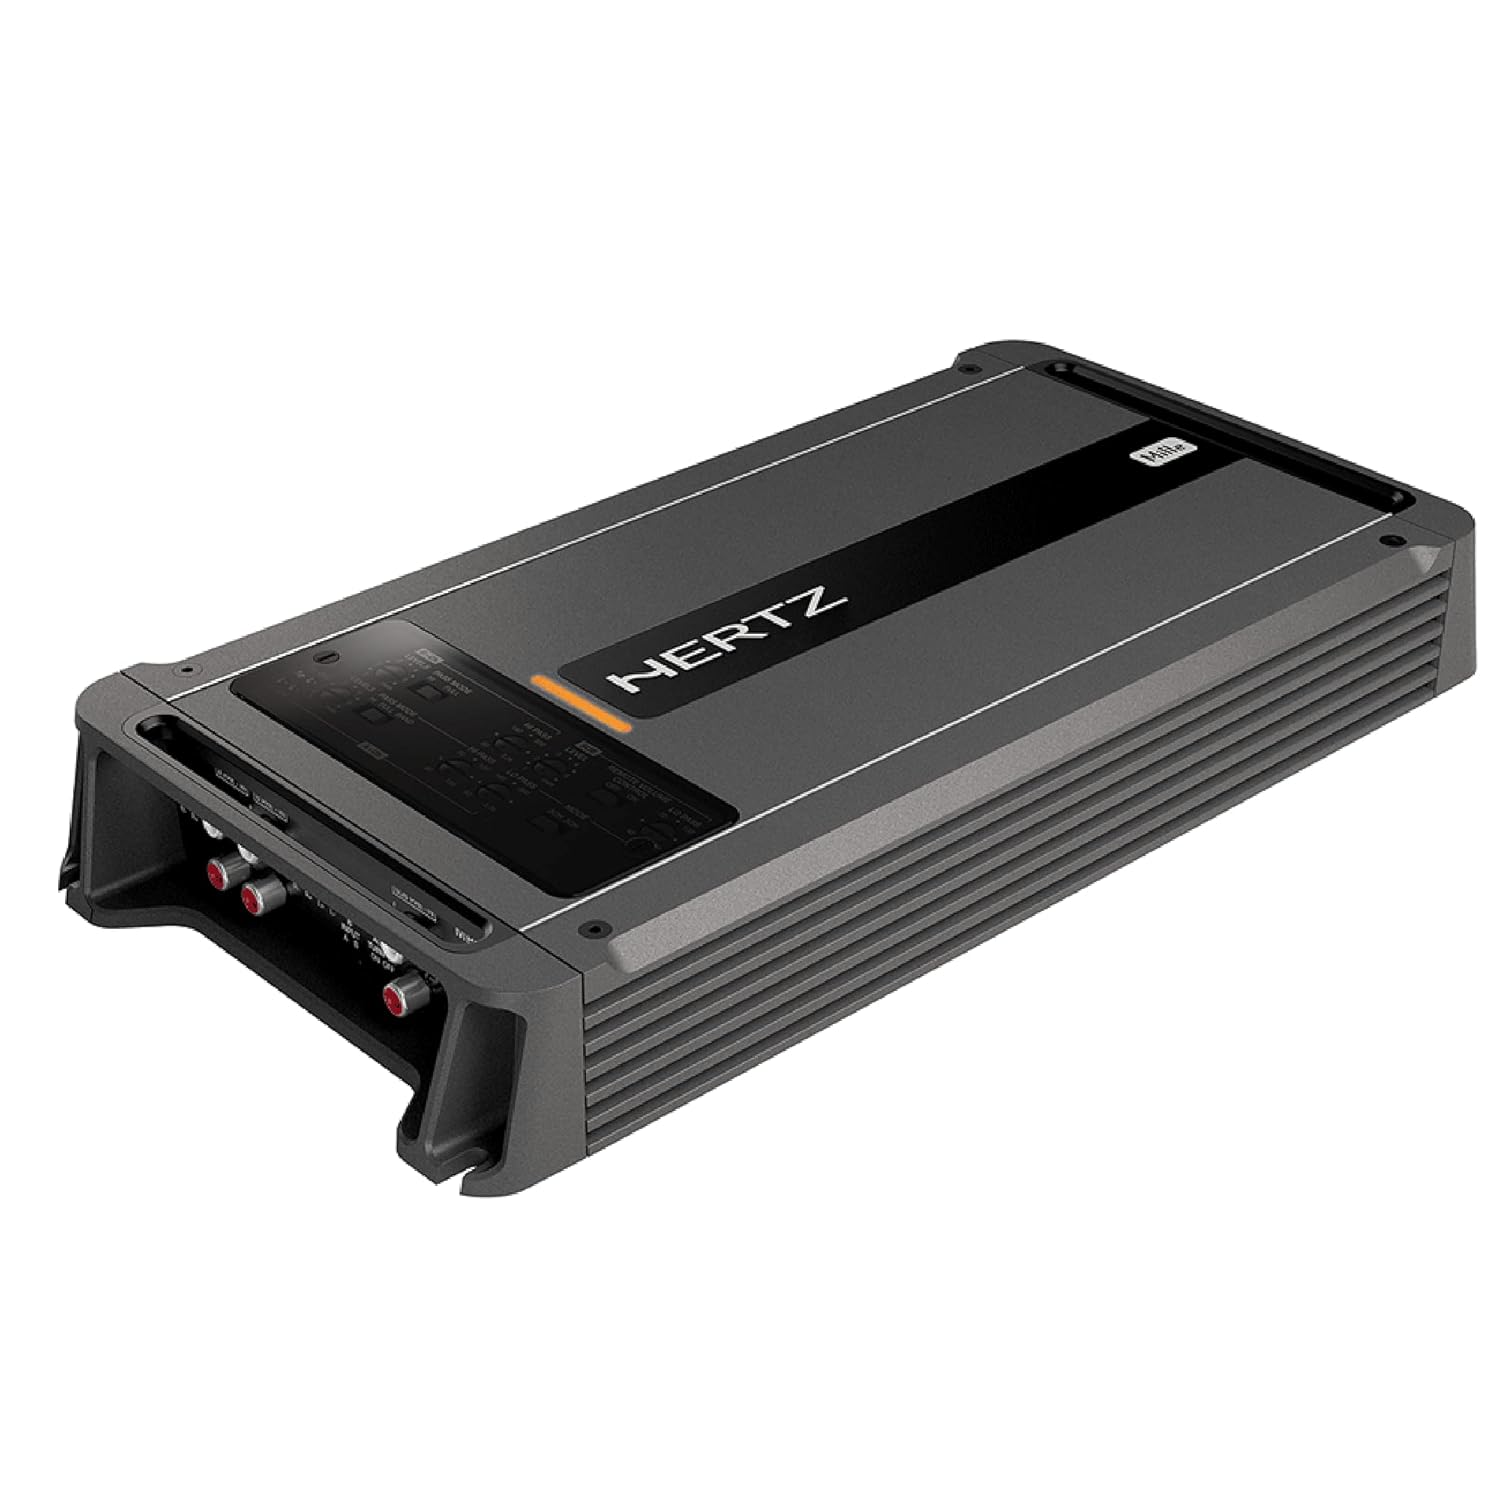
Figura 1.1: Fronte view of the Hertz ML-Power-5 Amplificatore, showcasing its sleek design and top panel.
2. Informazioni sulla sicurezza
Durante l'installazione e il funzionamento, osservare sempre le seguenti precauzioni di sicurezza:
- Installazione professionale consigliata: Installation should be performed by a qualified professional to prevent damage to the amplificatore o veicolo.
- Scollegare la batteria: Prima di iniziare qualsiasi lavoro elettrico, scollegare sempre il terminale negativo della batteria del veicolo.
- Cablaggio corretto: Utilizzare cavi di sezione adeguata per i collegamenti di alimentazione, messa a terra e altoparlanti, come specificato nel presente manuale. Un cablaggio errato può causare surriscaldamento, incendi o danni ai componenti.
- Ventilazione: Assicurare il amplifier is mounted in a location with adequate ventilation to prevent overheating. Do not cover the amplifier or block its cooling fins.
- Evitare l'umidità: Non esporre il amplificatore all'umidità o all'acqua.
- Montaggio sicuro: Montare il amplificatore in modo sicuro per evitare che si trasformi in un proiettile in caso di arresto improvviso o collisione.
- Protezione del fusibile: IL amplifier is equipped with internal fuses. Do not bypass or replace them with fuses of a different rating. The amplifier uses 2 x 40 A fuses.
3. Contenuto della confezione
Verificare che tutti gli articoli siano presenti nel pacco:
- Hertz ML-Power-5 D-Class 5-Channel Amppiù vivace
- Manuale dell'utente (questo documento)
- Hardware di montaggio (viti, rondelle)
- Remote Bass Control (if included with your specific model)
- Connection Terminals/Adapters (if applicable)
4. Installazione
4.1 Posizione di montaggio
Scegliere una posizione di montaggio che:
- Provides adequate ventilation for heat dissipation.
- È protetto dall'umidità e dalla luce solare diretta.
- Consente un fissaggio sicuro a una superficie solida.
- È facilmente accessibile per il cablaggio e le regolazioni.
Common mounting locations include under seats, in the trunk, or behind trim panels.
4.2 Collegamenti di alimentazione
Proper power connections are crucial for amplifier performance and safety.
- Battery (BATT+) Connection: Far passare un cavo di alimentazione direttamente dal terminale positivo della batteria del veicolo al amplifier's BATT+ terminal. Install an in-line fuse holder within 18 inches (45 cm) of the battery. The fuse rating should match the amplifier's total fuse rating (80A for ML-Power-5).
- Collegamento di terra (GND): Collegare un cavo di terra dello stesso calibro del cavo di alimentazione proveniente dal ampCollegare il terminale GND del generatore a una superficie metallica pulita e non verniciata del telaio del veicolo. Assicurarsi che il collegamento elettrico sia solido.
- Connessione di accensione remota (REM): Collegare un cavo di accensione remota dall'uscita remota dell'unità principale al ampterminale REM del lificatore. Questo filo segnala il amplifier to turn on when the head unit is active. The ML-Power-5 features Automatic Remote Turn-Off.
4.3 Connessioni di ingresso audio
Collegare le uscite RCA dell'unità principale al amplifier's RCA inputs. The ML-Power-5 is a 5-channel amplifier, typically requiring front, rear, and subwoofer RCA inputs from your head unit.
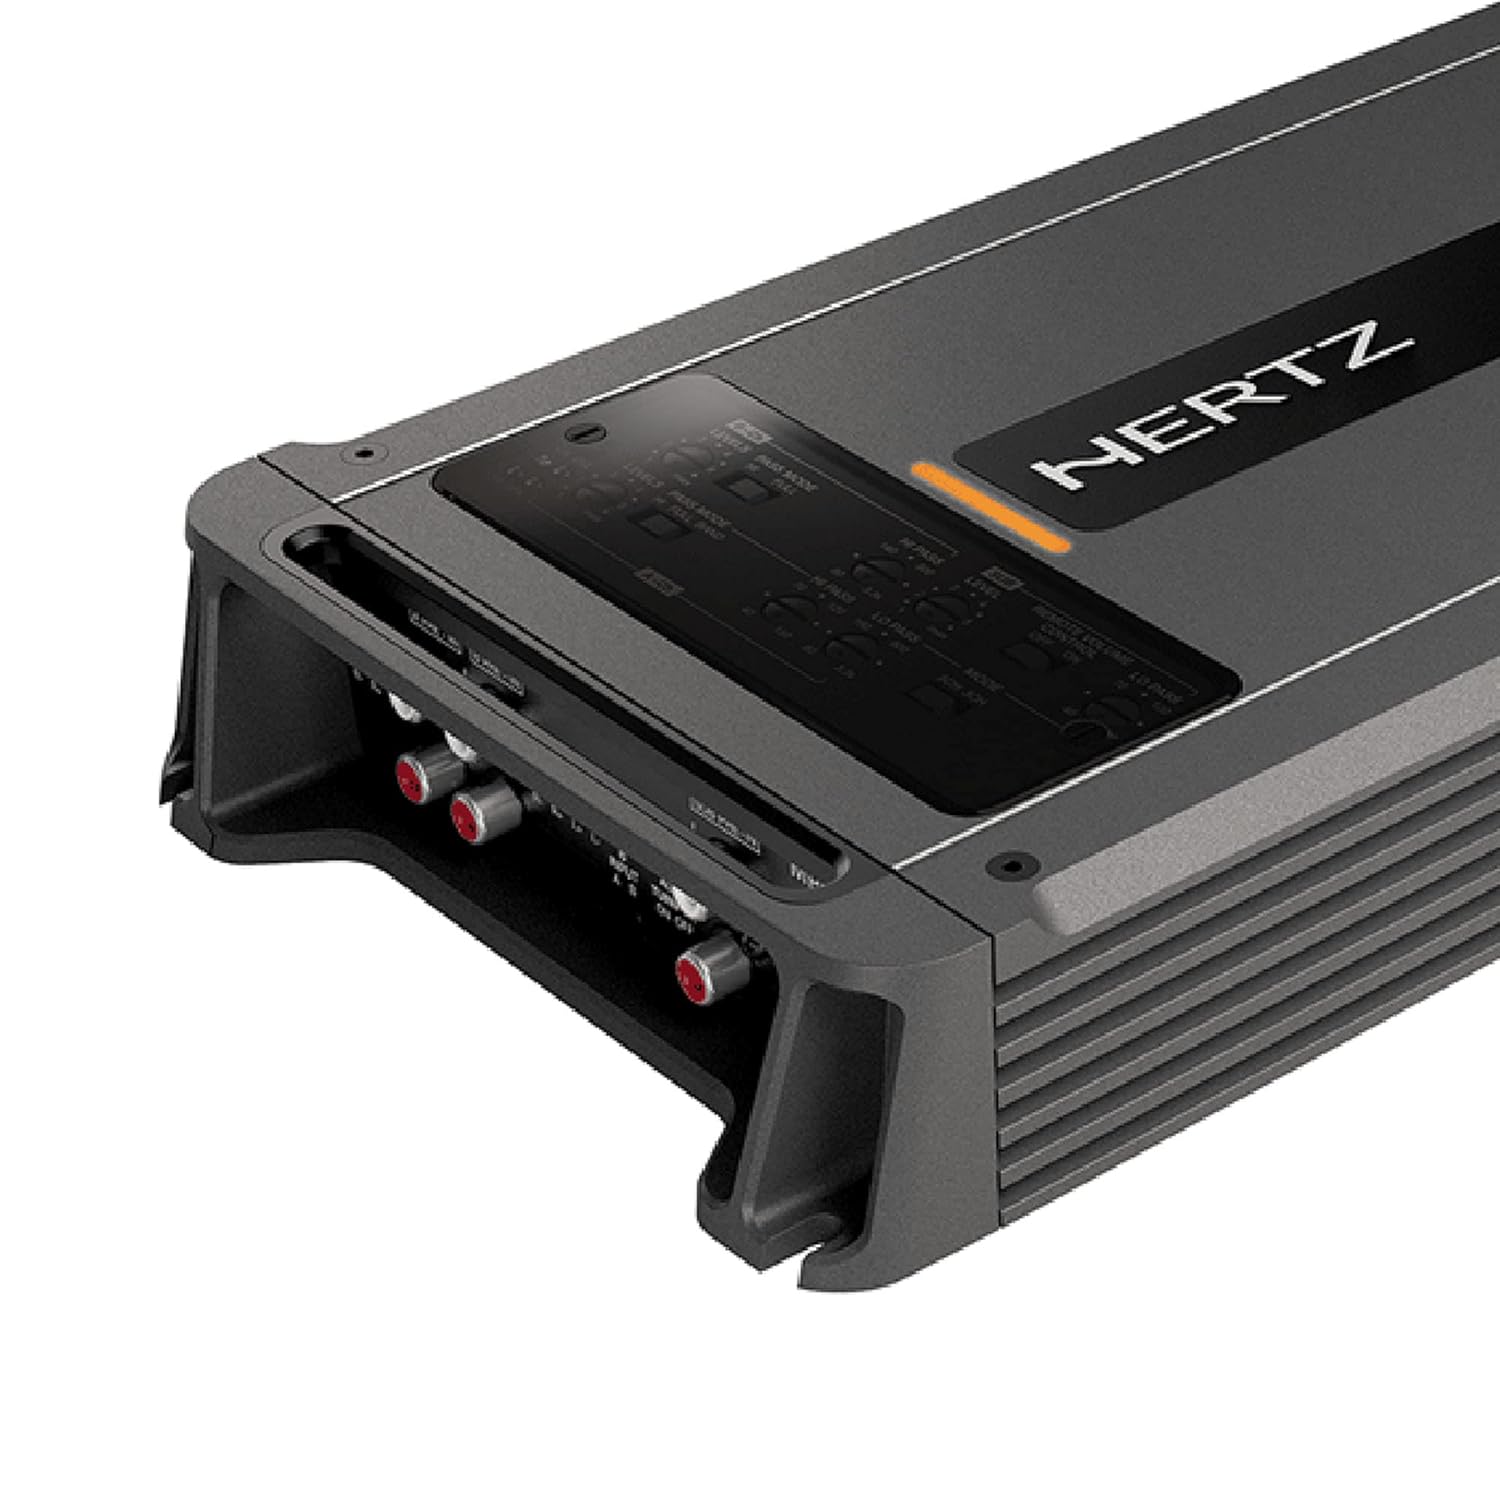
Figura 4.1: dettagliata view of the input and output connections on the Hertz ML-Power-5 Amplifier, including RCA inputs and power terminals.
4.4 Collegamenti degli altoparlanti
Collega i tuoi altoparlanti a amplifier's speaker output terminals. Pay close attention to polarity (+ and -) for each speaker. The ML-Power-5 supports various speaker configurations for its 5 channels (4 full-range channels + 1 subwoofer channel).
5. Operativo
5.1 Accensione iniziale
Dopo aver effettuato e verificato tutti i collegamenti, ricollegare il terminale negativo della batteria del veicolo. Accendere l'unità principale. amplifier should power on, indicated by an LED indicator.
5.2 Regolazione del guadagno
Il controllo del guadagno corrisponde al ampsensibilità di ingresso del convertitore al volume di uscitatage of your head unit. It is not a volume control. To set the gain:
- Girare il amplifier's gain controls to their minimum (fully counter-clockwise) setting.
- Play a familiar piece of music with a strong signal.
- Increase the head unit's volume to about 75-80% of its maximum.
- Aumenta lentamente il amplifier's gain control until you hear slight distortion, then back off slightly until the sound is clear.
5.3 Impostazioni crossover
The ML-Power-5 features built-in crossovers (High-Pass Filter - HPF, Low-Pass Filter - LPF) to direct specific frequency ranges to your speakers and subwoofer. Adjust these settings to optimize sound quality and protect your speakers.
- HPF (filtro passa-alto): Used for full-range speakers to block low frequencies that they cannot reproduce effectively.
- LPF (filtro passa-basso): Used for subwoofers to block high frequencies, allowing only bass to pass through.
5.4 Controllo remoto dei bassi
Se il tuo amplifier came with a remote bass control, connect it to the designated port on the amplifier. Ciò consente una comoda regolazione del livello del subwoofer dal sedile del conducente.

Figure 5.1: The optional remote bass control knob, providing convenient subwoofer level adjustment.
6. Manutenzione
Per garantire la longevità e le prestazioni ottimali del tuo amplificatore:
- Pulizia: Pulire periodicamente il ampl'esterno del filtro con un panno morbido e asciutto. Non utilizzare prodotti chimici aggressivi o detergenti abrasivi.
- Ventilazione: Ensure that the cooling fins remain free of dust and debris. Use compressed air to clear any blockages if necessary.
- Ispezione dei cavi: Regularly inspect all power, ground, and speaker cables for any signs of wear, fraying, or loose connections. Tighten any loose terminals.
- Protezione ambientale: Evitare di esporre il amplifier to extreme temperatures, humidity, or direct sunlight for extended periods.
7. Risoluzione Dei Problemi
Se riscontri problemi con il tuo amplifier, fare riferimento ai seguenti problemi comuni e alle relative soluzioni:
| Problema | Possibile causa | Soluzione |
|---|---|---|
| Nessun potere / Amplifier non si accende | Fusibile bruciato, filo di alimentazione/massa/telecomando allentato, uscita remota dell'unità principale difettosa. | Controllo amplifier fuses (2 x 40 A). Verify all power, ground, and remote connections are secure. Test remote wire for 12V when head unit is on. |
| Nessuna uscita audio | Cavi RCA allentati, impostazione del guadagno errata, cavi degli altoparlanti scollegati, amplificatore in modalità di protezione. | Ensure RCA cables are securely connected. Re-adjust gain. Check speaker wire connections and polarity. If protection light is on, check for short circuits or overheating. |
| Suono distorto | Gain set too high, incorrect crossover settings, poor ground connection, speaker impedance mismatch. | Reduce gain setting. Adjust crossover frequencies. Verify ground connection is solid. Ensure speaker impedance matches ample capacità di lifier. |
| Amplifier si surriscalda | Ventilazione insufficiente, carico a bassa impedenza, uso prolungato ad alto volume. | Assicurare un adeguato flusso d'aria attorno al amplificatore. Controllare l'impedenza dell'altoparlante. Ridurre il volume o consentire amplifier to cool down. The amplifier has Thermal Protection. |
8. Specifiche
Key technical specifications for the Hertz ML-Power-5 Amplificatore:
| Caratteristica | Dettaglio |
|---|---|
| Numero di modello | ML-Power-5 |
| RMS Power Output (Channels 1-4) | 100 WRMS x 4 at 2-Ohm |
| RMS Power Output (Channel 5) | 550 WRMS x 1 at 2-Ohm |
| Ampclasse lifier | Classe D |
| Valutazione dei fusibili | 2 x 40 A |
| Peso | 6.8 libbre |
| Dimensioni del prodotto (L x P x A) | 5.91 x 3.94 x 3.94 pollici |
| Voltage | 14.4 Volt (nominali) |
| Volume massimo di fornituratage | 14.4 Volt (CC) |
| Volume minimo di fornituratage | 11 Volt (CC) |
| Protezione termica | SÌ |
| Automatic Remote Turn-Off | SÌ |
| CEA Compliant | SÌ |

Figure 8.1: Technical drawing illustrating the top-down dimensions of the ML-Power-5 Amppiù vivace.

Figure 8.2: Technical drawing illustrating the side dimensions of the ML-Power-5 Amppiù vivace.
9. Garanzia e supporto
Hertz products are designed and manufactured to the highest quality standards. For information regarding warranty coverage, terms, and conditions, please refer to the warranty card included with your product or visit the official Hertz website. For technical support, service, or replacement parts, please contact your authorized Hertz dealer or the customer support department listed on the official websito.
Conservare la prova d'acquisto per eventuali richieste di garanzia.
Ask a question about this manual
Ask about setup, troubleshooting, compatibility, parts, safety, or missing instructions. Manuals+ will review the question and use this page’s manual context to help answer it.