
1. Introduzione
Grazie per l'acquistoasing the DIGITNOW! M122 5.1 Megapixel Multi-Scanner. This device is designed to convert your old 35mm film negatives, slides, and printed photos into digital JPEG images. It offers a convenient way to preserve your memories without the need for a computer during the scanning process. Please read this manual carefully before operating the device to ensure proper use and optimal performance.
2. Prodotto finitoview e contenuto della confezione
The DIGITNOW! M122 scanner features a 5.1-megapixel sensor, a 2.4-inch TFT color LCD monitor for previewing scans, and a memory card slot for SD/SDHC/MMC cards. It connects via Mini USB 2.0 for power and data transfer.
Contenuto della confezione:
- DIGITNOW! M122 Multi-Scanner
- 1 Porta-pellicola per negativi
- 1 Supporto per vetrini
- 1 4-in-1 Photo and Business Card Holder
- Cavo USB
- USB Power Adapter
- Image Editing Software (BlazePhoto 2.0) CD
- Manuale d'uso
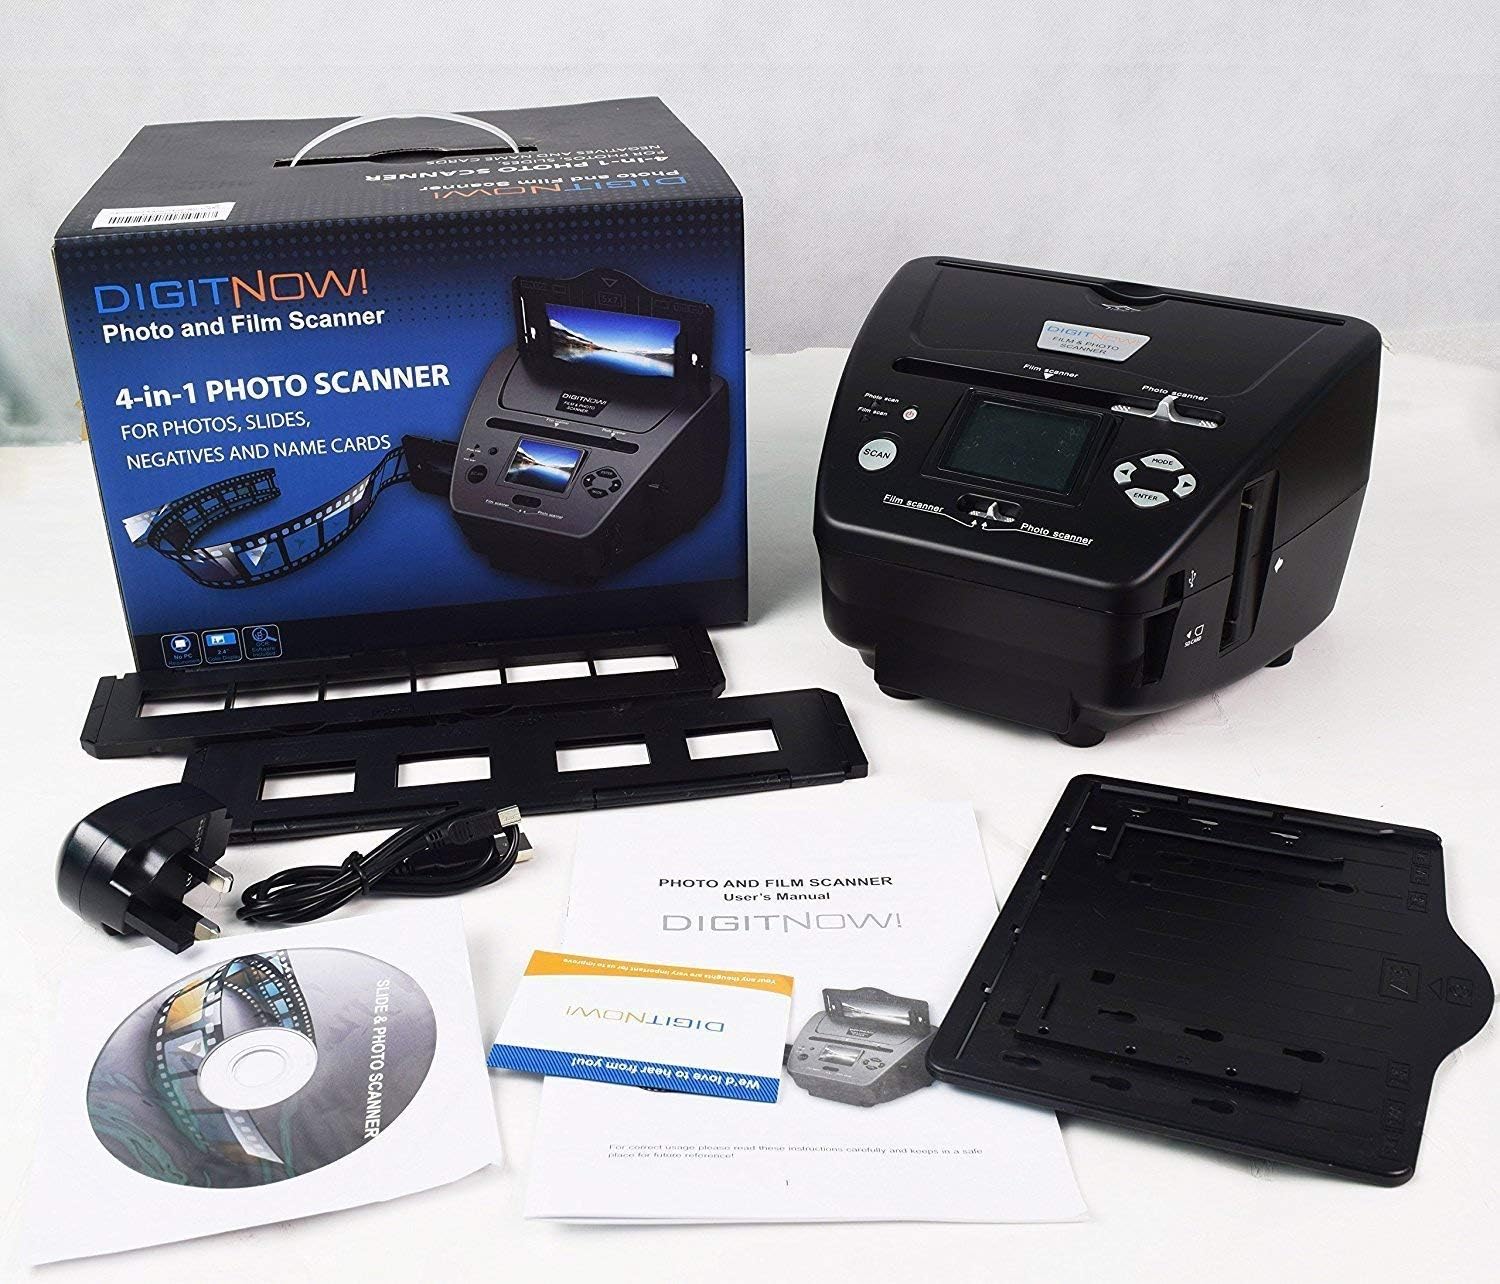
Image: The DIGITNOW! M122 scanner along with its complete set of accessories, including film holders, cables, and software CD.

Immagine: Un overview of the scanner's capabilities, illustrating how it processes 35mm film, 135 slides, business cards, and various photo sizes, saving them as JPEG files su una scheda SD.
3. Impostazione
- Disimballare lo scanner: Rimuovere con attenzione tutti i componenti dalla confezione.
- Collegamento elettrico: Connect the USB cable to the scanner's Mini USB port and the other end to the USB power adapter. Plug the adapter into a standard electrical outlet. Alternatively, you can connect the USB cable to a computer's USB port for power.
- Inserisci la scheda SD: Insert an SD/SDHC/MMC memory card (not included) into the designated slot on the scanner. Ensure the card is inserted correctly with the metal contacts facing down. The scanner supports cards up to 32GB.
- Accensione: Press the Power button to turn on the scanner. The 2.4-inch LCD screen will illuminate.
- Installazione del software (opzionale): If you plan to use the included BlazePhoto 2.0 image editing software, insert the CD into your computer's CD-ROM drive and follow the on-screen instructions for installation. This software is for post-processing images on your computer and is not required for scanning.
4. Istruzioni per l'uso
Funzionamento generale:
- Utilizzare il MODALITÀ button to switch between different scanning modes (Film Scan, Photo Scan).
- Utilizzare il Sinistra/Destra arrow buttons to navigate menus or adjust settings.
- Premere il tasto ENTRARE pulsante per confermare le selezioni.
- Premere il tasto SCANSIONE button to initiate the scanning process.
4.1. Scanning 35mm Film Negatives
- Apri il porta-pellicola negativa.
- Carefully place your 35mm film strip into the holder, ensuring it is flat and correctly aligned. Close the holder.
- Insert the loaded film holder into the film scanner slot on the side of the device.
- On the scanner, select 'Film Scan' mode using the MODE button.
- Adjust settings like exposure or color balance if needed using the arrow buttons and ENTER.
- Premere il tasto SCANSIONE button to capture the image. The scanned image will appear on the LCD screen.
- Premere ENTRARE to save the image to the SD card.

Image: This illustration demonstrates the process of preparing a 35mm film strip by placing it into the film holder, and then inserting the loaded holder into the scanner's film slot for digitization.
4.2. Scanning 135 Slides
- Aprire il supporto per diapositive.
- Place your 135 slides into the designated slots in the holder. Close the holder.
- Insert the loaded slide holder into the film scanner slot.
- On the scanner, select 'Film Scan' mode.
- Adjust settings as required.
- Premere il tasto SCANSIONE button to capture the image.
- Premere ENTRARE per salvare l'immagine.
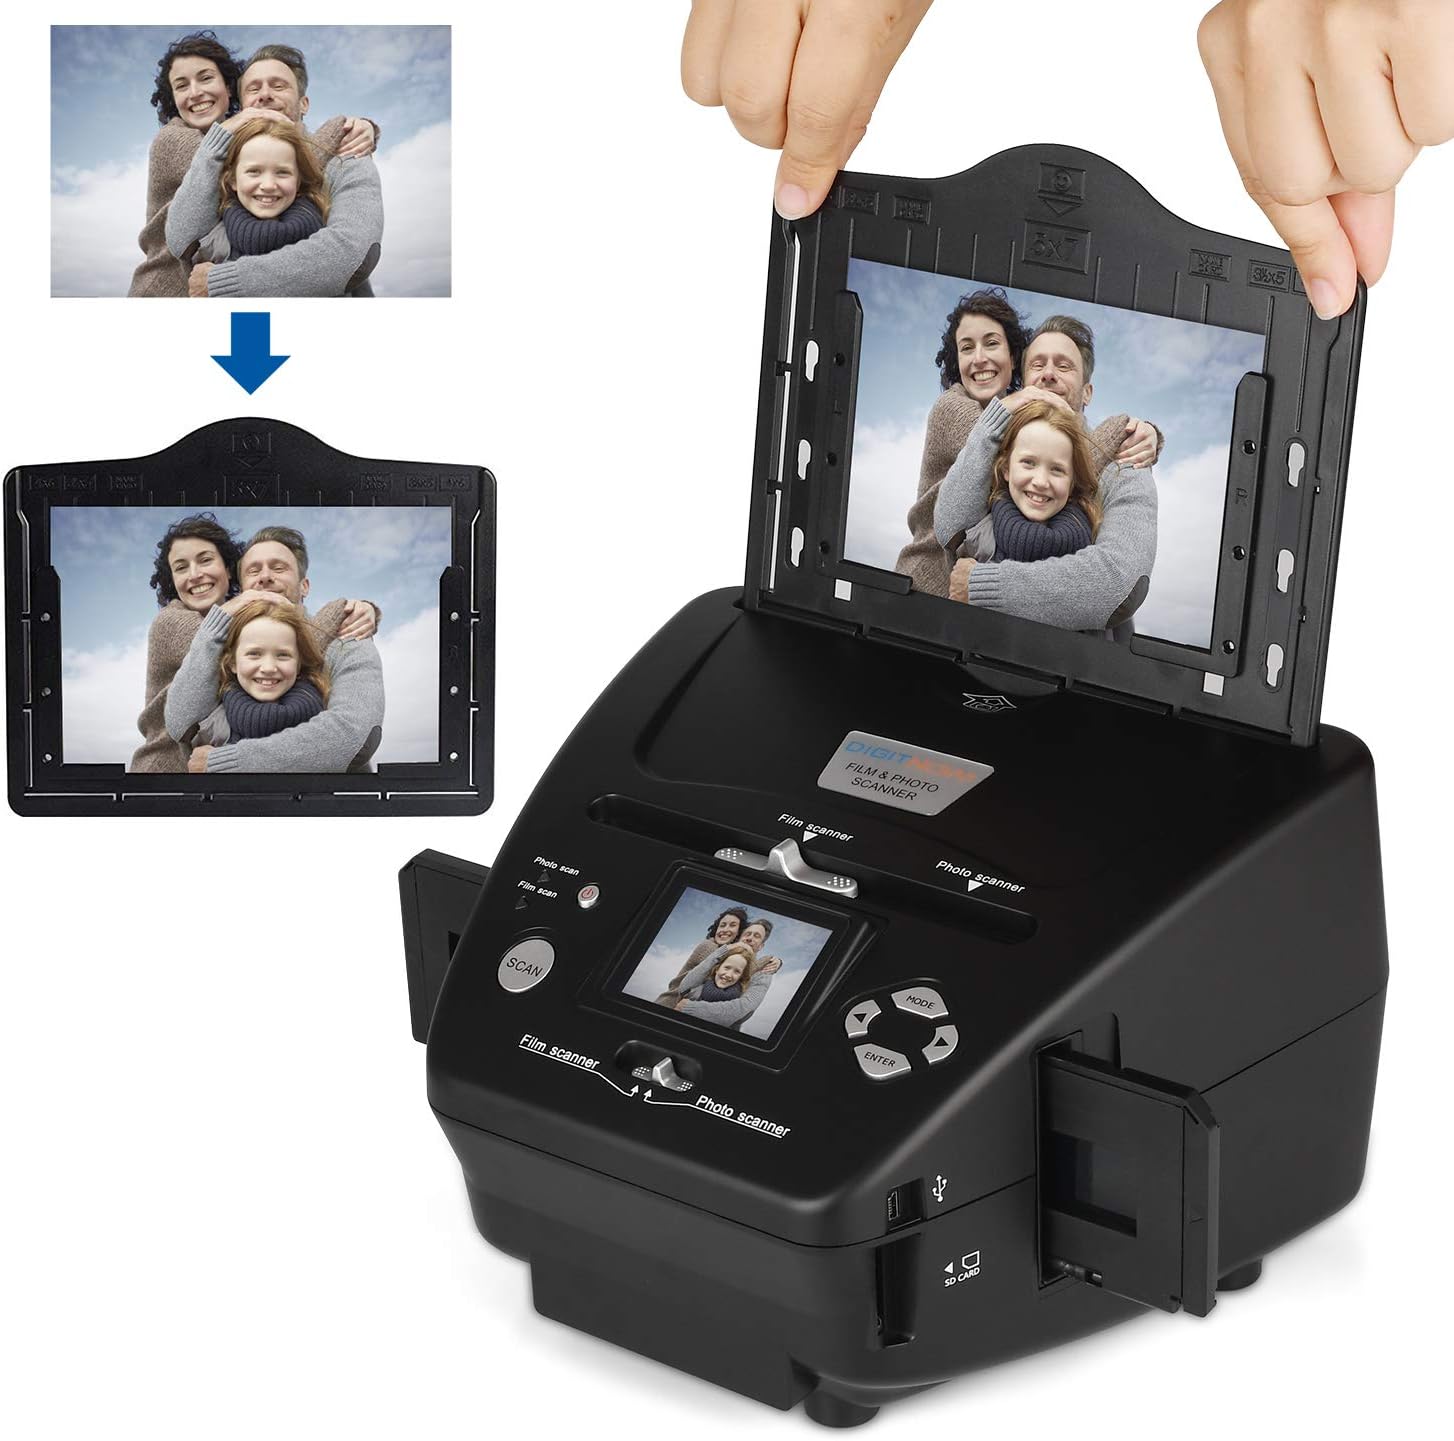
Image: This image shows how to correctly position a mounted slide into the slide holder and then insert the holder into the scanner for digital conversion.
4.3. Scanning Photos and Business Cards
- Open the 4-in-1 photo and business card holder.
- Place your photo (sizes 3.5"x5'', 4''x6'', 5''x7'') or business card into the appropriate slot in the holder. Ensure it lies flat. Close the holder.
- Insert the loaded photo holder into the photo scanner slot on the side of the device.
- On the scanner, select 'Photo Scan' mode using the MODE button.
- Adjust settings like exposure or color balance if needed.
- Premere il tasto SCANSIONE button to capture the image.
- Premere ENTRARE to save the image to the SD card.

Image: This diagram illustrates the process of scanning a physical photograph using the DIGITNOW! M122 scanner, resulting in a digital JPEG file.
4.4. Connessione a un computer
You can connect the scanner to your computer via the USB cable to transfer scanned images from the SD card. The scanner will appear as a removable disk drive, allowing you to copy filedirettamente.
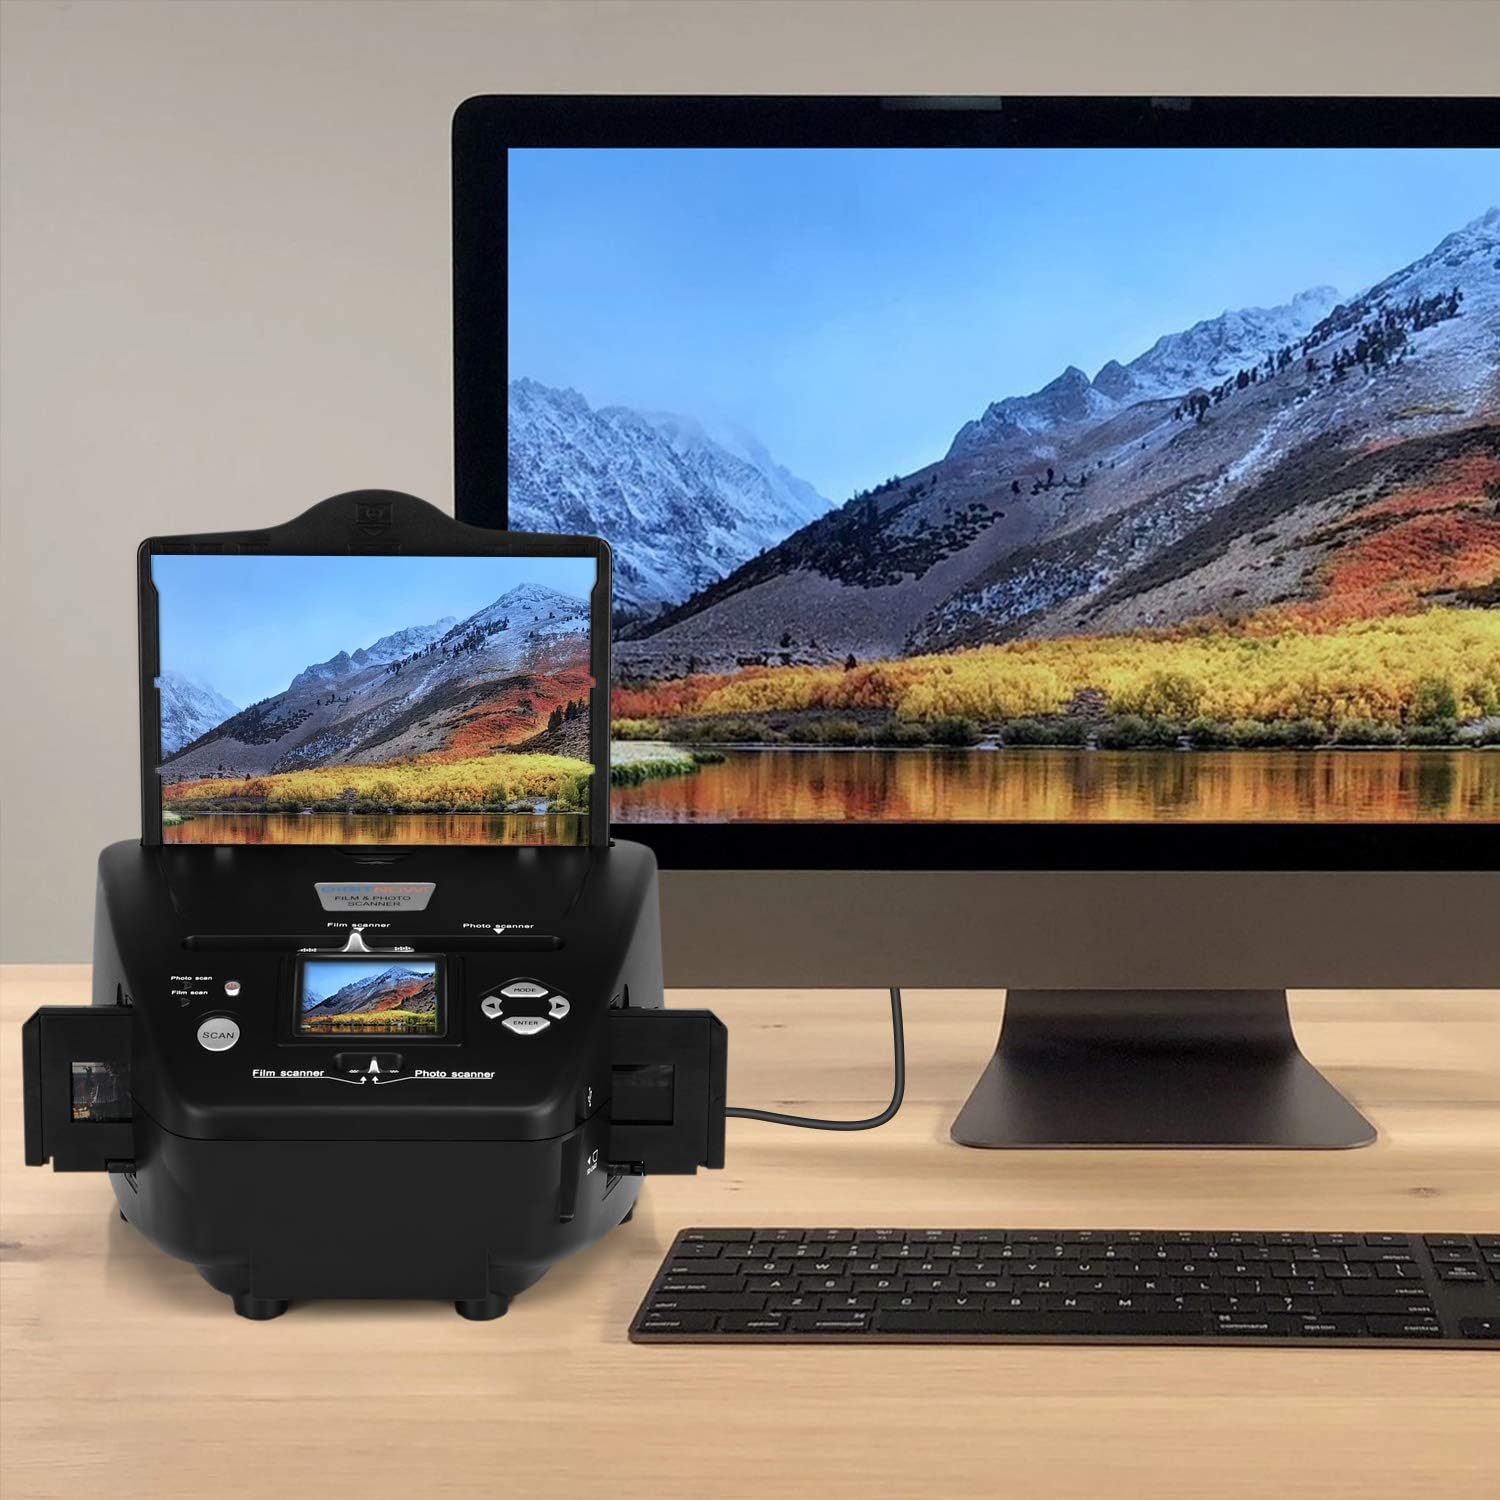
Image: The DIGITNOW! M122 scanner is shown connected to a computer monitor, demonstrating its capability to display scanned images on a larger screen or transfer files.
5. Manutenzione
- Pulizia dello scanner: Use a soft, dry, lint-free cloth to clean the exterior of the scanner. For the scanning area and lens, use a specialized lens cleaning brush or air blower to remove dust. Non utilizzare detergenti liquidi o materiali abrasivi.
- Cleaning Film/Slide Holders: Ensure film and slide holders are clean and free of dust or debris before use to prevent marks on your scanned images.
- Magazzinaggio: Quando non lo si utilizza, conservare lo scanner in un luogo fresco e asciutto, lontano dalla luce solare diretta e da temperature estreme.
6. Risoluzione Dei Problemi
- Lo scanner non si accende: Ensure the USB cable is securely connected to both the scanner and a power source (USB adapter or computer). Try a different USB port or power outlet.
- Scanned images are blurry or dusty: Clean the film/slide/photo, the holders, and the scanner's lens/scanning area as described in the Maintenance section. Ensure the film/slide/photo is placed flat and correctly aligned in the holder.
- No SD card detected: Ensure the SD card is inserted correctly and fully into the slot. Try reinserting the card or using a different, compatible SD card. Format the SD card if it's new or causing issues (this will erase all data on the card).
- I colori non sono corretti: Adjust the color balance or exposure settings in the scanner's menu before scanning. Ensure the original film/slide/photo is not discolored or damaged.
- Impossibile trasferire files al computer: Ensure the USB cable is properly connected. The scanner should appear as a removable disk drive. If not, try restarting both the scanner and the computer.
7. Specifiche
| Marca | DIGITNOW |
| Modello | Numero di modello: M122 |
| Tecnologia dei sensori ottici | CMOS |
| Tipo di scanner | Photo, Film, Business Card |
| Tecnologia di connettività | USB |
| Tipo di supporto | Slide, Photo, Negative, Business Card |
| Dimensioni dello schermo | 2.4 pollici |
| Photo Scan Quality | Up to 2592x1850 pixels |
| Dimensioni del prodotto | Dimensioni: 23 x 21 x 14 cm |
| Peso del prodotto | 850 grammi |
8. Garanzia e supporto
For warranty information and technical support, please refer to the documentation included with your purchase or visit the official DIGITNOW! websito. Conservare la prova d'acquisto per eventuali reclami in garanzia.


