
Introduzione
This manual provides essential instructions for the safe and effective use, setup, operation, maintenance, and troubleshooting of your Geko G01108 HVLP Spray Gun. Please read this manual thoroughly before operating the device and keep it for future reference.
The Geko G01108 is a professional low-pressure HVLP (High Volume Low Pressure) spray gun designed for various painting applications. It operates using compressed air and features a 600ml plastic reservoir. This product is manufactured from high-quality materials in Poland.
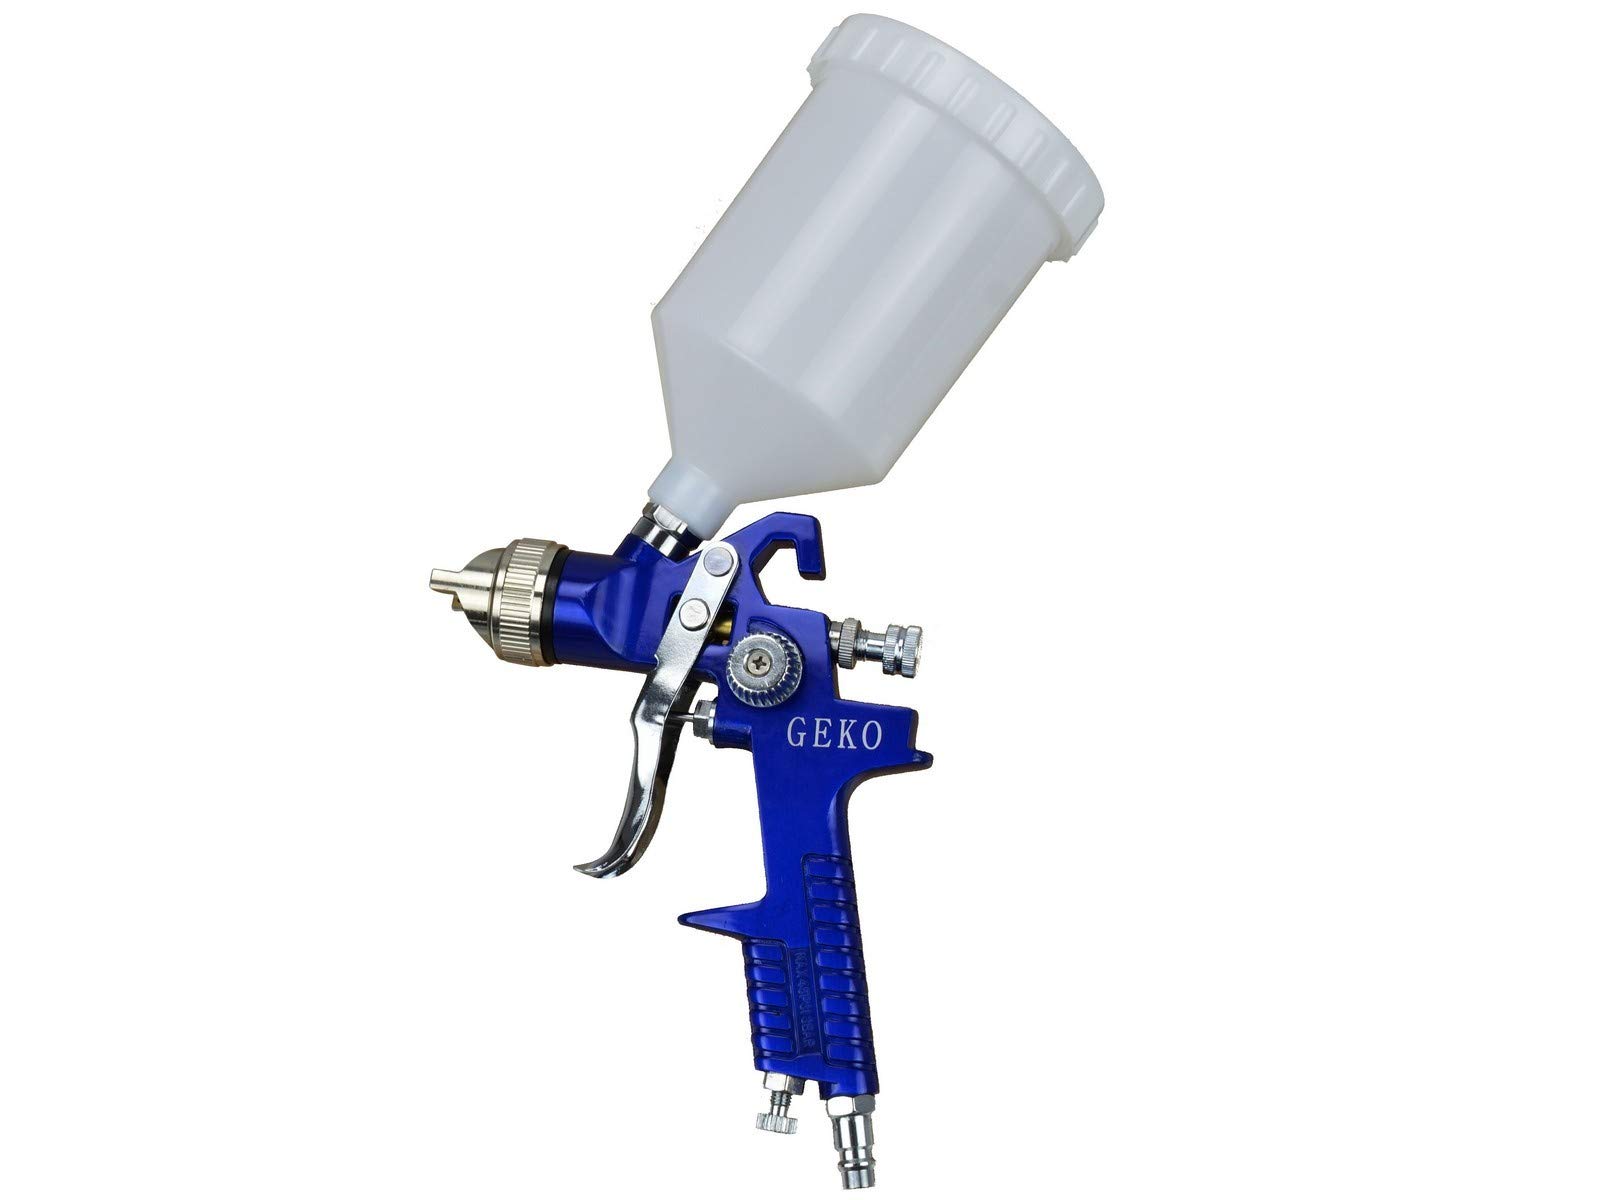
Image 1: Geko G01108 HVLP Spray Gun. This image shows the complete spray gun assembly, including the gun body, nozzle, and the attached 600ml plastic reservoir.
Istruzioni di sicurezza
Per ridurre il rischio di incendi, scosse elettriche e lesioni personali durante l'utilizzo di questo prodotto, seguire sempre le precauzioni di sicurezza di base.
- Leggi tutte le istruzioni: Familiarizzare con i comandi e con l'uso corretto dell'attrezzatura.
- Indossare adeguati dispositivi di protezione individuale (DPI): Ciò include occhiali di sicurezza, una maschera respiratoria, guanti e indumenti protettivi.
- Assicurare una ventilazione adeguata: Operate the spray gun in a well-ventilated area to prevent the accumulation of hazardous fumes.
- Mantenere pulita l'area di lavoro: Le aree disordinate provocano incidenti.
- Evitare l'avvio accidentale: Ensure the trigger is not engaged before connecting to an air supply.
- Scollegare l'alimentazione dell'aria: Always disconnect the air supply before making adjustments, changing accessories, or performing maintenance.
- Use correct air pressure: Do not exceed the maximum recommended air pressure for the spray gun.
- Do not point at people or animals: Non puntare mai la pistola a spruzzo verso se stessi o verso altri.
- Use only approved materials: Ensure the paint or coating material is compatible with the spray gun and follow the manufacturer's instructions for thinning.
Impostare
- Unpack the spray gun: Rimuovere con cautela tutti i componenti dall'imballaggio. Verificare che non siano danneggiati.
- Assemble the reservoir: Attach the 600ml plastic reservoir to the spray gun body by screwing it securely into place. Ensure a tight seal to prevent leaks.
- Connect to air compressor: Connect a suitable air hose from your air compressor to the air inlet port at the base of the spray gun handle. Ensure the connection is secure and leak-free.
- Adjust air pressure: Set your air compressor to the recommended operating pressure for HVLP spray guns, typically between 20-30 PSI (1.4-2.1 bar) at the gun. Use an inline air regulator with a gauge for precise control.
- Prepare paint material: Thoroughly mix and thin your paint or coating material according to the manufacturer's specifications. Strain the material to remove any particles that could clog the nozzle.
- Fill the reservoir: Pour the prepared paint material into the 600ml plastic reservoir. Do not overfill.
Istruzioni per l'uso
- Adjust spray pattern:
- Manopola di controllo della ventola: Rotate the fan control knob (usually located on the side of the air cap) to adjust the width of the spray pattern from a round spot to a wide fan.
- Manopola di controllo del fluido: Adjust the fluid control knob (at the back of the gun) to regulate the amount of paint flowing through the nozzle.
- Air cap adjustment: The air cap can be rotated to change the orientation of the fan pattern (horizontal or vertical).
- Test spray: Before painting your actual workpiece, perform a test spray on a piece of scrap material. Adjust the spray pattern and fluid flow until you achieve a consistent and even application.
- Tecnica di spruzzatura:
- Tenere la pistola a spruzzo perpendicolare alla superficie, in genere a una distanza di 15-20 cm.
- Move the gun at a consistent speed, overlapping each pass by about 50%.
- Release the trigger at the end of each pass to avoid excessive build-up.
- Maintain a consistent distance and angle to ensure an even finish.
- Pulizia dopo l'uso: Refer to the "Maintenance" section for detailed cleaning instructions immediately after each use.
Manutenzione
Proper cleaning and maintenance are crucial for the longevity and optimal performance of your spray gun.
- Immediate cleaning:
- Svuotare il serbatoio da eventuali residui di vernice.
- Pour a small amount of appropriate cleaning solvent (e.g., paint thinner for oil-based paints, water for water-based paints) into the reservoir.
- Spruzzare il solvente attraverso la pistola finché non esce limpido.
- Repeat with fresh solvent if necessary.
- Disassembly and detailed cleaning:
- Scollegare l'alimentazione dell'aria.
- Remove the air cap, fluid nozzle, and paint needle.
- Clean all components thoroughly with a brush and appropriate solvent. Pay special attention to the air passages and fluid tip.
- Do not use metal objects to clean the nozzle or air cap openings, as this can damage them.
- Inspect all seals and O-rings for wear or damage. Replace if necessary.
- Lubrificazione: Apply a small amount of spray gun lubricant to the needle packing and trigger pivot points periodically.
- Magazzinaggio: Conservare la pistola a spruzzo pulita e asciutta in un luogo sicuro e asciutto, lontano da temperature estreme e dalla luce solare diretta.
Risoluzione dei problemi
| Problema | Possibile causa | Soluzione |
|---|---|---|
| Pulsating spray / Inconsistent flow | Low paint level, clogged fluid passage, loose fluid nozzle, insufficient air pressure. | Refill reservoir, clean fluid passage, tighten nozzle, increase air pressure. |
| Nessun flusso di vernice | Clogged nozzle/fluid tip, paint too thick, needle not retracting, empty reservoir. | Clean nozzle/tip, thin paint, check needle movement, refill reservoir. |
| Modello di spruzzo non uniforme | Dirty or damaged air cap, incorrect air pressure, paint too thick/thin. | Clean/replace air cap, adjust air pressure, adjust paint viscosity. |
| Overspray eccessivo | Too much air pressure, gun too far from surface, paint too thin. | Reduce air pressure, move gun closer, thicken paint. |
| Leaks from air cap or fluid nozzle | Loose components, damaged seals/O-rings, clogged air passages. | Tighten components, replace seals/O-rings, clean air passages. |
Specifiche
- Modello: G01108
- Tipo: Pistola a spruzzo HVLP
- Capacità del serbatoio: 600 ml (Plastica)
- Fonte di energia: Aria compressa
- Pressione di esercizio consigliata: 20-30 PSI (1.4-2.1 bar) (Typical for HVLP, consult specific nozzle data if available)
- Produttore: Firma Handlowa GEKO
- Paese di produzione: Polonia
- Dimensioni della confezione: Dimensioni: 35 x 35 x 15 cm
- Peso: 850 grammi
- Codice EAN (codice articolo): 05901477100338
Informazioni sulla garanzia
Specific warranty details for the Geko G01108 HVLP Spray Gun are typically provided at the point of purchase or within the product packaging. Please refer to your purchase receipt or contact your retailer for information regarding warranty coverage, terms, and conditions. Keep your proof of purchase for any warranty claims.
Assistenza clienti
For technical assistance, spare parts, or further inquiries regarding your Geko G01108 HVLP Spray Gun, please contact your authorized Geko dealer or the retailer from whom you purchased the product. You may also visit the official Geko website for support resources, if available.
When contacting support, please have your product model number (G01108) and proof of purchase readily available.