
1. Introduzione
This manual provides essential instructions for the installation, operation, and maintenance of your Lorex 1080p 8-Channel 1TB Wired DVR Security System. Please read this manual thoroughly before using the product to ensure proper setup and functionality.

Immagine 1.1: Passoview of the Lorex 1080p 8-Channel 1TB Wired DVR Security System components.
1.1 Cosa c'è nella scatola
- 1080p Full HD 8-Channel Security System with 1 TB DVR
- Four 1080p Night Vision Dome Cameras
- Power adapters for DVR and cameras
- Video cables for camera connection
- Mouse USB
- Cavo Ethernet
- Hardware di montaggio
2. Impostazione
2.1 Connessione DVR
- Collegamento a un monitor: Use an HDMI or VGA cable to connect the DVR to a compatible monitor.
- Collegare il mouse USB: Plug the included USB mouse into an available USB port on the DVR.
- Connessione di rete (facoltativa): Per telecomando viewPer farlo, collega un cavo Ethernet dalla porta LAN del DVR al router.
- Collegamento elettrico: Collegare l'adattatore di alimentazione del DVR al DVR e quindi a una presa di corrente.

Image 2.1: Rear panel of the DVR with connection ports.
2.2 Installazione della telecamera
The included dome cameras are designed for both indoor and outdoor use, featuring IP67 weatherproof rating and durable metal housing.
- Seleziona la posizione di montaggio: Scegli una posizione che fornisca il desiderato viewing angle and is within reach of the video and power cables. Consider areas that offer optimal coverage and minimize blind spots.
- Montare le telecamere: Use the provided mounting hardware to securely attach the cameras to a wall or ceiling. Ensure the camera is positioned correctly for the desired field of view.
- Connect Video and Power: Connect the camera's video cable to an available BNC input on the DVR. Connect the camera's power cable to the power adapter and then to a power source.

Image 2.2: Dome camera mounted on an exterior wall.

Image 2.3: Dome camera mounted under eaves for subtle security.
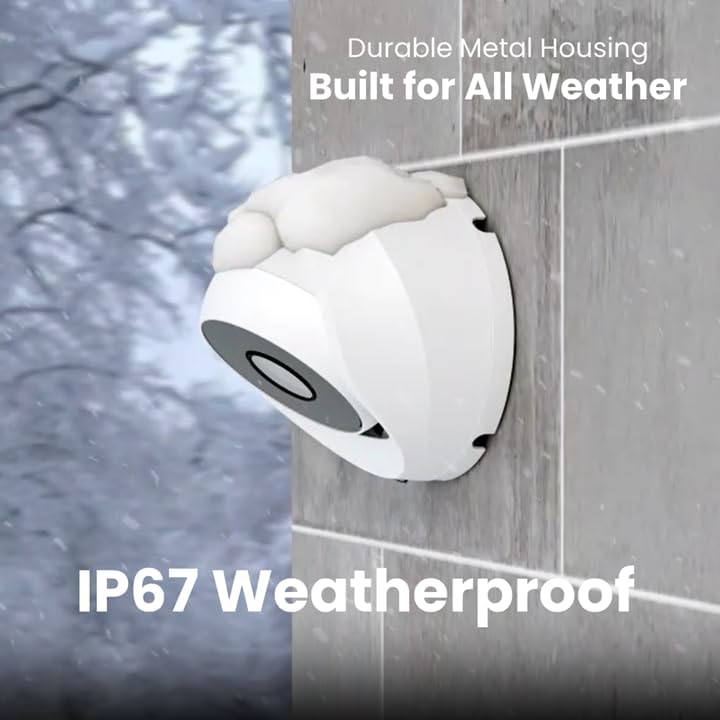
Image 2.4: Camera demonstrating IP67 weatherproof durability.
2.3 Configurazione iniziale
After powering on the DVR, follow the on-screen prompts to complete the initial setup, which typically includes:
- Selezione della lingua
- Impostazioni di data e ora
- Password creation
- Network settings (if connected)
3. Funzionamento del sistema
3.1 Vivere View e Registrazione
Una volta configurato il sistema, è possibile view live feeds from all connected cameras on your monitor. The DVR is configured for 24/7 continuous recording to the internal 1TB hard drive.
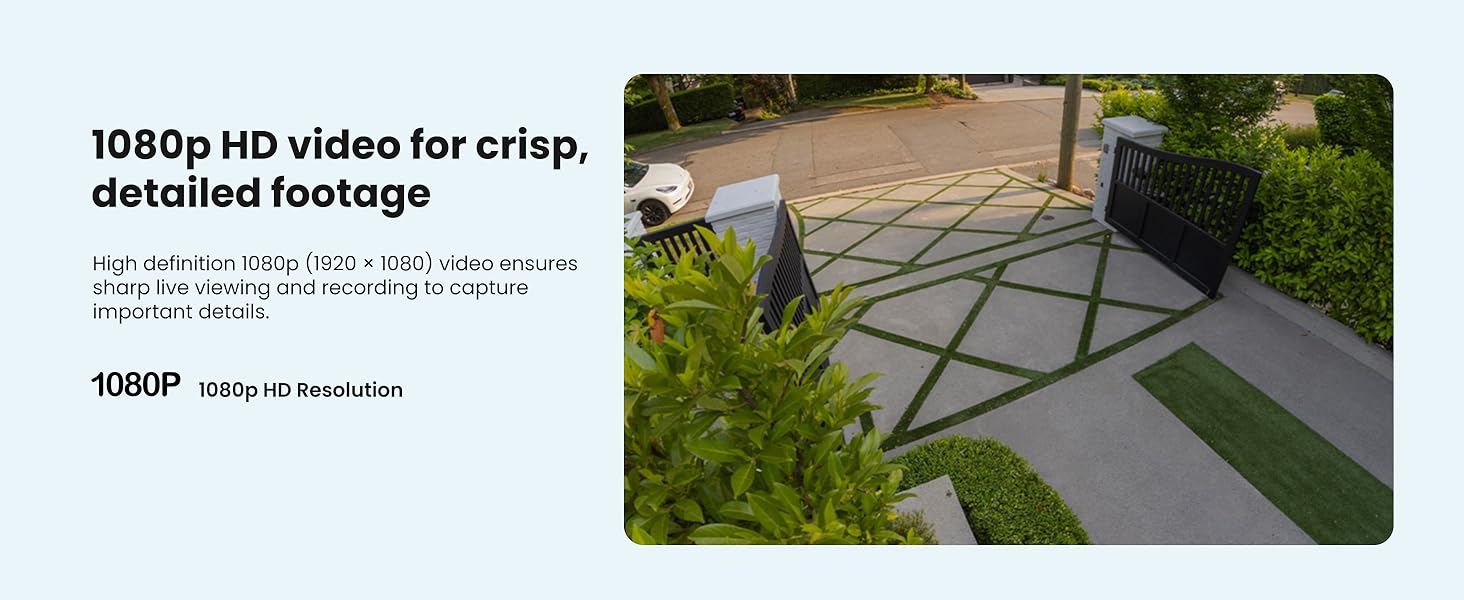
Immagine 3.1: Es.ample of 1080p HD video resolution.
3.2 Rilevamento intelligente del movimento
The system features Smart Motion Detection, which can differentiate between people and vehicles. This helps reduce false alarms and ensures you receive relevant alerts.
- Configurazione: Accedi al menu del DVR per configurare le zone di rilevamento del movimento e la sensibilità per ciascuna telecamera.
- Avvisi: Enable push notifications through the Lorex App for real-time alerts on your smartphone when person or vehicle motion is detected.
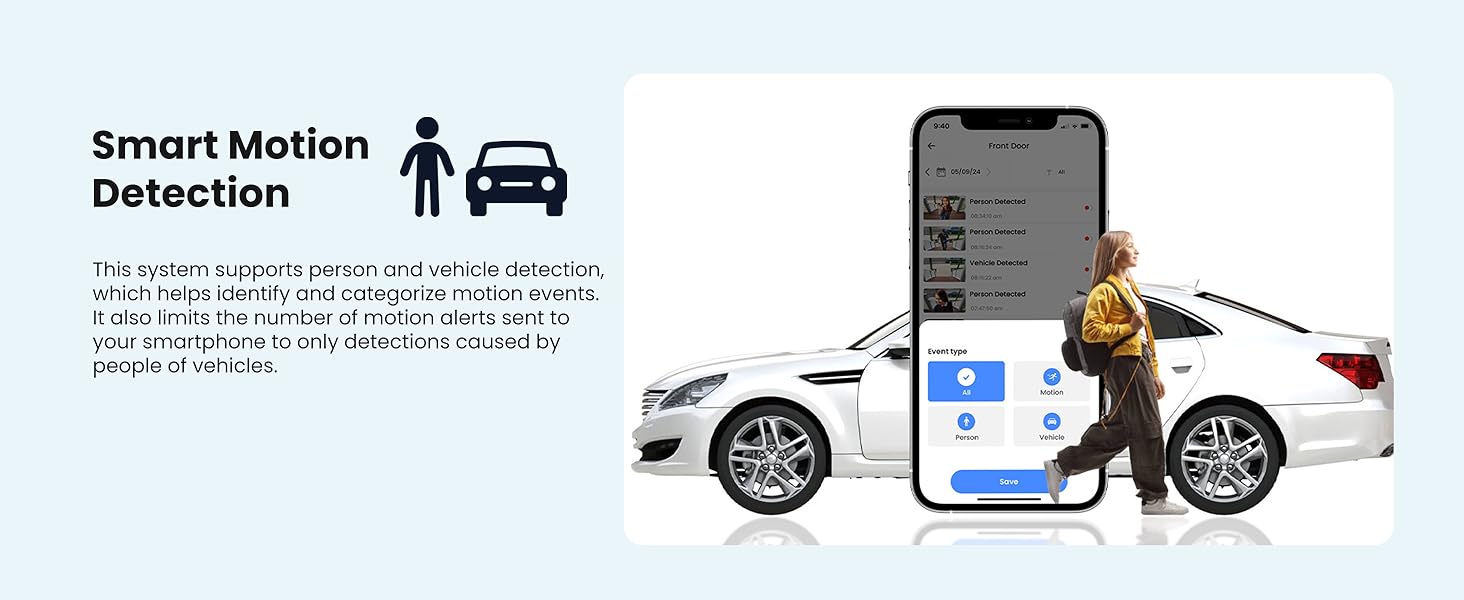
Image 3.2: Smart Motion Detection identifying a person and vehicle.
3.3 Visione notturna
The cameras are equipped with Smart Infrared (IR) night vision, providing clear black and white video footage up to 65 feet in low-light conditions. The IR mode activates automatically.
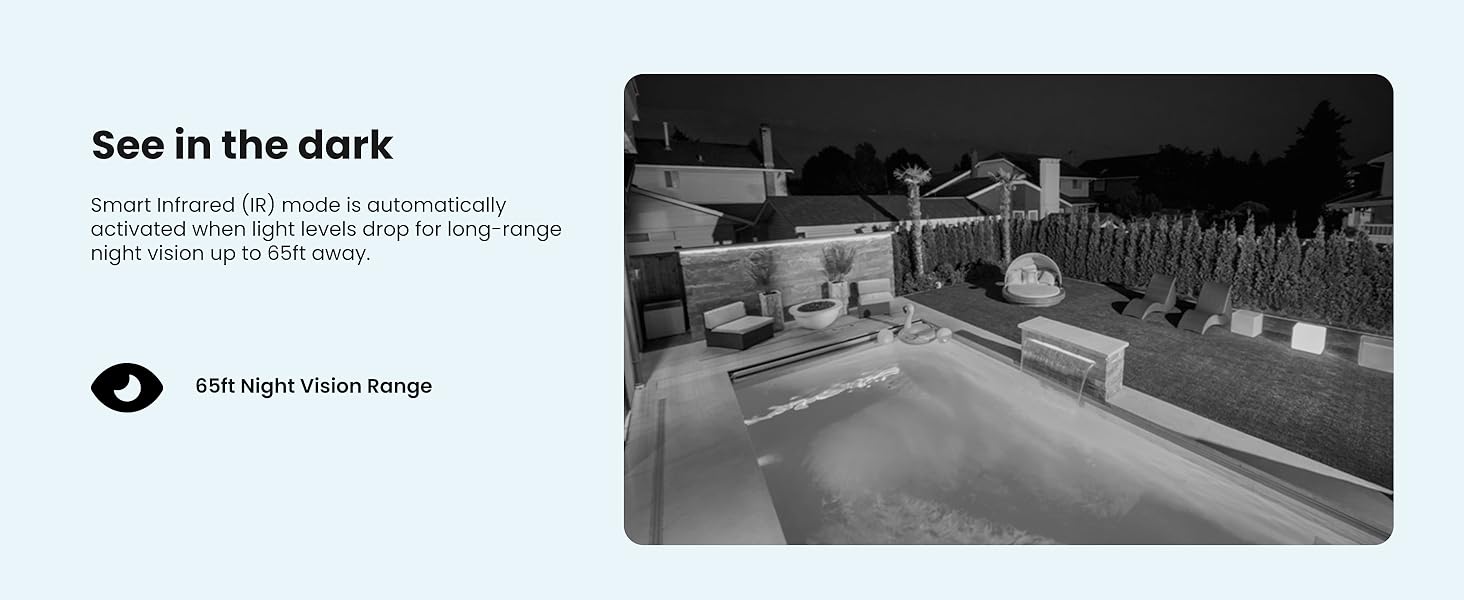
Image 3.3: Comparison of daytime and infrared night vision.
3.4 Playback and Digital Zoom
Review registrato footage directly from the DVR. The system also supports digital zoom on both live and recorded video for closer inspection of details.

Image 3.4: Digital zoom functionality on recorded video.
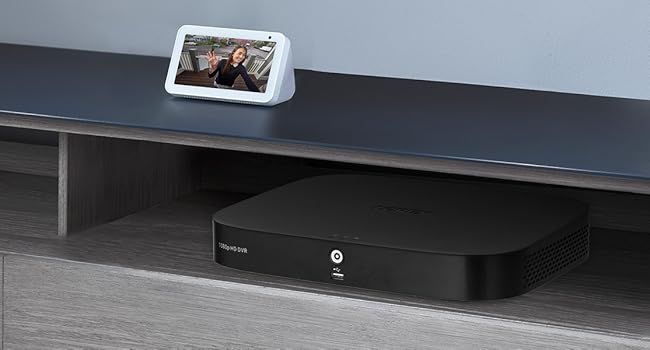
Image 3.5: Quick search feature for reviewfootage.
3.5 Remote Access (Lorex App)
Download the Lorex App on your smartphone or tablet to access live views, playback recordings, and receive alerts remotely. Ensure your DVR is connected to the internet for this feature.
4. Manutenzione
4.1 Gestione del disco rigido
The 1TB internal hard drive provides ample storage for continuous recording without the need for monthly fees or subscriptions. The system automatically overwrites the oldest footage quando il disco rigido è pieno.

Image 4.1: 1TB hard drive for local storage.
4.2 Pulizia
- Obiettivi della fotocamera: Periodically clean camera lenses with a soft, lint-free cloth to ensure clear image quality. Avoid abrasive cleaners.
- DVR Unit: Mantenere l'unità DVR al riparo dalla polvere e garantire una ventilazione adeguata per evitare il surriscaldamento.
4.3 Aggiornamenti firmware
Check the Lorex support website periodically for firmware updates. Keeping your DVR's firmware updated ensures optimal performance and access to the latest features and security enhancements.
5. Risoluzione Dei Problemi
If you encounter issues with your Lorex security system, refer to the following common troubleshooting steps:
- Nessuna visualizzazione video: Ensure all cables (power, video, monitor) are securely connected. Verify the monitor input source is correct.
- Nessuna registrazione: Check if the hard drive is properly installed and initialized. Verify recording schedules and motion detection settings.
- Problemi di accesso remoto: Confirm the DVR is connected to the internet and has a stable network connection. Ensure the Lorex App is updated and configured correctly.
- Scarsa qualità dell'immagine: Clean camera lenses. Check cable connections for damage. Adjust camera position if glare or obstructions are present.
For more detailed troubleshooting guides and technical support, visit the official Lorex support websito.
6. Specifiche
| Caratteristica | Specificazione |
|---|---|
| Marca | Lorex |
| Numero di modello | AZT-D24281-2ND4-1 |
| Tecnologia di connettività | Cablato |
| Risoluzione di acquisizione video | 1080p (1920x1080) |
| Numero di canali | 8 |
| Capacità di archiviazione della memoria | 1 TB |
| Caratteristiche speciali | App Control, Night Vision, Vehicle Detection, Weatherproof |
| Gamma di visione notturna | Fino a 65 piedi |
| Valutazione resistente alle intemperie | Grado di protezione IP67 |
| Temperatura di esercizio | 140°F/60°C Heat Rating and -40°F/-40°C Cold Rating |
| Viewangolo di ing | 94 gradi |
| Fonte di alimentazione | Elettrico con cavo |
| Dimensioni articolo (L x P x A) | 19.7 x 19.2 x 10.3 pollici |
| Peso dell'articolo | 21.7 libbre |
| Codice UPC | 695529022086 |
7. Garanzia e supporto
7.1 Informazioni sulla garanzia
For detailed warranty information regarding your Lorex 1080p 8-Channel 1TB Wired DVR Security System, please refer to the warranty card included with your product or visit the official Lorex websito. I termini e le condizioni della garanzia possono variare.
7.2 Assistenza clienti
If you require further assistance, technical support, or have questions not covered in this manual, please contact Lorex customer support through their official website. Online resources, FAQs, and contact information are available to help you.
Lorex Official Websito: www.lorex.com