
1. Introduzione
The Nady 4W-1KU HT Quad True Diversity 1000-Channel Professional UHF Wireless System is designed for demanding audio applications, offering exceptional sound quality and reliable performance. This system features automatic scanning across 1,000 UHF channels for interference-free operation and quick transmitter synchronization. With True Diversity circuitry and robust all-metal construction, it ensures maximum range and minimizes signal dropouts. The 1U rack-mountable receiver provides flexible output connections (XLR or 1/4").

Figure 1.1: Nady 4W-1KU HT Quad Wireless System, showing the main receiver unit and four HT-1KU handheld microphones.
2. Contenuto della confezione
Verifica che tutti i componenti siano presenti nel tuo pacchetto:
- 1 x 4W-1KU Quad Receiver
- 4 x HT-1KU Handheld Transmitters (Microphones)
- 1 x adattatore di alimentazione (CA/CC)
- 2 x antenne rimovibili
- Rackmount Kit (brackets, screws, antenna extender cables)

Figure 2.1: Included accessories: detachable antennas, rackmount hardware, and antenna extender cables.
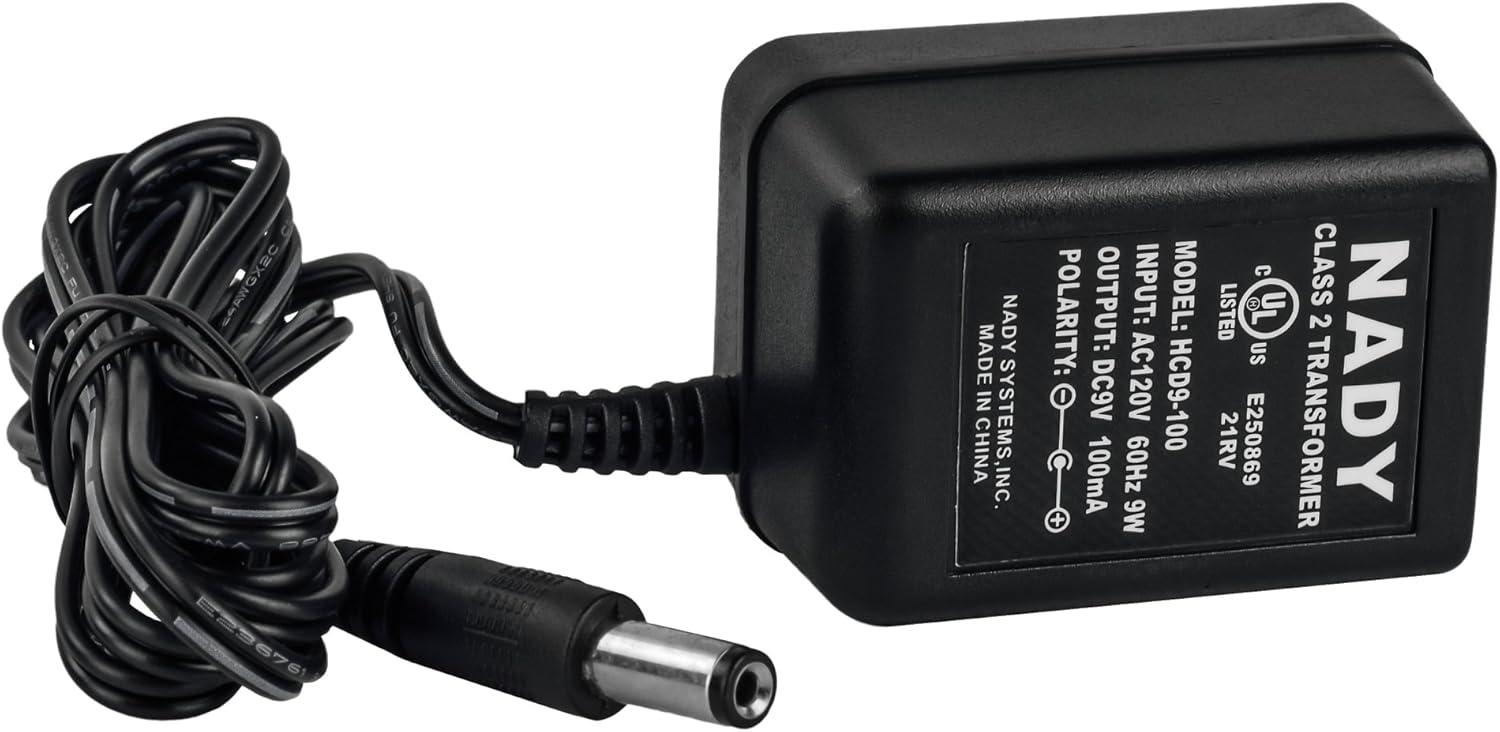
Figure 2.2: The Nady HCD9-100 power adapter for the receiver unit.
3. Sistema finitoview
3.1. 4W-1KU Quad Receiver
The receiver unit houses four independent wireless receivers, providing 1000 selectable UHF frequencies per channel. It features True Diversity circuitry for enhanced signal stability and a backlit LCD for displaying frequency, volume, and RF signal strength.

Figure 3.1: Front panel of the 4W-1KU Quad Receiver, showing individual channel displays and controls.

Figure 3.2: Top image shows the rear panel with XLR and 1/4" outputs, and antenna connections. Bottom image shows the front panel.
Controlli e indicatori del pannello frontale:
- Pulsante di accensione: Accende/spegne l'unità.
- Schermo LCD: Shows channel number, group, volume, RF signal strength, and battery level.
- Pulsanti SU/GIÙ: Navigare nei menu e regolare le impostazioni.
- Pulsante IMPOSTA: Conferma le selezioni.
- Finestra di sincronizzazione IR: For automatic frequency synchronization with transmitters.
- MUTE Level Control: Adjusts the squelch level for each channel.
Connessioni pannello posteriore:
- Connettori dell'antenna: Per fissare le antenne incluse.
- Uscite XLR: Four balanced XLR microphone level outputs (one for each channel).
- 1/4" Unbalanced Output: Mixed line level audio output.
- Ingresso CC: Per collegare l'adattatore di alimentazione.
3.2. HT-1KU Handheld Transmitter (Microphone)
The HT-1KU handheld microphone features an all-metal body for durability and the Nady DM-10 neodymium cartridge for clear audio and maximum feedback rejection. It includes an LCD display for monitoring group, channel, audio level, and battery status.

Figure 3.3: The HT-1KU handheld microphone with its LCD display.
Transmitter Controls and Indicators:
- Pulsante di accensione: Accende/spegne il microfono.
- Schermo LCD: Shows group, channel, audio level, and battery level.
- SET/UP/DOWN Buttons: For navigating menus and adjusting RF power (Hi/Low).
- Finestra IR: For receiving frequency synchronization from the receiver.
4. Impostazione
4.1. Disimballaggio e ispezione iniziale
Carefully remove all components from the packaging. Inspect each item for any signs of damage. If any item is damaged or missing, contact Nady customer support immediately.
4.2. Posizionamento e connessioni del ricevitore
- Posizionamento: Position the 4W-1KU receiver in a stable location, ideally in a standard 19-inch equipment rack. Ensure adequate ventilation around the unit.
- Installazione dell'antenna: Attach the two included antennas to the antenna connectors on the rear panel of the receiver. For optimal range and minimal interference, you can use the included extender cables to mount the antennas on the front panel of the rack or in a clear line of sight.
- Collegamento uscita audio:
- For individual microphone outputs, connect XLR cables from the receiver's balanced XLR outputs (CH1, CH2, CH3, CH4) to the corresponding inputs on your audio mixer or amppiù vivace.
- For a mixed output of all four microphones, connect a 1/4" TS cable from the receiver's unbalanced 1/4" output to a line-level input on your audio equipment.
- Collegamento elettrico: Connect the supplied AC/DC power adapter to the DC input on the rear of the receiver, then plug the adapter into a suitable AC power outlet.
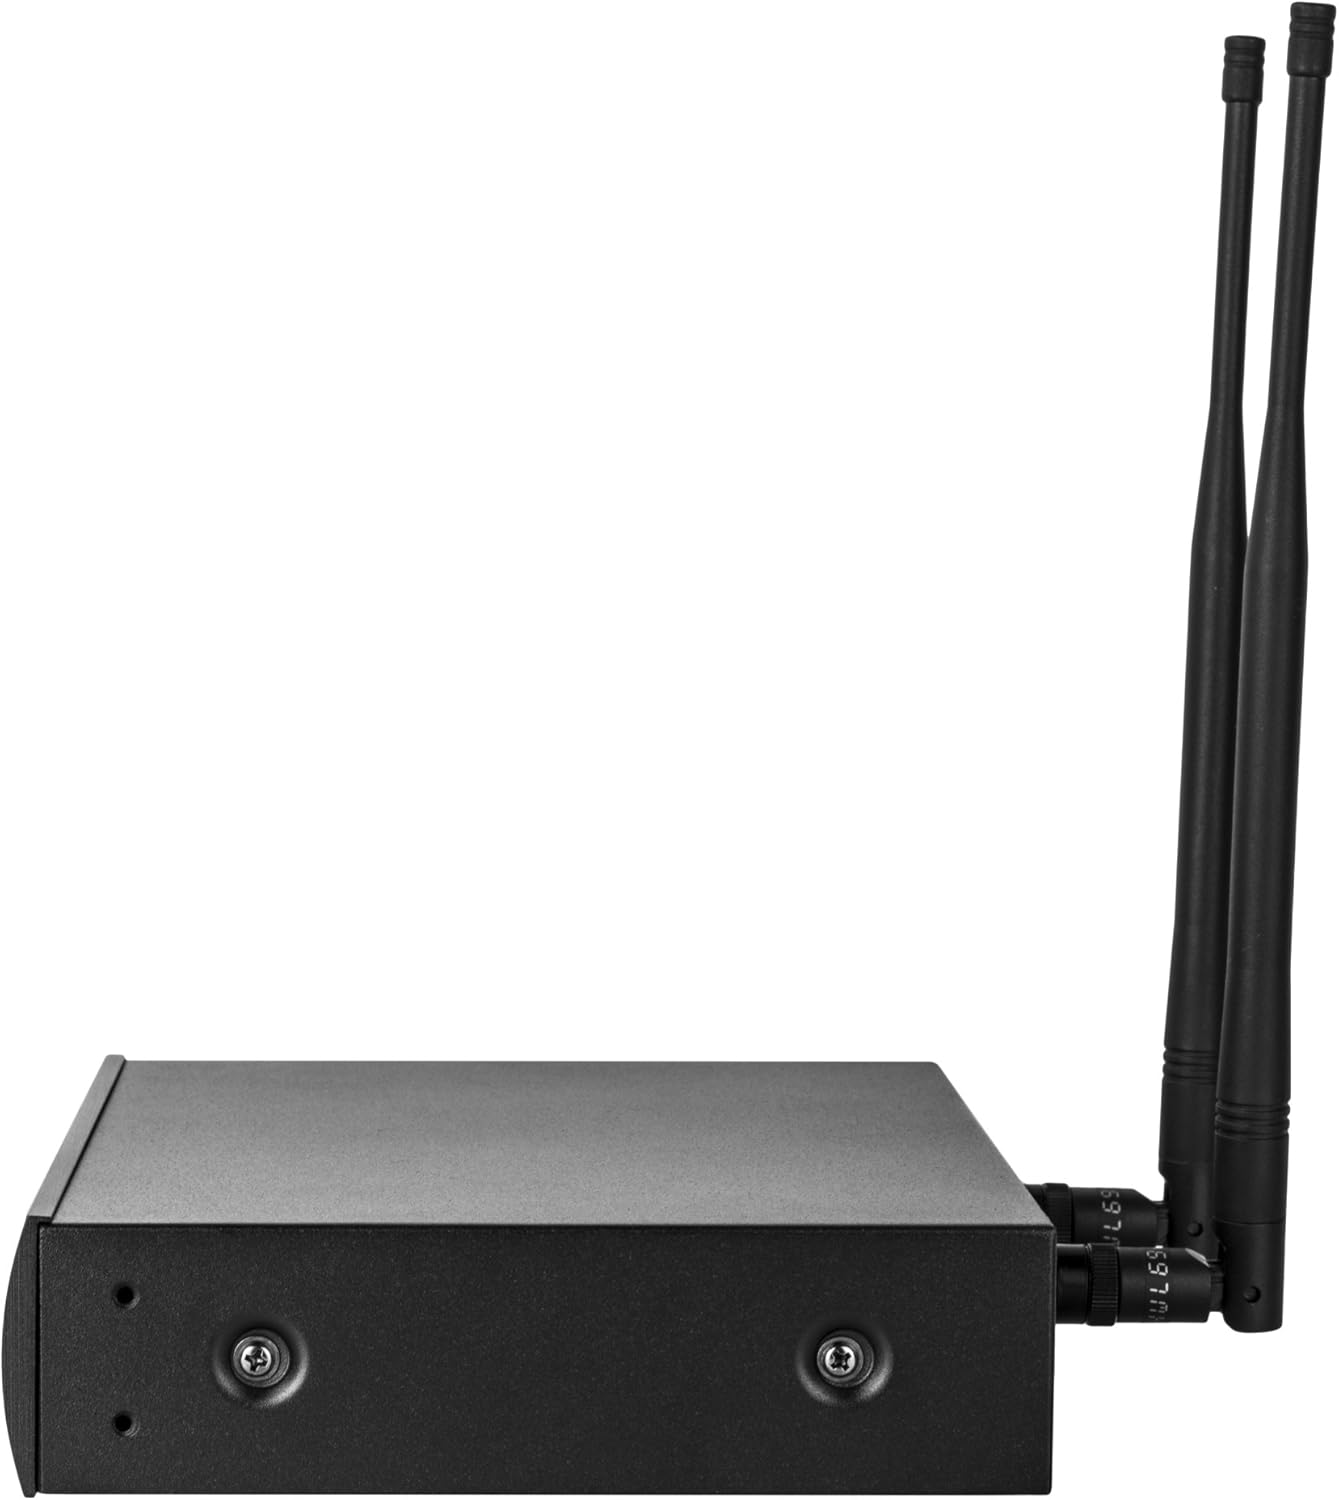
Figura 4.1: lato view of the receiver, illustrating antenna attachment points.
4.3. Installazione della batteria del trasmettitore
Each HT-1KU handheld transmitter requires two AA batteries for operation.
- Unscrew the bottom cap of the handheld microphone.
- Insert two fresh AA batteries, observing the correct polarity (+/-) as indicated inside the battery compartment.
- Securely screw the bottom cap back onto the microphone.
Nota: Always use fresh, high-quality batteries for optimal performance and battery life. Remove batteries if the transmitter will not be used for an extended period.
5. Istruzioni per l'uso
5.1. Accensione del sistema
- Premere il tasto ENERGIA button on the front panel of the 4W-1KU receiver. The LCD displays will illuminate.
- For each HT-1KU handheld transmitter, press and hold its ENERGIA button until the LCD display turns on.
5.2. Channel Selection and Synchronization
The 4W-1KU system offers 1000 selectable UHF frequencies per channel and features an automatic synchronization function.
- Automatic Channel Scan (Autoscan):
- On the receiver, select the desired channel (e.g., CH1) using the UP/DOWN buttons.
- Premere il tasto IMPOSTATO button to enter the channel selection menu.
- Navigate to the "SCAN" option and press IMPOSTATO. The receiver will automatically scan for a clear, interference-free frequency.
- Automatic Transmitter Pairing (IR Sync):
- Once a clear frequency is selected on the receiver, ensure the transmitter you wish to pair is powered on.
- Align the IR window on the transmitter with the IR Sync window on the receiver (for the corresponding channel).
- On the receiver, initiate the IR sync process (usually by pressing a dedicated SYNC button or selecting "SYNC" from the menu). The frequency information will be transmitted to the microphone.
- The transmitter's display should update to show the new frequency, indicating successful pairing.
- Manual Channel Selection (Advanced): For specific frequency requirements, you can manually select channels on the receiver and then use IR Sync to transfer the setting to the transmitter. Refer to the receiver's LCD menu for detailed manual tuning instructions.
5.3. Regolazione dei livelli audio
The receiver has individual volume controls for each channel. Adjust these controls to achieve the desired output level for your audio mixer or amplifier. Start with the receiver's volume at a moderate level and fine-tune it on your mixer.
5.4. RF Power Settings (Transmitter)
The HT-1KU handheld transmitters offer selectable RF output power (Hi/Low).
- Hi (+14dBm / 25mW typical): Use for maximum range and in environments with high RF interference.
- Low (+4dBm / 2.5mW typical): Use for shorter ranges to conserve battery life and minimize interference with other wireless systems in close proximity.
To change the RF power setting, access the menu on the handheld transmitter's LCD display using the SET/UP/DOWN buttons.
6. Manutenzione
6.1. Pulizia
- Pulire il ricevitore e i trasmettitori con un panno morbido e asciutto.
- Per lo sporco ostinato utilizzare una spugna leggermente damp panno e poi asciugare accuratamente.
- Non utilizzare detergenti abrasivi, solventi o prodotti chimici aggressivi, poiché potrebbero danneggiare la finitura e i componenti interni.
6.2. Sostituzione della batteria
Replace the AA batteries in the handheld transmitters when the battery indicator on the LCD display shows low power. Always replace all batteries in a transmitter at the same time with new ones.
6.3. Conservazione
When not in use for extended periods, store the system in a cool, dry place, away from direct sunlight and extreme temperatures. Remove batteries from transmitters before storage to prevent leakage and damage.
7. Risoluzione Dei Problemi
This section addresses common issues you might encounter with your Nady 4W-1KU HT Quad Wireless System.
| Problema | Possibile causa | Soluzione | |
|---|---|---|---|
| Nessun suono dal microfono. |
|
| |
| Interferenze o interruzioni del segnale. |
|
| |
| Poor audio quality (hollow, echoing, noise). |
|
| |
8. Specifiche
| Sistema complessivo | |
|---|---|
| Gamma di frequenza operativa | 510.0 MHz - 534.9 MHz |
| Numero di canali | 1000 selectable UHF frequencies per transmitter |
| Gamma dinamica | 120 dB |
| Allineare | Fino a 500 piedi (linea di vista) |
| Materiale | Costruzione in metallo |
| Dimensioni del prodotto (ricevitore) | 21 x 14 x 5.5 pollici |
| Peso dell'articolo | 11.92 libbre |
| 4W-1KU Quad Receiver | |
| Sistema di ricezione | Dual conversion super heterodyne with True Diversity |
| Sensibilità | -107 dBm |
| Audio Output Level (1/4" unbalanced) | 360mV adjustable |
| Audio Output Level (XLR balanced) | 24mV fixed |
| HT-1KU Handheld Transmitter | |
| RF Output Power (Hi) | +14dBm (25mW typical) |
| RF Output Power (Low) | +4dBm (2.5mW typical) |
| Fonte di alimentazione | 2 batterie AA |
| Fattore di forma del microfono | Portatile |
| Modello polare | Unidirezionale |
9. Garanzia e supporto
Nady Systems is dedicated to providing the best user experience possible. Since 1976, Nady has been a US-based brand with a US-based customer service center and valid product warranties.
For warranty information, technical support, or service inquiries, please visit the official Nady websito o contattare il servizio clienti. Puoi anche visitare il sito Nady Store on Amazon per maggiori informazioni e risorse sui prodotti.
Conservare la prova d'acquisto per eventuali richieste di garanzia.