
Introduzione
This manual provides instructions for the Sharper Image Motion Activated Candy Dispenser. This device is designed to dispense small, hard-shelled candies, nuts, and snacks using a touchless motion sensor, promoting hygiene and convenience. It is suitable for use in various settings, including homes and offices.
Informazioni importanti sulla sicurezza
- Questo prodotto non è destinato all'uso da parte di bambini di età inferiore a 12 anni.
- The dispenser is designed for small, dry food items only. Do not use with liquids or sticky substances.
- Store the dispenser in a cool, dry area to maintain optimal performance and food quality.
- Assicurarsi che le batterie siano inserite correttamente, rispettando la polarità indicata. Non mischiare batterie vecchie e nuove, né tipi diversi di batterie.
- Remove batteries if the dispenser will not be used for an extended period to prevent leakage.
Contenuto della confezione
- 1x Sharper Image Motion Activated Candy Dispenser Unit
- Manuale d'uso
Note: 4 "AA" batteries are required and not included. An optional 6V DC 0.5A (300mA) AC power adapter is also not included.
Impostare
1. Installazione della batteria
- Locate the battery compartment on the underside of the dispenser base.
- Aprire il coperchio del vano batterie.
- Insert 4 "AA" batteries (not included), ensuring correct polarity (+/-) as indicated inside the compartment.
- Chiudere saldamente il coperchio del vano batterie.
Alternatively, an optional 6V DC 0.5A (300mA) AC power adapter can be used (not included).
2. Riempimento del distributore
- Before first use, clean the transparent container thoroughly.
- Remove the lid from the top of the dispenser.
- Carefully pour your desired treats into the container. Ensure the items are suitable for dispensing (see "Operating Instructions" for details).
- Riposizionare saldamente il coperchio.

Figure 1: Filling the dispenser with treats.
Istruzioni per l'uso
Utilizzo del sensore di movimento
- Place your hand directly under the dispensing chute.
- The built-in motion sensor will detect your hand and activate the dispensing mechanism.
- Hold your hand under the chute for a moment to allow the treats to dispense. The amount dispensed may vary. If no treats dispense on the first attempt, briefly remove your hand and place it back under the sensor.
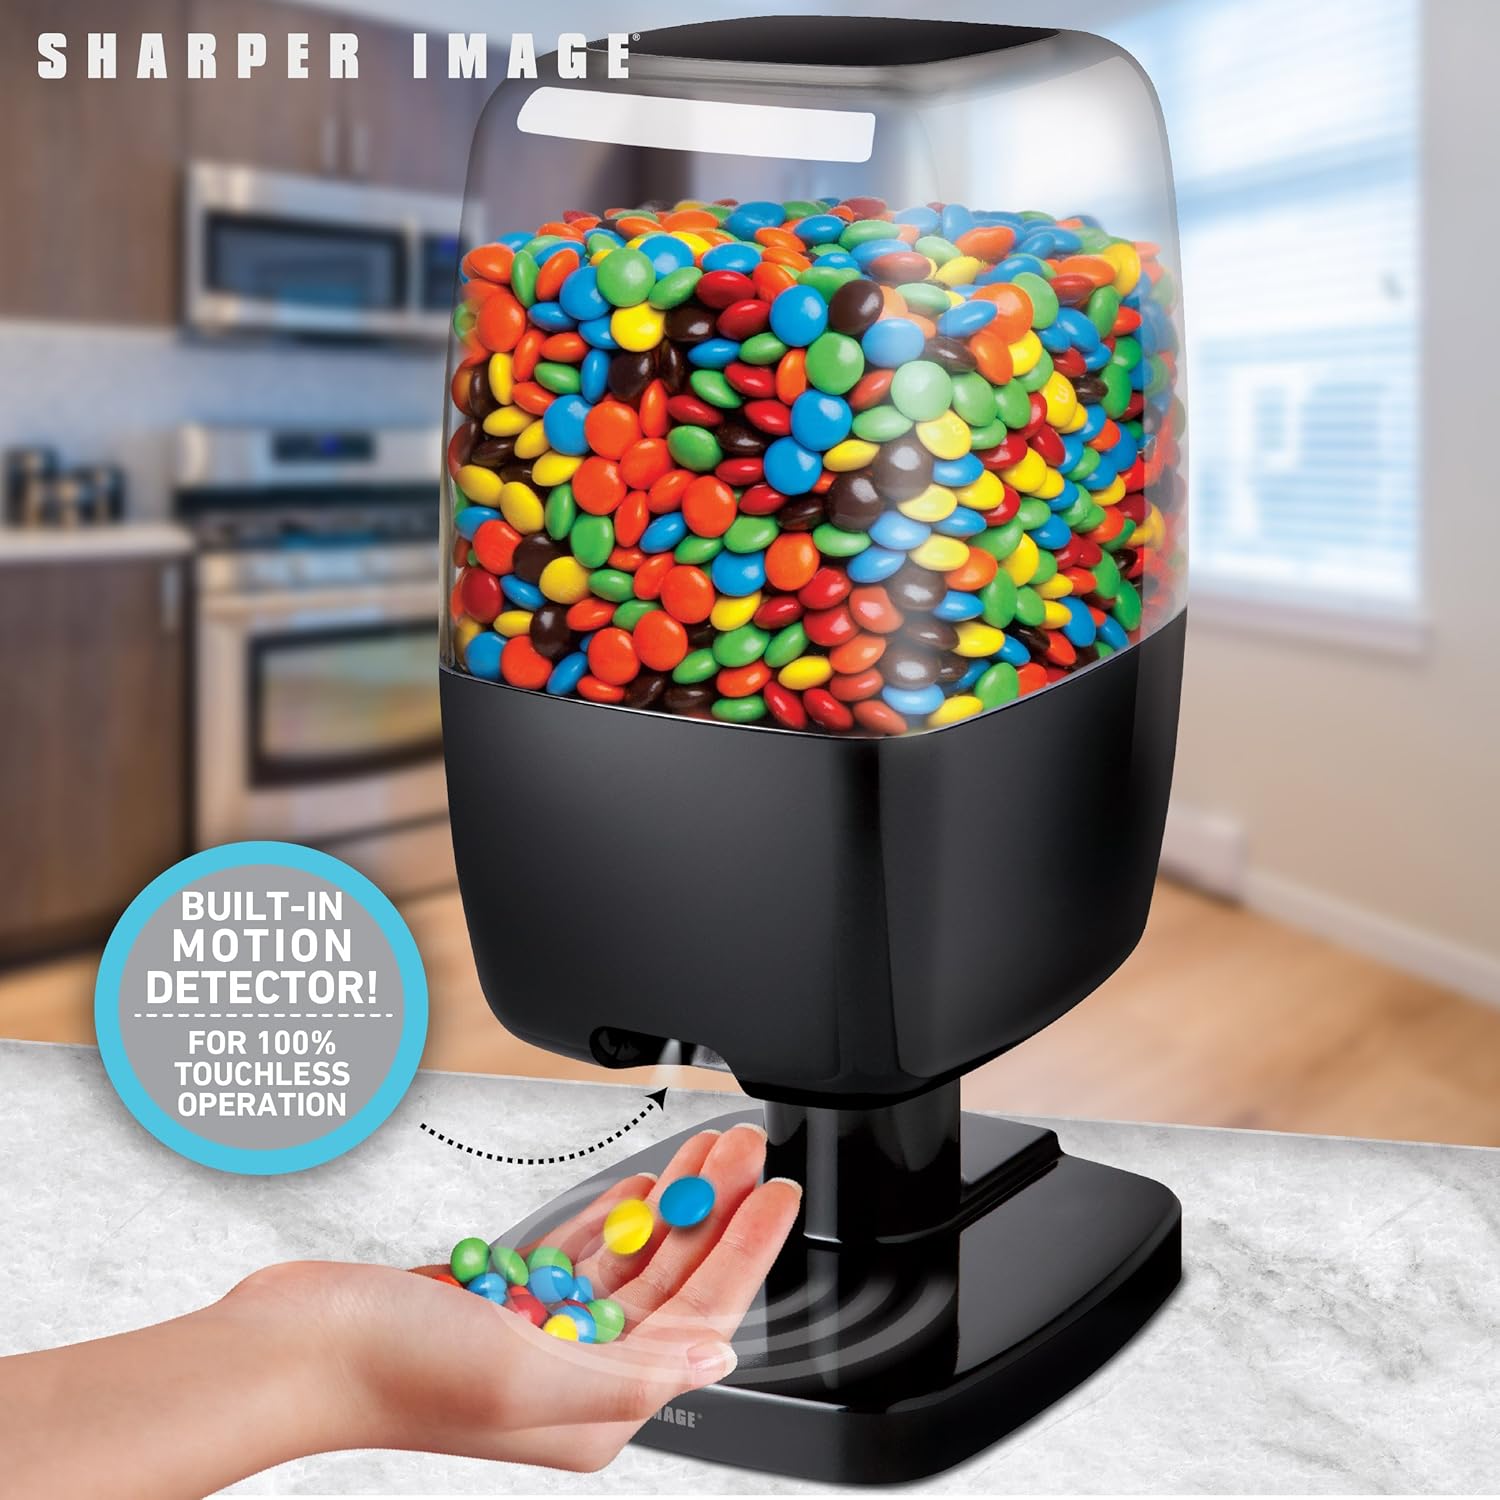
Figure 2: Hands-free dispensing in action.
Disabling Dispensing (Hidden Button)
A hidden button is located on the back of the dispenser. Pressing this button will temporarily disable the dispensing function, preventing treats from being dispensed even when the motion sensor is activated. Press it again to re-enable dispensing.
Recommended Items for Dispensing
For optimal performance, use items that are hard-shelled, dry, and approximately 0.75 inches (1.9 cm) or smaller in size. Exampincludono:
- Small Gumballs
- Hard shell, chocolate coated candy (e.g., M&M's)
- Hard shell, fruit flavored candy
- Nocciole
- Fagioli di gelatina
- Small Jawbreakers
- Noci di macadamia
- Pinoli
- Shelled, unsalted peanuts
- Pistacchi sgusciati
- Small Jordan almonds
- Noci di soia
- Semi di girasole
- Mandorle intere
- Arachidi salate
Items NOT Recommended for Dispensing
Avoid using the following items to prevent blockages or damage to the dispenser:
- Candy that is wrapped
- Candy that has a soft chocolate coating
- Candy that is cylindrically or barrel-shaped
- Candy that is gummy
- Raisins or similar dried fruit
- Candy that is sticky
- Items larger than 0.75 inches (1.9 cm)
- Oggetti in metallo

Figure 3: Guide for suitable and unsuitable items.
Manutenzione
Pulizia
- To clean the dispenser, first ensure it is empty of all treats and batteries are removed.
- Pulire le superfici esterne con un panno morbido, damp stoffa.
- The transparent container can be detached and washed with mild soap and water. Ensure it is completely dry before reassembling and refilling.
- Do not immerse the base unit in water or place it in a dishwasher.
Magazzinaggio
When not in use, store the dispenser in a cool, dry place away from direct sunlight and moisture. Remove batteries if storing for an extended period.
Risoluzione dei problemi
Dispenser Not Activating or Dispensing
- Controllare le batterie: Ensure batteries are correctly installed and have sufficient charge. Replace with fresh "AA" batteries if necessary.
- Ostruzione del sensore: Verify that the motion sensor area is clean and free from obstructions.
- Posizionamento delle mani: Ensure your hand is placed directly under the sensor and held steady for a moment.
- Hidden Button: Check if the hidden button on the back of the dispenser has been pressed, disabling the dispensing function. Press it again to re-enable.
Treats Not Dispensing Properly or Getting Stuck
- Item Suitability: Confirm that the items being dispensed are suitable for the dispenser (refer to "Recommended Items" section). Avoid sticky, wrapped, or oversized items.
- Riempimento eccessivo: Do not overfill the dispenser, as this can impede the dispensing mechanism.
- blocco: Gently shake the dispenser or use a soft, non-abrasive tool to clear any blockages in the chute.
Durata breve della batteria
- Qualità della batteria: Use high-quality alkaline batteries for best performance and longevity.
- Frequenza di utilizzo: Frequent use will naturally deplete batteries faster. Consider using an optional AC adapter for continuous power if available.
Specifiche
| Marca: | Immagine più nitida |
| Modello: | B07KGMDK96 |
| Materiale: | Plastica |
| Colore: | Nero |
| Dimensioni (A x L x P): | Approximately 13.125 in. x 6.00 in. x 6.75 in. (33.3 cm x 15.2 cm x 17.1 cm) |
| Fonte di energia: | 4 "AA" batteries (not included) or optional 6V DC 0.5A (300mA) AC adapter (not included) |
| Max Item Size: | Up to 0.5 inches (1.27 cm) in size (for optimal dispensing) |

Figura 4: Dimensioni del prodotto.
Garanzia e supporto
For warranty information or technical support, please refer to the contact details provided with your product packaging or visit the official Sharper Image websito. Conserva la ricevuta d'acquisto come prova d'acquisto.