
1. Introduzione
This manual provides essential information for the proper setup, operation, and maintenance of your Eyeclops Digital Microscope & Camera. This device allows you to magnify objects up to 800 times, capture images, and record videos, making it suitable for exploring the microscopic world both indoors and outdoors.
Cosa c'è nella scatola:
- 1 EyeClops Digital Microscope & Camera with built-in color screen
- Cavo USB 1
- 1 512MB MicroSD Card
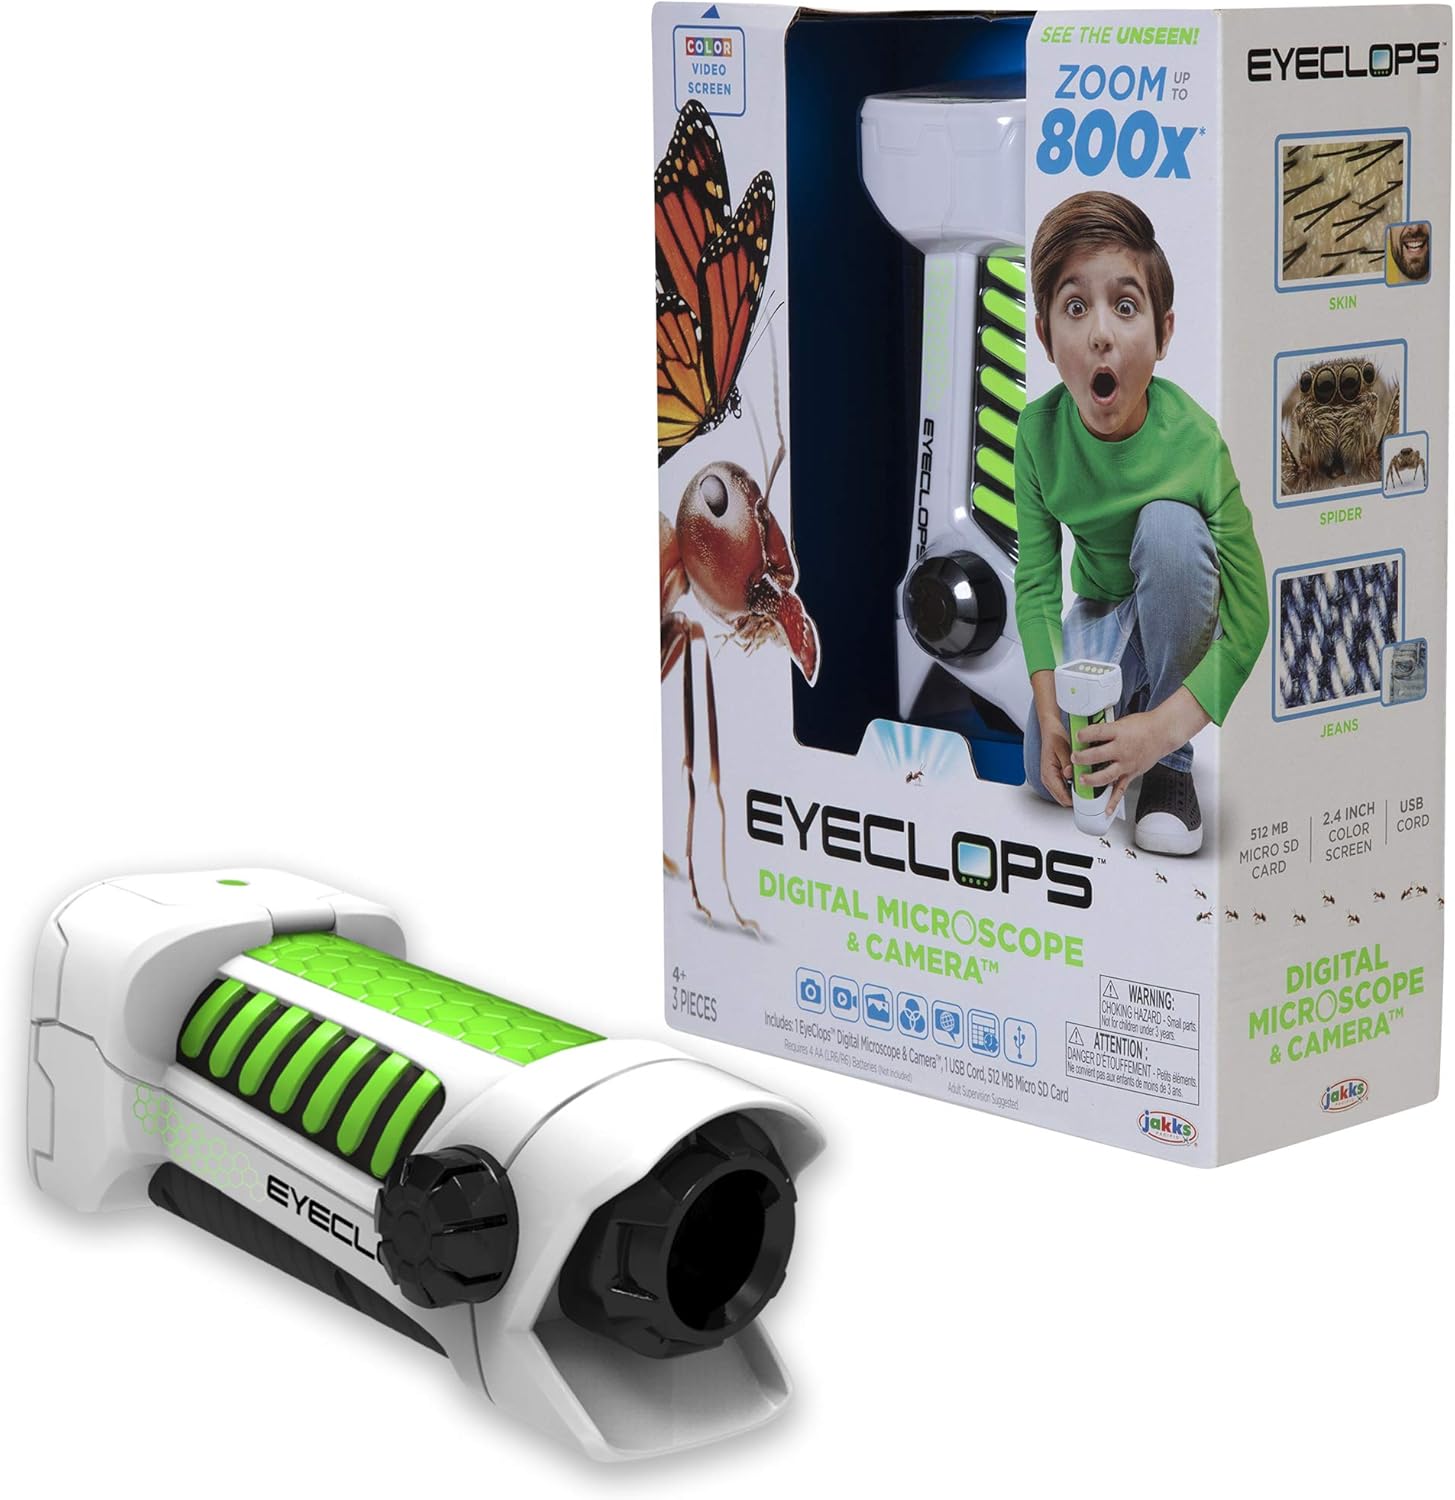
Immagine 1.1: The Eyeclops Digital Microscope & Camera with its retail packaging. This image displays the device alongside its box, highlighting its compact design and the included accessories like the MicroSD card and USB cable.
2. Informazioni sulla sicurezza
Prima di utilizzare il dispositivo, leggere e comprendere le seguenti precauzioni di sicurezza:
- Rischio di soffocamento: Questo prodotto contiene piccole parti e non è adatto a bambini di età inferiore a 3 anni. Si raccomanda la supervisione di un adulto per tutti gli utenti, in particolare per i bambini più piccoli.
- Sicurezza della batteria: Use only the specified battery type (4 AA batteries). Ensure correct polarity when inserting batteries. Do not mix old and new batteries, or different types of batteries. Remove batteries if the device will not be used for an extended period.
- Condizioni ambientali: Evitare di esporre il dispositivo a temperature estreme, alla luce solare diretta o all'umidità.
3. Impostazione
3.1 Installazione della batteria
- Individuare il coperchio del vano batteria sul dispositivo.
- Utilizzare un piccolo cacciavite per aprire il vano batteria.
- Inserire 4 batterie AA, assicurandosi che la polarità positiva (+) e negativa (-) sia corretta, come indicato all'interno del vano.
- Riposizionare il coperchio del vano batteria e fissarlo con la vite.
3.2 Inserimento della scheda MicroSD
- Individuare lo slot per la scheda MicroSD sul lato del dispositivo.
- Gently insert the included 512MB MicroSD card into the slot until it clicks into place. Ensure the card is oriented correctly.
- Per rimuovere la scheda, spingerla delicatamente verso l'interno finché non scatta fuori.
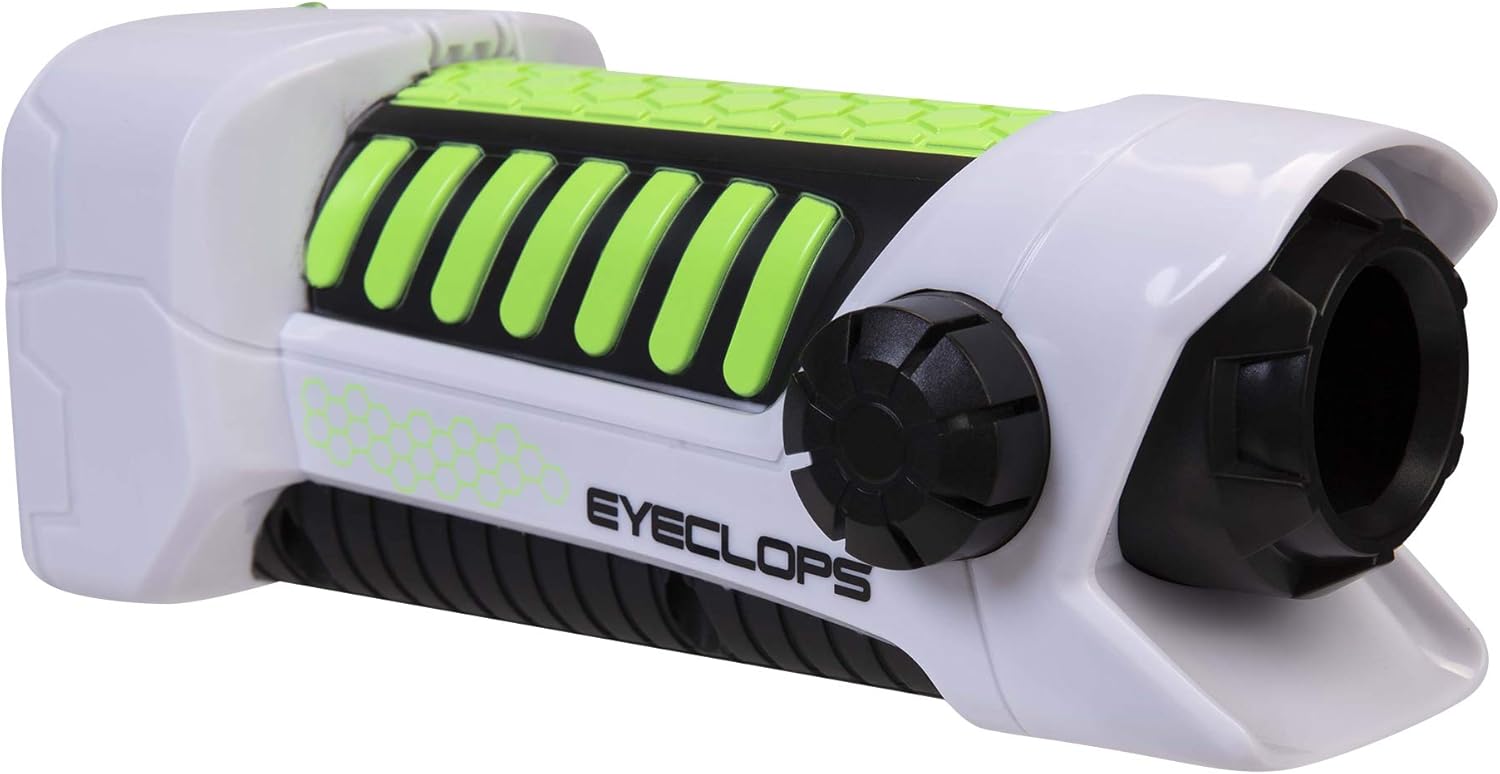
Immagine 3.1: Un lato view of the Eyeclops Digital Microscope, illustrating the general shape and location of external features such as the focus knob and lens. This view helps in identifying the MicroSD card slot and battery compartment.
4. Istruzioni per l'uso
4.1 Accensione/Spegnimento
- To power on the device, press and hold the Power button (usually located near the screen or grip).
- Per spegnere, tieni premuto nuovamente il pulsante di accensione finché lo schermo non si spegne.
4.2 Focusing and Zoom
- Point the lens of the microscope at the object you wish to observe.
- Regolare il Manopola di messa a fuoco (typically located on the side of the device) until the image on the 2.4-inch color screen appears clear.
- The device offers up to 800x magnification. The zoom level can be adjusted using dedicated zoom buttons (often marked with '+' and '-' symbols) or by moving the device closer to or further from the object.
4.3 Taking Pictures and Recording Video
- Una volta messo a fuoco, premere il tasto Pulsante della fotocamera (often indicated by a camera icon) to capture a still image.
- Per registrare un video, premere il tasto Pulsante video (often indicated by a video camera icon). Press it again to stop recording.
- All captured images and videos are saved to the inserted MicroSD card.
4.4 Using as a Regular Camera
The Eyeclops Digital Microscope can also function as a regular camera. To use this feature, turn off the zoom function or adjust the focus for standard distance photography. This allows for capturing broader scenes or objects without extreme magnification.
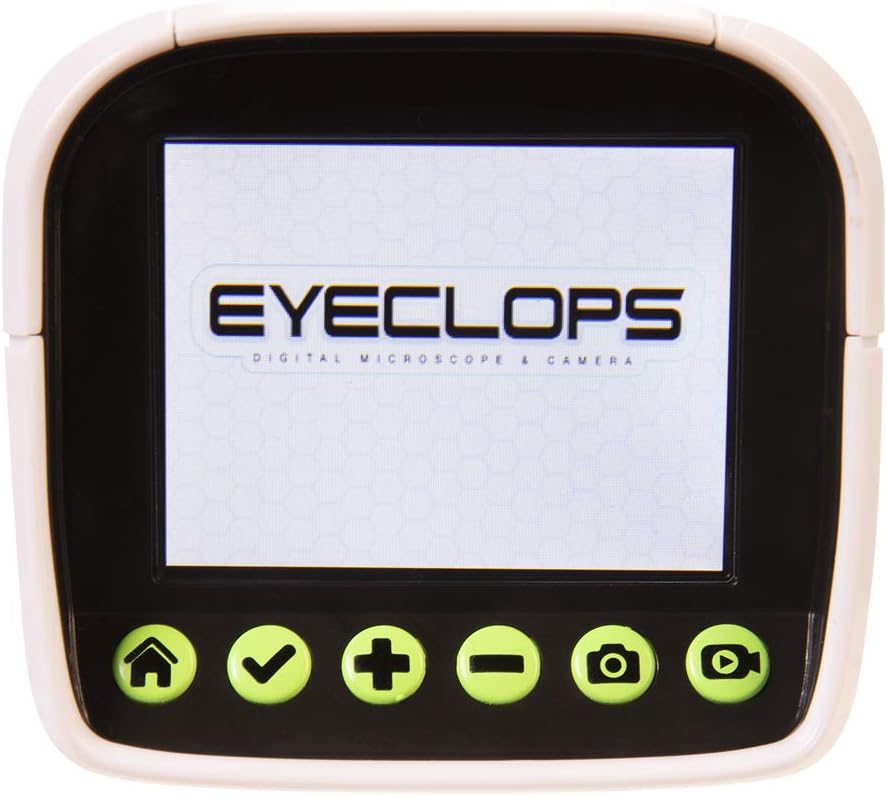
Immagine 4.1: Un dettagliato view of the Eyeclops Digital Microscope's 2.4-inch color screen and its control buttons. The buttons typically include Home, Select/Confirm, Zoom In (+), Zoom Out (-), Camera, and Video functions.

Immagine 4.2: A child actively using the Eyeclops Digital Microscope to observe a small object, demonstrating the handheld operation and the visual engagement with the magnified view.
5. Trasferimento dei dati
5.1 Trasferimento FileÈ tramite USB
- Connect the Eyeclops Digital Microscope to your Windows PC or Mac using the provided USB cable.
- Il dispositivo dovrebbe apparire come un dispositivo di archiviazione rimovibile sul computer.
- Navigate to the device's storage or the MicroSD card folder to access your pictures and videos.
- Copia il desiderato filesul tuo computer.
5.2 Trasferimento Files via MicroSD Card Reader
Alternatively, you can remove the MicroSD card from the microscope and insert it into a compatible card reader connected to your computer to transfer files.
6. Manutenzione
- Pulizia: Use a soft, dry cloth to clean the exterior of the device. For the lens and screen, use a specialized lens cleaning cloth and solution to avoid scratches. Do not use abrasive cleaners or solvents.
- Magazzinaggio: Store the microscope in a cool, dry place away from direct sunlight and extreme temperatures. Remove batteries if storing for extended periods to prevent leakage.
- Protezione delle lenti: The lens is designed to be slightly inset to prevent accidental touching. Avoid poking or scratching the lens.
7. Risoluzione Dei Problemi
- Il dispositivo non si accende:
- Controllare che le batterie siano inserite correttamente, con la giusta polarità.
- Sostituirle con batterie AA nuove.
- Blurry images/difficulty focusing:
- Ensure you are adjusting the Focus Knob slowly and precisely.
- Maintain a steady hand or place the object on a stable surface to minimize movement during observation or capture.
- Clean the lens if it appears smudged or dirty.
- Impossibile trasferire files al computer:
- Assicurarsi che il cavo USB sia collegato saldamente sia al microscopio che al computer.
- Prova una porta USB diversa sul tuo computer.
- Verify that the MicroSD card is properly inserted into the microscope.
- If issues persist, try using an external MicroSD card reader.
- Errore della scheda MicroSD:
- Assicurarsi che la carta sia inserita correttamente.
- Try reformatting the card (this will erase all data, so back up first).
- If the problem continues, the card may be faulty and require replacement.
8. Specifiche
| Caratteristica | Specificazione |
|---|---|
| Numero di modello | 652331 |
| Ingrandimento massimo | 800x |
| Schermo integrato | Schermo a colori da 2.4 pollici |
| Magazzinaggio | 512MB MicroSD Card (included) |
| Connettività | USB |
| Fonte di alimentazione | 4 batterie AA (non incluse) |
| Dimensioni del prodotto | 9 x 3.5 x 11 pollici (22.86 x 8.89 x 27.94 cm) |
| Peso dell'articolo | 14.8 once (420 grammi) |
| Età consigliata | 6 - 9 anni |
| Produttore | Società controllata da Jakks Pacific Inc. |
9. Informazioni sulla garanzia
For detailed warranty information, please refer to the documentation included with your product at the time of purchase or visit the official Eyeclops or Jakks Pacific Inc. websito. I termini di garanzia coprono in genere i difetti di fabbricazione per un periodo di tempo specificato a partire dalla data di acquisto.
10. Supporto
If you encounter issues not covered in this manual or require further assistance, please contact the manufacturer's customer support. Contact information can usually be found on the product packaging or the official Jakks Pacific Inc. websito.