
Introduzione
This manual provides instructions for the setup, operation, maintenance, and troubleshooting of your new replacement remote control for Optoma projectors. This remote is designed to be compatible with a wide range of Optoma projector models, offering a convenient and reliable control solution.
Compatible Optoma Projector Models:
- HD26, X412, HD26B, HD26BR, UHD300X
- GT1080, GT1080E, GT1080DARBEE, GT1070X, VDGTGZBZ, GT1070Xe
- HD141X, HD143X, H181X, DH1008, DH1009
- HD37, UHD60, HDF536, HDF537ST, HD200D
- HD39DARBEE, VDHDNBDSE, UHD65, HD27, HD27E, HD27HDR, HD29DARBEE
- EH200ST, EH412ST, GT5600, VDHDNL, HD142X, HD144X, HD152X
- UHD550X, HD28HDR, HD28DSE, UHD40, UHD50, UHZ65, VDUHDLZ, ZH403, HD39HDR, UHD35
Please verify that your original remote control is identical to this replacement model for full functionality. If your original remote differs, some functions may not be fully compatible.
Impostare
Installazione della batteria
The remote control requires two (2) AA batteries for operation. Batteries are not included with the remote control.
- Individuare il vano batterie sul retro del telecomando.
- Far scorrere il coperchio del vano batteria verso il basso oppure premere il fermo e sollevarlo per aprirlo.
- Inserire due batterie AA, assicurandosi che i terminali positivo (+) e negativo (-) siano allineati correttamente con le marcature all'interno del vano.
- Richiudere il coperchio del vano batteria facendolo scorrere in posizione finché non scatta in posizione.

The remote control's rear panel, with the battery cover removed, revealing the battery compartment and regulatory markings.

The remote control's front, highlighting the requirement for two AA batteries for operation.
Operazione
Funzioni di base
Point the remote control directly at the infrared receiver on your Optoma projector. The maximum effective range is approximately 10 meters (33 feet).
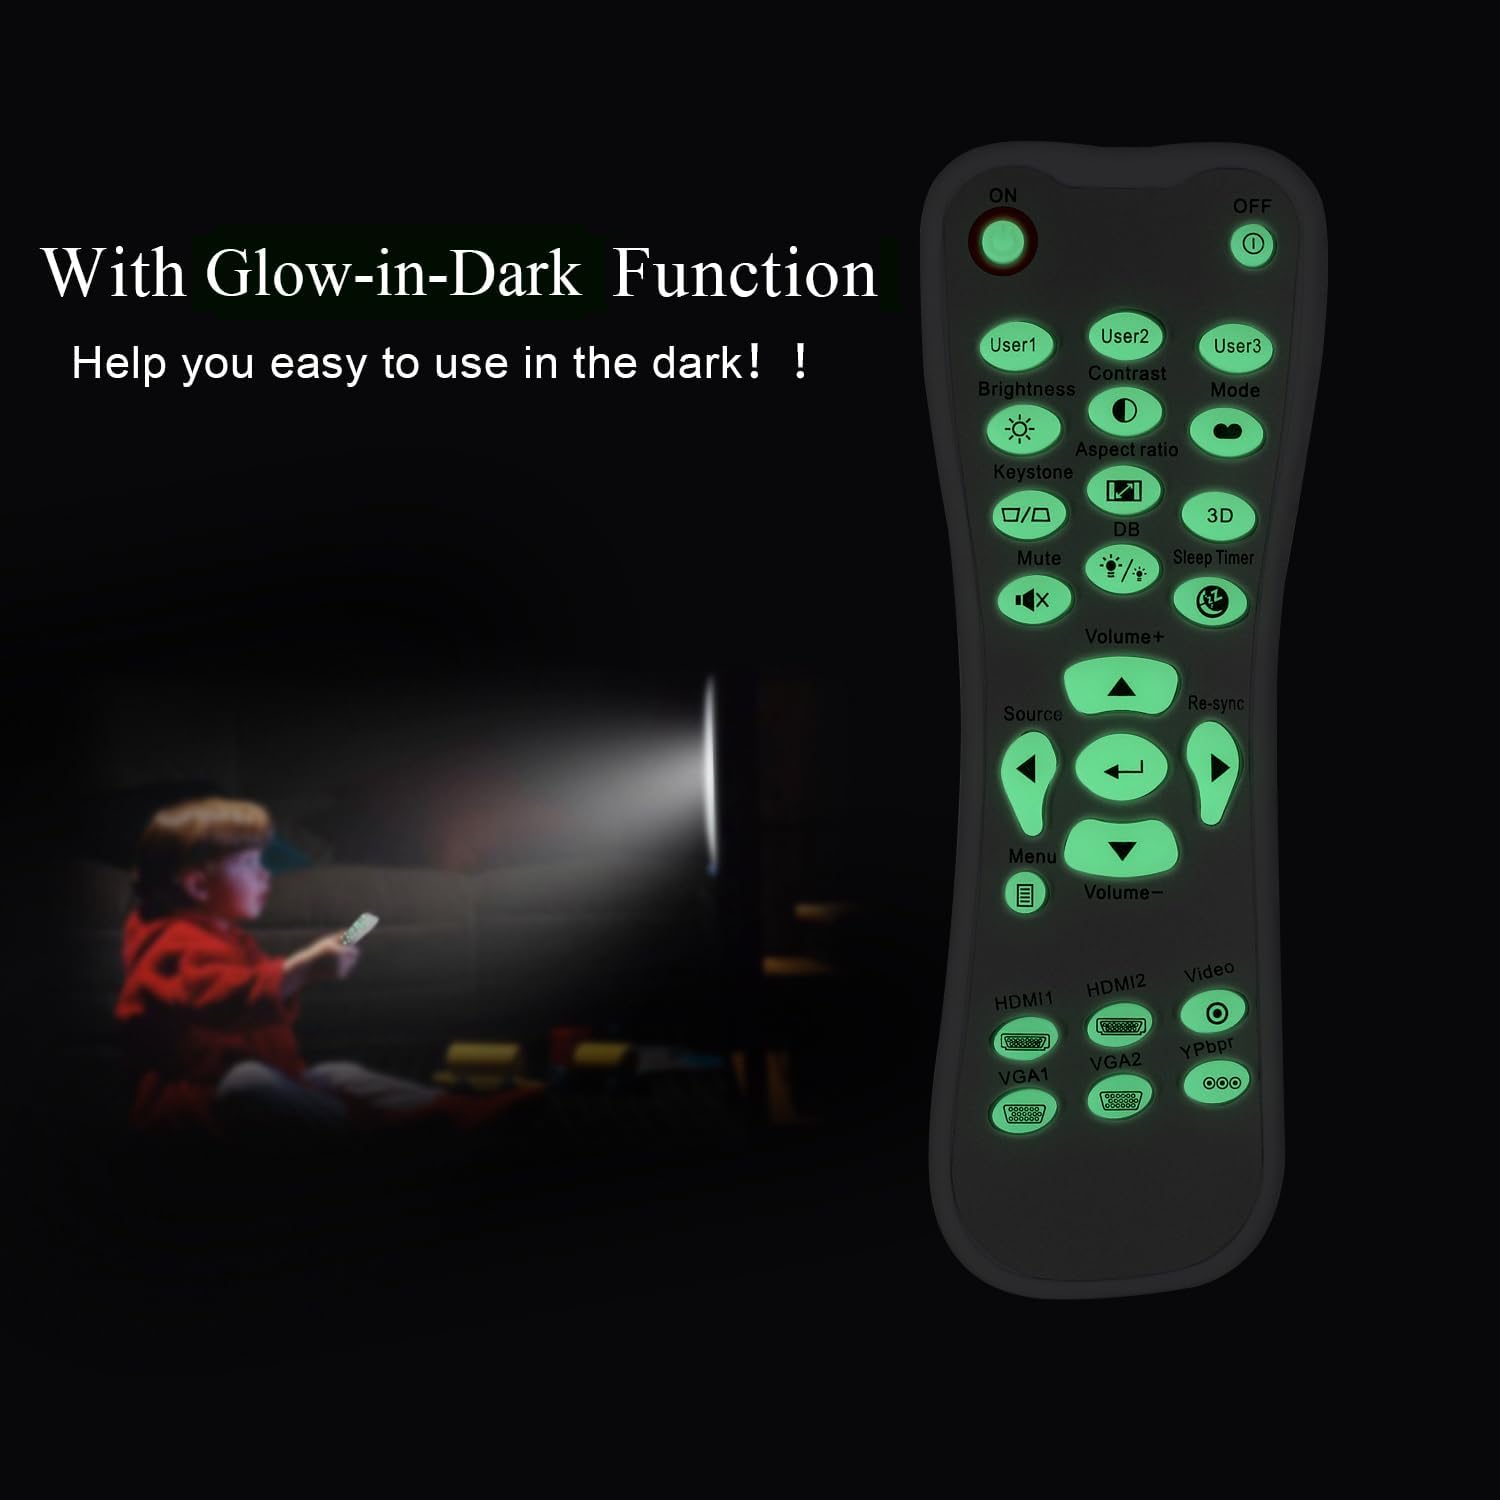
Un chiaro view of the remote control's front face, displaying all functional buttons including power, menu, volume, and source selection.
- ACCESO/SPENTO: Press the 'ON' button to power on the projector. Press the 'OFF' button to power off the projector.
- Menu: Accedere al menu OSD (On-Screen Display) del proiettore.
- Pulsanti di navigazione (Su, Giù, Sinistra, Destra, Invio): Use these buttons to navigate through menu options and confirm selections.
- Volume +/-: Regola il livello di uscita audio.
- Fonte: Cycle through available input sources (e.g., HDMI1, HDMI2, VGA1, VGA2, Video, YPbPr).
- Disattiva audio: Mute or unmute the audio.
- Luminosità: Adjust the projector's brightness setting.
- Contrasto: Adjust the projector's contrast setting.
- Keystone: Access keystone correction settings to adjust image geometry.
- Proporzioni: Change the image aspect ratio.
- Modalità: Select different display modes.
- 3D: Activate or deactivate 3D mode (if supported by projector).
- Sveglia: Set a timer for the projector to automatically power off.
- Risincronizzazione: Re-synchronize the input signal.
Glow-in-Dark Function
Certain buttons on this remote control are designed to glow in the dark, enhancing visibility and ease of use in low-light conditions. For optimal luminous effect, expose the remote control to bright light for a period before use in the dark.

The remote control features glow-in-the-dark buttons, making it visible and easy to use in low-light environments, such as a darkened room during projector use.
Campo di funzionamento
The remote control operates using infrared (IR) technology. Ensure a clear line of sight between the remote control and the projector's IR receiver. The effective operating distance is up to 10 meters (approximately 33 feet).
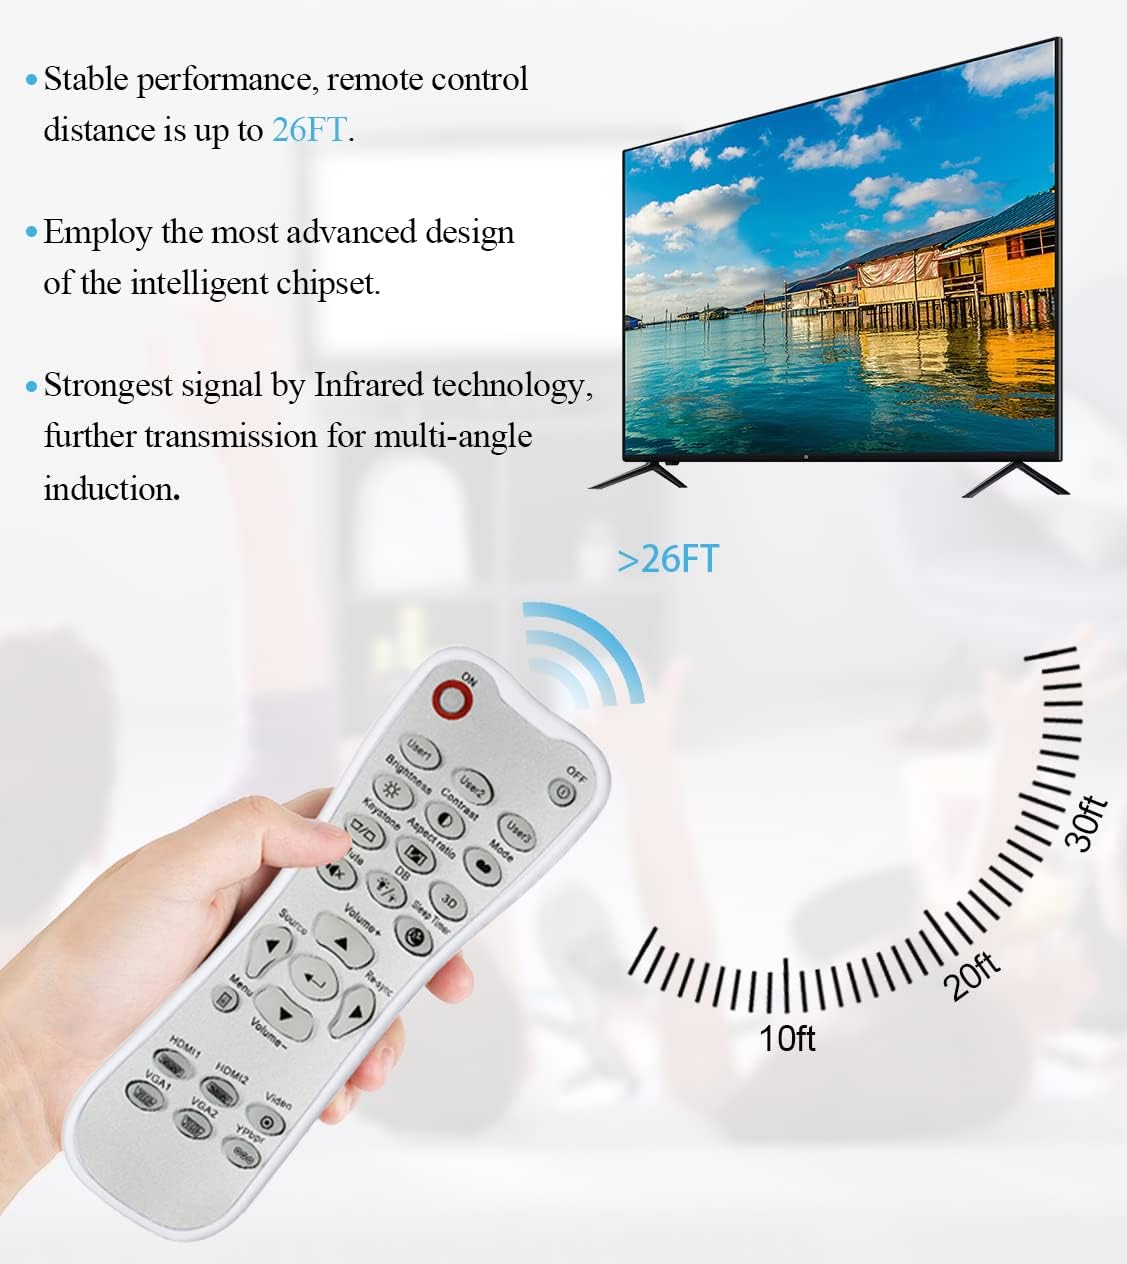
The remote control utilizes infrared technology for signal transmission, offering a reliable operating range of up to 26 feet (approximately 8 meters) for controlling your projector.
Manutenzione
Pulizia
Per pulire il telecomando, utilizzare un panno morbido e asciutto. Non utilizzare detergenti liquidi, spugnette abrasive o solventi chimici, poiché potrebbero danneggiare la superficie o i componenti interni.
Sostituzione della batteria
Sostituisci le batterie quando la risposta del telecomando diventa lenta o smette di funzionare. Sostituisci sempre entrambe le batterie contemporaneamente con batterie AA nuove. Non mischiare batterie vecchie e nuove o tipi diversi di batterie.
Magazzinaggio
Conservare il telecomando in un luogo fresco e asciutto, lontano dalla luce solare diretta e da temperature estreme. Se il telecomando non viene utilizzato per un periodo prolungato, si consiglia di rimuovere le batterie per evitare perdite.
Risoluzione dei problemi
- Il telecomando non risponde:
- Assicurarsi che le batterie siano installate correttamente e con la polarità corretta.
- Sostituire le vecchie batterie con quelle nuove.
- Check for any obstructions between the remote control and the projector's IR receiver.
- Assicurarsi di trovarsi entro il raggio d'azione effettivo (fino a 10 metri).
- I pulsanti sono rigidi o non rispondono:
- Ensure the remote control is clean and free from debris that might impede button movement.
- If buttons are consistently stiff, this may indicate a manufacturing issue.
- Glow-in-dark function is weak:
- Expose the remote control to bright light for a longer duration to charge the luminous material.
Specifiche
| Caratteristica | Specificazione |
|---|---|
| Nome del modello | L-27-5KEY |
| Compatibilità del marchio | Proiettori Optoma |
| Caratteristica speciale | Universal Replacement, Glow-in-Dark Buttons |
| Colore | Bianco |
| Tecnologia di connettività | Infrarossi (IR) |
| Quantità del pulsante | 5 (referring to the main function keys, though more buttons are present) |
| Tipo di controllore | Controllo dei pulsanti |
| Portata massima | 10 metri (circa 33 piedi) |
| Tipo di batteria | 2 batterie AA (non incluse) |
| Materiale | Plastica |
| Dimensioni articolo (L x P x A) | 14.9 cm (5.9 pollici) x 5.3 cm (2.1 pollici) x 2.5 cm (1 pollici) |

A dimensional diagram illustrating the compact size of the remote control, measuring approximately 14.9 cm (5.9 inches) in length, 5.3 cm (2.1 inches) in width, and 2.5 cm (1 inch) in thickness.
Garanzia e supporto
For any issues not covered in this manual, or for warranty inquiries, please contact the seller or manufacturer directly through your purchase platform. Keep your purchase receipt as proof of purchase.