1. Introduzione
The Pyle PLDVRCAM71.5 is a compact dash camera designed for vehicle use, providing Full HD 1080p video recording. It features a 1.5-inch digital display, a G-Sensor for automatic collision detection and file protection, and a parking monitor function. This device records video clips to a Micro SD memory card and supports automatic recording upon vehicle startup.
2. Contenuto della confezione
Verifica che tutti gli articoli elencati di seguito siano presenti nel tuo pacco:
- DVR Dash Cam Unit
- Cavo di alimentazione USB per auto
- Caricatore di trasferimento USB
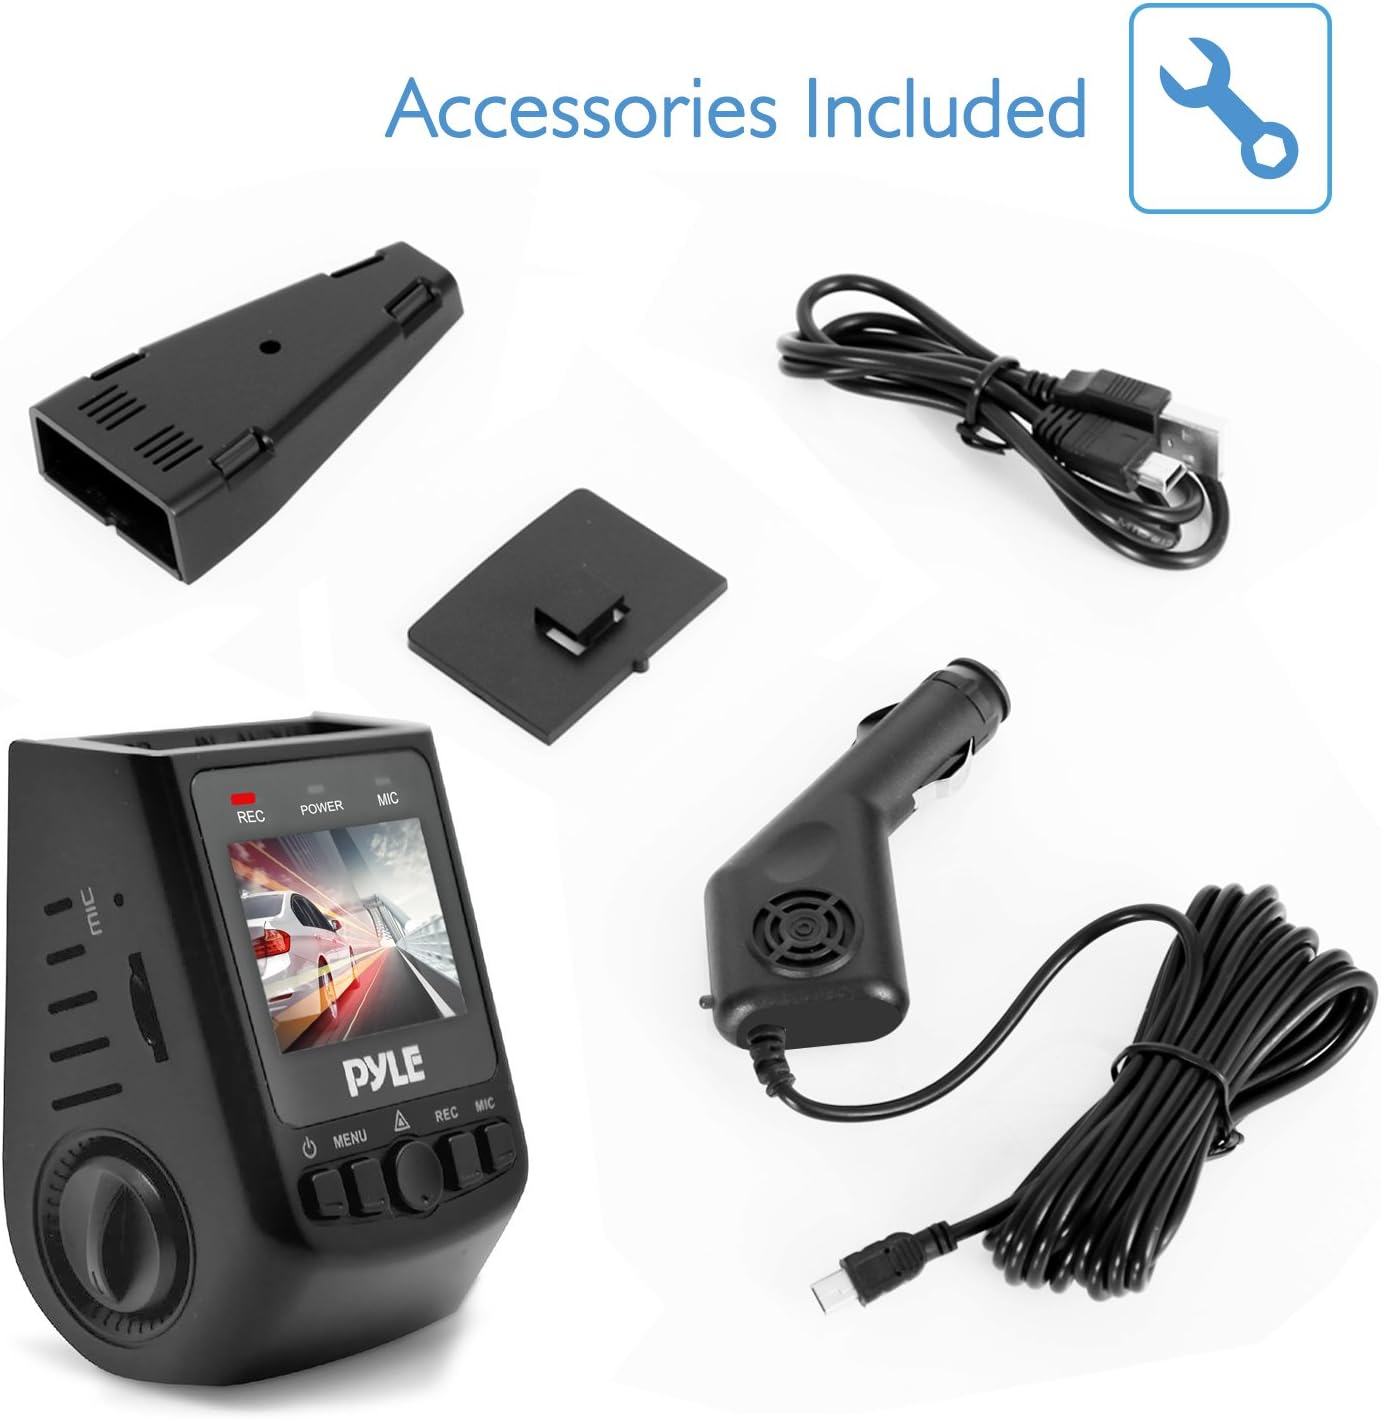
Figura 2.1: Included Accessories. This image displays the Pyle Dash Cam unit along with its USB car power cable, USB transfer charger, and a mounting bracket.
3. Prodotto finitoview
Familiarize yourself with the components and controls of your Pyle Dash Cam:

Figura 3.1: Dash Cam Components. This diagram labels the various ports and buttons on the Pyle Dash Cam, including the USB and AV interfaces, reset button, control knob, Micro SD card slot, microphone interface, power button, menu button, OK button, record button, and microphone button.
- Interfaccia USB: Per l'alimentazione e il trasferimento dati.
- Interfaccia AV: Per l'uscita video.
- Pulsante di reset: To restart the device if it becomes unresponsive.
- Pomello: Used for navigation and selection in menus.
- Slot per schede: Insert Micro SD memory card here.
- Interfaccia MIC: Microfono incorporato per la registrazione audio.
- Pulsante di accensione: Per accendere/spegnere il dispositivo.
- Pulsante Menu: Per accedere alle impostazioni del dispositivo.
- Pulsante OK: To confirm selections or start/stop recording.
- Pulsante REC: Dedicated button to start/stop recording.
- Pulsante MIC: To toggle microphone recording.
4. Impostazione
4.1. Inserimento della scheda Micro SD
Before operating the dash cam, a Micro SD card (up to 32GB, not included) must be inserted. Ensure the card is inserted correctly into the card slot until it clicks into place. It is recommended to format the Micro SD card within the dash cam's settings before first use to ensure optimal performance.

Figura 4.1: Micro SD Memory Card Slot. This image highlights the Micro SD card slot on the dash cam, indicating where the memory card should be inserted for recording and saving video clips.
4.2. Montaggio della Dash Cam
- Fissare il supporto a ventosa all'unità della dash cam.
- Pulisci la zona desiderata sul parabrezza del tuo veicolo.
- Premere saldamente la ventosa contro il parabrezza e attivare il meccanismo di bloccaggio per fissarla.
- Regolare l'angolazione della telecamera per garantire una visione chiara view della strada da percorrere.
4.3. Collegamento elettrico
Connect the USB car power cable to the dash cam's USB interface and plug the other end into your vehicle's cigarette lighter socket. The device is designed for plug-and-play operation.
5. Istruzioni per l'uso
5.1. Registrazione automatica
Once the vehicle engine starts, the dash cam will automatically power on and begin recording. The system indicator and power indicator will illuminate, and the 'REC' indicator on the screen will blink, signifying active recording.
5.2. Manual Recording
Per avviare o interrompere manualmente la registrazione, premere il tasto Pulsante REC o il Pulsante OK. A blinking 'REC' icon on the screen indicates that recording is in progress.
5.3. Sensore G (rilevamento collisioni)
The built-in G-Sensor detects sudden impacts or collisions. When activated, it automatically saves and locks the current video segment, preventing it from being overwritten during loop recording. This ensures critical footage è conservato.
5.4. Parking Monitor (Motion Detection)
With the parking mode enabled in the settings, the dash cam will automatically begin recording if it detects movement or impact while the vehicle is parked. This feature provides surveillance when the vehicle is unattended.

Figura 5.1: Motion Detect Feature. This image illustrates the dash cam's motion detection capability, which activates recording for parking surveillance.
5.5. Riproduzione e pre-registrazioneview
per riview recorded videos or captured images directly on the device, navigate to the playback mode using the Pulsante del menu e seleziona quello desiderato file. Utilizzare il Manopola or navigation buttons to browse and the Pulsante OK to play/view.
5.6. Scattare foto
The dash cam can also snap still images. Switch to photo mode via the Pulsante del menu e premere il tasto Pulsante OK per catturare un'immagine.
6. Risoluzione Dei Problemi
- Il dispositivo non si accende: Ensure the USB car power cable is securely connected to both the dash cam and the vehicle's cigarette lighter. Check if the vehicle's power outlet is functional.
- Recording stops unexpectedly or does not record: Verify that a Micro SD card is inserted and has sufficient free space. Format the Micro SD card through the device settings. Ensure the card is not faulty.
- La qualità video è scarsa: Clean the camera lens with a soft cloth. Ensure the protective film (if any) has been removed from the lens. Check video resolution settings in the menu.
- Il sensore G è troppo sensibile/non abbastanza sensibile: Regolare l'impostazione della sensibilità del sensore G nel menu del dispositivo.
- Lo schermo si blocca o il dispositivo non risponde: Utilizzare un oggetto sottile (come una graffetta) per premere il Pulsante di reset.
7. Specifiche
| Nome del modello | PLDVRCAM71.5 |
| Schermo di visualizzazione | 1.5-inch Digital Display |
| Risoluzione di registrazione video | 1080p / 720p / VGA |
| Video Filetipo | .movimento |
| Image Capture Resolution | 12MP / 8 MP / 5 MP / 3MP / 1.3 MP |
| Immagine Filetipo | .JPG |
| Viewangolo di ing | 170° Degree Wide |
| Supporto per scheda micro SD | Up to 32 GB (Not Included) |
| Connettività | USB |
| Caratteristiche speciali | Built-In Microphone, G-Sensor, Parking Monitor |
| Dimensioni del prodotto (L x P x A) | 2.8'' x 1.8'' x 1.7'' pollici |
| Peso dell'articolo | 12.3 once |
8. Cura e manutenzione
- Mantenere il dispositivo asciutto. L'umidità può danneggiare i circuiti interni.
- Do not attempt to disassemble the device. Repairs should only be performed by authorized service personnel.
- Avoid exposing the device to extreme temperatures, as this can shorten its lifespan or damage the battery.
- Clean the lens regularly with a soft, lint-free cloth to ensure clear video recording.
9. Garanzia e supporto
I prodotti Pyle sono progettati e realizzati secondo i più elevati standard qualitativi. Per informazioni sulla copertura della garanzia o sull'assistenza tecnica, consultare la scheda di garanzia inclusa con il prodotto o visitare il sito Web ufficiale Pyle. websito. Non tentare di riparare questo prodotto da soli.