TRUE CDT845P2NS1
CAFE CDT845P2NS1 24" Matte Collection Built-In Dishwasher User Manual
Model: CDT845P2NS1 | Brand: TRUE
1. Introduzione
This user manual provides comprehensive instructions for the installation, operation, maintenance, and troubleshooting of your CAFE CDT845P2NS1 24" Matte Collection Built-In Dishwasher. Designed for efficiency and performance, this appliance features advanced cleaning and drying technologies to ensure your dishes are spotless and ready for use. Please read this manual thoroughly before operating your dishwasher to ensure safe and optimal performance.

Figura 1: Fronte view of the CAFE CDT845P2NS1 Built-In Dishwasher, showcasing its sleek matte finish and handle design.
2. Informazioni importanti sulla sicurezza
Quando si utilizza questo apparecchio, seguire sempre le precauzioni di sicurezza di base per ridurre il rischio di incendi, scosse elettriche o lesioni personali.
- Leggere tutte le istruzioni prima di utilizzare la lavastoviglie.
- Collegare a un circuito di alimentazione adeguatamente dimensionato, protetto e con valori nominali adeguati.
- Utilizzare solo detersivi e brillantanti consigliati per lavastoviglie.
- Non utilizzare la lavastoviglie se tutti i pannelli di rivestimento non sono correttamente posizionati.
- Tenere i bambini lontano dal detersivo e dal brillantante.
- Non permettere ai bambini di giocare dentro o sopra l'apparecchio.
- Gli oggetti taglienti devono essere caricati con i manici rivolti verso l'alto per ridurre il rischio di tagli.
- Do not wash plastic items unless marked "dishwasher safe."
- In case of a malfunction, disconnect the appliance from the power supply before attempting any repairs.
3. Installazione (configurazione)
Una corretta installazione è fondamentale per le prestazioni e la durata della lavastoviglie. Si consiglia vivamente di affidare l'installazione a un installatore qualificato.
3.1 Disimballaggio e posizionamento
Carefully remove all packaging materials. Ensure the dishwasher is placed on a level surface in its designated cabinet opening. The dimensions are 34"D x 24"W x 23"H.
3.2 Collegamenti idrici e di scarico
Connect the water supply line to the dishwasher's inlet valve and the drain hose to the sink drain or garbage disposal. Ensure all connections are secure and leak-free.
3.3 Collegamento elettrico
Connect the dishwasher to a dedicated 120 Volts electrical circuit as per local electrical codes. Ensure the power is off at the circuit breaker before making connections.
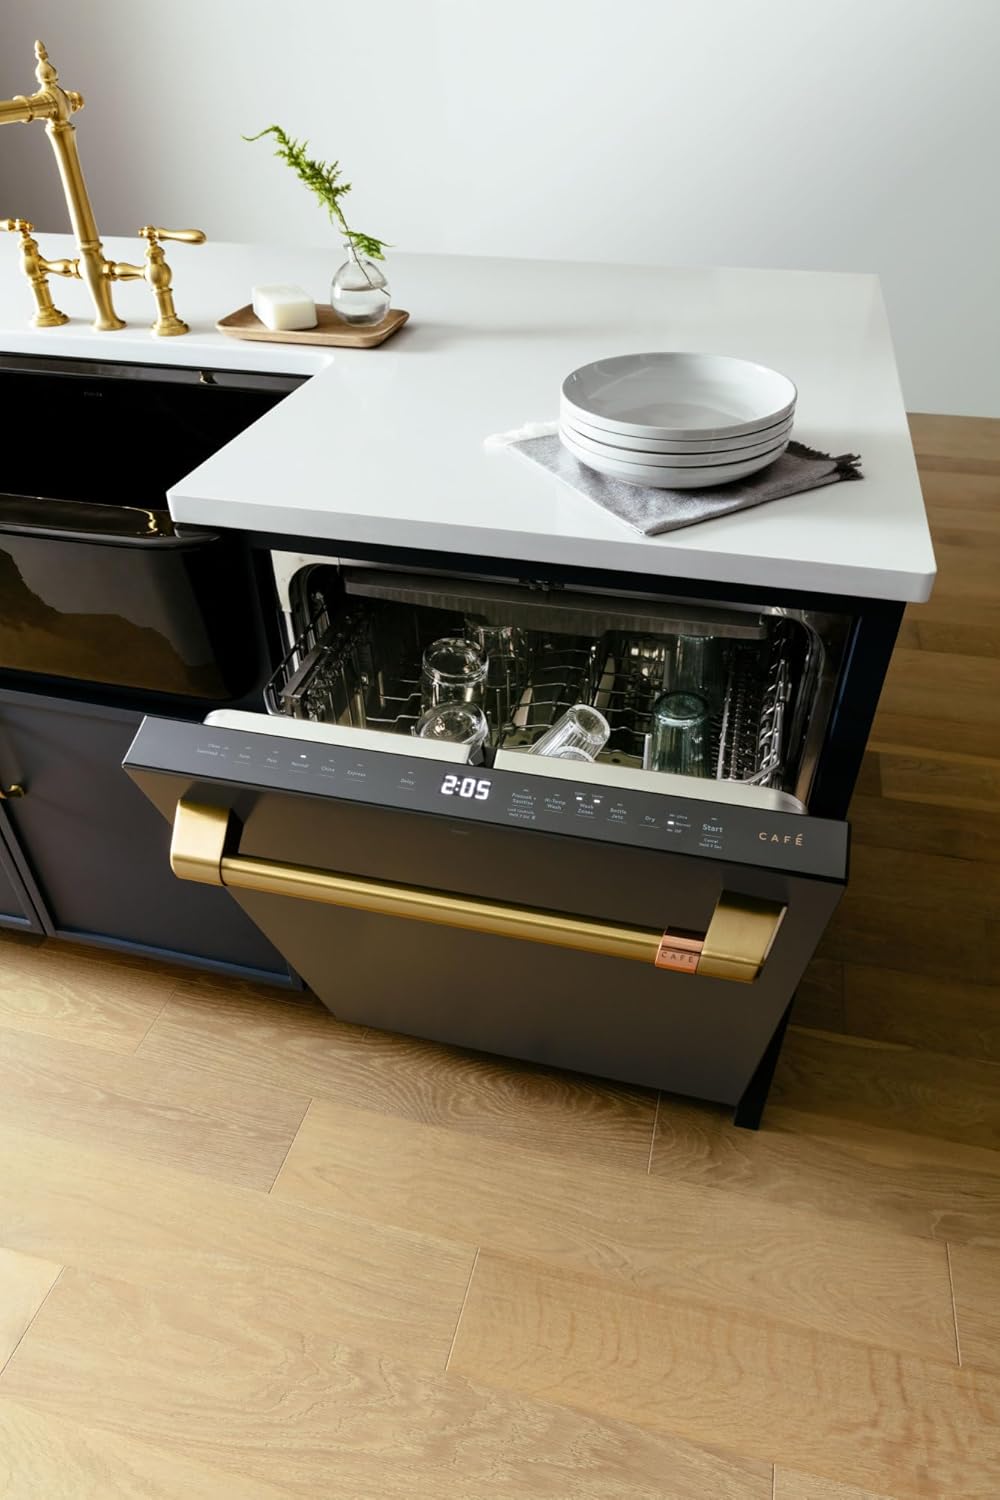
Figure 2: The dishwasher integrated into a kitchen setting, demonstrating its built-in form factor and how it complements kitchen cabinetry.
4. Istruzioni per l'uso
Your CAFE dishwasher is designed for intuitive operation, offering various settings to achieve optimal cleaning results.
4.1 Caricamento della lavastoviglie
Proper loading maximizes cleaning performance. Utilize the 16 place settings capacity effectively. The lower wash arm provides excellent coverage for larger loads. Fold-down tines accommodate wide or odd-shaped items, and the third rack offers extra space for silverware and cookware. Adjustable upper shelves can be moved two inches up or down for loading flexibility, accommodating fine stemware or tall bakeware.

Figura 3: Interno view showing the flexible loading options, including the third rack for cutlery and adjustable upper shelves.
4.2 Aggiunta di detersivo e brillantante
Add the appropriate amount of dishwasher detergent to the dispenser. For enhanced drying and to prevent spots, fill the rinse aid dispenser with a suitable rinse aid product.
4.3 Selezione di un ciclo di lavaggio
The control panel is located on the top edge of the door. Select from various cycles and options:
- Ultra-Wash & Dry: Delivers excellent cleaning and drying results with 90+ cleaning jets.
- Steam + Sani: Loosens stubborn food residue and provides thorough sanitization, reducing 99.999% of bacteria.
- Wash Zones: Customize cycles to wash a half load on either the top or bottom rack, saving water and time.
- Ciclo rapido: For quick washing needs.
- Additional options include Pots, Normal, China, Express, Delay, Pre-soak, Hi-Temp Wash, Bottle Jets, and Dry settings.

Figure 4: The discreetly located control panel on the top edge of the door, showing cycle and option selections.

Figure 5: Visual representation of the Steam + Sani feature's effectiveness in reducing bacteria and cleaning tough residues.
4.4 Avvio di un ciclo
Close the dishwasher door firmly. Press the "Start" button to begin the selected wash cycle. The dishwasher will automatically proceed through the wash, rinse, and dry phases.
5. Cura e manutenzione
Regular maintenance ensures your dishwasher continues to perform efficiently and extends its lifespan.
5.1 Pulizia degli interni
Periodically clean the interior of the dishwasher, including the spray arms and the filter area. The Hard Food Disposer helps manage food particles, but occasional cleaning of the filter can prevent blockages and odors.
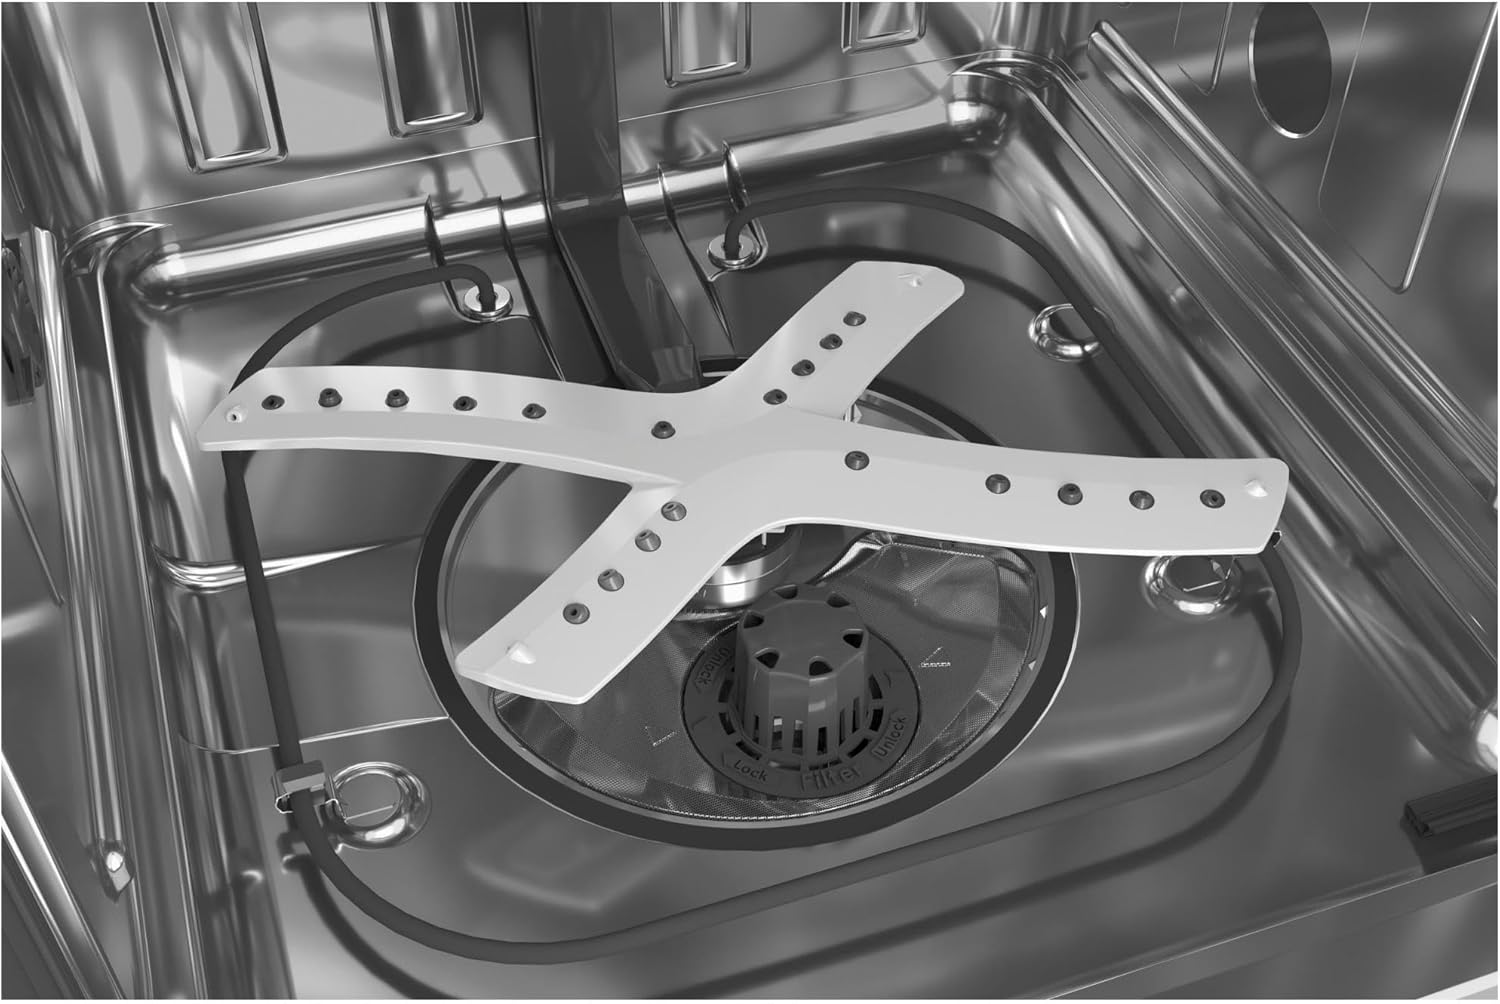
Figura 6: dettagliata view of the lower spray arm and the removable filter system, important for regular cleaning.
5.2 Pulizia dell'esterno
Pulire le superfici esterne con un panno morbido, damp cloth. For stainless steel finishes, use a specialized stainless steel cleaner. Avoid abrasive cleaners that can scratch the surface.
5.3 Winterizing (If Applicable)
If your dishwasher is in a location subject to freezing temperatures, it is important to winterize it. Consult a qualified technician for proper winterization procedures to prevent damage from freezing water.
6. Risoluzione Dei Problemi
Prima di chiamare l'assistenza, riview i seguenti problemi comuni e le loro potenziali soluzioni:
| Problema | Possibile causa/soluzione |
|---|---|
| La lavastoviglie non si avvia | Ensure the door is fully latched. Check power supply and circuit breaker. Verify a cycle has been selected and the "Start" button pressed. |
| I piatti non sono puliti | Check water temperature (should be hot). Ensure spray arms are not blocked. Use proper detergent and rinse aid. Avoid overloading. |
| La lavastoviglie è rumorosa | Check for foreign objects in the pump or spray arms. Ensure dishes are not rattling against each other. |
| L'acqua non scarica | Check for clogs in the drain hose or air gap. Ensure the drain pump is clear. |
For more detailed troubleshooting or issues not listed here, please refer to the comprehensive troubleshooting guide available on the manufacturer's websito o contattare l'assistenza clienti.
7. Specifiche del prodotto
| Caratteristica | Dettaglio |
|---|---|
| Nome del modello | CDT845P2NS1 |
| Marca | VERO |
| Tipo di installazione | Incorporato |
| Dimensioni del prodotto | 34"P x 24"L x 23"A |
| Capacità | 16 Coperti |
| Livello di rumore | 45 dB |
| Materiale | Acciaio inossidabile |
| Tipo di finitura | Acciaio inossidabile, opaco |
| Voltage | 120 Volt |
| Tipo di controlli | Perfetta integrazione con Qapter |
| Cicli di opzioni | 5 (including Rapid) |
| Caratteristiche speciali | Hard Food Disposer, Quick Wash, Steam + Sani, Wash Zones |
| Certificazione | Energy Star, NSF |
| Componenti inclusi | Dishwasher, Cutlery Basket |
8. Garanzia e assistenza clienti
For warranty information, product registration, or technical assistance, please refer to the warranty card included with your purchase or visit the official TRUE (CAFE) website. You can also contact customer support directly for service inquiries or to order replacement parts.
Per ulteriore assistenza, visitare: Negozio GE su Amazon