1. Introduzione
This user manual provides comprehensive instructions for the HiLetgo 10pcs 3D Printer 100K ohm NTC 3950 Thermistors Sensors. These thermistors are designed for accurate temperature measurement in 3D printing applications, such as monitoring hotend and heated bed temperatures. Please read this manual thoroughly before installation and operation to ensure proper use and optimal performance.
2. Prodotto finitoview
Caratteristiche principali
- Temperature sensor 100KΩ accuracy of ± 1%
- Wiring length: 1 meter
- NTC 3950 B-value for common 3D printer firmware configurations
Contenuto della confezione
- 10 x 100K ohm NTC 3950 Thermistors with 1m Cable

Immagine 1: Passoview of the HiLetgo 10pcs NTC 3950 Thermistors package.
3. Specifiche
| Specificazione | Valore |
|---|---|
| Tipo di sensore | NTC 3950 Thermistor |
| Resistenza | 100K ohm at 25°C |
| Precisione | ± 1% |
| Valore B | 3950K |
| Lunghezza del cavo | 1 meter (approx. 39.37 inches) |
| Diametro del filo | 1.0 mm (circa) |
| Produttore | CiaoLascia andare |
| ASIN | B07V6YBFSY |
| Dimensioni del pacco | 4.41 x 4.17 x 0.43 pollici |
| Peso dell'articolo | 1.41 once |

Immagine 2: Dettagliata view of the NTC 3950 thermistor and wire specifications.
4. Configurazione e installazione
Proper installation of the thermistor is crucial for accurate temperature readings and safe operation of your 3D printer. Always refer to your specific 3D printer's documentation for detailed instructions on thermistor replacement or installation.
Passaggi generali di installazione:
- La sicurezza prima di tutto: Ensure your 3D printer is powered off and unplugged from the mains before beginning any installation or maintenance.
- Individuare il punto di connessione: Identify the thermistor connection points on your 3D printer's hotend or heated bed. These are typically small wires leading to a glass bead or cartridge.
- Remove Old Thermistor (if applicable): Carefully disconnect and remove the existing thermistor. Note how it was secured (e.g., with a screw, kapton tape, or silicone sock).
- Collegare il nuovo termistore: The NTC 3950 thermistors are non-polar, meaning the orientation of the wires does not matter. Connect the two wires of the new thermistor to the designated thermistor input on your printer's control board. This may involve crimping connectors or soldering, depending on your board.
- Secure Thermistor Bead: The thermistor bead must be securely placed to ensure good thermal contact and prevent movement. For hotends, it is often inserted into a small hole in the heater block and secured with a set screw. For heated beds, it might be taped underneath or inserted into a designated slot.
- Gestione dei cavi: Route the 1-meter cable carefully, ensuring it does not interfere with moving parts of the printer and is protected from heat and abrasion. Use cable ties or sleeves as needed.
- Configurazione del firmware: After physical installation, you may need to configure your 3D printer's firmware (e.g., Marlin, Klipper, RepRapFirmware) to correctly recognize the NTC 3950 thermistor type. This typically involves selecting the correct thermistor table or B-value (3950) in the firmware settings. Consult your printer's firmware documentation for specific instructions.
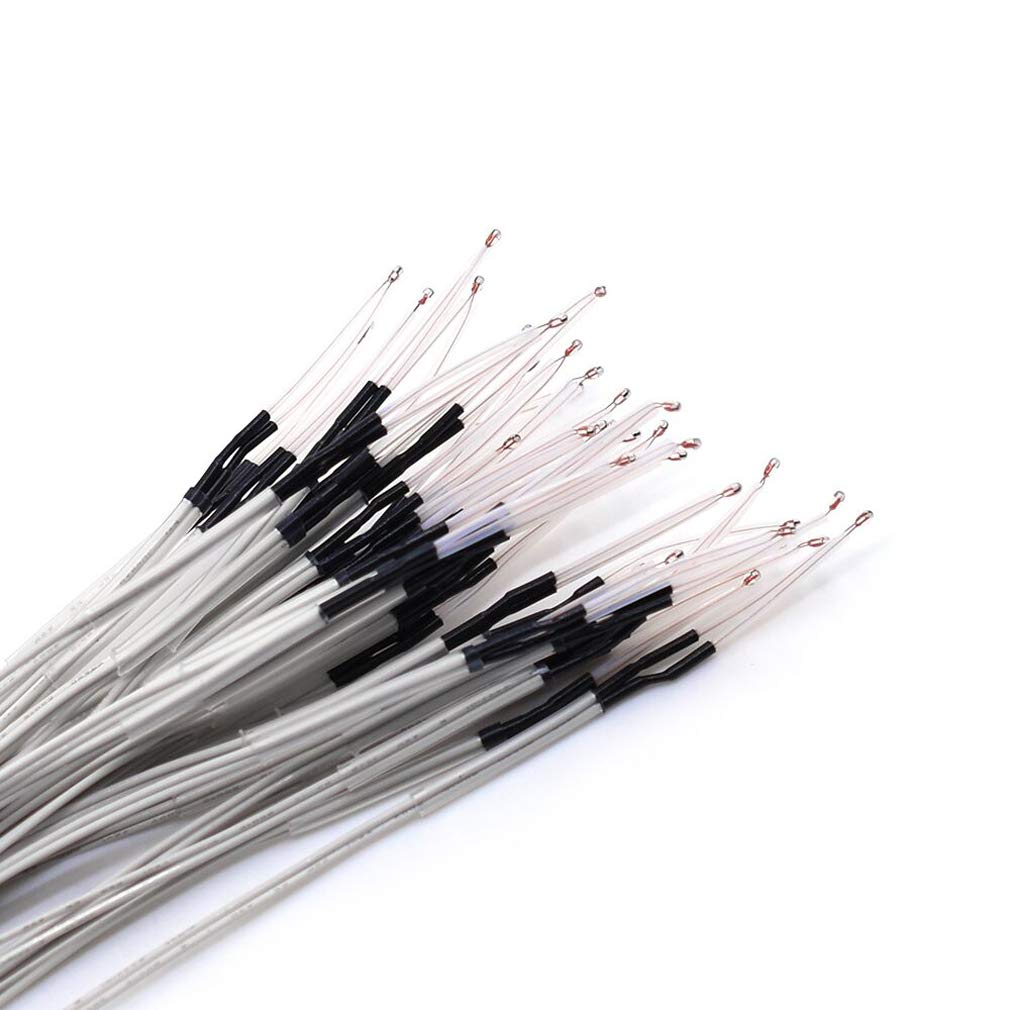
Immagine 3: Primo piano view of the thermistor ends, ready for connection.
5. Istruzioni per l'uso
Once installed and configured, the NTC 3950 thermistors operate automatically to provide temperature feedback to your 3D printer's control system. They are essential for maintaining stable temperatures for the hotend and heated bed, which is critical for successful 3D prints.
- Monitoraggio della temperatura: The thermistors continuously measure the temperature of the hotend and heated bed. This data is used by the printer's firmware to regulate heating elements and maintain target temperatures.
- Thermal Runaway Protection: Modern 3D printer firmware includes thermal runaway protection, which relies on accurate thermistor readings. If the thermistor fails or becomes disconnected, the printer should detect an unexpected temperature drop and shut down to prevent overheating.
- Calibrazione: While these thermistors are factory calibrated, minor offsets in temperature readings can occur due to installation or environmental factors. If you suspect inaccurate readings, you can use an external thermometer to verify and apply a temperature offset in your printer's firmware if supported.
6. Manutenzione
Regular inspection and proper maintenance can extend the lifespan of your thermistors and ensure consistent print quality.
- Ispezione visiva: Periodically check the thermistor wires and bead for any signs of damage, such as fraying, cuts, or melted insulation. Ensure the bead is still securely seated and has good thermal contact.
- Pulizia: If the thermistor bead becomes covered in melted plastic or debris, carefully clean it using a soft brush or cotton swab. Avoid using harsh chemicals or abrasive materials that could damage the thermistor. Ensure the printer is cool before cleaning.
- Verifica della connessione: Verify that all connections to the control board and the hotend/heated bed are secure. Loose connections can lead to intermittent readings or complete failure.
- Sostituzione: Thermistors are wear-and-tear components. If you experience inconsistent temperature readings, frequent thermal runaway errors, or visible damage, it is recommended to replace the thermistor.
7. Risoluzione Dei Problemi
This section addresses common issues you might encounter with your NTC 3950 thermistors.
- Issue: Incorrect Temperature Readings
- Soluzione: Check all wiring connections for looseness or damage. Verify that the correct thermistor type (NTC 3950) is selected in your 3D printer's firmware. Ensure the thermistor bead has good thermal contact with the heating element.
- Issue: "Thermal Runaway" Error
- Soluzione: This error indicates an unexpected temperature drop or inability to reach target temperature. It often points to a loose thermistor connection, a faulty thermistor, or a problem with the heating element. Inspect connections, replace the thermistor if damaged, and check the heater cartridge/resistor.
- Issue: No Temperature Reading (0°C or -15°C)
- Soluzione: This usually means the thermistor is disconnected or short-circuited. Check the wiring from the thermistor to the control board. Ensure the wires are not pinched or broken. Replace the thermistor if the wiring is intact but no reading is obtained.
- Issue: Temperature Fluctuations
- Soluzione: Minor fluctuations are normal, but large, erratic changes may indicate a loose connection, interference, or a failing thermistor. Re-secure connections and consider replacing the thermistor.
8. Garanzia e supporto
HiLetgo products are designed for reliability and performance. While specific warranty details are not provided in this manual, customers are encouraged to contact HiLetgo directly for any product-related inquiries or support needs.
Per assistenza tecnica o se riscontri problemi con il tuo prodotto, contattaci:
- E-mail: support@hiletgo.com
- Websito: www.hiletgo.com

Immagine 4: Es.ample of HiLetgo product packaging.


