
1. Introduzione
Thank you for choosing the INCLAKE Car Backup Camera. This Ultra HD 12 LED Night Vision Waterproof Reverse Camera is designed to enhance your driving safety by providing a clear and wide view of your vehicle's rear surroundings. This manual provides detailed instructions for installation, operation, maintenance, and troubleshooting to ensure optimal performance and a safe driving experience.
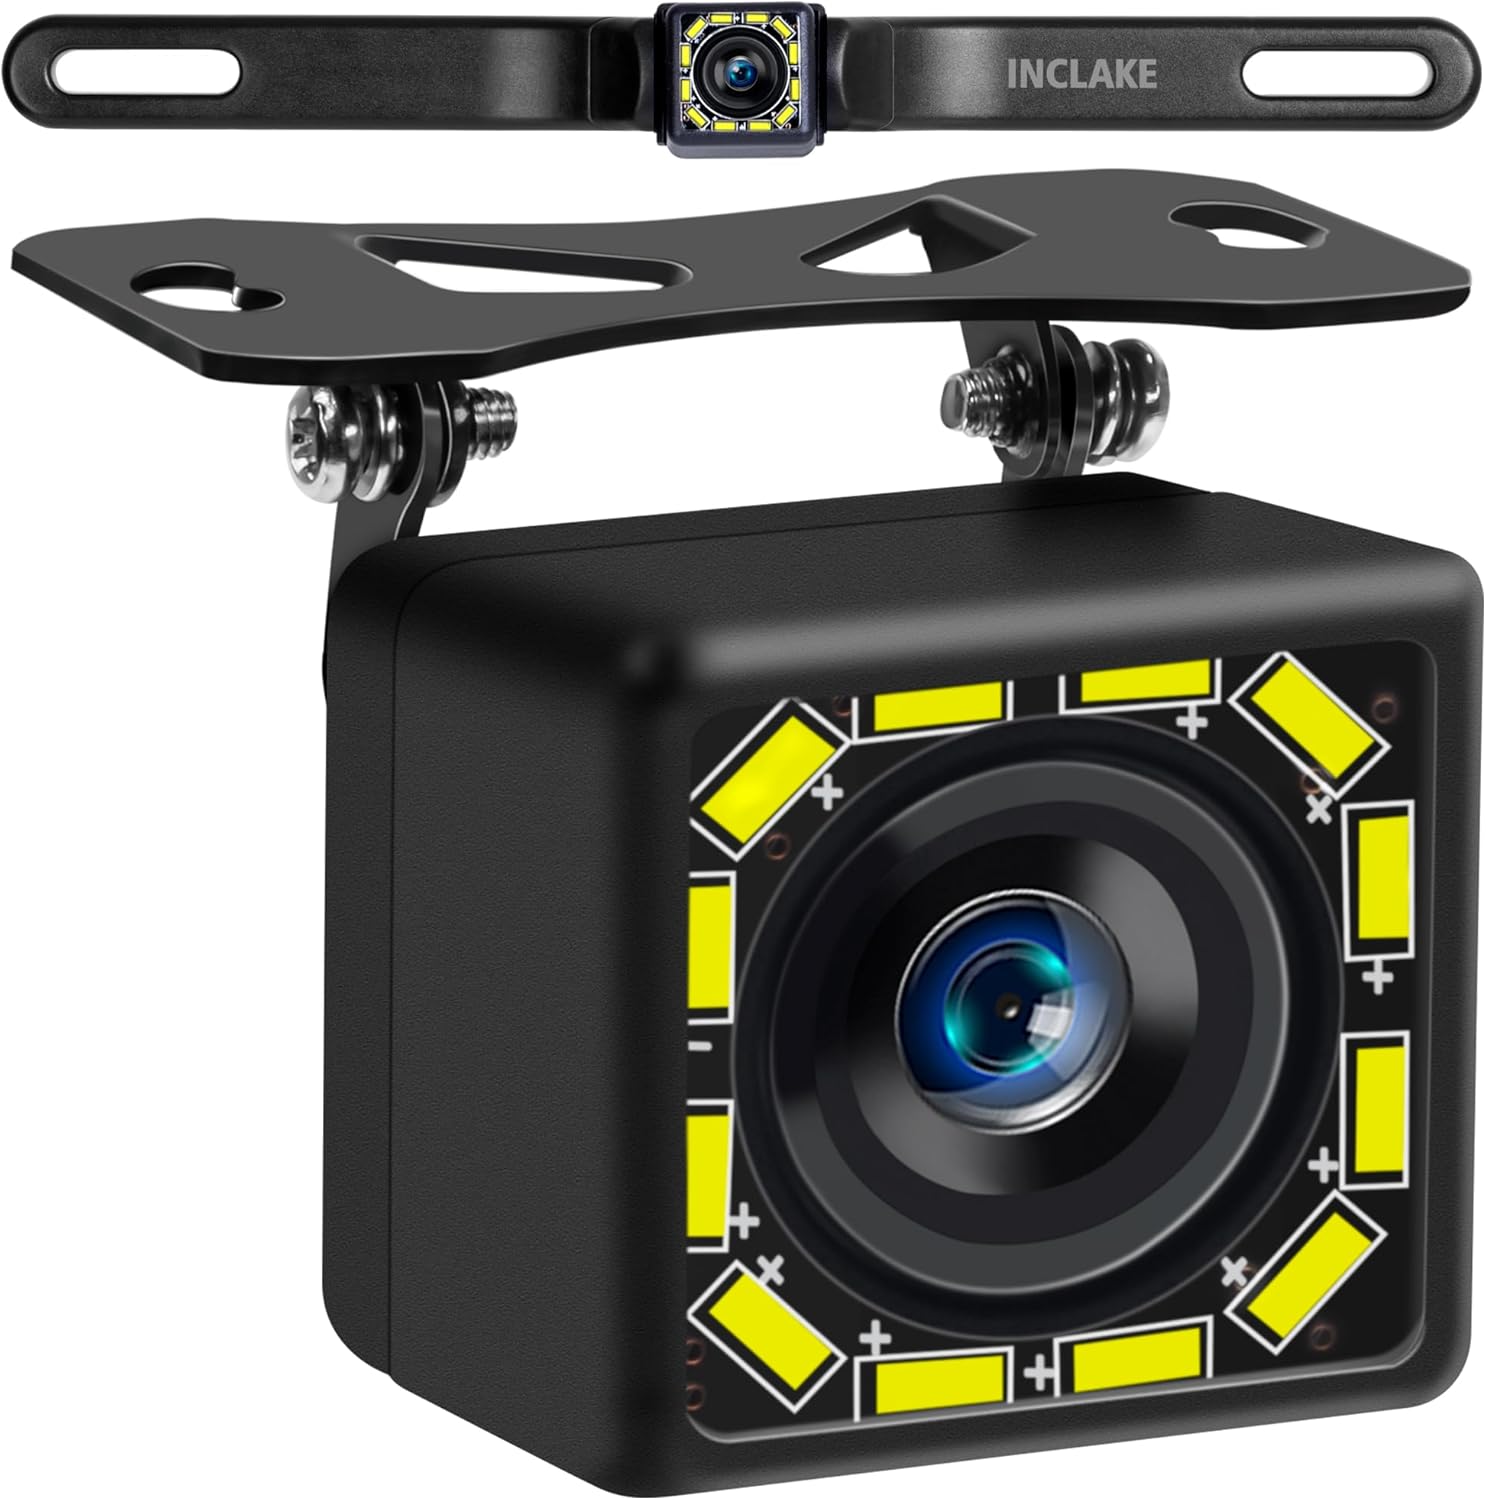
Image: The INCLAKE Car Backup Camera, showcasing its compact design and included mounting brackets.
2. Caratteristiche principali
- Ultra HD Screen & Accurate Color: Designed to eliminate blind spots and avoid obstacles, providing a clear CVBS Ultra HD picture for the driver.
- 12 LED & Superior Night Vision: Features 12 super bright LED lights that automatically illuminate in low daylight conditions, greatly enhancing night vision with sharp images.
- IP68 Waterproof & 140° View Angolo regolabile: Protected against powerful water jets, ensuring reliable operation in rain and car washes. The 140° adjustable vertical viewing angle allows for optimal positioning.
- Installazione 2 in 1: Can be installed on a license plate frame or mounted on the back, front, or side of the vehicle.

Image: Comparison of daytime and night vision display from the camera, highlighting the clear night vision capabilities.

Image: The camera with its 12 LED lights active, illustrating the 140-degree wide view angle for parking assistance.

Image: Demonstrates the IP68 waterproof rating of the camera, showing it withstanding water exposure.
3. Contenuto della confezione
Si prega di verificare che tutti gli articoli elencati di seguito siano inclusi nel pacchetto:
- INCLAKE Car Backup Camera
- Filo di alimentazione
- 26ft/8m Video Wire
- Filo Clamps
- Nastro biadesivo
- Staffa di metallo
- Cravatte con zip
- Manuale d'uso

Image: All components included in the INCLAKE Car Backup Camera package.
4. Configurazione e installazione
The INCLAKE Car Backup Camera requires an actual installation, not just a simple clip-on or paste-on method. For optimal performance and to avoid potential issues, professional installation is highly recommended. If you choose to install it yourself, please follow the instructions carefully.
4.1. Schema elettrico
Refer to the diagram below for proper wiring connections. Ensure all connections are secure to prevent signal loss or power issues.

Image: Detailed wiring diagram for connecting the camera to a monitor and power source.
- Connect the video output (yellow RCA connector) from the camera to the video input of your monitor.
- Connect the red wire (+12V) of the camera's power cable to the vehicle's reversing light power supply.
- Connect the black wire (GND) of the camera's power cable to a suitable ground-iron part of the vehicle chassis.
- For some monitors, you may need to connect the video input trigger wire (often labeled A/B in diagrams) to the reversing light signal to automatically display the reversing image.
4.2. Opzioni di montaggio
La telecamera offre versatili opzioni di installazione:
- License Plate Frame Installation: Mount the camera directly onto your vehicle's license plate frame using the provided brackets and screws.
- Montaggio superficiale: The camera can also be mounted on the back, front, or side of your vehicle, depending on your preference and vehicle type. Use the double-sided tape and metal bracket for secure attachment.
Assicuratevi che la telecamera view is unobstructed and positioned to provide the widest possible angle for your needs.
5. Funzionamento
5.1. Funzionamento di base
Once properly installed and wired, the camera system will activate automatically when your vehicle is put into reverse gear (if wired to the reverse light power). The image will be displayed on your connected monitor.
5.2. Switching Procedures (Optional Features)
The camera features adjustable settings via specific wire loops. These loops allow you to customize the camera's display and functionality. Note: These features are controlled by cutting or keeping specific wire loops as shown in the diagram. Once cut, they cannot be reconnected to restore the original function.

Image: Illustration of the wire loops used to adjust camera settings.
- Mirror Image / Positive Image:
- Keep the white loop to show reverse front view (immagine riflessa).
- Cut off the white loop to show front view (positive image).
- Reference Lines (Guide Lines):
- Keep the green loop to show guide lines.
- Cut off the green loop to show no guide lines.
- 12 LED Light Control:
- Keep the brown loop to turn on the 12 LED light.
- Cut off the brown loop to turn off the 12 LED light.
6. Manutenzione
To ensure the longevity and optimal performance of your INCLAKE Car Backup Camera, follow these maintenance guidelines:
- Pulizia: Pulire regolarmente l'obiettivo della fotocamera con un panno morbido eamp panno per rimuovere sporco, polvere o macchie d'acqua. Evitare detergenti abrasivi che potrebbero graffiare la lente.
- Protezione dalle intemperie: While the camera is IP68 waterproof, extreme weather conditions (e.g., heavy snow, ice buildup) can temporarily obscure the view. Ensure the lens is clear before operating your vehicle.
- Ispezione dei cavi: Periodically check the wiring and connections for any signs of wear, damage, or loose connections. Secure or replace as necessary.
- Sicurezza del montaggio: Verify that the camera remains securely mounted to prevent vibrations or dislodgement that could affect image stability or cause damage.
7. Risoluzione Dei Problemi
If you encounter issues with your INCLAKE Car Backup Camera, refer to the table below for common problems and their solutions:
| Problema | Possibile causa | Soluzione |
|---|---|---|
| Nessuna immagine sul monitor | Loose video cable connection; No power to camera; Incorrect monitor input selected. | Check and secure all video cable connections; Verify power supply to the camera; Select the correct video input on your monitor. |
| Immagine sfocata o distorta | Dirty lens; Damaged video cable; Interference from other electrical components. | Clean the camera lens; Inspect video cable for damage and replace if necessary; Ensure proper grounding and routing of cables away from interference sources. |
| La visione notturna non funziona | LED lights disabled (brown loop cut); Insufficient power to LEDs. | Check if the brown wire loop is intact (if you want LEDs on); Verify stable 12V power supply. |
| Guide lines not appearing | Guide lines disabled (green loop cut). | Ensure the green wire loop is intact (if you want guide lines). |
| Image is reversed (not mirror) | Mirror image function disabled (white loop cut). | Ensure the white wire loop is intact (if you want mirror image for reverse). |
8. Specifiche tecniche
| Caratteristica | Specificazione |
|---|---|
| Dimensioni del prodotto | 10.43 x 1.65 x 3.43 pollici |
| Peso dell'articolo | 9.6 once |
| Numero modello articolo | IN-0637 |
| Tecnologia di visualizzazione | GUIDATO |
| Colore | LED bianco |
| Produttore | INCLAKE |
| Classificazione Lux | 0.1 |
| Dispositivi compatibili | Monitor |
| Tipo di installazione | Bracket Mount, Surface Mount |
| Risoluzione di acquisizione video | Formato: 1080p |
| Voltage | 12 Volt |
| Tecnologia dei sensori ottici | CMOS |
| Tipo di lente | Grandangolo |
9. Garanzia e supporto
The INCLAKE backup camera is guaranteed to provide a safe road trip. If you have any issues with the item or require further assistance, please feel free to contact INCLAKE customer service. Refer to your purchase documentation for specific warranty terms and contact information.