
1. Introduzione
This manual provides detailed instructions for the installation, operation, and maintenance of your Thinkware F100 Dash Cam. The F100 system includes a 1080P Full HD front camera and supports an optional 720P HD rear camera, offering comprehensive surveillance for your vehicle. Please read this manual thoroughly before using the product to ensure proper functionality and safety.
2. Contenuto della confezione
Verifica che tutti gli articoli siano presenti nella confezione del prodotto:
- Thinkware F100 Front Dash Cam Unit
- Rear Camera (if purchased as a 2-channel system)
- Power Cable (Hardwiring Cable for Parking Mode)
- Scheda MicroSD da 16 GB
- Supporto adesivo
- Fermacavi
- Guida rapida
3. Prodotto finitoview
The Thinkware F100 Dash Cam is designed for discreet and reliable vehicle recording. It features a compact design and essential functions for road safety and parking surveillance.

Figura 3.1: Thinkware F100 Front Dash Cam Unit. This image displays the main dash cam unit, showing the lens, the 'THINKWARE' branding, and various ports and ventilation on the side and rear.

Figura 3.2: Thinkware F100 Dash Cam installed, showing a split view of the device mounted on a windshield and the corresponding 1080P Full HD road recording. This illustrates the camera's perspective and discreet placement.
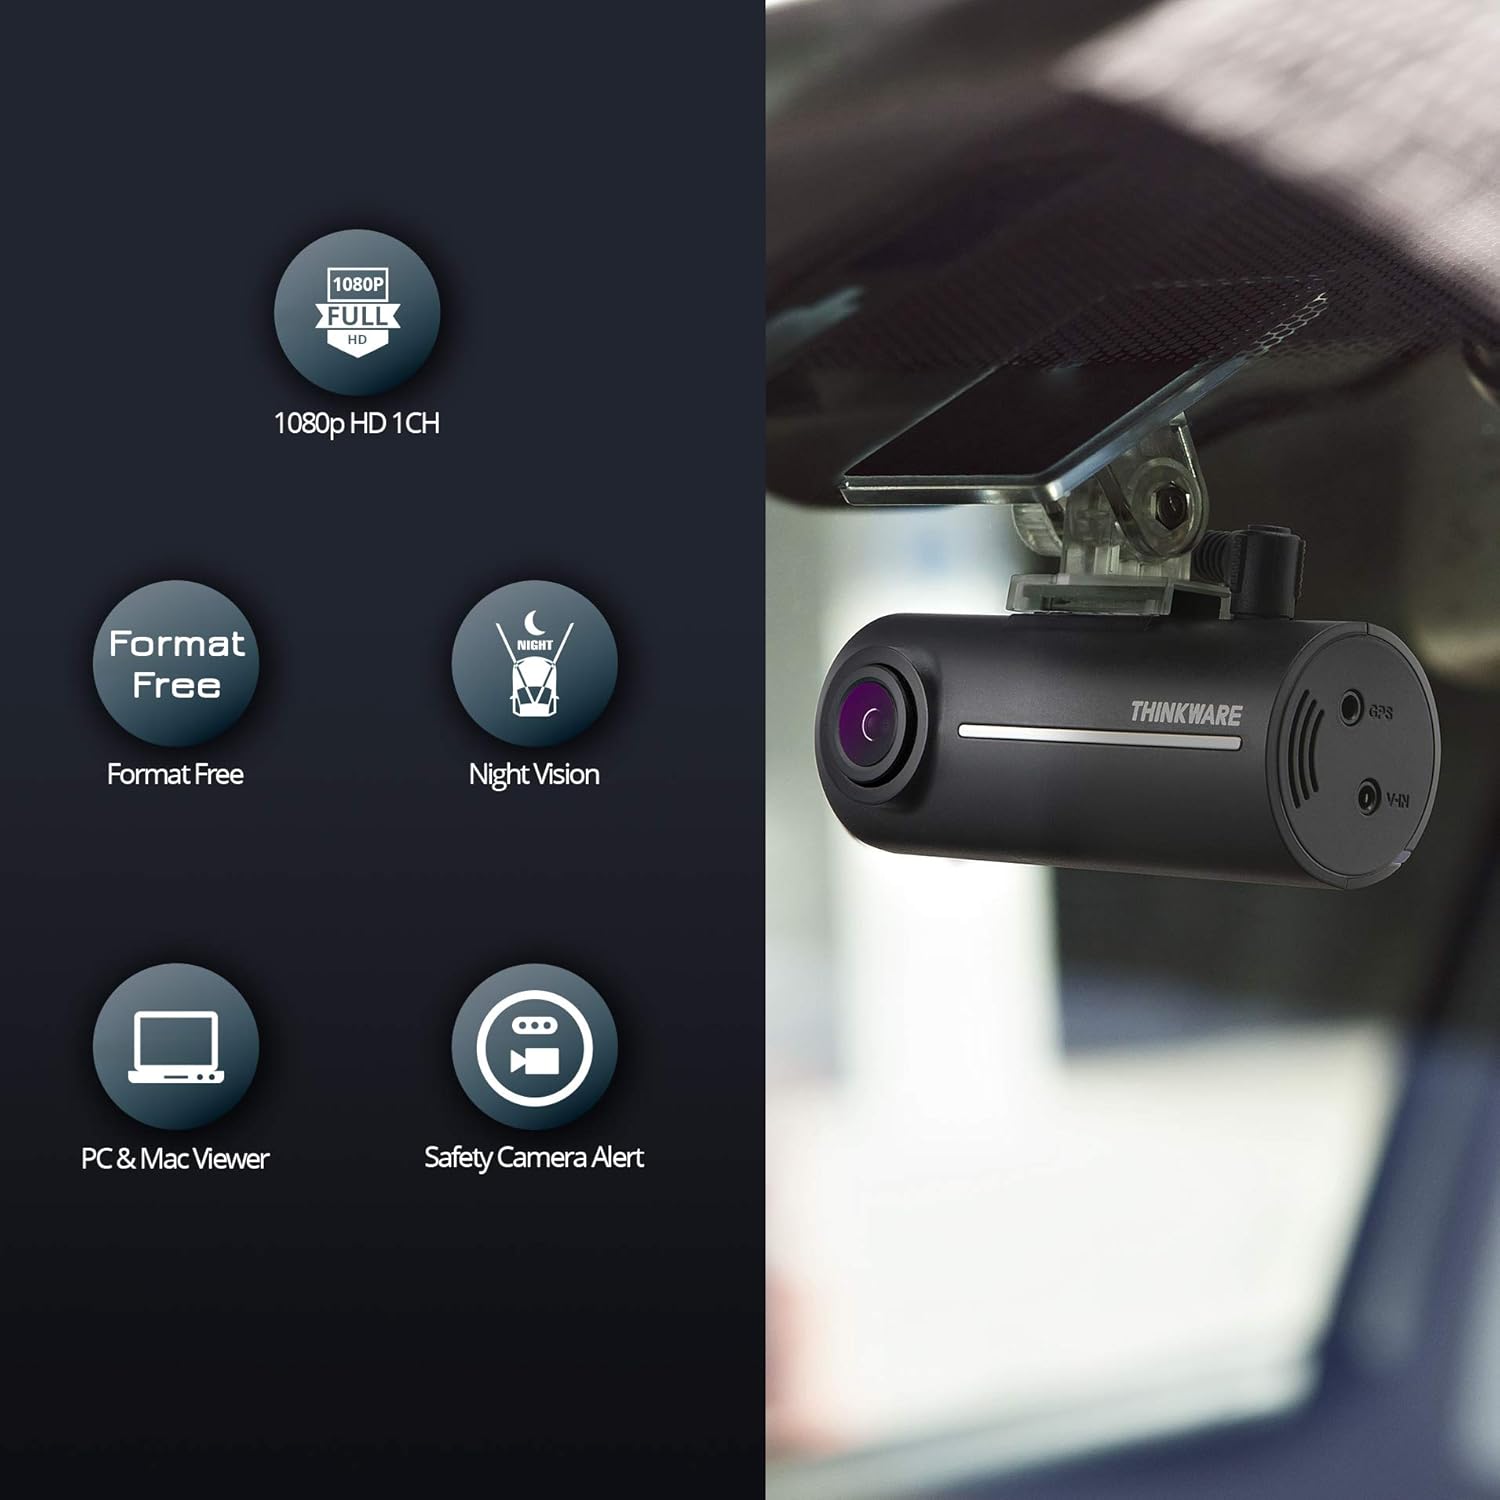
Figura 3.3: Key features of the Thinkware F100 Dash Cam. Icons represent 1080p HD 1-channel recording, Format Free technology, Night Vision, PC & Mac Viewer compatibility, and Safety Camera Alerts. The dash cam unit is shown mounted on a windshield.
Componenti principali:
- Obiettivo fotocamera anteriore: Records 1080P Full HD video.
- Oratore: Provides voice guidance and alerts.
- Slot per scheda MicroSD: Per inserire la scheda di memoria.
- Power Input (DC-IN): Si collega all'alimentazione elettrica del veicolo.
- V-IN Port: Per collegare la telecamera posteriore opzionale.
- Porta GPS: For connecting an optional GPS antenna (required for speed camera alerts).
- Pulsante REC: Manual event recording.
4. Configurazione e installazione
Proper installation is crucial for optimal performance. It is recommended to have the dash cam professionally installed.
4.1 Inserimento della scheda MicroSD
- Assicurarsi che la dash cam sia spenta.
- Individuare lo slot per la scheda MicroSD sul lato dell'unità principale.
- Inserire la scheda MicroSD con i contatti dorati rivolti verso la parte anteriore della fotocamera finché non scatta in posizione.
4.2 Installazione della fotocamera frontale
- Pulisci la zona del parabrezza dove verrà montata la dash cam.
- Attach the adhesive mount to the front camera unit.
- Staccare la pellicola protettiva dal supporto adesivo e premere saldamente la dash cam sul parabrezza, idealmente dietro la parte posterioreview specchio per una visuale libera view.
- Regola l'angolazione della telecamera per assicurarti che la strada davanti a te sia centrata nell'inquadratura.
4.3 Installazione della telecamera posteriore (opzionale)
- Montare la telecamera posteriore sul lunotto posteriore, assicurandosi che la visuale sia chiara view della strada dietro.
- Connect the rear camera cable to the V-IN port on the front dash cam unit.
- Route the cable neatly along the vehicle's headliner and A-pillars to conceal it.
4.4 Power Connection (Hardwiring for Parking Mode)
The F100 includes a hardwiring cable for direct connection to your vehicle's battery, enabling the advanced parking surveillance mode. This connection continuously monitors the vehicle's battery status and automatically shuts off if low voltage is detected, protecting your car battery.
- Connect the yellow wire (BATT+) to a constant power fuse (always on).
- Connect the red wire (ACC) to an accessory power fuse (on when ignition is on).
- Connect the black wire (GND) to a metal ground point on the vehicle chassis.
- Plug the power cable into the DC-IN port of the front dash cam.
Note: Incorrect wiring can damage the device or vehicle. Consult a professional if you are unsure.
5. Istruzioni per l'uso
5.1 Accensione/Spegnimento
The dash cam powers on automatically when the vehicle's ignition is turned on (if connected to ACC power) and powers off when the ignition is turned off.
5.2 Modalità di registrazione
- Registrazione continua: The dash cam records continuously while driving. Older filevengono sovrascritti da nuovi quando la scheda di memoria è piena (registrazione in loop).
- Registrazione dell'evento: In the event of an impact or sudden braking, the G-sensor triggers an event recording. These filevengono salvati separatamente e sono protetti dalla sovrascrittura.
- Registrazione manuale: Press the REC button on the unit to manually initiate an event recording.
- Modalità di sorveglianza del parcheggio: When the vehicle is parked and the ignition is off, the dash cam enters parking mode (requires hardwiring). It records impacts or motion detected around the vehicle. The F100 monitors the car battery and will shut down if the voltage scende al di sotto di un livello di sicurezza.
5.3 Night Vision Enhancement
The F100 features Night Vision technology, utilizing Sony CMOS image sensors to enhance video quality in low-light conditions, ensuring clearer recordings during nighttime driving or parking.

Figura 5.1: Comparison of night-time video quality with Night Vision enhancement ON versus OFF. The image clearly demonstrates improved visibility and detail when the feature is active, especially in dark environments.
5.4 Safety Camera Alerts (Optional)
With an optional GPS antenna, the F100 can provide alerts for speed cameras and red light cameras based on the European radar camera database (Cyclops). Updates for this database are free.
5.5 Viewing registrazioni
Le registrazioni possono essere viewed using the Thinkware PC Viewer or Mac Viewer software. Remove the MicroSD card from the dash cam and insert it into your computer's card reader to access the files.
6. Manutenzione
6.1 Format Free Technology
The Thinkware F100 utilizes File Allocation Table (FAT) technology, which eliminates the need for frequent manual MicroSD card formatting. This extends the lifespan of your memory card and ensures continuous recording without interruption.
6.2 Cura della scheda MicroSD
- Use only genuine Thinkware MicroSD cards for optimal performance.
- Periodically back up important recordings to your computer.
- While "Format Free" reduces the need, occasional formatting (e.g., every few months) via the PC/Mac Viewer can help maintain card health.
6.3 Pulizia del dispositivo
Pulisci l'obiettivo e il corpo della fotocamera con un panno morbido e asciutto. Non utilizzare prodotti chimici aggressivi o detergenti abrasivi.
7. Risoluzione Dei Problemi
If you encounter issues with your Thinkware F100 Dash Cam, refer to the following common problems and solutions:
| Problema | Possibile causa/soluzione |
|---|---|
| La dash cam non si accende. | Check power cable connection. Ensure vehicle ignition is on (if connected to ACC). Check vehicle's fuse box. |
| Nessuna registrazione. | Ensure MicroSD card is inserted correctly. Check if the card is full (though Format Free should manage this, a very old or faulty card might cause issues). Try formatting the card via the PC/Mac Vieweh. |
| Scarsa qualità video. | Clean the camera lens. Ensure the windshield area is clean. Check if Night Vision is enabled in low light. |
| La modalità parcheggio non funziona. | Verify hardwiring connection to constant power. Ensure parking mode is enabled in settings (if configurable). Check vehicle battery voltage. |
| GPS not working / No speed camera alerts. | Ensure optional GPS antenna is connected and has a clear view del cielo. |
If the problem persists, please contact Thinkware customer support.
8. Specifiche
| Caratteristica | Dettaglio |
|---|---|
| Modello | F100 |
| Risoluzione della fotocamera frontale | 1080p Full HD |
| Risoluzione della telecamera posteriore (opzionale) | Risoluzione 720p |
| Viewangolo di ing | 135° (Wide Angle) |
| Frequenza dei fotogrammi | 30 fotogrammi al secondo |
| Sensore di immagine | Sensore CMOS Sony |
| Caratteristiche speciali | Night Vision, G-Sensor, Parking Surveillance, Format Free, Safety Camera Alerts (with optional GPS) |
| Magazzinaggio | Scheda MicroSD (inclusa da 16 GB) |
| Connettività | Bluetooth, Wi-Fi |
| Dimensioni | Dimensioni: 7.8 x 3.15 x 3.4 cm |
| Peso | 360 grammi |
9. Garanzia e supporto
Thinkware cameras come with a Periodo di garanzia di 2 anno. For technical assistance or warranty claims, please contact Thinkware customer support. Our German customers can receive friendly technical support via email.
For further information, visit the official Thinkware store: Thinkware Store on Amazon.de