
1. Introduzione
This manual provides essential information for the safe and effective operation and maintenance of your Makita XRU15PT1 36V (18V X2) LXT Brushless Cordless String Trimmer Kit. The XRU15PT1 is designed to meet the demands of landscapers requiring cordless alternatives to gas-powered outdoor power equipment. It operates on two fast-charging 18V LXT Batteries, offering maximum power and run time with zero emissions, lower noise, and reduced maintenance compared to gas trimmers. Its electronic controls optimize battery energy for increased power and speed as needed. Please read this manual thoroughly before use and retain it for future reference.
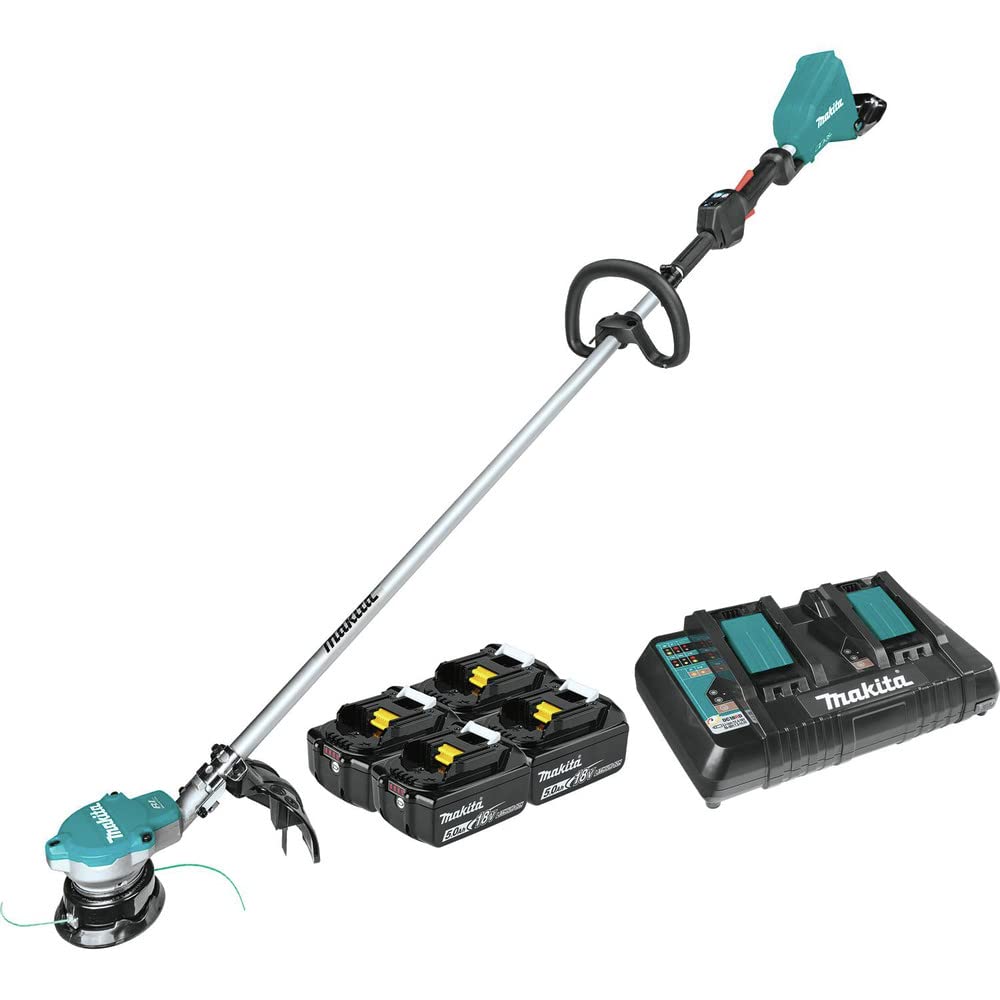
Image: The Makita XRU15PT1 36V (18V X2) LXT Brushless String Trimmer Kit, including the trimmer, batteries, and charger.
2. Informazioni sulla sicurezza
WARNING: Always wear appropriate safety gear, including eye protection, when operating this string trimmer. Be aware of potential flying debris and keep bystanders at a safe distance. Do not operate the trimmer in wet or damp conditions to prevent water and dust ingress. Keep hands and other body parts away from the cutting area to avoid injury.
- Leggere tutte le istruzioni prima di utilizzare lo strumento.
- Assicurarsi che l'area di lavoro sia libera da ostacoli e spettatori.
- Inspect the trimmer for damage before each use.
- Utilizzare solo batterie e caricabatterie originali Makita.
- Store the tool and batteries in a dry, secure location.
3. Contenuto della confezione
Your Makita XRU15PT1 kit includes the following items:
- Makita XRU15PT1 36V (18V X2) LXT Brushless String Trimmer
- 4 x 18V LXT Lithium-Ion 5.0Ah Batteries (BL1850B)
- 1 x 18V LXT Lithium-Ion Dual Port Charger (DC18RD)
- Bump & Feed Trimmer Head
- Manuale del proprietario

Image: The complete Makita XRU15PT1 kit, showing the string trimmer, four 18V LXT 5.0Ah batteries, and the dual port rapid charger.
4. Impostazione
4.1 Attaching the Loop Handle
- Loosen the screws on the loop handle assembly.
- Position the handle on the shaft at a comfortable operating height.
- Tighten the screws securely to prevent rotation during use.
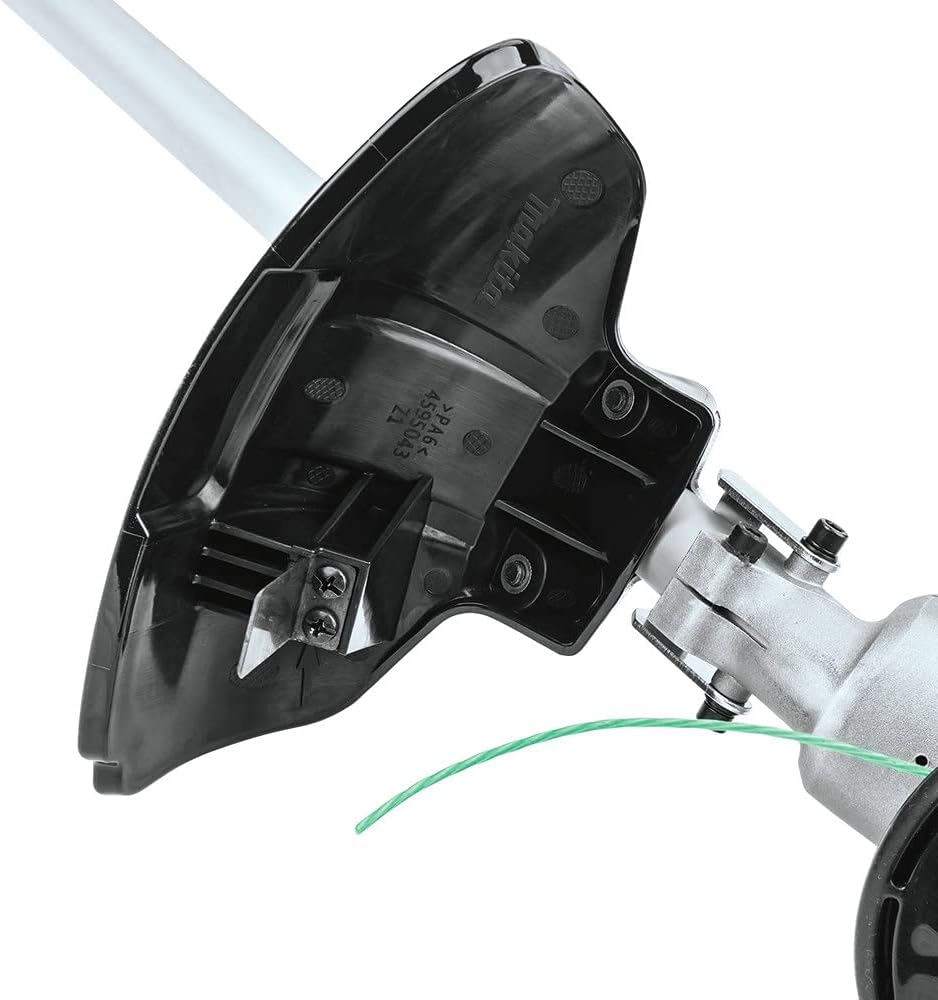
Immagine: Un dettaglio view of the adjustable loop handle, showing its ergonomic design and attachment point on the trimmer shaft.
4.2 Fissaggio della protezione
- Align the guard with the mounting points on the trimmer head assembly.
- Secure the guard using the provided fasteners. Ensure it is firmly attached to protect against debris.
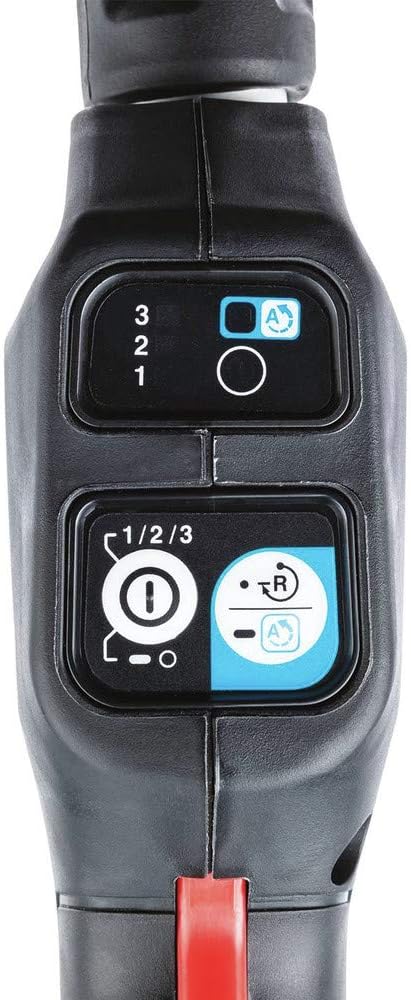
Image: A close-up of the string trimmer's head, featuring the protective guard and the cutting line.
4.3 Installazione delle batterie
- Ensure batteries are fully charged using the Makita DC18RD Dual Port Charger.
- Slide two 18V LXT batteries into the battery ports on the trimmer until they click into place.
- Verify that both batteries are securely seated.
5. Istruzioni per l'uso
5.1 Accensione/Spegnimento
To power on the trimmer, press and hold the main power button until the indicator lights illuminate. To power off, press and hold the button again.
5.2 Speed Selection and Automatic Torque Drive Technology
The trimmer features three speed options and an Automatic Torque Drive Technology mode for optimal performance and battery life.
- Bassa velocità: 3,500 giri al minuto
- Velocità media: 5,300 giri al minuto
- Ad alta velocità: 6,500 giri al minuto
- Automatic Torque Drive Technology: Automatically shifts between 3,500-6,500 RPM to match the demands of the application, providing extended run time or added power as needed.
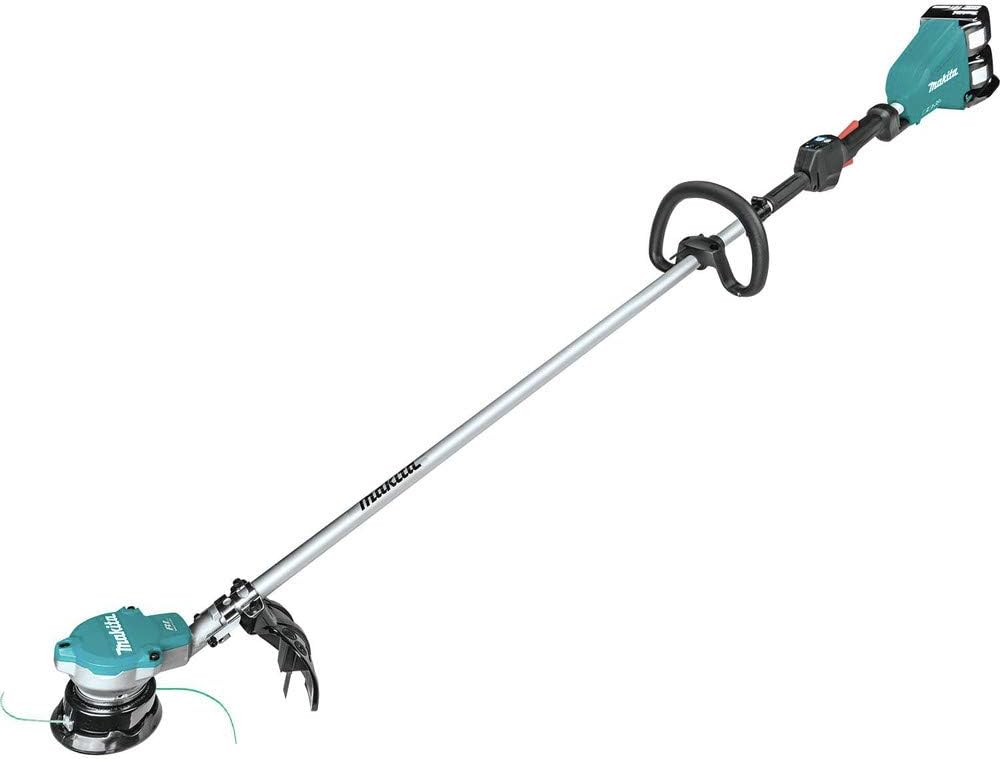
Immagine: Un dettaglio view of the control panel on the trimmer's handle, showing buttons for power, speed selection, and reverse function.
5.3 Line Feeding (Bump & Feed)
The trimmer is equipped with a bump and feed head. To advance the trimmer line, gently tap the trimmer head on the ground while the motor is running. This will release a small amount of line. The cutting blade on the guard will automatically trim the line to the correct length.
Bordo 5.4
For precise edging along sidewalks or driveways, tilt the trimmer head to a vertical position. Walk slowly and steadily, guiding the line along the edge to create a clean cut.

Image: A person operating the Makita string trimmer to maintain a lawn, demonstrating typical usage.
5.5 Rotazione inversa
The trimmer features a reverse rotation function. This can be useful for clearing tangled grass or debris from the trimmer head. Consult the control panel for the reverse function button.
6. Manutenzione
6.1 Pulizia della testina di taglio
After each use, ensure the trimmer head and guard are free from grass clippings, dirt, and debris. Use a brush or cloth to clean the surfaces. Do not use harsh chemicals or abrasive materials.
6.2 Replacing Trimmer Line
When the trimmer line runs out, it needs to be replaced. The trimmer uses 0.080" twisted quiet line. Refer to the detailed instructions in the full product manual for specific steps on how to open the bump and feed head and wind new line. Ensure the line is wound correctly to prevent tangles and ensure proper feeding.
6.3 Battery Charging and Storage
Always charge batteries using the provided Makita DC18RD Dual Port Charger. Store batteries in a cool, dry place away from direct sunlight and extreme temperatures. Do not store fully discharged batteries for extended periods.
7. Risoluzione Dei Problemi
- Il trimmer non si avvia: Ensure batteries are fully charged and properly inserted. Check that the power button is pressed and held correctly.
- Trimmer line does not feed: Check for tangled line inside the bump head. Ensure the line is not too short or improperly wound.
- Potenza o tempo di esecuzione ridotti: Batteries may need recharging or replacement. Ensure the correct speed setting is selected for the task.
8. Specifiche
| Caratteristica | Specificazione |
|---|---|
| Marca | Makita |
| Numero di modello | XRU15PT1 |
| Fonte di alimentazione | Battery Powered (36V / 18V X2 LXT) |
| Larghezza di taglio | 15 pollici |
| Velocità (giri/min) | Low: 3,500, Medium: 5,300, High: 6,500 |
| Peso dell'articolo | 1 Pounds (tool only, without batteries) |
| Dimensioni dell'articolo (L x P) | 72.84"L x 7.09"W |
| Componenti inclusi | 4 x 18V LXT 5.0Ah Batteries, 1 x Dual Port Charger, Bump & Feed Trimmer Head |
9. Garanzia e supporto
Makita offers a 3-year limited warranty on the tool, battery, and charger. For warranty claims, technical support, or service, please contact Makita customer service or an authorized service center. Refer to your warranty card for full terms and conditions.
10. Video di prodotto
Makita LXT System Overview
Video: Un oltreview of the Makita LXT system, showcasing the versatility and power of Makita's cordless tools, including outdoor power equipment.
Makita LXT String Trimmers
Video: This video highlights the features and benefits of Makita's LXT string trimmers, demonstrating their performance in various landscaping tasks.