
Fanimation LP8347BLGR
Fanimation Studio Collection LP8347BLGR Level Ceiling Fan
Manuale d'uso
Introduzione
This manual provides detailed instructions for the installation, operation, and maintenance of your Fanimation Studio Collection LP8347BLGR Level Ceiling Fan with LED Light Kit. Please read this manual thoroughly before installation and use to ensure safe and efficient operation. Keep this manual for future reference.
The Level ceiling fan is designed to provide comfort and style to your indoor space. This 44-inch hugger fan features three blades, three speed settings, and an 18-watt dimmable LED light kit. Control is managed via an included wall control.
Caratteristiche principali:
- Matte greige finish with matching blades.
- Integrated 18-watt dimmable LED light kit with frosted glass shade.
- 44-inch fan size, ideal for small rooms.
- Hugger mount design for low-profile installazione.
- Three speed settings for customized airflow up to 4,530-CFM.
- Includes wall control for fan speed and light level adjustment.
- Reverse switch for seasonal direction change.
Istruzioni di sicurezza
AVVERTIMENTO: Per ridurre il rischio di incendi, scosse elettriche o lesioni personali, seguire sempre queste precauzioni di base:
- Leggere attentamente tutte le istruzioni prima di installare e utilizzare il ventilatore.
- All wiring must be in accordance with the National Electrical Code (NEC) and local electrical codes. If you are unfamiliar with wiring, consult a qualified electrician.
- Before beginning installation, disconnect power by turning off the circuit breakers to the fan's junction box.
- Assicurarsi che il luogo di installazione consenta alle pale del ventilatore di ruotare senza ostacoli e che le pale si trovino ad almeno 7 piedi (2.1 metri) dal pavimento.
- The outlet box and support structure must be securely mounted and capable of supporting a minimum of 35 lbs (15.9 kg). Use only UL/ETL listed outlet boxes marked "ACCEPTABLE FOR FAN SUPPORT."
- Non utilizzare il ventilatore se il cavo di alimentazione o la spina sono danneggiati.
- Evitare di mettere le dita o altri oggetti nelle pale del ventilatore mentre è in funzione.
- Do not use the fan with any solid-state speed control device other than the provided wall control.
- Always turn off the fan and wait for the blades to stop completely before cleaning or performing maintenance.
Contenuto della confezione
Carefully unpack your fan and inspect the contents. You should have the following items:
- Gruppo motore ventilatore da soffitto
- Pale del ventilatore (3)
- LED Light Kit with Frosted Glass Shade
- Unità di controllo a parete
- Mounting Hardware Kit (screws, washers, wire nuts)
- Manuale di istruzioni

Figure 1: Fanimation Level Ceiling Fan with LED Light Kit. This image shows the complete fan assembly, including the motor housing, three blades, and the integrated LED light fixture.
Installazione
This section outlines the general steps for installing your ceiling fan. It is highly recommended to have a qualified electrician perform the installation if you are not experienced with electrical wiring.
Strumenti necessari:
- Cacciavite Phillips
- Cacciavite a testa piatta
- Spellafili
- Chiave regolabile
- Scala a pioli
- Nastro isolante
Fasi di installazione:
- Spegnimento dell'alimentazione: Prima di iniziare, assicurarsi che l'alimentazione sia disattivata tramite l'interruttore automatico o la scatola dei fusibili per evitare scosse elettriche.
- Mount the Outlet Box: Securely attach the UL/ETL listed outlet box (not included) to the ceiling joist, ensuring it can support the fan's weight.
- Installare la staffa di montaggio: Attach the fan's mounting bracket to the outlet box using the provided screws and washers.
- Cablare la ventola: Connect the fan's electrical wires to the household wiring according to the wiring diagram provided in the full installation guide (refer to manufacturer's website for detailed diagrams). Ensure all connections are secure with wire nuts.
- Attach Fan Assembly: Carefully lift the fan motor assembly and attach it to the mounting bracket. This is a hugger-style fan, so it mounts directly to the ceiling.
- Installare le pale del ventilatore: Securely attach the three fan blades to the motor housing using the provided screws. Ensure all screws are tightened.
- Installa il kit luci: Connect the wires for the LED light kit and attach the light kit assembly to the bottom of the fan motor. Secure the frosted glass shade.
- Installare il controllo a parete: Follow the instructions provided with the wall control unit to install it in a standard wall switch box. Ensure proper wiring for fan speed and light control.
- Ripristina alimentazione: Una volta che tutti i collegamenti sono sicuri e la ventola è completamente assemblata, ripristinare l'alimentazione tramite l'interruttore automatico.
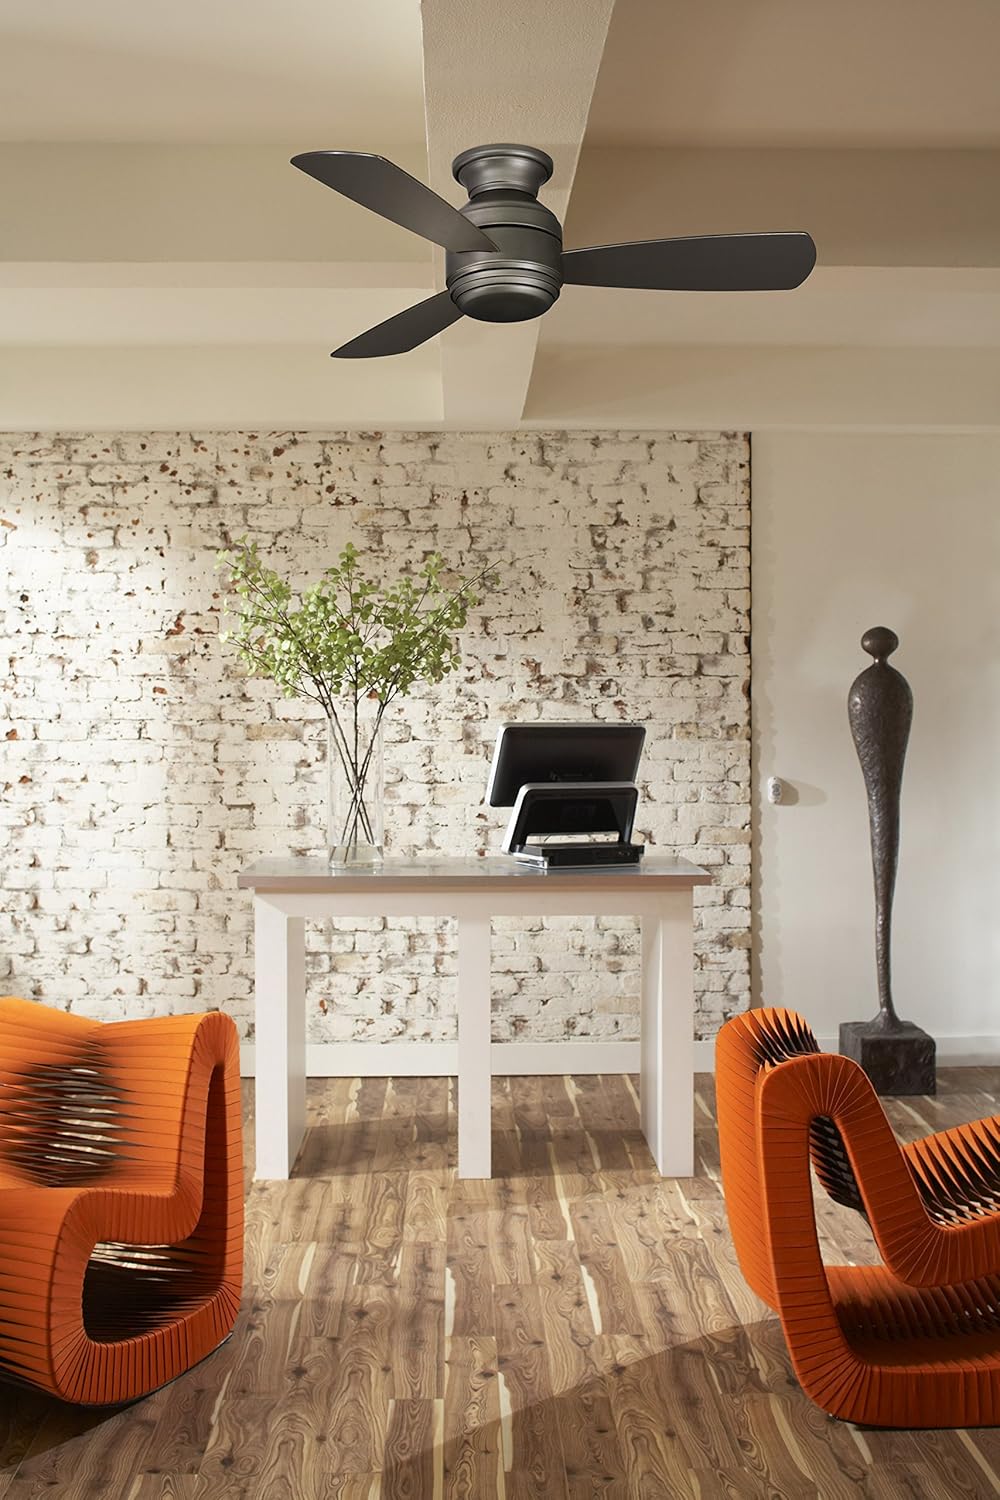
Figure 2: Fanimation Level Ceiling Fan installed in a living space. This image demonstrates the fan's appearance when mounted, showing its compact hugger design and how it integrates into a room's decor.
Operazione
Your Fanimation Level Ceiling Fan is controlled by the included wall control unit. Familiarize yourself with its functions for optimal use.
Controllo della velocità della ventola:
- The wall control allows you to select from three fan speeds: Low, Medium, and High.
- Press the fan speed buttons to cycle through the desired airflow level.
Controllo della luce:
- The integrated LED light kit is dimmable.
- Use the light control button on the wall unit to turn the light on/off and to adjust its brightness. Typically, holding the button will dim or brighten the light.
Funzione inversa:
The fan features a reverse switch, usually located on the motor housing, which allows you to change the direction of blade rotation. This is useful for seasonal comfort:
- Operazione estiva: Le pale ruotano in senso antiorario, spingendo l'aria verso il basso e creando una brezza rinfrescante.
- Operazione invernale: Le pale ruotano in senso orario, aspirando l'aria verso l'alto e facendo circolare l'aria calda intrappolata vicino al soffitto.
- Spegnere sempre il ventilatore e attendere che le pale si fermino completamente prima di cambiare il senso di rotazione.
Cura e manutenzione
Regular care and maintenance will help prolong the life and maintain the appearance of your ceiling fan.
Pulizia:
- Spegnere sempre l'alimentazione alla ventola all'interruttore automatico prima della pulizia.
- Utilizzare un morbido, damp panno per pulire le pale della ventola e l'alloggiamento del motore. Non utilizzare detergenti abrasivi o solventi, poiché potrebbero danneggiare la finitura.
- Dust the fan blades regularly to prevent dust buildup, which can cause wobbling.
Sostituzione della lampadina:
- The fan comes with an integrated LED light kit. LEDs have a long lifespan and typically do not require frequent replacement.
- If the LED light module requires service, contact a qualified electrician or Fanimation customer support. Do not attempt to replace individual LED components.
Manutenzione generale:
- Controllare periodicamente tutte le viti della ventola e l'hardware di montaggio per assicurarsi che siano ben serrate.
- No lubrication is necessary for the fan motor.
Risoluzione dei problemi
Prima di contattare l'assistenza clienti, prova questi comuni passaggi per la risoluzione dei problemi:
| Problema | Possibile causa | Soluzione |
|---|---|---|
| La ventola non si avvia. | Nessuna alimentazione alla ventola; collegamenti dei cavi allentati; controllo a parete difettoso. | Check circuit breaker. Ensure all wire connections are secure. Verify wall control is properly installed and functioning. |
| La luce non funziona. | Loose wire connection to light kit; faulty LED module; incorrect wall control setting. | Check light kit wiring. Ensure wall control is set to "on" and brightness is adjusted. If LED module is faulty, contact support. |
| La ventola traballa. | Viti delle lame allentate; lame sbilanciate; staffa di montaggio allentata. | Tighten all blade screws. Check for bent blades. Ensure mounting bracket is securely fastened to the ceiling box. Use a balancing kit if necessary. |
| Funzionamento rumoroso. | Loose screws; motor hum; fan not properly seated. | Check and tighten all screws. Allow a 24-hour break-in period for new motors. Ensure fan is securely mounted. |
Specifiche
| Attributo | Dettaglio |
|---|---|
| Nome del modello | Livello |
| Numero di modello | LP8347BLGR |
| Marca | Fananimazione |
| Colore | Matte Greige |
| Misurare | 44 pollici |
| Numero di lame | 3 |
| Materiale della lama | Legna |
| Capacità del flusso d'aria | 4,530 CFM (piedi cubi al minuto) |
| Cosatage | 18 watts (LED Light Kit) |
| Voltage | 120 Volt (CA) |
| Metodo di controllo | Wall Control |
| Dimensioni del prodotto | 44 x 44 x 11.25 pollici |
| Peso dell'articolo | 15.72 libbre |
| Uso interno/esterno | Al chiuso |
| Codice UPC | 840506087675 |
Informazioni sulla garanzia
The Fanimation Studio Collection LP8347BLGR Level Ceiling Fan comes with a Garanzia a vita limitataLa presente garanzia copre i difetti di materiali e fabbricazione in normali condizioni di utilizzo e manutenzione. Si prega di conservare la prova d'acquisto per eventuali reclami in garanzia.
For full details regarding warranty coverage, limitations, and how to make a claim, please refer to the official warranty statement included with your product packaging or visit the Fanimation official websito.
Assistenza clienti
If you encounter any issues not covered in the troubleshooting section, or require further assistance with your Fanimation Level Ceiling Fan, please contact Fanimation customer support.
For the most up-to-date contact information, including phone numbers and online support resources, please visit the official Fanimation websito:
When contacting support, please have your model number (LP8347BLGR) and proof of purchase readily available.
Ask a question about this manual
Ask about setup, troubleshooting, compatibility, parts, safety, or missing instructions. Manuals+ will review the question and use this page’s manual context to help answer it.