
1. Introduzione
This manual provides detailed instructions for the installation, operation, and maintenance of your Suuonee 50A PWM Solar Charge Controller. This industrial-grade controller is designed for efficient energy management in solar power systems, featuring a built-in controller, LCD display, and advanced 3-stage PWM charging. Please read this manual thoroughly before installation and use to ensure optimal performance and safety.

Figura 1: Davanti view of the Suuonee 50A PWM Solar Charge Controller, showing the LCD screen, control buttons, and USB ports.
2. Informazioni sulla sicurezza
Durante l'installazione e il funzionamento, osservare le seguenti precauzioni di sicurezza:
- Ensure all wiring is correctly connected before powering on the controller. Incorrect wiring can damage the device or connected components.
- Collegare prima la batteria, poi il pannello solare e infine il carico. Scollegare in ordine inverso.
- The controller is designed for 12V/24V lead-acid batteries. Do not use it with other battery types unless specified.
- Installare il controller in un'area ben ventilata, lontano da materiali infiammabili e dalla luce solare diretta.
- Avoid touching live terminals. Use insulated tools.
- Questo dispositivo è destinato esclusivamente all'uso in ambienti interni. Proteggerlo da acqua e umidità.
3. Caratteristiche del prodotto
The Suuonee 50A PWM Solar Charge Controller offers the following key features:
- Industrial-Grade Controller: Built-in industrial controller for stable and efficient energy management in various weather conditions.
- Display LCD chiaro: Large LCD screen provides real-time data visibility and allows easy customization of parameters.
- 3-S avanzatotage Ricarica PWM: Fully optimized 3-stage Pulse Width Modulation (PWM) management system for efficient battery charging and prolonged battery lifespan.
- Comprehensive System Protections: Equipped with built-in safeguards including short-circuit protection, open-circuit protection, reverse polarity protection, and overload protection to prevent damage to connected devices.
- MOSFET Technology: Incorporates MOSFET technology to minimize reverse current and reduce heat generation, enhancing energy efficiency and extending product operational life.
- Doppia uscita USB: Features two 5V/2A USB ports for charging external devices.

Figura 2: The controller features a 3-stage PWM charge management system and a large LCD display for adjustable parameters.
4. Specifiche
Detailed specifications for the Suuonee 50A PWM Solar Charge Controller:
| Parametro | Valore |
|---|---|
| Modello | 50A |
| Volume batteriatage | Auto 12V / 24V |
| Volume pannello solaretage | 12V system: 18V solar panel; 24V system: 36V solar panel |
| Carica Arresto Voltage | 13.7 V (predefinito, regolabile) |
| Volume di arresto dello scaricotage | 10.7 V (predefinito, regolabile) |
| Scarica Ricollega Voltage | 12.6 V (predefinito, regolabile) |
| Autoconsumo | <10mA |
| Uscita USB | 5V / 2A (Dual USB) |
| Materiale | addominali |
| Dimensioni del prodotto | Circa 3.94 x 3.94 x 3.94 pollici (100 x 100 x 100 mm) |
| Peso dell'articolo | Circa 3.52 once (0.1 kg) |
5. Prodotto finitoview
The solar charge controller features a compact design with a clear LCD display and intuitive controls.
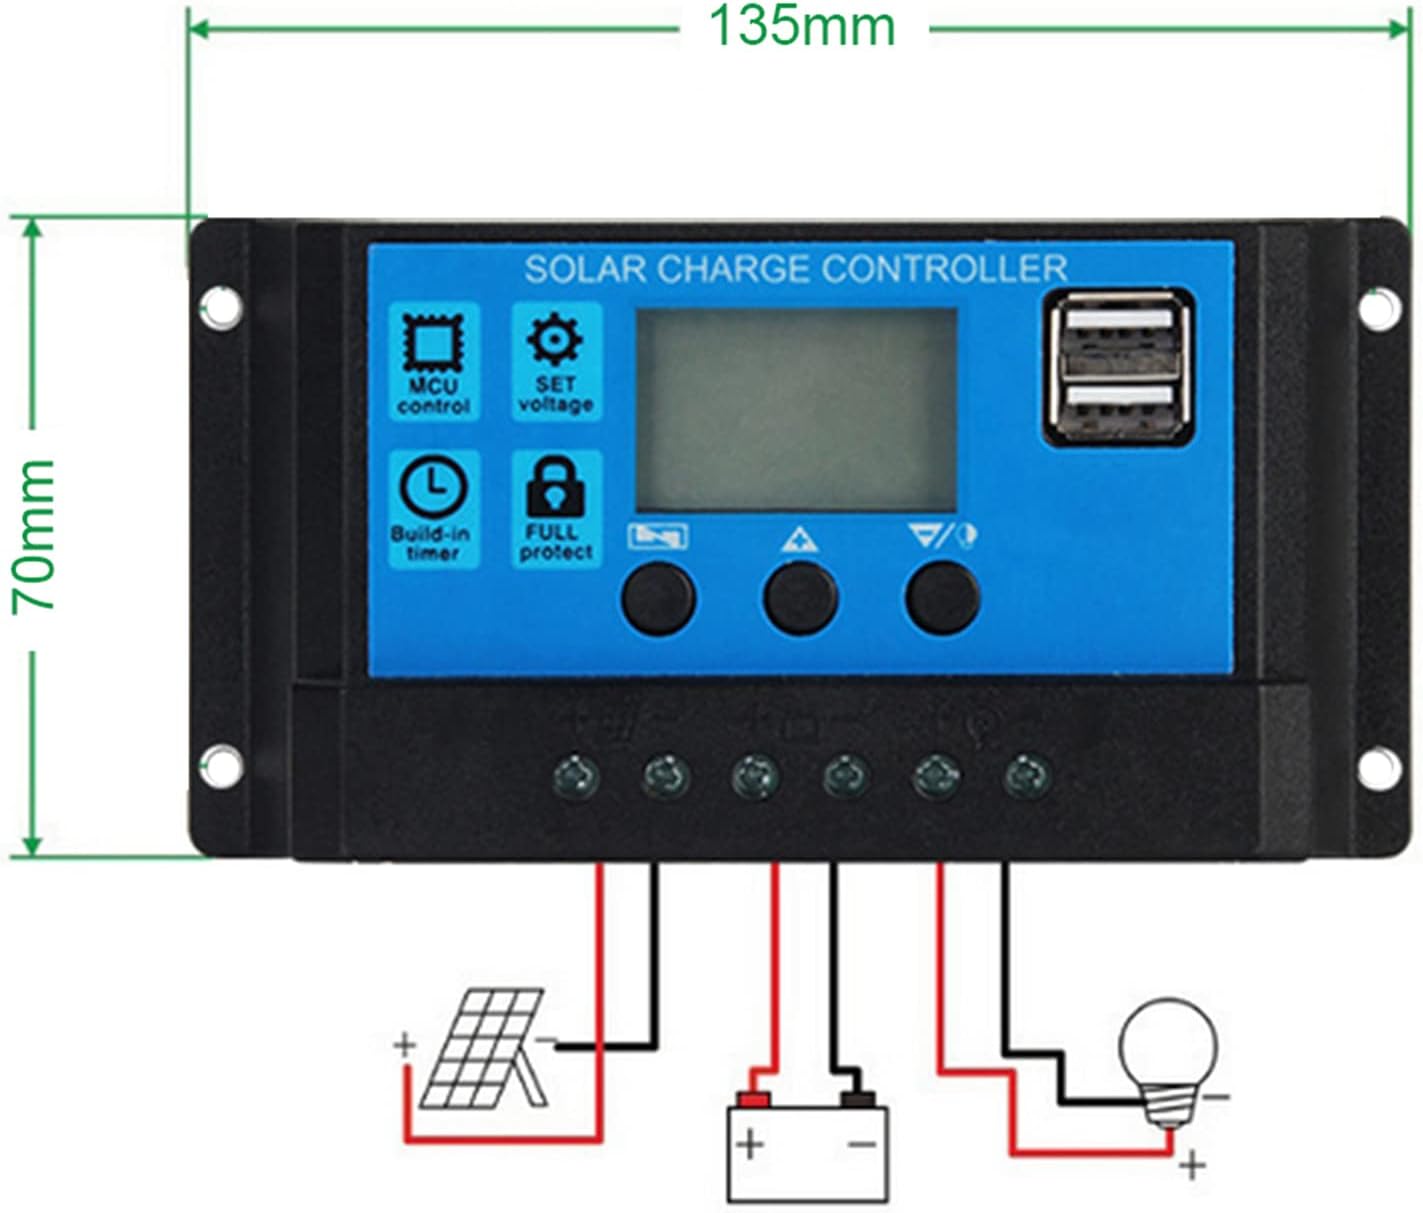
Figura 3: Davanti e dietro views of the controller, showing terminals and mounting points.

Figura 4: Controller dimensions (135mm x 70mm) and a basic wiring diagram indicating connections for solar panel, battery, and load.
5.1. componenti
- Schermo LCD: Shows system status, parameters, and error codes.
- Pulsanti di controllo: Three buttons for navigation and parameter adjustment.
- Porte USB: Two 5V/2A USB outputs for charging mobile devices.
- Morsettiere: Clearly labeled terminals for connecting solar panels, battery, and DC load.
6. Configurazione e installazione
Per una corretta installazione, seguire questi passaggi:
- Preparare il cablaggio: Assicurarsi che tutti i cavi siano di calibro adeguato alla corrente e alla lunghezza e che siano correttamente spelati.
- Collegare la batteria: Connect the battery to the charge controller first. Ensure correct polarity (+ to + and - to -). The LCD will light up.
- Collegare il pannello solare: Collegare il pannello solare al regolatore di carica. Assicurarsi che la polarità sia corretta.
- Collegare il carico CC: Collegare il carico CC al regolatore di carica. Assicurarsi della corretta polarità.
- Montaggio: Mount the controller in a dry, well-ventilated area, away from direct sunlight and heat sources.
Importante: Always connect the battery first and disconnect the battery last. Failure to follow this order may damage the controller.
7. Istruzioni per l'uso
The controller's LCD display provides real-time information about your solar system. The three buttons allow for navigation and parameter adjustment.
7.1. Modalità di visualizzazione LCD
Press the 'Up' or 'Down' button to cycle through different display modes:
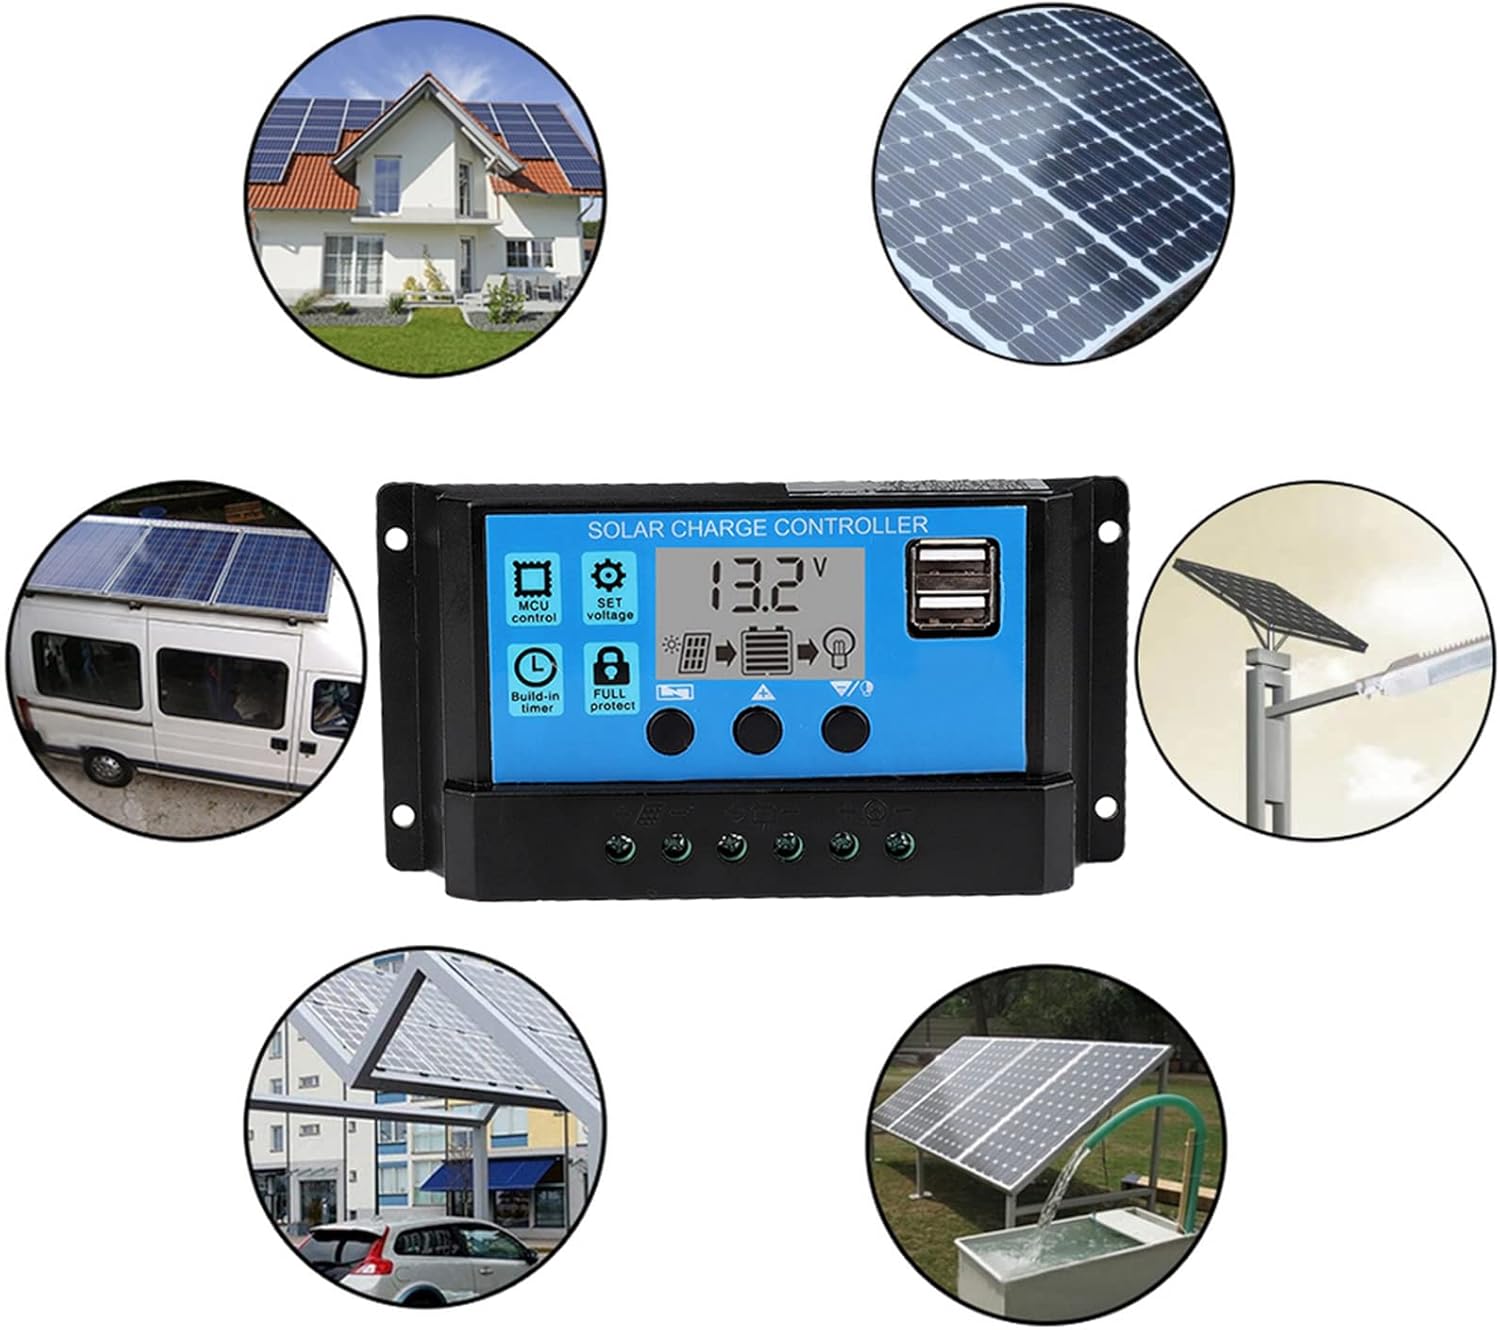
Figura 5: Flowchart illustrating the main interface and various adjustable parameters displayed on the LCD, including floating charging voltage, battery type, discharge recovery voltage, load work mode, and discharge cut-off voltage.
- Interfaccia principale: Visualizza il volume corrente della batteriatage e lo stato di carica.
- Carica fluttuante voltage (13.7V default): il volumetage at which the battery is maintained after full charge.
- Battery Type (b01 default): Selects the battery type (e.g., b01 for sealed, b02 for gel, b03 for flooded).
- Recupero delle discariche voltage (12.6V default): il volumetage at which the load will reconnect after low voltage disconnessione.
- Load Work Mode (24H default): Controls when the load output is active (e.g., 24 hours, dusk to dawn, timed).
- Volume di interruzione dello scaricotage (10.7V default): il volumetage in cui il carico si disconnetterà per proteggere la batteria da una scarica eccessiva.
7.2. Funzioni dei pulsanti
- Menu Button (Left): Entra/esce dalla modalità di impostazione dei parametri.
- Up Button (Middle): Increases parameter value or navigates up.
- Down Button (Right): Decreases parameter value or navigates down.
8. Impostazioni dei parametri
Per regolare i parametri:
- Dal display principale, tenere premuto il tasto Menu button for 5 seconds to enter parameter setting mode. The current parameter will start flashing.
- Utilizzare il Up E Giù pulsanti per regolare il valore.
- Premere il tasto Menu button again to confirm the setting and move to the next parameter.
- To exit setting mode, press and hold the Menu button for 5 seconds, or wait for 10 seconds without any operation.
Nota: Adjusting parameters incorrectly can affect system performance and battery life. Refer to your battery manufacturer's specifications for optimal voltage impostazioni.
9. Manutenzione
Regular maintenance ensures the longevity and efficiency of your solar charge controller:
- Terminali puliti: Periodically check and clean all terminal connections to ensure they are tight and free from corrosion.
- Ispezionare il cablaggio: Check all wiring for signs of wear, damage, or loose connections.
- Mantenere pulito: Keep the controller's surface clean and free from dust and debris. Use a dry cloth.
- Ventilazione: Assicurarsi che l'area di installazione sia ben ventilata per evitare il surriscaldamento.
10. Risoluzione Dei Problemi
In caso di problemi, fare riferimento ai seguenti problemi comuni e alle relative soluzioni:
| Problema | Possibile causa | Soluzione |
|---|---|---|
| LCD non visualizza | Batteria non collegata o bassa tensionetage | Controllare i collegamenti della batteria e assicurarsi che la batteria sia carica.tage è superiore a 8 V. |
| Nessuna corrente di carica | Pannello solare non collegato, scarsa luce solare o polarità invertita | Controllare i collegamenti del pannello solare, assicurarsi che la luce solare sia sufficiente e verificare la polarità. |
| Il carico non funziona | Load disconnected, battery low, or load work mode setting | Check load connections, charge battery, adjust load work mode. |
| Protezione da sovraccarico attivata | Load current exceeds controller's rating | Reduce load or use a higher-rated controller. Disconnect load and reconnect after 30 seconds. |
| Protezione da cortocircuito attivata | Short circuit in load or wiring | Identify and fix the short circuit. The controller will automatically recover. |
11. Garanzia e supporto
Per informazioni sulla garanzia o assistenza tecnica, fare riferimento alla confezione del prodotto o contattare il rivenditore. Conservare la ricevuta d'acquisto come prova d'acquisto.


