1. Introduzione
The GOOLOO X7 is a versatile and powerful portable device designed to provide reliable jump-starting capabilities for vehicles, inflate tires, and serve as a portable power bank and LED flashlight. With a peak starting current of 4250A and a 160PSI digital tire inflator, it is engineered for convenience and safety in various automotive and outdoor scenarios.

Figure 1: GOOLOO X7 Jump Starter with Air Compressor
2. Cosa c'è nella scatola
Si prega di controllare il contenuto del pacco per assicurarsi che siano presenti tutti gli articoli:
- 1 x GOOLOO X7 Jump Starter with Air Compressor
- 1 x cavo Smart Jumper
- 1 cavo da USB-A a USB-C
- 1 x Borsa per il trasporto
- 1 x tubo della pompa
- 3 x ugelli dell'aria (per vari gonfiabili)
- 1 x Manuale utente (questo documento)

Figura 2: Contenuto della confezione
3. Prodotto finitoview e componenti
Familiarize yourself with the main components and features of your GOOLOO X7 device:

Figure 3: GOOLOO X7 Component Diagram
- 12V Car Start Connector: Port for connecting the smart jumper cable.
- Schermo LCD: Displays battery level, inflator mode, real-time tire pressure, and other operational data.
- Pressure Setting Buttons (+/-): Regola la pressione target per il gonfiaggio.
- Interruttore di alimentazione: Accende/spegne il dispositivo.
- Pulsante di regolazione: Cycles through inflation units (PSI, BAR, KPA) and modes.
- Lamp Interruttore: Controls the LED flashlight modes.
- Air Inflation Connection: Port for attaching the pump tube for tire inflation.
- LED Torch (Emergency Light): Integrated 400-lumen flashlight with multiple modes.
- USB-C 9V/2A Input: Charging port for the GOOLOO X7.
- USB QC3.0 Output 5V/9V/12V: Fast charging output for mobile devices.
- Uscita CC 15V/10A: Output for powering 12V accessories.

Figure 4: 5.1-inch Intelligent LCD Display
4. Impostazione
4.1 Carica iniziale
Before first use, fully charge your GOOLOO X7. Connect the provided USB-A to USB-C cable to the USB-C input port on the device and a suitable USB power adapter (not included). The LCD screen will indicate the charging status. A full charge is recommended for optimal performance.
4.2 Controllo del livello della batteria
Press the Power Switch briefly to check the current battery level displayed on the LCD screen. Ensure the device has sufficient charge before attempting to jump start a vehicle or inflate tires.
5. Istruzioni per l'uso
5.1 Avviamento di emergenza di un veicolo
The GOOLOO X7 can jump start all 12V vehicles (up to 10L Gas/10L Diesel engines). For totally exhausted batteries, use the BOOST FUNCTION.
- Ensure the GOOLOO X7 is sufficiently charged (at least 50% recommended).
- Connect the smart jumper cable's blue plug into the 12V Car Start Connector on the GOOLOO X7.
- Collegare il rosso clamp to the vehicle's positive (+) battery terminal and the nero clamp al terminale negativo (-) della batteria del veicolo.
- Check the indicator light on the smart jumper cable:
- Verde pieno: Connection is correct and safe. Ready to jump start.
- Rosso fisso con segnale acustico: Rilevata polarità inversa. Scollegare il cl.amps and re-connect correctly.
- No Light/Flashing Green: Battery is too low or other issue. If battery is completely dead, press the 'BOOST' button on the smart cable for 3 seconds until the light turns solid green.
- Once the indicator is solid green, start your vehicle's engine.
- Dopo l'avvio del motore, rimuovere immediatamente il ponticello intelligente clamps from the car battery, then disconnect the cable from the GOOLOO X7.

Figure 5: Simple Maneuver, Instant Jumpstarter

Figure 6: Jump Starting a Completely Dead Car Battery
5.2 Gonfiaggio pneumatici
The GOOLOO X7 features a 160PSI digital tire inflator with real-time pressure detection.
- Connect the pump tube to the Air Inflation Connection port on the GOOLOO X7.
- Attach the other end of the pump tube securely to the tire valve.
- Turn on the GOOLOO X7. The LCD screen will display the current tire pressure.
- Use the 'Adjust Button' to select the desired inflation unit (PSI, BAR, KPA).
- Utilizzare i pulsanti '+/-' per impostare la pressione target.
- Short press the Power Button to start inflation. The inflator will automatically stop when the target pressure is reached.
- Disconnect the pump tube from the tire valve and the GOOLOO X7.

Figure 7: Easy Operation, Fast Inflation
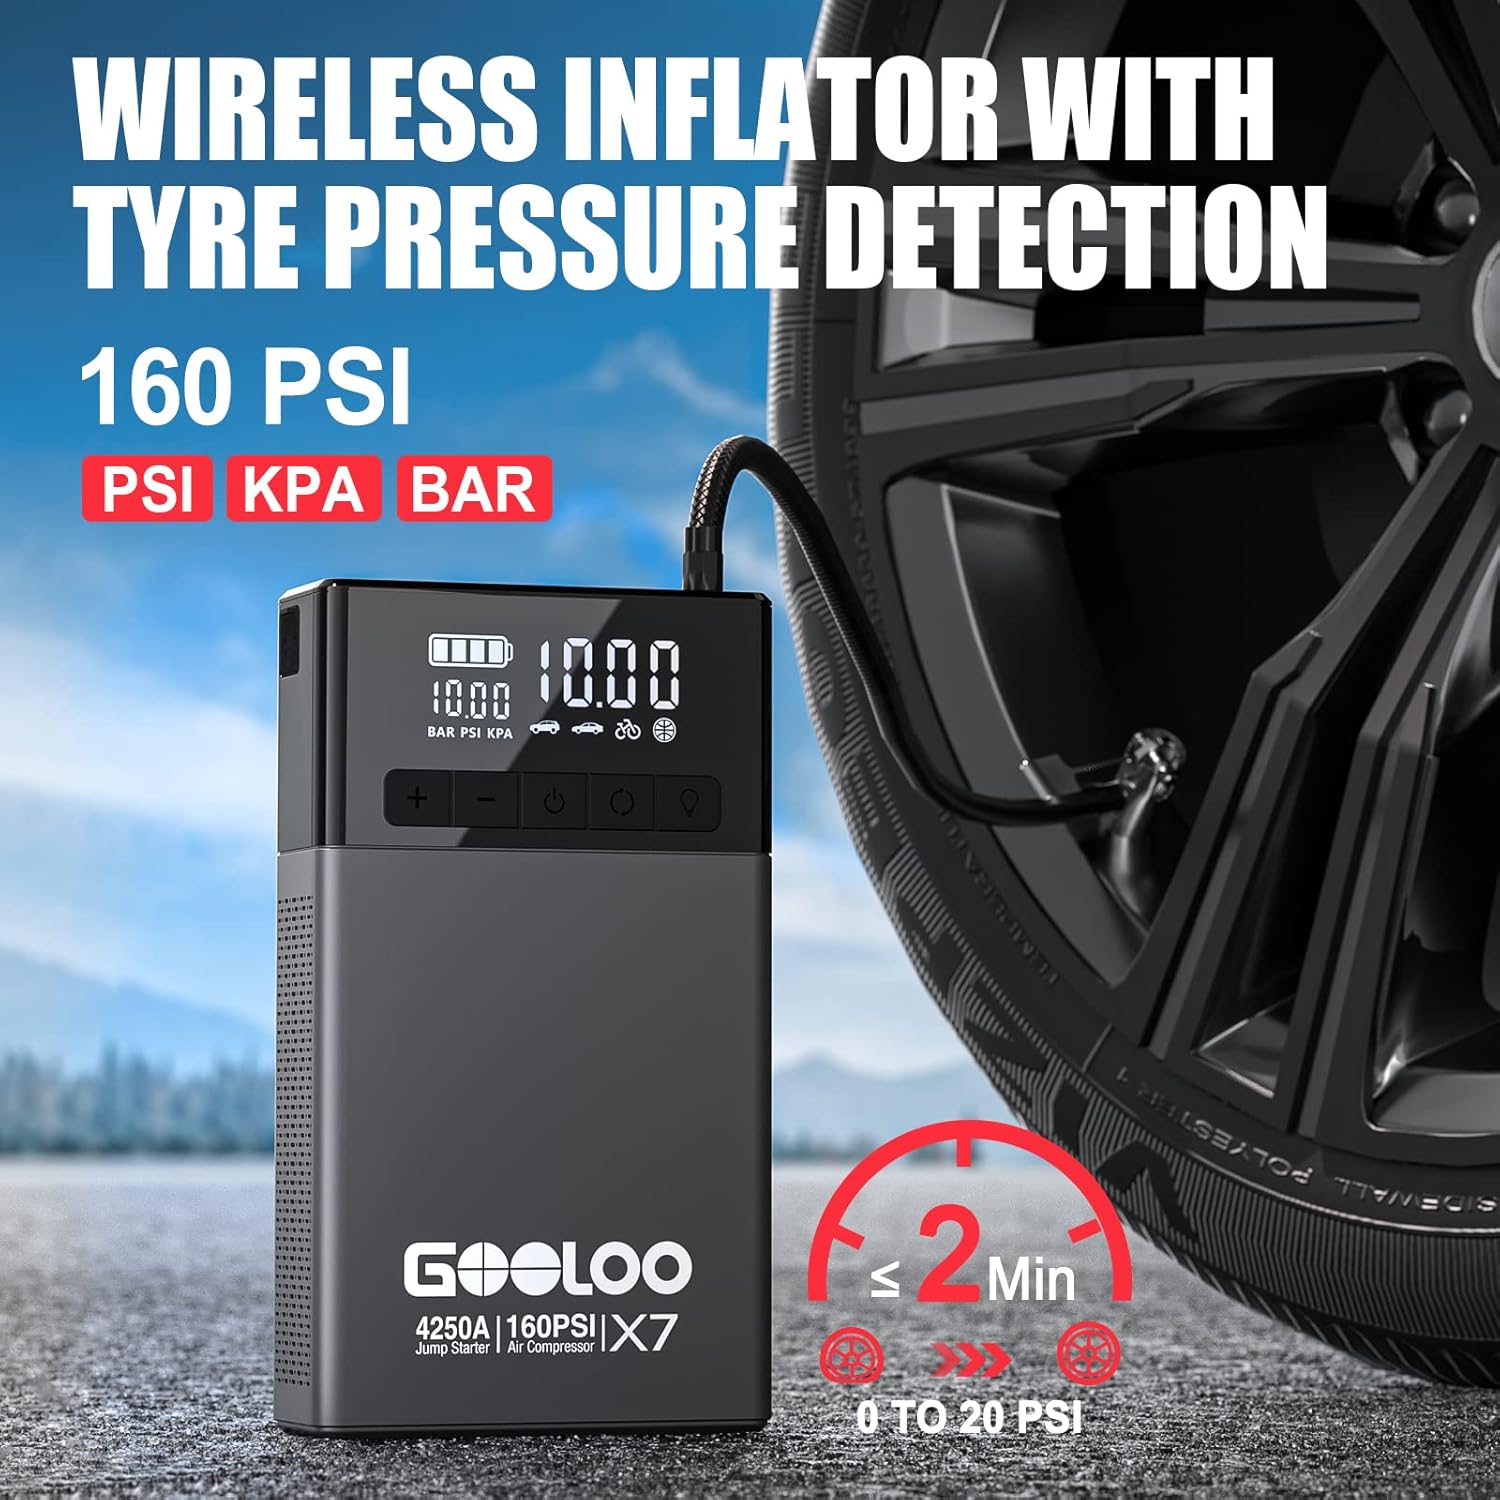
Figure 8: Wireless Inflator with Tyre Pressure Detection
5.3 Funzione Power Bank
The GOOLOO X7 can charge various electronic devices via its USB outputs.
- Connect your device's charging cable to the USB QC3.0 Output (5V/9V/12V) or the DC Output (15V/10A) on the GOOLOO X7.
- The GOOLOO X7 will automatically begin charging your device.

Figure 9: Multifunctional Portable Powerbank
Torcia elettrica 5.4 LED
The integrated 400-lumen LED light offers multiple modes for various situations.
- Premere il tasto 'L'amp Switch' button to cycle through the lighting modes:
- Constant Lighting (White): Per l'illuminazione generale.
- Constant Lighting (Red): For low-light situations or to preserve night vision.
- Flash: Una luce bianca lampeggiante per segnalare o attirare l'attenzione.
- SOS: A red SOS signal for emergency situations.

Figure 10: 400 Lumen Torch with 4 Modes

Figure 11: Device functioning as a Warning Triangle
6. Precauzioni di sicurezza
The GOOLOO X7 is equipped with multiple built-in safety protection technologies to ensure safe operation. Always adhere to the following guidelines:
- Do not attempt to jump start a vehicle if the GOOLOO X7's battery level is below 20%.
- Ensure proper polarity when connecting the jumper clamps to the vehicle battery. The smart jumper cable will alert you to incorrect connections.
- Non collegare il rosso e il nero clampsono insieme.
- Avoid exposing the device to extreme temperatures (below -4°F or above 140°F) or direct sunlight for prolonged periods.
- Non immergere il dispositivo in acqua né esporlo a pioggia battente.
- Tenere fuori dalla portata dei bambini.
- Non smontare o modificare il dispositivo.
- If the device becomes excessively hot during use, discontinue use and allow it to cool down.
The X7 includes 10 built-in safety protection technologies:
- Protezione da sovraccarico
- Protezione da sovracorrente
- Protezione da cortocircuito
- Protezione da inversione di polarità
- Low-temp Protection
- Protezione ad alta temperatura
- Over-volumetage Protezione
- Protezione da sovraccarico
- Protezione antiscintilla
- Protezione da inversione contabile

Figure 12: Multiple Advanced Protection Features
7. Manutenzione
- Ricarica: Ricaricare il dispositivo ogni 3-6 mesi, anche se non lo si utilizza, per preservare la salute della batteria.
- Magazzinaggio: Store the GOOLOO X7 in a cool, dry place away from direct sunlight and moisture. Ensure it is fully charged before long-term storage. The device has a 24-month standby time once fully charged.
- Pulizia: Pulisci il dispositivo con un panno morbido e asciutto. Non utilizzare prodotti chimici aggressivi o detergenti abrasivi.
- Dissipazione del calore: The unique honeycomb heat dissipation design enhances safety and promotes service life. Ensure the ventilation areas are not blocked during operation.

Figure 13: 24-Months Standby Capability

Figure 14: Honeycomb Heat Dissipation Design
8. Risoluzione Dei Problemi
| Problema | Possibile causa | Soluzione |
|---|---|---|
| Il dispositivo non si accende. | La batteria è completamente scarica. | Carica completamente il dispositivo. |
| Il veicolo non si avvia con i cavi. | clamp connection; Device battery too low; Vehicle battery completely dead. | Controllare clamp polarity (smart cable indicator); Ensure device is sufficiently charged; Use BOOST function for completely dead batteries. |
| Tire inflator not working or inaccurate reading. | Pump tube not securely connected; Incorrect unit selected; Device battery too low. | Ensure pump tube is tightly screwed on; Check selected unit (PSI/BAR/KPA); Charge the device. |
| Il dispositivo si surriscalda durante l'uso. | Normal during high-power operations; Prolonged use. | Allow the device to cool down. Ensure ventilation is not blocked. If excessively hot, discontinue use. |
If problems persist, please contact GOOLOO customer support.
9. Specifiche
| Caratteristica | Specificazione |
|---|---|
| Modello | Modello X7-4250A |
| Corrente di avviamento di picco | 4250 Amps |
| Pressione di gonfiaggio dei pneumatici | Fino a 160 PSI |
| Compatibilità del motore | All 12V vehicles (10L Gas / 10L Diesel engines) |
| Ingresso USB-C | 9V/2A |
| Uscita USB QC3.0 | 5V/9V/12V |
| DC Output | 15V/10A |
| Luminosità della luce a LED | 400 lumen |
| Dimensioni del prodotto | Dimensioni: 12.7 x 19.5 x 10.7 cm |
| Peso dell'articolo | 2.31 kg |
| Tipo di batteria | Polimero di litio (incluso) |
10. Garanzia e supporto
GOOLOO provides comprehensive support for your X7 Jump Starter:
- Garanzia: Garanzia di 18 mesi dalla data di acquisto.
- Garanzia di reso: Garanzia di reso incondizionata di 30 giorni.
- Assistenza clienti: Assistenza clienti disponibile 24 ore su 24, 7 giorni su 7.
- Supporto tecnico: Assistenza clienti e supporto tecnico a vita.
For any after-sales questions or technical assistance, please contact GOOLOO customer service. Refer to the contact information provided with your product packaging or visit the official GOOLOO websito.