1. Prodotto finitoview
The Lindy Single Display Short Bracket with Pole and Desk Clamp, Model 40656, provides a robust solution for mounting a single monitor to a standard office desk or table. This mount allows for easy adjustment of the display, including tilt, pivot, and rotation, to achieve an optimal viewing angle. It is compatible with most monitors adhering to VESA standards of 75 x 75mm or 100 x 100mm.
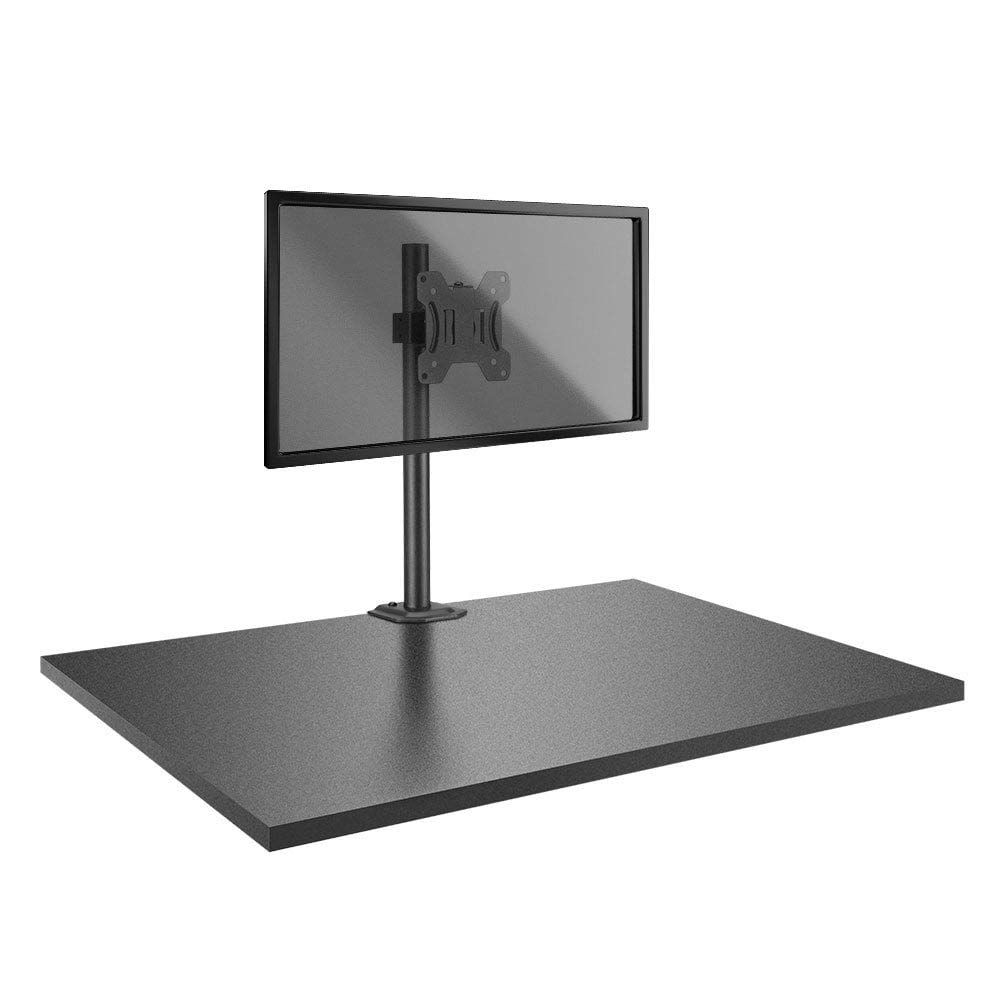
Image: The Lindy Single Display Short Bracket with Pole and Desk Clamp, Model 40656, shown installed on a desk with a monitor (monitor not included).
Caratteristiche principali:
- Mounts a single monitor to a standard office desk.
- Allows tilt, pivot, or rotate for simple maneuverability.
- Conforms to VESA standards (75 x 75mm and 100 x 100mm).
- Constructed with a robust, lightweight metal pole and an aluminum powder-coated bracket.
2. Informazioni sulla sicurezza
Please read and understand all instructions before attempting installation. Failure to follow these instructions may result in property damage, injury, or product malfunction.
- Ensure the desk surface is stable and can safely support the combined weight of the mount and your monitor.
- Do not exceed the maximum weight capacity of the mount. Refer to the 'Specifications' section for details.
- Ensure all screws are securely tightened to prevent accidental detachment of the monitor.
- Durante il montaggio, tenere bambini e animali domestici lontani dall'area di installazione.
- Avoid placing the mount in areas with excessive vibration, direct sunlight, or high humidity.
- Utilizzare solo l'hardware fornito o ricambi approvati dal produttore.
3. Contenuto della confezione
Verificare che tutti i componenti siano presenti prima di iniziare l'installazione:
- Pole with integrated desk clamp
- Short VESA bracket
4. Istruzioni per l'installazione
Follow these steps to properly install your Lindy Single Display Short Bracket:
Fase 1: Fissare la scrivania Clamp alla scrivania
- Posizionare la scrivania clamp base on the edge of your desk, ensuring it is stable and flush.
- Stringere la clamp screw firmly until the mount is securely fastened to the desk. Do not overtighten.

Immagine: Lato view of the pole with the desk clamp, illustrating how it attaches to a desk surface.
Step 2: Assemble Pole and Bracket
- Slide the short VESA bracket onto the pole.
- Position the bracket at your desired height and secure it using the integrated locking mechanism or screws.

Image: The pole and desk clamp assembly with the short VESA bracket positioned on the pole.
Step 3: Attach VESA Bracket to Monitor
- Carefully place your monitor face down on a soft, clean surface to prevent scratches.
- Align the VESA mounting holes on the back of your monitor with the holes on the short bracket.
- Secure the bracket to the monitor using the appropriate screws (typically M4 or M5, not included with mount). Ensure they are tightened firmly but do not overtighten.

Immagine: Primo piano view of the VESA mounting plate, showing the screw holes for monitor attachment.
Step 4: Mount Monitor to Pole
- With assistance, carefully lift the monitor (with the attached bracket) and slide the bracket onto the pole.
- Ensure the bracket is securely seated on the pole and tighten any locking screws on the bracket to prevent vertical movement.
5. Istruzioni per l'uso
Once installed, the Lindy Single Display Short Bracket allows for flexible monitor positioning:
- Regolazione dell'inclinazione: Loosen the tilt knob on the VESA bracket, adjust the monitor to your desired vertical angle (up to 12 degrees), and then re-tighten the knob to secure the position.
- Regolazione del perno: The monitor can be rotated 360 degrees around the VESA plate, allowing for easy switching between landscape and portrait orientations.
- Regolazione della rotazione: The entire monitor assembly can be rotated around the pole for horizontal viewregolazioni dell'angolo.
6. Manutenzione
To ensure the longevity and safe operation of your monitor mount:
- Controllare regolarmente tutte le viti e i collegamenti per assicurarsi che siano ben serrati. Serrare nuovamente se necessario.
- Clean the mount with a soft, dry cloth. Avoid using abrasive cleaners, solvents, or chemical sprays.
- Inspect the mount periodically for any signs of wear, damage, or corrosion. If damage is found, discontinue use and contact support.
7. Risoluzione Dei Problemi
Se riscontri problemi con il supporto del monitor, fai riferimento ai seguenti problemi comuni e alle relative soluzioni:
- Monitor is wobbly:
- Assicurare la scrivaniaamp sia fissato saldamente alla scrivania.
- Check all screws connecting the VESA bracket to the pole and the monitor.
- Monitor does not stay in desired position (e.g., tilts down):
- Tighten the tilt adjustment knob on the VESA bracket.
- Difficulty rotating or pivoting the monitor:
- Ensure no cables are obstructing the movement of the monitor or bracket.
- Check for any overtightened screws that might restrict motion.
8. Specifiche
| Caratteristica | Dettaglio |
|---|---|
| Marca | Lindy |
| Numero di modello | 40656 |
| Peso dell'articolo | 4.4 libbre |
| Dimensioni del prodotto | 4.17 x 4.33 x 20.08 pollici |
| Materiale | Alluminio, Metallo |
| Tipo di montaggio | Supporto da tavolo |
| Tipo di movimento | Rotate, Tilt |
| Dispositivi compatibili | Monitors (Television) |
| Angolo di inclinazione massimo | 12 gradi |
| Compatibilità VESA | 75 x 75 mm, 100 x 100 mm |
9. Garanzia e supporto
Informazioni sulla garanzia:
This Lindy product is covered by a Garanzia di 2 anno dalla data di acquisto. Conservare la prova d'acquisto per eventuali reclami in garanzia.
Assistenza clienti:
For technical assistance, troubleshooting, or to make a warranty claim, please contact Lindy customer support. Visit the official Lindy website for up-to-date contact information and support resources.