1. Introduzione
This manual provides essential instructions for the safe and efficient operation, setup, and maintenance of your Usha Janome Marvella Automatic Zig-Zag Electric Sewing Machine. Please read this manual thoroughly before using the machine to ensure proper function and to prevent damage or injury.
The Usha Janome Marvella is a compact, free-arm zig-zag sewing machine designed for various sewing tasks. It features 13 built-in stitches and 14 stitch functions, including a buttonhole stitch, and is suitable for applications such as lace fixing, quilting, smocking, and rolled hemming.
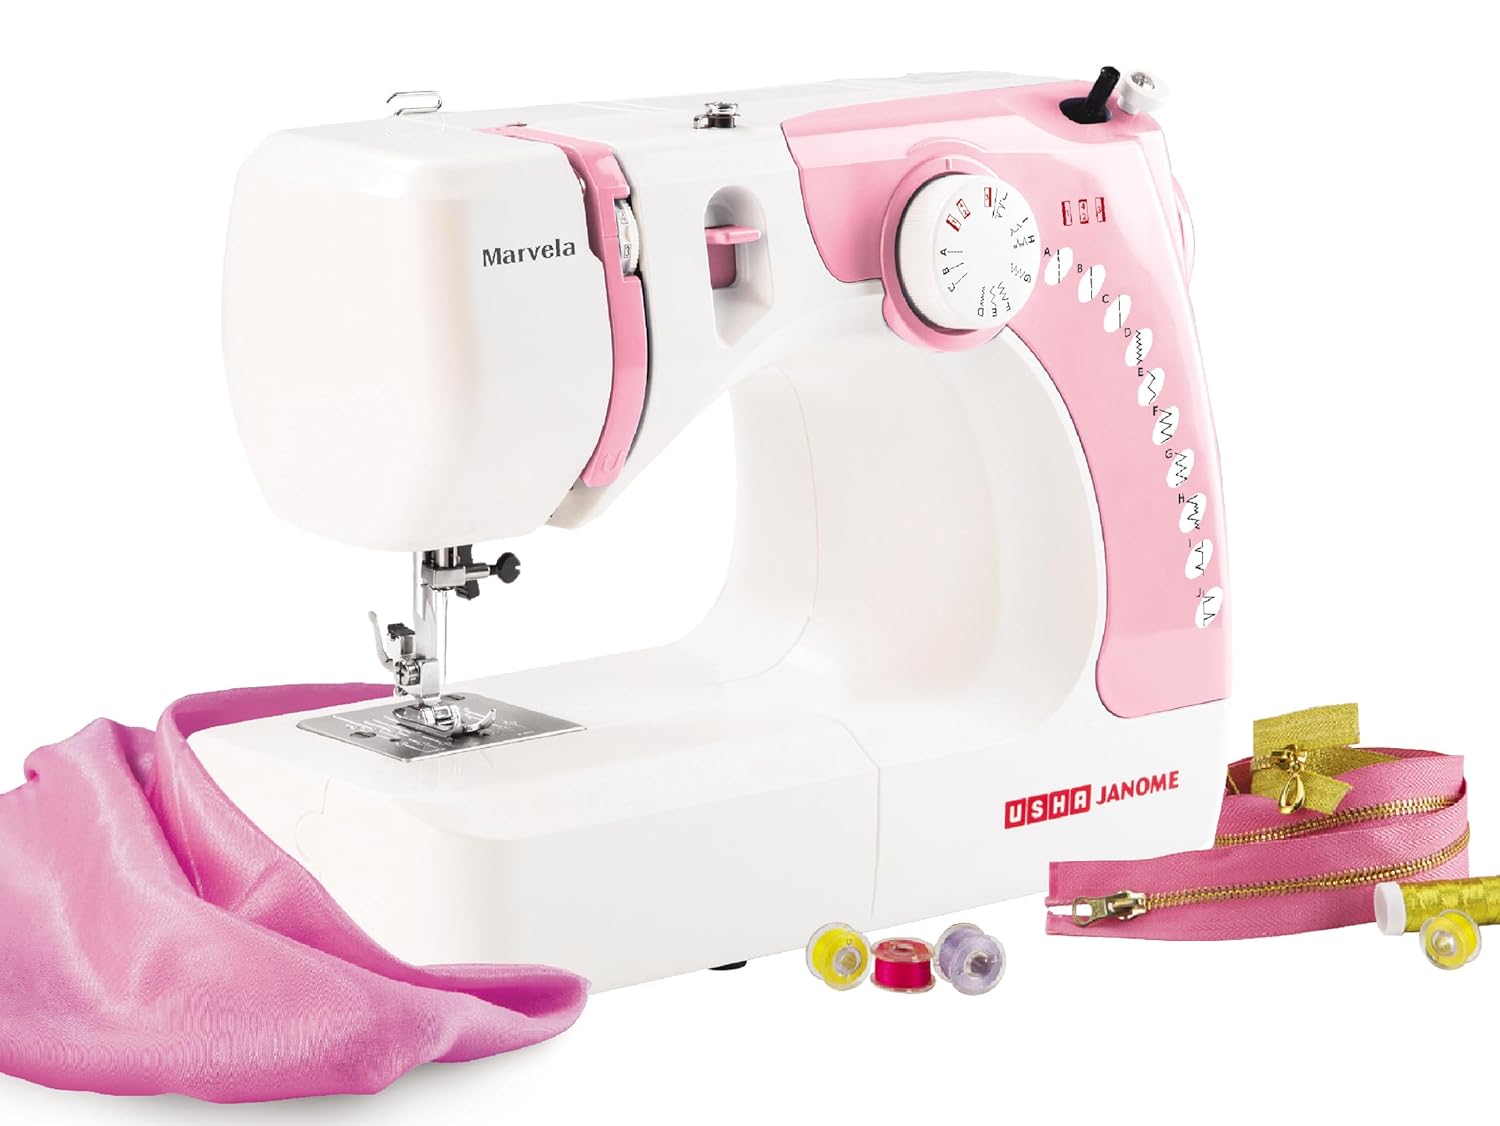
Image 1.1: The Usha Janome Marvella Automatic Zig-Zag Electric Sewing Machine, showcasing its compact design and pink and white color scheme. A piece of pink fabric, spools of thread, and a zipper are visible next to the machine.
2. Istruzioni di sicurezza
- Always disconnect the sewing machine from the electrical outlet immediately after use, before cleaning, or when making any adjustments.
- Do not operate the machine with a damaged cord or plug. If the machine is not working properly, has been dropped, damaged, or dropped into water, contact authorized service personnel.
- Tenere le dita lontane da tutte le parti in movimento. È necessaria una cura speciale intorno all'ago della macchina per cucire.
- Utilizzare la placca ago corretta. Una placca sbagliata può causare la rottura dell'ago.
- Non tirare o spingere il tessuto durante la cucitura. Ciò potrebbe deviare l'ago e causarne la rottura.
- Always use genuine Usha Janome parts and accessories to ensure optimal performance and safety.
3. Contenuto della confezione
Dopo aver disimballato il prodotto, verificare che tutti i seguenti articoli siano inclusi nella confezione:
- Usha Janome Marvella Sewing Machine
- Cavo di alimentazione e controller a pedale
- Piedino standard
- Piedino per cerniera
- Piedino per asole
- Bobbins (2-3 units)
- Set di aghi
- Seam Ripper
- Piastra dell'ago
- Usha Scissor (as specified)
- Manuale di istruzioni

Image 3.1: A collection of standard sewing machine accessories. This includes various presser feet (standard, zipper, buttonhole), clear bobbins, a set of needles, a seam ripper, and a needle plate, which are typically included with the machine.
4. Prodotto finitoview
Familiarizza con i componenti principali della tua macchina da cucire:
- Perno della bobina: Contiene la bobina del filo.
- Guida al thread: Guida il filo durante l'avvolgimento e la cucitura.
- Quadrante di tensione: Regola la tensione del filo superiore.
- Selettore punti: Utilizzato per scegliere i punti desiderati.
- Ago Clamp: Mantiene l'ago in posizione.
- Piedino premistoffa: Holds the fabric against the feed dogs.
- Placca ago: Metal plate under the needle with seam guidelines.
- Griffe di trasporto: Moves the fabric under the presser foot.
- Braccio libero: Removable part for sewing cylindrical items like sleeves and cuffs.
- Volantino: Solleva e abbassa manualmente l'ago.
- Interruttore di alimentazione: Accende/spegne la macchina.
- Jack per controller a pedale: Connects the foot controller.
5. Impostazione
5.1 Disimballaggio e posizionamento
- Estrarre con cautela la macchina dall'imballaggio.
- Posizionare la macchina su una superficie stabile e piana.
- Assicurarsi che vi sia un'illuminazione e uno spazio adeguati per lavorare comodamente.
5.2 Collegamento di alimentazione
- Insert the foot controller plug into the machine's foot controller jack.
- Inserire la spina del cavo di alimentazione in una presa elettrica adatta.
- Accendere l'interruttore di alimentazione, solitamente situato sul lato o sul retro della macchina.
5.3 Avvolgimento della bobina
- Posizionare un rocchetto di filo sul portarocchetto.
- Guide the thread through the bobbin winding thread guide.
- Posizionare una bobina vuota sul perno dell'avvolgitore.
- Avvolgere il filo attorno alla bobina alcune volte, quindi spingere il fuso verso destra.
- Premere delicatamente il pedale per avviare l'avvolgimento. Fermarsi quando la bobina è piena.
- Tagliare il filo e rimuovere la bobina avvolta.
5.4 Inserimento della bobina
- Aprire la piastra di copertura della bobina.
- Insert the wound bobbin into the bobbin case, ensuring the thread unwinds in the correct direction (refer to the markings on the bobbin case).
- Pull the thread through the tension spring and out through the small opening.
- Chiudere la piastra di copertura della bobina.
5.5 Filettatura superiore
- Sollevare la leva del piedino premistoffa.
- Posizionare un rocchetto di filo sul portarocchetto.
- Far passare il filo attraverso i guidafilo superiori, seguendo il percorso numerato indicato sulla macchina.
- Ensure the thread passes through the tension discs and the take-up lever.
- Infilare l'ago da davanti a dietro.
- Pull the upper thread under the presser foot and towards the back.
6. Istruzioni per l'uso
6.1 Selezione del punto
Turn the stitch selector dial to choose one of the 13 built-in stitch patterns. The dial clearly indicates the available stitches, including straight stitch, zig-zag, and buttonhole.
6.2 Cucito di base
- Posiziona il tessuto sotto il piedino.
- Abbassare la leva del piedino premistoffa.
- Premere delicatamente il pedale per iniziare a cucire.
- Guide the fabric with both hands, but do not push or pull forcefully.
- To stop, release the foot controller. Raise the needle to its highest position using the handwheel.
- Raise the presser foot and pull the fabric away, cutting the threads.

Immagine 6.1: Un primo piano view of the sewing machine needle and presser foot in action, demonstrating a decorative stitch being applied to a piece of fabric with fringe. This illustrates the machine's capability for various stitch patterns.
6.3 Cucitura a braccio libero
The free arm feature is useful for sewing tubular items such as sleeves, pant hems, and cuffs. To use the free arm, simply slide off the accessory box from the front of the machine.

Image 6.2: The Usha Janome Marvella sewing machine demonstrating its free arm capability by stitching the hem of a green pant leg. The accessory box has been removed, allowing the fabric to fit around the narrow arm for easier sewing of cylindrical items.
6.4 Funzioni speciali
The Marvella machine supports 14 stitch functions, including specific applications like lace fixing, quilting, smocking, and rolled hemming. Refer to the detailed instructions in the full manual for specific settings and techniques for each function.
7. Manutenzione
7.1 Pulizia
- Pulire regolarmente lanugine e polvere dall'area della bobina e dalle griffe di trasporto utilizzando una piccola spazzola.
- Pulire l'esterno della macchina con un panno morbido e asciutto. Non utilizzare prodotti chimici aggressivi.
7.2 Sostituzione dell'ago
- Always turn off the machine and disconnect power before changing the needle.
- Allentare l'ago clamp avvitare e rimuovere il vecchio ago.
- Insert a new needle with the flat side facing the back, pushing it up as far as it will go.
- Stringere l'ago clamp avvitare saldamente.
8. Risoluzione Dei Problemi
Questa sezione affronta i problemi più comuni che potresti incontrare. Per problemi più complessi, contatta l'assistenza clienti.
| Problema | Possibile causa | Soluzione |
|---|---|---|
| Punti saltati | Ago sbagliato, ago piegato, infilatura non corretta. | Sostituire l'ago con uno del tipo/dimensione corretti e infilare nuovamente la macchina correttamente. |
| Rottura del filo | Tensione errata, filo di scarsa qualità, ago piegato, infilatura non corretta. | Regolare la tensione, utilizzare un filo di buona qualità, sostituire l'ago, infilare nuovamente. |
| Inceppamento della macchina | Thread tangled in bobbin area, fabric pulled forcefully. | Turn off machine, remove bobbin case, clear tangled threads. Do not force fabric. |
| Punti irregolari | Incorrect tension, worn needle, inconsistent fabric feeding. | Adjust tension, replace needle, ensure even fabric guidance. |
9. Specifiche
- Modello: Meraviglia
- Marca: USHA Janome
- Tipo: Automatic Zig-Zag Electric Sewing Machine
- Punti incorporati: 13
- Funzioni di cucitura: 14
- Applicazioni: Lace fixing, Quilting, Smocking, Rolled Hemming, Buttonhole, etc.
- Materiale: Alluminio
- Colore: Rosa e bianco
- Peso dell'articolo: 5.9 chilogrammi
- Dimensioni del prodotto (LxLxA): 37.4 x 19.7 x 28 centimetri
- Fonte di energia: Elettrico con cavo
- Capacità: 550 stitches per minute (smp)
- Paese di origine: India
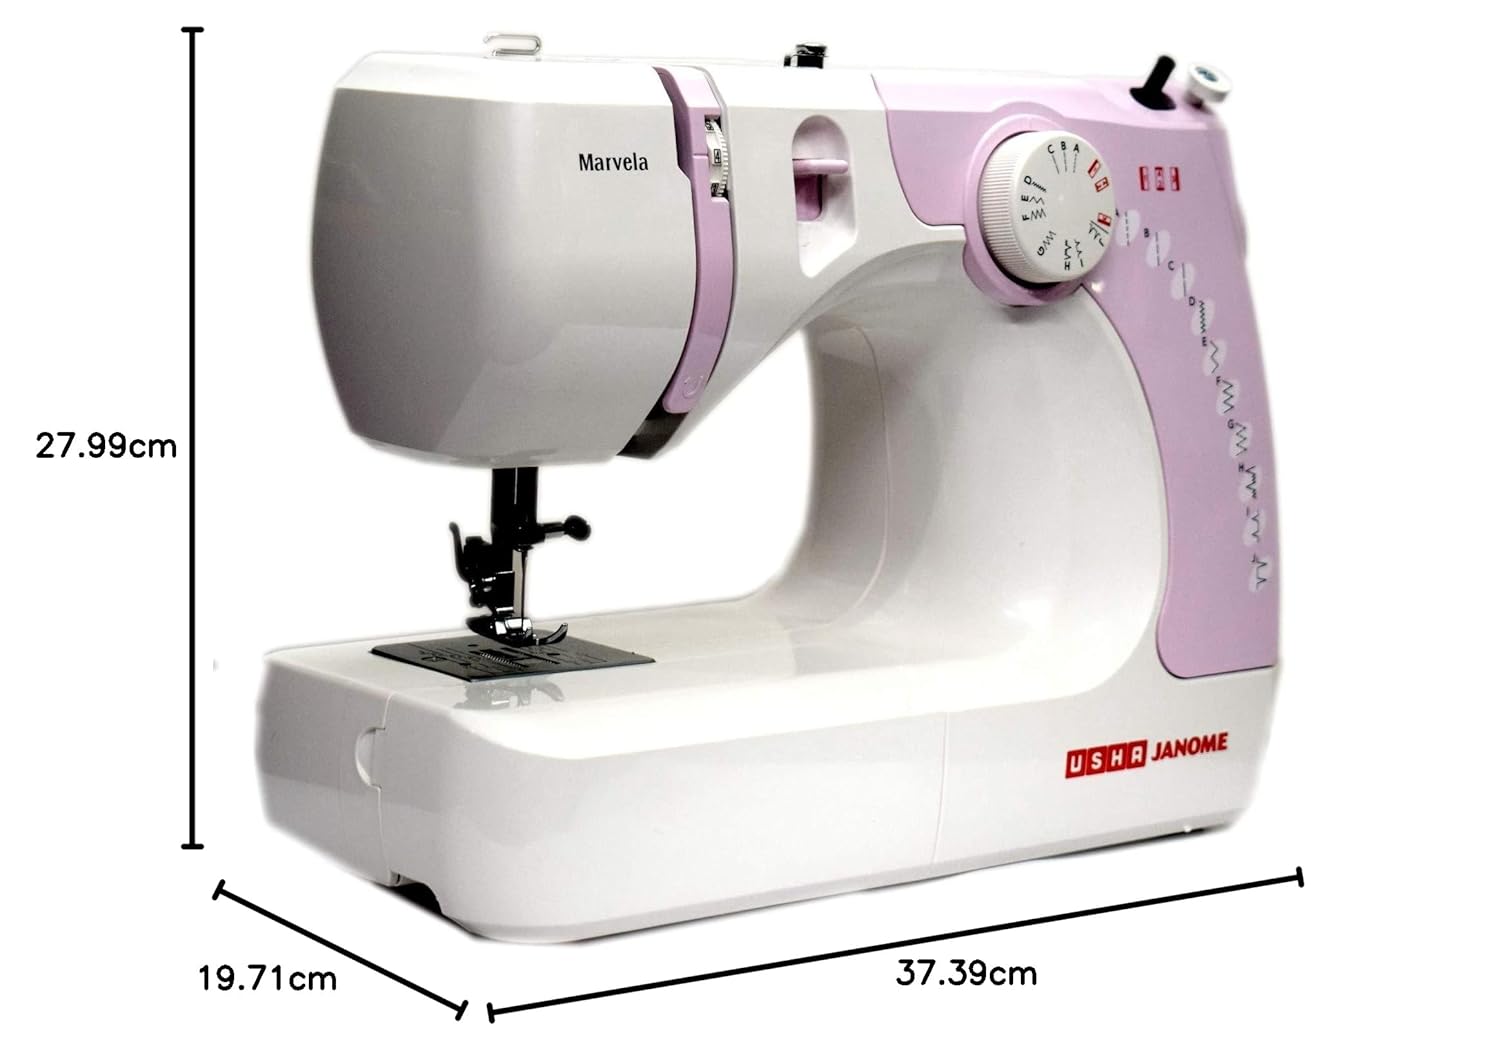
Image 9.1: A visual representation of the Usha Janome Marvella sewing machine with its key dimensions labeled: 37.39 cm in width, 19.71 cm in depth, and 27.99 cm in height. This provides a clear understanding of the machine's physical size.
10. Garanzia e supporto
Your Usha Janome Marvella Automatic Zig-Zag Electric Sewing Machine is covered by a manufacturer's warranty. Please retain your purchase receipt for warranty claims.
Per assistenza tecnica, assistenza o richieste di garanzia, contattare:
USHA International LTD.
Plot No. 15, Institutional Area, Sector 32, Gurugram 122 001, Haryana, India
Sede legale: Surya Kiran Building 19, Kasturba Gandhi Marg, New Delhi 110 006, India
Telefono: +91-124-4583100
Numero verde gratuito: 1800 1033 111