1. Introduzione
Thank you for choosing the Maxima 25 Liter 900 Watt Semi-Professional Microwave Oven. This appliance is designed for efficient and reliable performance in commercial kitchens, professional catering establishments, and domestic settings. This manual provides essential information for the safe and effective operation, maintenance, and troubleshooting of your new microwave oven.
Key features of this microwave oven include:
- 900 W cooking power with six distinct power levels.
- 25-liter capacity, accommodating plates up to 33 cm in diameter.
- Durable stainless steel exterior and interior for easy cleaning.
- Analog control panel with a 30-minute timer and defrost function.
- Transparent door and interior lighting for clear visibility.
2. Importanti istruzioni di sicurezza
To reduce the risk of fire, electric shock, injury to persons, or exposure to excessive microwave energy when using your appliance, follow these basic precautions:
- Leggere tutte le istruzioni prima di utilizzare l'apparecchio.
- Non tentare di far funzionare questo forno con lo sportello aperto, poiché ciò può comportare un'esposizione dannosa all'energia delle microonde. È importante non tampcon i dispositivi di sicurezza.
- Non posizionare alcun oggetto tra la parte anteriore del forno e lo sportello e non lasciare che residui di sporco o detergente si accumulino sulle superfici di tenuta.
- Non azionare il forno se è danneggiato. È particolarmente importante che la porta del forno si chiuda correttamente e che non vi siano danni a: (1) porta (piegata), (2) cerniere e chiavistelli (rotte o allentate), (3) guarnizioni e superfici di tenuta della porta.
- Il forno non deve essere riparato o regolato da nessuno, eccetto personale di assistenza adeguatamente qualificato.
- Non rimuovere la parte esterna casing or any covers. High voltage è presente all'interno.
- Assicurarsi che l'apparecchio sia adeguatamente messo a terra.
- Sorvegliare sempre i bambini quando l'apparecchio è in uso.
- Non riscaldare liquidi o altri alimenti in contenitori sigillati poiché potrebbero esplodere.
- Utilizzare solo utensili adatti al forno a microonde.
3. Prodotto finitoview
Familiarize yourself with the components of your Maxima microwave oven.

Figura 1: Angolo anteriore view of the Maxima semi-professional microwave oven, showcasingrazie alla finitura in acciaio inox e al pannello di controllo.
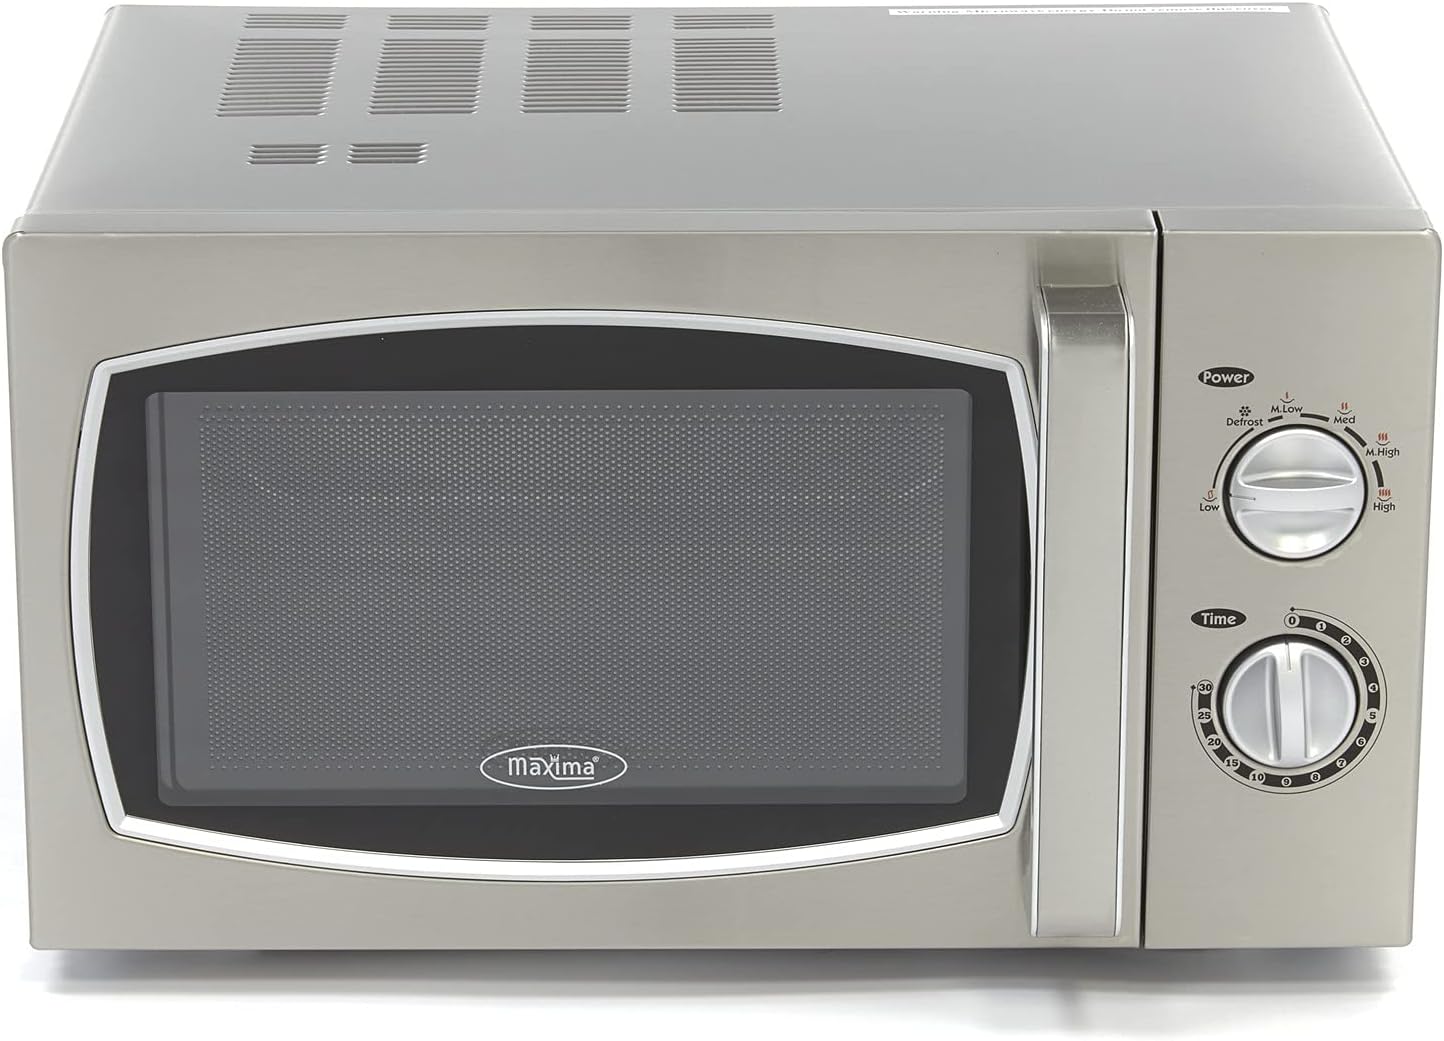
Figura 2: Fronte diretto view of the microwave oven, highlighting the transparent door and the Maxima branding.

Figura 3: Lato view of the microwave oven, illustrating its compact design and ventilation slots.

Figura 4: Close-up of the analog control panel, featuring chrome knobs for power selection and timer settings.

Figura 5: Interno view of the microwave oven with the door open, showing the glass turntable and internal lighting.
4. Impostazione
Follow these steps to set up your microwave oven for first use:
- Disimballaggio: Rimuovere con cautela il forno a microonde e tutto il materiale di imballaggio dalla scatola. Verificare che non vi siano danni.
- Posizionamento: Place the microwave oven on a flat, stable surface that is strong enough to support its weight. Ensure there is adequate ventilation space around the oven (at least 10 cm at the back, 15 cm at the top, and 5 cm on the sides). Do not block any ventilation openings.
- Assemblaggio giradischi: Place the roller ring in the center of the oven floor. Position the glass turntable securely on top of the roller ring. Ensure it rotates freely.
- Collegamento elettrico: Collegare il cavo di alimentazione a una presa elettrica con messa a terra. Assicurarsi che il volumetage corrisponde alle specifiche dell'apparecchio (230 Volt).
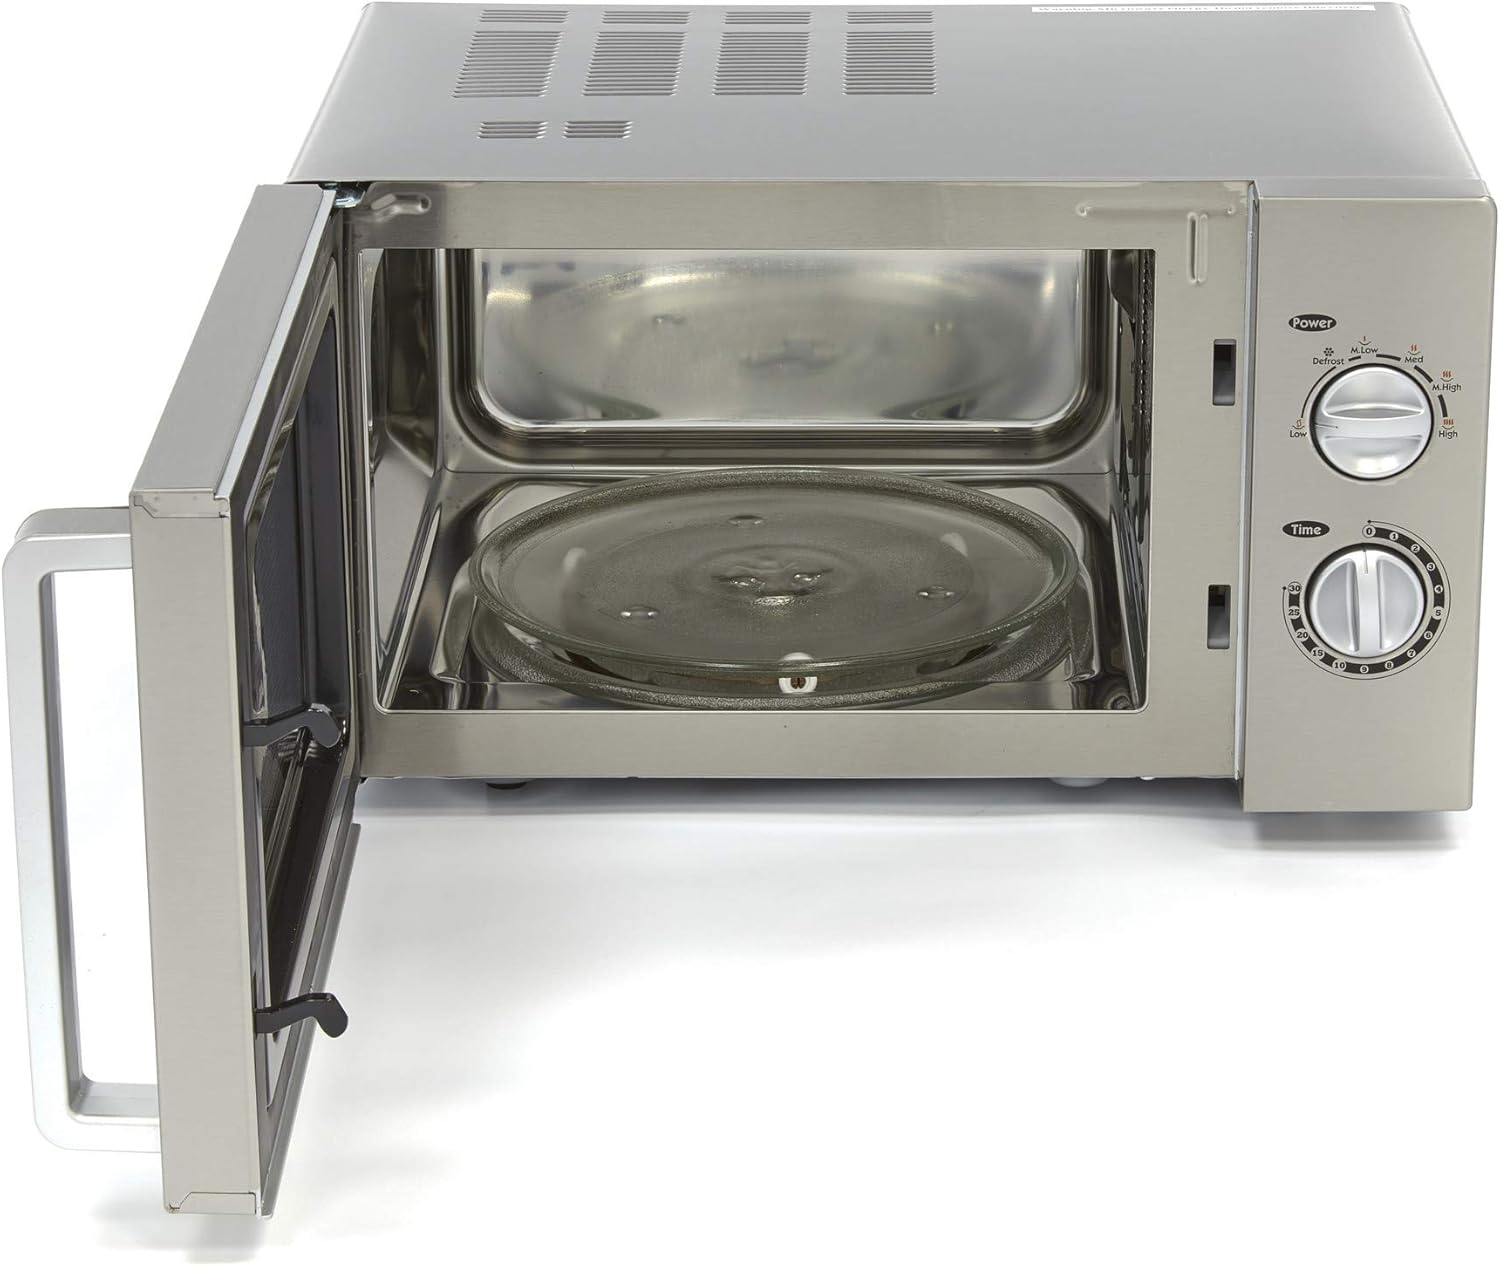
Figura 6: Interior of the microwave oven, clearly showing the glass turntable and roller ring in place, ready for use.
5. Istruzioni per l'uso
Your Maxima microwave oven features an intuitive analog control panel for easy operation.
- Luogo Cibo: Place the food or beverage in a microwave-safe container on the glass turntable inside the oven. Close the door securely.
- Seleziona il livello di potenza: Use the upper chrome knob (labeled 'Power') to select the desired power level. The available power levels are:
- Low (20% power)
- Defrost (42% power)
- Medium/Low (52% power)
- Medium (73% power)
- Medium/High (88% power)
- Alto (potenza 100%)
- Imposta ora: Use the lower chrome knob (labeled 'Time') to set the desired cooking time. The timer can be set for up to 30 minutes.
- Inizia a cucinare: The microwave will start operating once the timer is set. The interior light will illuminate, and the turntable will rotate.
- Fine della cottura: When the set time expires, the oven will automatically stop and emit an audible signal. Carefully remove the food, as containers may be hot.
- Modalità di scongelamento: To defrost food, select the 'Defrost' power level and set the appropriate time based on the food's weight and type.
6. Manutenzione e pulizia
Regular cleaning is crucial for maintaining the performance and longevity of your microwave oven.
- Pulizia generale: After each use, wipe the interior and exterior surfaces with a damp cloth. For best results, use a mild detergent.
- Stubborn Residues: If stubborn food residues accumulate inside the oven, place a bowl of water (you may add a few spoons of vinegar for enhanced cleaning) inside the microwave. Set the oven to the highest power level for approximately five minutes. The steam generated will help loosen the residues, making them easier to wipe away with a damp stoffa.
- Pulizia esterna: The stainless steel exterior can be cleaned with a clean, damp cloth. Avoid abrasive cleaners or scouring pads, as these can scratch the surface.
- Giradischi e anello rotante: The glass turntable and roller ring can be removed and washed in warm, soapy water or in a dishwasher. Ensure they are completely dry before placing them back in the oven.
- Guarnizioni delle porte: Regularly clean the door seals and sealing surfaces to ensure proper closure and prevent microwave energy leakage.
7. Risoluzione Dei Problemi
Se riscontri problemi con il tuo forno a microonde, fai riferimento ai seguenti problemi comuni e alle relative soluzioni:
| Problema | Possibile causa | Soluzione |
|---|---|---|
| Il forno non si avvia | Cavo di alimentazione non collegato; sportello non chiuso correttamente; fusibile bruciato o interruttore automatico scattato. | Assicurarsi che il cavo di alimentazione sia collegato saldamente; Chiudere bene lo sportello; Controllare il fusibile domestico o ripristinare l'interruttore automatico. |
| Forno non riscaldante | Porta non chiusa correttamente; Livello di potenza o tempo impostato non corretti. | Ensure door is completely closed; Verify power level and cooking time settings. |
| Giradischi non rotante | Piatto girevole o anello rotante non posizionati correttamente; cibo troppo grande o pesante. | Re-position turntable and roller ring; Use smaller or lighter dishes. |
| Scintille all'interno del forno | Metal in oven; Food residue on oven walls. | Rimuovere eventuali oggetti metallici; pulire accuratamente l'interno del forno. |
If the problem persists after attempting these solutions, please contact qualified service personnel. Do not attempt to repair the appliance yourself, especially if the door is damaged or if there are issues with hinges, latches, or door seals.
8. Specifiche
Detailed technical specifications for the Maxima 25 Liter 900 Watt Semi-Professional Microwave Oven:
| Caratteristica | Specificazione |
|---|---|
| Marca | Massimi |
| Numero di modello | 09367000 |
| Dimensioni del prodotto (L x P x A) | Dimensioni: 34 x 54 x 51 cm |
| Volume | 25 litri |
| Potenza di cottura | 900 Watt |
| Potenza in ingresso | 1400 Watt |
| Voltage | 230 Volt |
| Materiale | Acciaio inossidabile |
| Peso dell'articolo | 14 chilogrammi |
| Tipo di installazione | Libera installazione |
| Tipo di controllore | Go Control (Analog Knobs) |
| Componenti inclusi | Roller ring, Glass turntable |
| Paese di origine | Cina |
9. Garanzia e supporto
This Maxima microwave oven is manufactured by Maxima Kitchen Equipment. For any product-related inquiries, technical assistance, or warranty claims, please refer to your purchase documentation or contact the retailer where the product was purchased.
Please note that a return policy of 30 days for refund or replacement is typically offered by the seller. Specific warranty terms and conditions may vary and are usually provided at the time of purchase.